• Welcome to Overclockers Forums! Join us to reply in threads, receive reduced ads, and to customize your site experience!

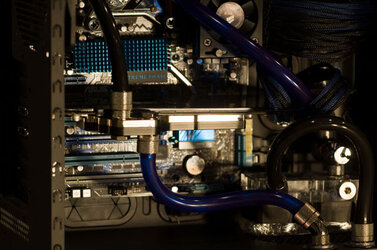
Corsair 800d - dual rad build -Single loop build

Overclockers is supported by our readers. When you click a link to make a purchase, we may earn a commission. Learn More.

Gotts

Registered
Joined
Dec 31, 2009
As promised, an impending wall of text and pics of my first WC build...comments, critiques welcome.

First, the rig.

Thread references :

WC / product sites used/referenced :


Last but not least, the final water cooling setup :

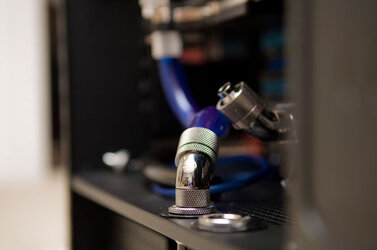
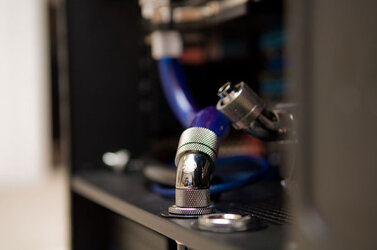
Bitspower fitted! [3/8"ID 5/8"OD] :
 
My initial design was going to follow Mr. Armageddon's footsteps and after some recommendations, bought the
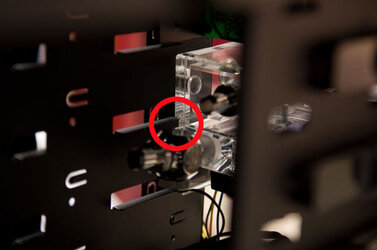
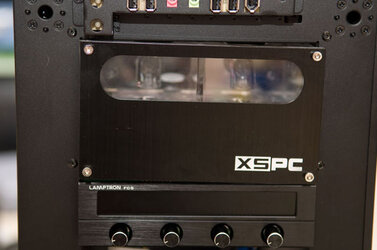
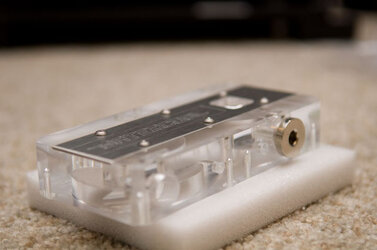
XSPC Dual Bay, Dual Reservoir. Upon sliding it into the 800d bays ran into a problem, seen below. The middle notch of the reservoir was too shallow for the case's bay ledge. After some dremelling of the ledges, the result was highly unacceptable. Still undetermined if the reservoir is off spec as every other drive I put into the bays is flush and level.


826401916_FvSkC-L.jpg
826401924_Gqywy-L.jpg

After being miffed I cut a portion of my case up for nothing, I decided to go with a cylindrical reservoir idea, which proved to be a bit more complicated, and expensive, on the fitting/planning side. I spent more in shipping and handling after ordering what I thought would be my 'last order' only to find out I needed a spacer, or extender to get those precious milimeters or space to make things line up.
 
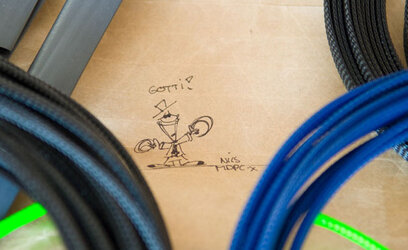
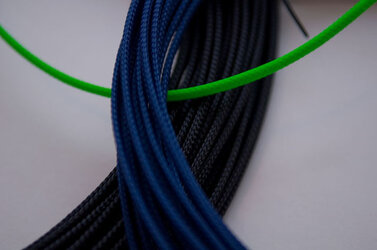
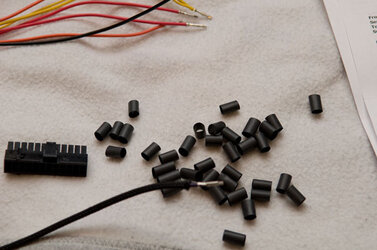
I decided to go with a black and blue theme, however, I have yet to light the inside of the case. Ordered some cable sleeving from Nils. Great sleeving, BETTER heatshrink, man that stuff really gets tight!, and great looking blue material. Nils responded to each email within a few hours and will definitely be ordering from him again, I'm huge on customer service.
826401793_b4xFU-L.jpg 826401878_TDMuq-L.jpg

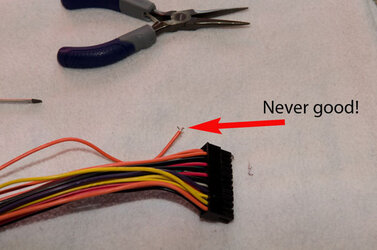
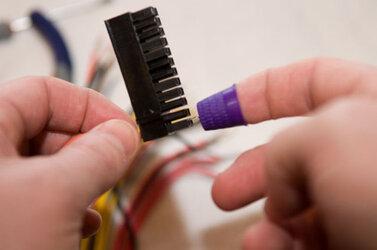
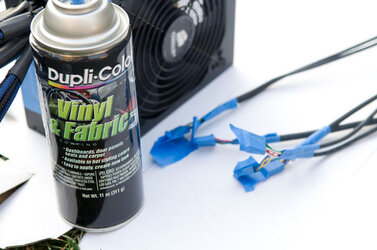
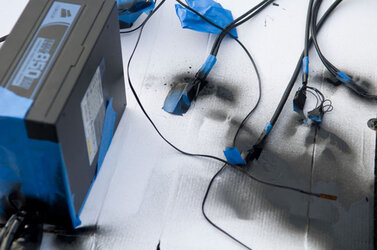
After reading Dangals' cable sleeving thread I was dreading getting the project started. I have to say, other than removing PCI-e pins, everything was pretty easy. The main 24 pin proved to be much easier for some reason. Only problem is I couldnt get the heatshrink flush against the base of the wiring near the power supply, so I later used Duplicolor acrylic dye on the parts showing. I bought it at a small, local auto parts store.

It's never good when the FIRST attempt at pulling a pin out ends in the wire being detached from the pin. Was able to recrimp with some needle hose pliers, but later had to solder it since it pulled out again.
826401933_ZGRLN-L.jpg 826401945_5E9Zq-L.jpg

Digging the purple thimble?! Nevertheless, it helped a ton. :thup:
826401958_N8orN-L.jpg 826401971_n5YEw-L.jpg 826402305_isuHq-L.jpg 826402316_WgcEX-L.jpg
 
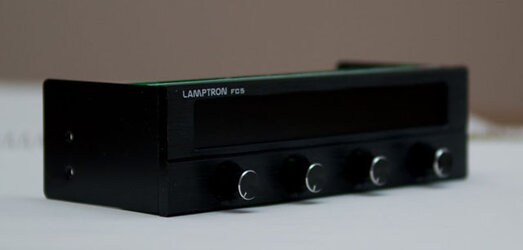
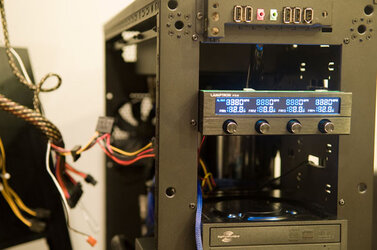
I wanted each rad to be on its own channel, one of the few fan controllers that I found can handle that is the Lamptron FC-5 fan controller]Lamptron FC-5[/url], which also had quite a few color options. However, not many of them look good and are too backlit. Red and the "white" which is actually bright blue, are the only two I liked and that were easy to read. Of those two, only the red was viewable at the angle from my seat to the box. Blue and black theme with a red fan controller; functionality > visual pleasure....sometimes.
826401824_kgbxe-L.jpg

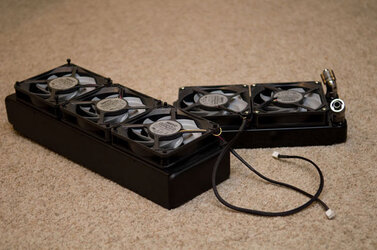
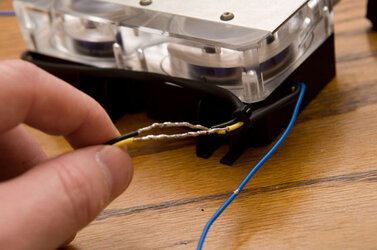
Here are the rads soldered and sleeved for one channel. I just tied each fan to the next and only used one yellow wire for the RPM readings. Work fine so far and those GT 1450s are QUIET!! I am a bit unhappy with the wires showing at the tops of the fans at near the edge, but I didnt have my dye yet and the rads were installed by the time I bought it.
826402085_TvjY2-L.jpg

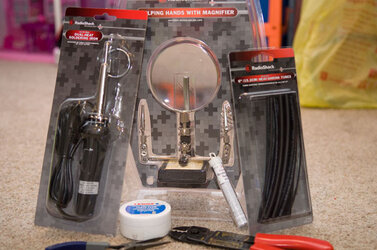
I bought my solder stand at radioshack, but one can also be bought here. Highly recommended!
826402072_pJgGM-L.jpg
I used .032mm dia - rosin core solder and watched a few videos online, as it was my first attempt at doing something so small.

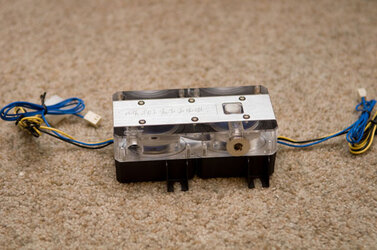
Since I already had 2 pumps because my initial design was going to be a dual loop setup, I decided to go with a dual pump acrylic top [xspc was sold out, so I went with a HK watercool top.
826402153_cyttK-L.jpg 826402166_KFGxp-L.jpg

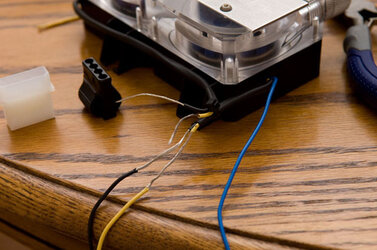
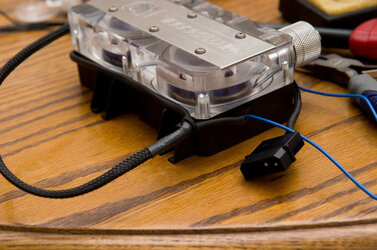
Some pics showing the soldering and sleeving of the two pumps.
826402203_Pv34M-L.jpg
826402213_krcYn-L.jpg
826402223_ZuevS-L.jpg
Blue wires were left out because I was unsure how I was going to use them, since they report RPM info to the mobo. I decided to just tuck and heatshrink them behind the case in case I want to use them in the future.
 
Last edited:
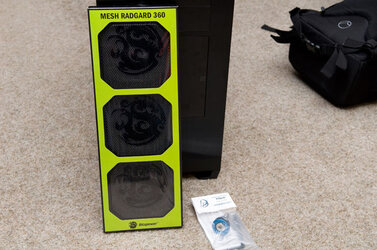
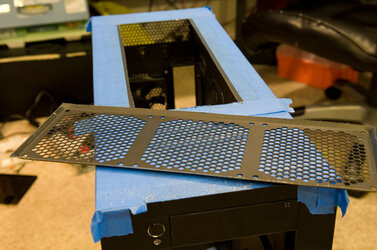
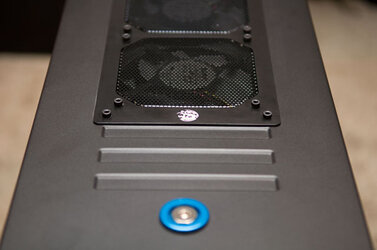
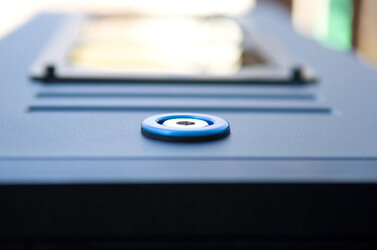
Decided to go with a Meshguard on top while I waited on some other pieces to come in and added a fill port. 826401980_z49qm-L.jpg

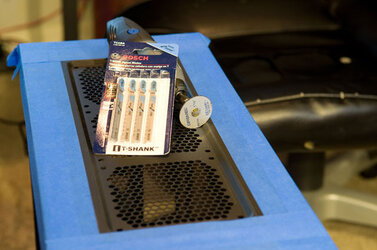
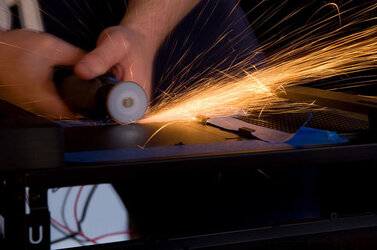
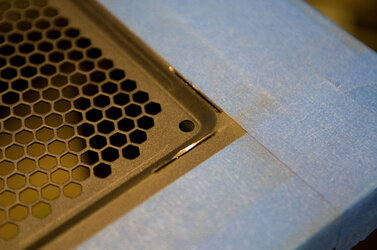
Marked off, taped up and ready to cut. Started edges with dremel, finished with a jigsaw.
826402013_PJiPa-L.jpg 826401803_7owsL-L.jpg 826402028_R8g2W-L.jpg 826402036_qU8As-L.jpg

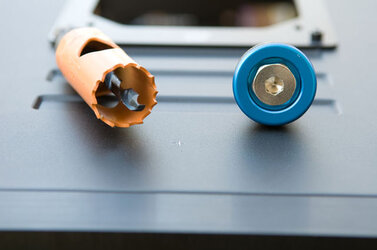
Inch hole saw.
826402047_sKiEi-L.jpg

Finished and installed...
826402094_Ktaf3-L.jpg 826402061_GzXQL-L.jpg
 
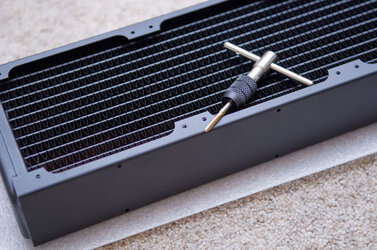
Tapping the Thermochill rad with a 6-32 tap [bought at Lowes]. This was before I bought the mesh guard, which came with M4 screws...just slightly larger than 6-32 which caused me some major issues while installing [mainly ripping my hands up while 'tapping' with the socket cap screws]. Note to the wise, proper tool for the job...bought a M4 tap to install the cylinder at a later date and it would have made my job easier 10 fold on the radiator had I bought it eariler. 826401906_JFLXW-L.jpg

Top rad installed.
826402125_JPjHj-L.jpg

Note! have an extra set of hands if you are installing a top rad in a pull config! between the screw holes being slightly too small and the single fan gaskets that come with the mesh guard, this install took me about 4 hours to do. Get one side in, one of the 3 gaskets folds off a screw, get another in, a fan pops off...then again, goes back to the screw holes being a bit too small, so I deserved it.
 
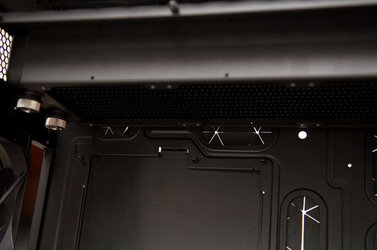
Just hit me I didnt take any pics of the bottom rad install. Nothing new there though, was a step by step follow through of Mr Armageddon's directions.

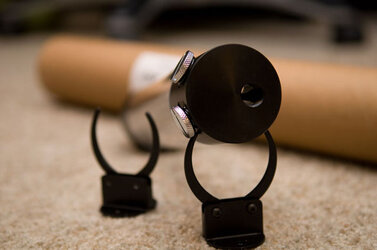
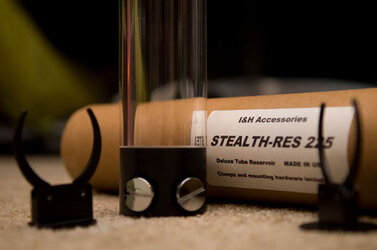
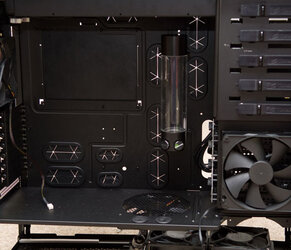
Next up was the fitting of the of the iandh 225ml reservoir. 826402146_6VwuG-L.jpg 826402137_LJ2jn-L.jpg

Used the M4 drill tap to get the placement of the clamps right.
826402181_SGpTt-L.jpg

It's a beaut, this res. Just a note to those buying one...careful with the clamps on the clear acrylic, they will mark it up if you aren't gentle, which I am not.
 
Slowly but surely I started to move the parts into the case for placement. I was having issues trying to come up with the pump placement and making it LOOK nice instead of just functional....
826402235_dQiEN-L.jpg

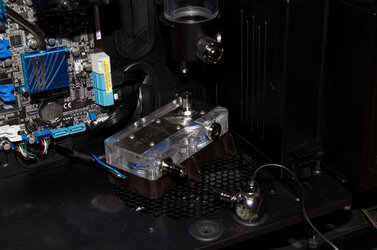
As you can see, I had quite the tight angle from the pump out to the holes going to the bottom rad.
826402242_9gJiR-L.jpg
For a bit, I was trying to NOT buy any more fittings and work with what I had, but it just wasn't working out that way.

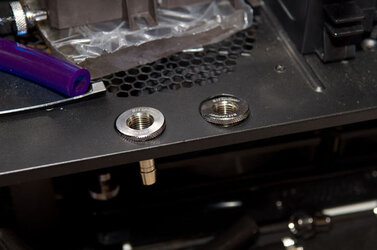
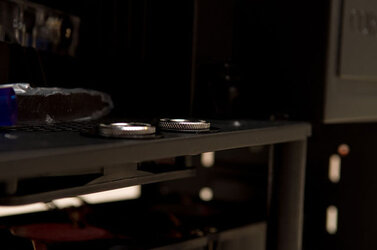
Since the space was so tight, I decided to install some through holes. Of course, they didn't fit though...
826402342_oSQKK-L.jpg

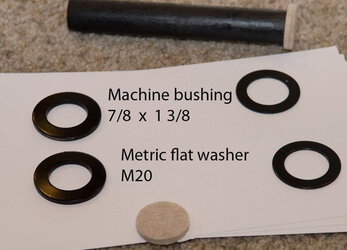
After some digging around at the locak hardware store, I found washers that fit. They are almost the same size, both fit but the store only had 2 of bushings, so that's why I had to find the metric washer as well.
826402350_xVuem-L.jpg

Painted black and installed...almost ran into an issue with the fan under the pump but I was able to squeeeeze it in, as you can see the fan edge bend a bit. The stick is just 1/2" wood to support where the bottom hard drive cage was.

826402386_B8Enw-L.jpg h 826402361_Mmani-L.jpg
826402469_w6QHy-L.jpg

Initial placement of the killcoil, but as you will see....it slides down the fitting/tube later.
826402498_QMHQg-L.jpg
 
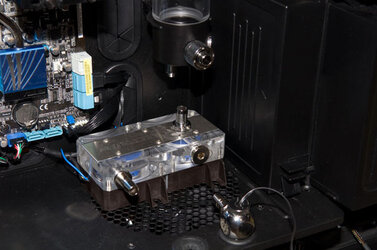
Was time to attach the water blocks. Decided to use some MX-3 instead of the usual AC5 I use and have no complaints at all, so far. We'll see if it dries out like AC does over time... 826402498_QMHQg-L.jpg

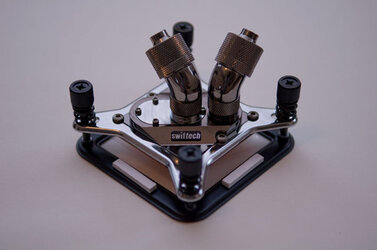
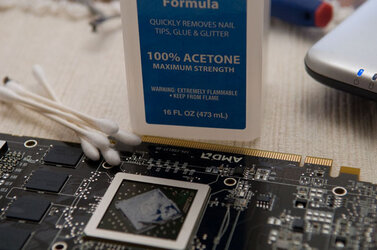
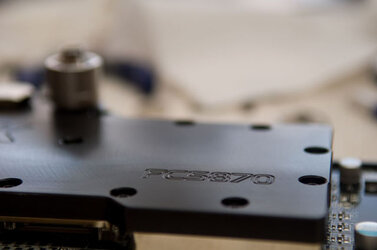
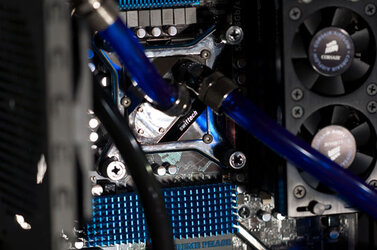
Installing the EK 5870 waterblock....100% acetone to remove the stock gunk from the cpu/gpu.
826401864_7tTab-L.jpg 826401836_UsymL-L.jpg
826402262_M6LnK-L.jpg 826402286_AP29E-L.jpg


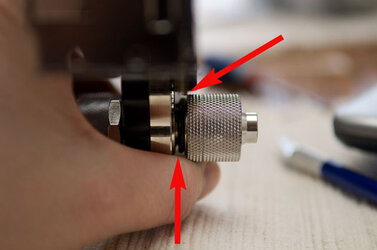
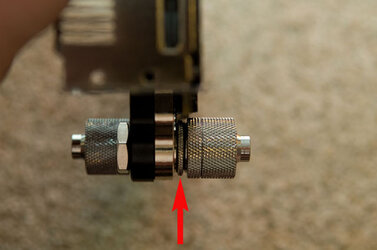
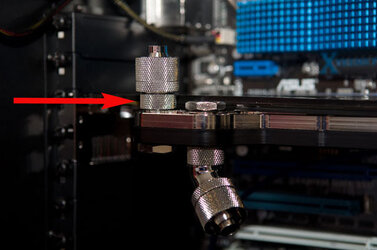
Of course I ran into another spacing issue. The compression fitting was hitting against the graphics card and couldnt be tightened all the way. I remember reading a post somewhere and the guy bought a minispacer to fill the gap...as you can see, that didnt work for me either and had to use an extender.
826402298_TX6Lf-L.jpg 826402325_LTgYe-L.jpg

Problem solved!
826402397_Q9o3j-L.jpg
 
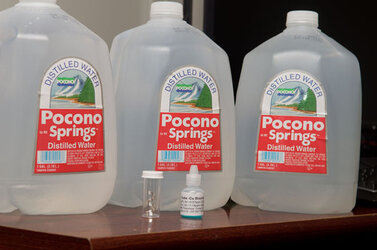
Distilled water, silver kill coil and PT nuke laying in wait...
826402488_EUcZa-L.jpg

Yes, bought way too much water, only needed half a gallon but can never have enough I suppose.
 
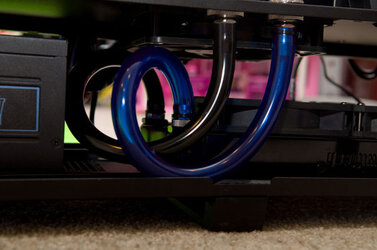
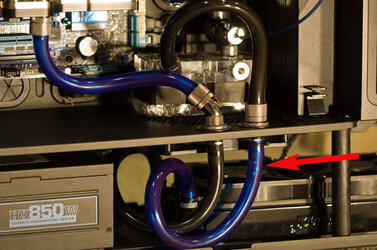
On the bottom rad, I went with stubby fittings because every mm of flexibility was needed. It was important for me to keep the 140mm fan blowing on the pumps, so spacing was tight. As you can see, it worked out pretty well.

826402407_iuDtg-L.jpg

shall be back later to finish the post off.
 
Testing the fan controller with a jumped, 2nd power supply.

826402551_wGF2S-L.jpg

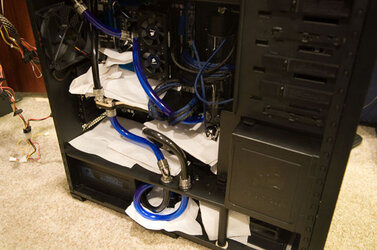
All ready for the leak test.

826402576_MSm7R-L.jpg 826402598_hBJNU-L.jpg 826402612_La3yr-L.jpg

5 hours later...no problems. Thankfully.
 
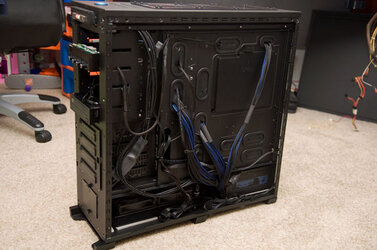
Cable management behind the case. Didn't do as good as a job as I would have liked, but compared to my old builds, this is a gem.

826402567_Eex7Z-L.jpg

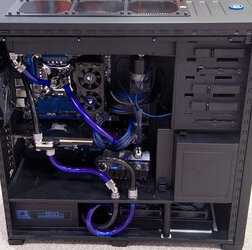
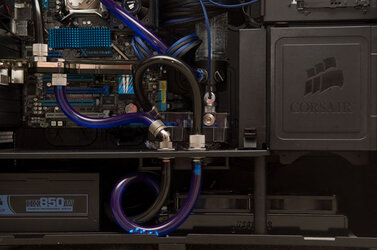
Final, full shot of the build. Here you can see where the silver coil wound up. Not a big issue, but quite amusing it weaseled it's way down there. Guess with 2 355s pushing the water, it didn't stand a chance where it was.
826402623_79NcW-L.jpg

Close up.
826402638_xN3wV-L.jpg

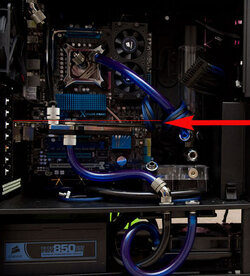
I cut another support that I will be putting under the video card. Not happy at all with it's "sag".
826402419_n2DCM-L.jpg

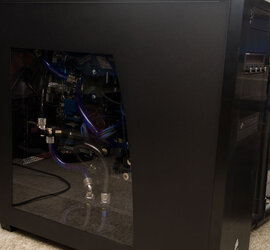
With the side panel on.
826402653_cZyD5-L.jpg
 
Last edited:
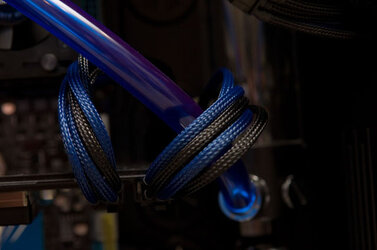
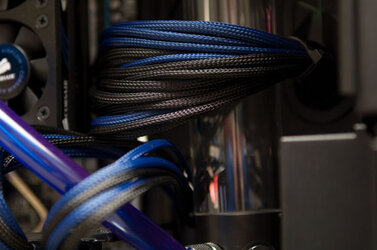
A few random shots of the sleeving and system...

826402432_H8t6e-L.jpg 826402448_GyMkw-L.jpg

Here you can see the killcoil slipping into the tubing.
Also a shot of the fittings between the pump and reservoir, although its not a great shot. 826402529_adh42-L.jpg

GPU block..
826402543_jPDEN-L.jpg

826402469_w6QHy-L.jpg 826402521_orxHo-L.jpg
 
So, that's it.

A few thoughts about my first build...

I didn't plan nearly enough, despite Con's advice, and I paid for it, in time...and mainly in the wallet [because of all the shipping and handling]. Next build will be planned out to the millimeter by part , case, fitting. Hell, half the fun in it all was the buying and trying of all the parts.

Even though I ordered a few LED lights to put in, I didn't do so yet. Mainly got to the point where I wanted to get the computer up and running, stable, at stock speed before doing anything fancy. Ill be venturing in to put the video card support in soon and might see if the lights are worth doing. Unfortunately, the case is sitting between my desk side and a wall, so the side can't be seen anyway.

All in all everything went pretty well, and the few snags I came across, weren't a huge issue in the long run.

Thanks for checking out the wall of text and images...hopefully it didn't bog people down too much in load times and someone gets something from the thread. I tried to link as much as possible so people could bookmark this and use it as a reference [like i did to MANY other threads] when need be.

Any comments or questions just throw them up in the thread.

Thanks.

G
 
Amazing Job , very clean looking .
I never have the time to do what you have done .

Do people stare are your computer ? only half the ppl have the guts to say WTF is that thing ? Why is there a raditor on your computer
 
Back