• Welcome to Overclockers Forums! Join us to reply in threads, receive reduced ads, and to customize your site experience!

Lian-Li X1000 Watercooling Project (lotsa pics)

Overclockers is supported by our readers. When you click a link to make a purchase, we may earn a commission. Learn More.

JudgeDredd

Member
Joined
Apr 25, 2002
Location
Austin, Texas
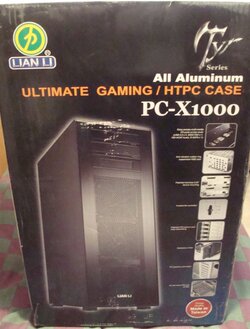
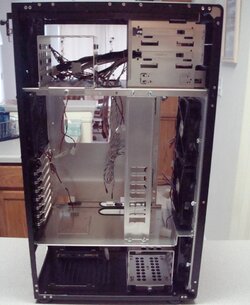
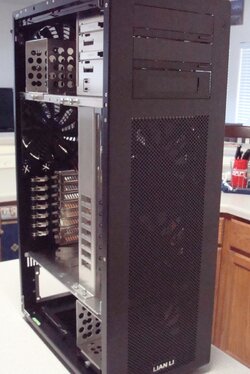
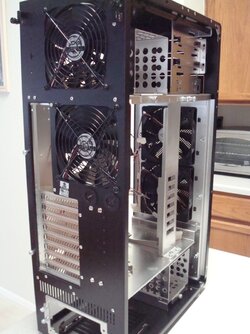
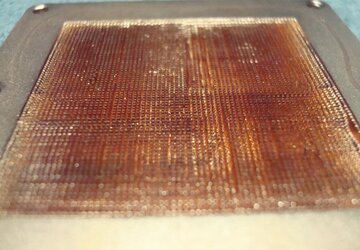
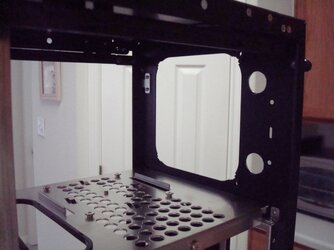
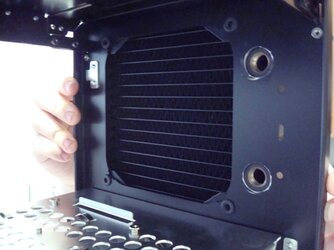
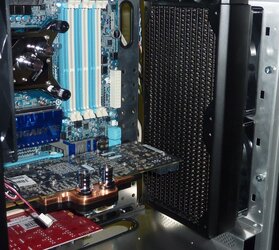
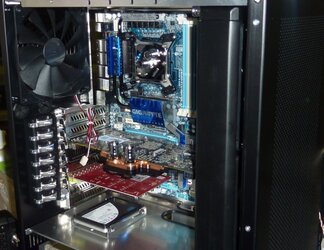
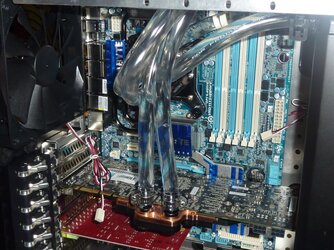
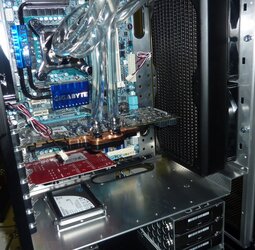
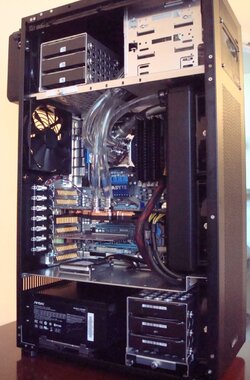
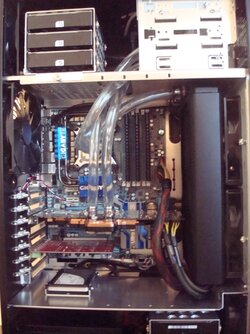
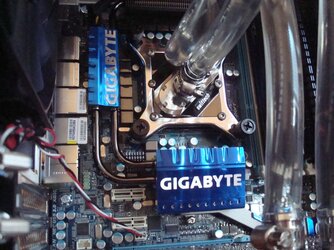
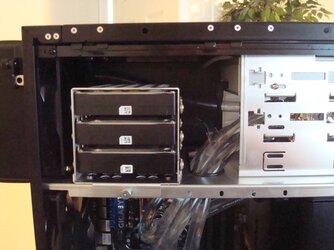
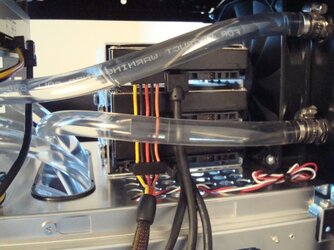
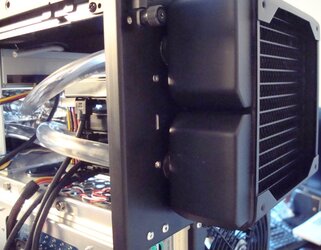
Hey all, just wanted to show off a simple watercooling project I completed this past weekend. I Upgraded to a Core i7 and at the same time got a new case, so along with it I had to redo my watercooling. My previous two watercooled cases were a Lian Li A77 and a G70 before that. Both were single loop with a Thermochill 120.3, EK Tube Res, MCP655, and varying CPU/GPU waterblocks. The new setup will be dual independent loops. The new setup is pretty tight in the Lian Li X1000, as it's not exactly made for watercooling. With the 140mm fans, seperated cooling zones, and generally space efficient nature, this is probably one of the best cases for air cooling, but I wanted to watercool it anyway. I also wont be using any dyes in this project, firstly for a modding theme I will be doing later, but lastly because of some nastiness I found in my old waterblock (I'll show some pictures in another thread.)

The new watercooling components:
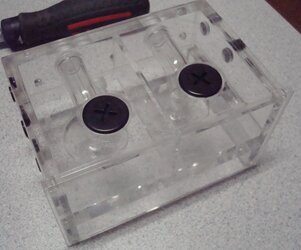
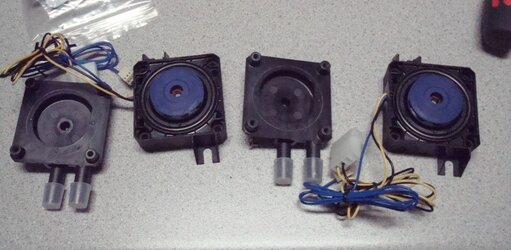
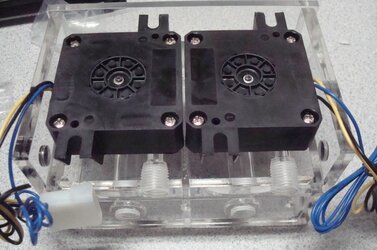
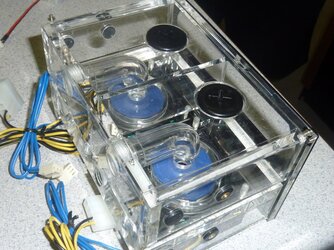
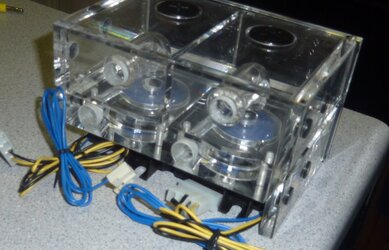
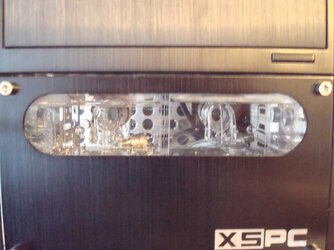
-XSPC Dual Laing DDC BayRes
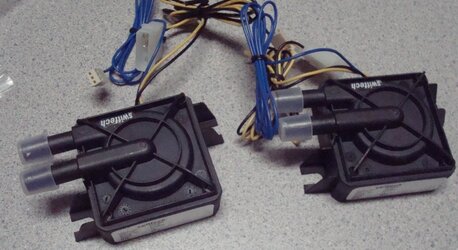
-2x MCP355
-Black Ice 140.2 (cpu loop)
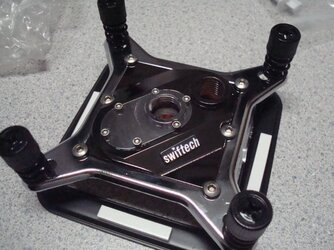
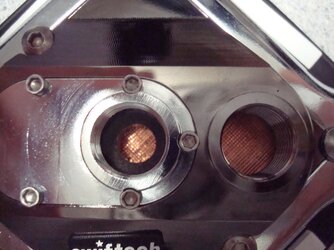
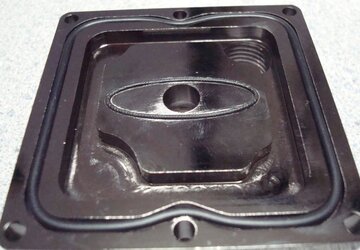
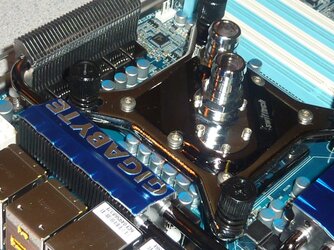
-Swiftech Apogee XT
-Black Ice 140.1 (gpu loop)

The new computer parts:
Lian Li X1000
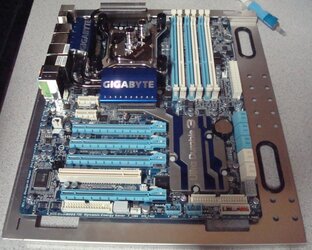
Gigabyte X58A-UD5 (Socket 1366)
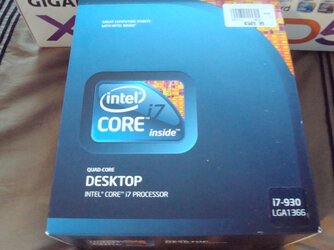
Intel Core i7-930 (2.8 GHz)
G.Skill DDR3-1600 3x2GB

The carried over parts:
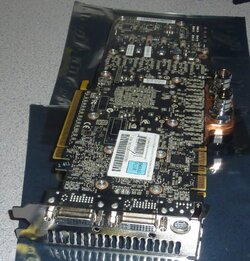
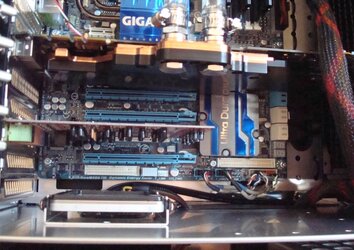
EVGA GTX 260 w/ EK Full Cover Waterblock (soon to be upgraded to GTX 470 hopefully)
bluegears bEnspirer Sound Card
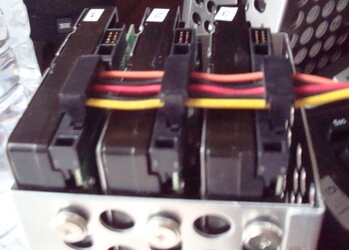
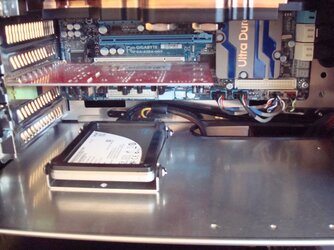
Intel G2 80GB SSD
Samsung 1.5TB HDD x 3
WD Cavier Black 1TB x 3
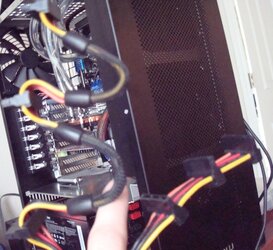
Antec Signature 850Watt PSU

Component pictures are below, assembly pictures with comments are after!
 

Attachments

  • 1.jpg
    1.jpg
    184.5 KB · Views: 1,243
  • 2.jpg
    2.jpg
    100.3 KB · Views: 1,188
  • 3.jpg
    3.jpg
    88.6 KB · Views: 1,171
  • 4.jpg
    4.jpg
    162.1 KB · Views: 1,176
  • 5.jpg
    5.jpg
    205.8 KB · Views: 1,181
...
 

Attachments

  • 6.jpg
    6.jpg
    188.4 KB · Views: 1,148
  • 7.jpg
    7.jpg
    178 KB · Views: 1,158
  • 8.jpg
    8.jpg
    93.6 KB · Views: 1,146
  • 9.jpg
    9.jpg
    117.8 KB · Views: 1,132
  • 10.jpg
    10.jpg
    123.2 KB · Views: 1,124
And more...
 

Attachments

  • 10a.jpg
    10a.jpg
    105.8 KB · Views: 1,123
  • 11.jpg
    11.jpg
    116.1 KB · Views: 1,117
  • 12.jpg
    12.jpg
    99.5 KB · Views: 1,117
  • 13.jpg
    13.jpg
    94.8 KB · Views: 1,108
  • 14.jpg
    14.jpg
    202.9 KB · Views: 1,102
This will be the least amount of modding I've done on a case in a long time, as the two previous cases I had to mod for the radiator fans. Before, after, and the plan.
 

Attachments

  • 20.jpg
    20.jpg
    108.5 KB · Views: 1,102
  • 21.jpg
    21.jpg
    78.6 KB · Views: 1,107
  • 22.jpg
    22.jpg
    85.1 KB · Views: 1,099
Pump tops removed and mounted on the reservoir.
 

Attachments

  • 30.jpg
    30.jpg
    86.7 KB · Views: 1,094
  • 31.jpg
    31.jpg
    105 KB · Views: 1,087
  • 33.jpg
    33.jpg
    75.4 KB · Views: 1,078
  • 34.jpg
    34.jpg
    145.8 KB · Views: 1,092
  • 35.jpg
    35.jpg
    93.9 KB · Views: 1,087
Motherboard components assembled, mounted. If you look closely in the second picture you can see where I forgot to remove the plastic from the bottom of the waterblock. Fortunately it's one of the things I check before I boot up for the first time, and I caught it.
 

Attachments

  • 40.jpg
    40.jpg
    158.5 KB · Views: 1,090
  • 41.jpg
    41.jpg
    151.3 KB · Views: 1,081
  • 42.jpg
    42.jpg
    186.5 KB · Views: 1,078
  • 43.jpg
    43.jpg
    131.1 KB · Views: 1,191
Tubes! Everywhere!
 

Attachments

  • 50.jpg
    50.jpg
    166.3 KB · Views: 1,077
  • 51.jpg
    51.jpg
    120.5 KB · Views: 1,078
  • 52.jpg
    52.jpg
    129.7 KB · Views: 1,088
  • 53.jpg
    53.jpg
    211.5 KB · Views: 1,133
A little wire modding was in order. The power connectors were too spaced out and the hard drives too close. I've done this type of wire modding before, and it really cleans it up.

I also ordered some nice rounded SATA3.0 cables to replace the flat ones that I've come to hate for wire routing. The heads turned out to be too thick for the stacked 90 degree connectors on my motherboard. So out with the razor and they lost a little weight.
 

Attachments

  • 60.jpg
    60.jpg
    147.3 KB · Views: 1,060
  • 61.jpg
    61.jpg
    92.6 KB · Views: 1,056
  • 62.jpg
    62.jpg
    78.6 KB · Views: 1,055
All done... for now...
 

Attachments

  • 70.jpg
    70.jpg
    243.2 KB · Views: 1,071
  • 70a.jpg
    70a.jpg
    204.5 KB · Views: 1,053
  • 71.jpg
    71.jpg
    121.5 KB · Views: 1,048
  • 72.jpg
    72.jpg
    128.7 KB · Views: 1,031
  • 72a.jpg
    72a.jpg
    117.3 KB · Views: 1,044
Some more...
 

Attachments

  • 73.jpg
    73.jpg
    142.6 KB · Views: 1,044
  • 74.jpg
    74.jpg
    133.9 KB · Views: 1,038
  • 75.jpg
    75.jpg
    94.4 KB · Views: 1,034
  • 76.jpg
    76.jpg
    108.4 KB · Views: 1,038
  • 77.jpg
    77.jpg
    111.7 KB · Views: 1,035
To Do:
-Mesh fingerguard for the back of the 140.1 radiator
-Overclocking my i7-930!
-Custom window and etching mod
-Lighting
-Speed Control the pumps

Thanks for checking out my project! :salute:
 

Attachments

  • 78.jpg
    78.jpg
    87.8 KB · Views: 1,037
  • 79.jpg
    79.jpg
    132.9 KB · Views: 1,027
This will be the least amount of modding I've done on a case in a long time, as the two previous cases I had to mod for the radiator fans. Before, after, and the plan.

Cutting out holes for the fittings and mounting the rad on the outside is genius. Might have to steal your idea next time I build a rig.
 
Cutting out holes for the fittings and mounting the rad on the outside is genius. Might have to steal your idea next time I build a rig.

Thanks! It helps if the radiator is nicely painted and all, and once I get the mesh made for the back it'll look even nicer.
 
Back