- Joined
- Jan 6, 2003
- Location
- I can see walmart, 44906
EDIT: the pics aren't available, the webserver they were on was destroyed in a flood. google for shelby ohio flood and you should find some info on it.
edit 8-22-2016 I found an old hard drive with a broken SATA connector. So naturally I soldered a cable onto the board and plugged it in to see what goodies I'd find on it, and within that treasure trove was all of these pictures. So I have uploaded them to photobucket and am fixing the links here.
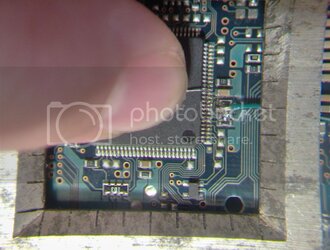
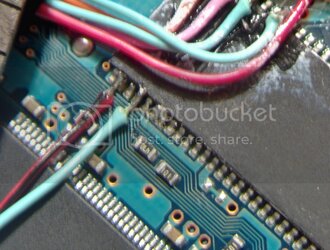
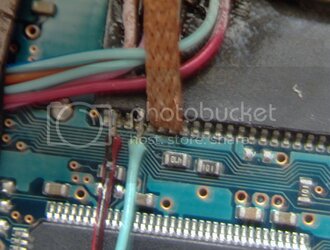
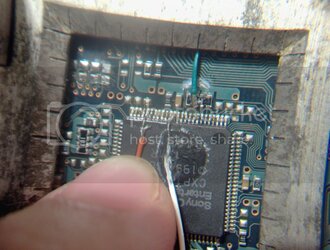
I've been doing a bit of soldering to TINY components lately, and I took a few pics of it and hope to offer a guide that you guys can follow. The pics aren't of Vmods, but similarly small, if not smaller, components.
A HUGE thanks goes to johan851 for his help in correcting my grammar, punctuation, capitalization, and spelling.
Preparation:
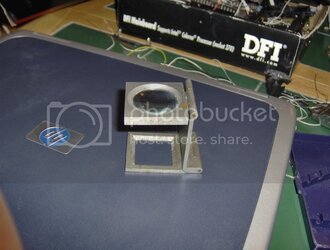
First, you'll want to get together all of the supplies you'll need. In my opinion, the most important tool you'll use is a magnifying glass. I have one from my dad that folds up and is like an inch and a half square, and unfolds to stand itself up at about an inch and a half high. One great thing about it is that my camera's lense fits right up against it, and it actually takes good pics (which inspired me to write this guide!).
Next is the soldering iron. For this I used a Radioshack dual 15/30 watt iron. You can make a 30 watt iron into a 15 the same way RS does it by sticking a diode in one of the 110V lines. The switch just bypasses the diode. I used the tip as it came out of the box, didn't even have to file it to a better point or anything.
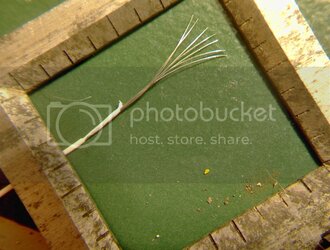
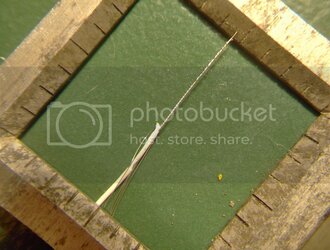
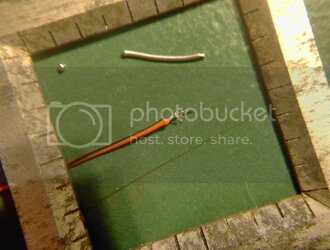
Solder, wire, desoldering braid. I have a roll of solder that is quite old, it's a pretty fine diameter, and I dont know what mix it is. All I know is that it is small and has rosin flux in it. I sacrificed one of my rounded IDE cables that I got from Newegg a couple years ago. It has some nice fine wires, and they are all free from each other. I bought a roll of desoldering braid from RadioShack (referred to as RS from now on) and it's serving me pretty well. I also have handy a RS desoldering iron, but its only good for big things. Another handy thing to have around is super glue or hot glue for a less permanent mod. If you have it, flash tac or another super glue accelerator is suggested.
Now is a good time to prepare yourself. Work in a well-lit, clean environment; I chose my kitchen table. I noticed that when making connections at 6 PM as opposed to 6 AM the next morning, I had much more success on the first shot, obviously because I was tired and running on BAWLS. My back was sore from hunching over for the last 12 hours and my eyes were burning from being tired and from superglue fumes....so basically be in a good mood, not tired or anything. I forgot to add, If you're fat like me, it makes a huge difference in comfort to take off your belt. Might as well take the keys and wireless card out of your pockets while you're at it.
Get your stuff out and handy, and get the board or whatever out of the case and cleaned up of dust and whatnot. Get the iron in a conveniently reachable spot, preferably sitting on its stand or in its holder if it's a station, plug it in and get it heated and tinned, and clean the tip with the damp sponge that I didn't mention up in the supplies list. I position the board i was soldering with the region I was soldering facing either away from me or to my right. This way I can use my left hand to hold the wire in place and hold the iron in my right. Have solder, your magnifier, and everything else in convenient reach.
Now to the actual soldering.
edit 8-22-2016 I found an old hard drive with a broken SATA connector. So naturally I soldered a cable onto the board and plugged it in to see what goodies I'd find on it, and within that treasure trove was all of these pictures. So I have uploaded them to photobucket and am fixing the links here.
I've been doing a bit of soldering to TINY components lately, and I took a few pics of it and hope to offer a guide that you guys can follow. The pics aren't of Vmods, but similarly small, if not smaller, components.
A HUGE thanks goes to johan851 for his help in correcting my grammar, punctuation, capitalization, and spelling.
Preparation:
First, you'll want to get together all of the supplies you'll need. In my opinion, the most important tool you'll use is a magnifying glass. I have one from my dad that folds up and is like an inch and a half square, and unfolds to stand itself up at about an inch and a half high. One great thing about it is that my camera's lense fits right up against it, and it actually takes good pics (which inspired me to write this guide!).
Next is the soldering iron. For this I used a Radioshack dual 15/30 watt iron. You can make a 30 watt iron into a 15 the same way RS does it by sticking a diode in one of the 110V lines. The switch just bypasses the diode. I used the tip as it came out of the box, didn't even have to file it to a better point or anything.
Solder, wire, desoldering braid. I have a roll of solder that is quite old, it's a pretty fine diameter, and I dont know what mix it is. All I know is that it is small and has rosin flux in it. I sacrificed one of my rounded IDE cables that I got from Newegg a couple years ago. It has some nice fine wires, and they are all free from each other. I bought a roll of desoldering braid
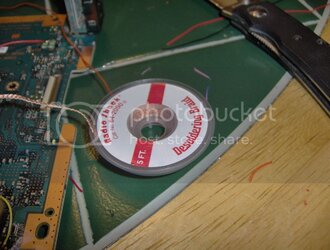 from RadioShack (referred to as RS from now on) and it's serving me pretty well. I also have handy a RS desoldering iron, but its only good for big things. Another handy thing to have around is super glue or hot glue for a less permanent mod. If you have it, flash tac or another super glue accelerator is suggested.
Now is a good time to prepare yourself. Work in a well-lit, clean environment; I chose my kitchen table. I noticed that when making connections at 6 PM as opposed to 6 AM the next morning, I had much more success on the first shot, obviously because I was tired and running on BAWLS. My back was sore from hunching over for the last 12 hours and my eyes were burning from being tired and from superglue fumes....so basically be in a good mood, not tired or anything. I forgot to add, If you're fat like me, it makes a huge difference in comfort to take off your belt. Might as well take the keys and wireless card out of your pockets while you're at it.
Get your stuff out and handy, and get the board or whatever out of the case and cleaned up of dust and whatnot. Get the iron in a conveniently reachable spot, preferably sitting on its stand or in its holder if it's a station, plug it in and get it heated and tinned, and clean the tip with the damp sponge that I didn't mention up in the supplies list. I position the board i was soldering with the region I was soldering facing either away from me or to my right. This way I can use my left hand to hold the wire in place and hold the iron in my right. Have solder, your magnifier, and everything else in convenient reach.
Now to the actual soldering.
Last edited:
