- Joined
- Oct 9, 2001
- Location
- Dundalk, Ireland
This is a post over on Hardforum, made by saltiness.
Can't believe it hasn't popped up over here yet.
2005fpw backlight bleeding fix:
"I found out about this from this french forum. It involves fixing or at least greatly reducing backlight bleed on the Dell 2005FPW. I decided to give it a shot as soon as my monitor arrived today. Mine had moderate backlight bleed, honestly it doesn't even bother me but I figured I might as well try and fix it...
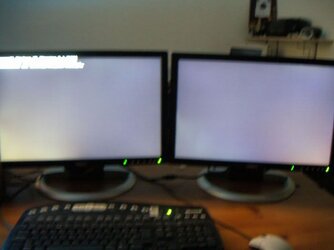
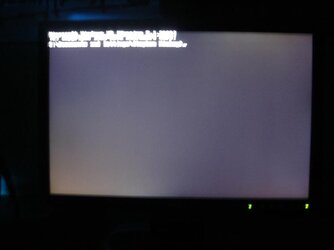
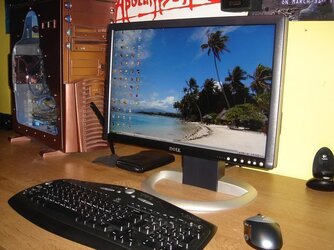
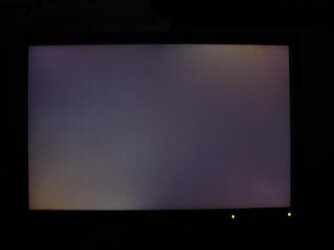
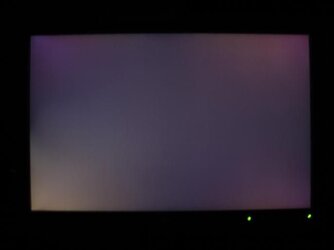
Here are before and after shots - as you can see the bleeding is reduced a lot, although I think I could get rid of it almost completely if I went back and used more electrical tape but the monitor is kind of a pain in the butt to dismantle. (It most likely will void your warranty as well)
Before

After

Here's how I did it.
First, take the monitor off the stand and remove the 4 black screws on the VESA mount.

Next, here's the icky part - you must pop off the front bezel. It's held on by plastic clips. The easiest way to do this that I could find was to go in through the slits on the bottom of the monitor frame. Use one or two thin flathead screwdrivers. Start by prying into the slit and go inward toward the middle of the monitor to get the first clip undone. Basically once you get one clip undone you can just slide the screwdriver around the edge of the frame and pop off all the others. Take care not to scratch the s**t out the frame as it is pretty weak plastic.

So now you have all the clips undone, flip the monitor over (oh yeah, it's good to lay a towel down so you don't muck up the screen) and pull off the back - it should come off effortlessly.

Remove this little piece of metal covering some plugs. It pops off easily.

Here are the previously mentioned plugs, the french website called them neon connectors, I honestly don't know what the hell they are for but unplug them anyways so you can get the steel panel off.

Another icky part - carefully pull the circuitry off the front bezel. It's glued on but comes off relatively easily - just don't bend it too much. And don't worry - it sticks right back on.

Remove the 4 screws at each corner on the sides of the LCD panel. This will allow you to take off the steel apparatus that holds all the circuit boards.

As you're taking the steel apparatus off, unplug this little guy under it. Squeeze the metal clips on the sides to get it off. It's nice to have a friend or roommate to hold the steel part while you do this but it can be done alone.

Can't believe it hasn't popped up over here yet.
2005fpw backlight bleeding fix:
"I found out about this from this french forum. It involves fixing or at least greatly reducing backlight bleed on the Dell 2005FPW. I decided to give it a shot as soon as my monitor arrived today. Mine had moderate backlight bleed, honestly it doesn't even bother me but I figured I might as well try and fix it...
Here are before and after shots - as you can see the bleeding is reduced a lot, although I think I could get rid of it almost completely if I went back and used more electrical tape but the monitor is kind of a pain in the butt to dismantle. (It most likely will void your warranty as well)
Before

After

Here's how I did it.
First, take the monitor off the stand and remove the 4 black screws on the VESA mount.

Next, here's the icky part - you must pop off the front bezel. It's held on by plastic clips. The easiest way to do this that I could find was to go in through the slits on the bottom of the monitor frame. Use one or two thin flathead screwdrivers. Start by prying into the slit and go inward toward the middle of the monitor to get the first clip undone. Basically once you get one clip undone you can just slide the screwdriver around the edge of the frame and pop off all the others. Take care not to scratch the s**t out the frame as it is pretty weak plastic.

So now you have all the clips undone, flip the monitor over (oh yeah, it's good to lay a towel down so you don't muck up the screen) and pull off the back - it should come off effortlessly.

Remove this little piece of metal covering some plugs. It pops off easily.

Here are the previously mentioned plugs, the french website called them neon connectors, I honestly don't know what the hell they are for but unplug them anyways so you can get the steel panel off.

Another icky part - carefully pull the circuitry off the front bezel. It's glued on but comes off relatively easily - just don't bend it too much. And don't worry - it sticks right back on.

Remove the 4 screws at each corner on the sides of the LCD panel. This will allow you to take off the steel apparatus that holds all the circuit boards.

As you're taking the steel apparatus off, unplug this little guy under it. Squeeze the metal clips on the sides to get it off. It's nice to have a friend or roommate to hold the steel part while you do this but it can be done alone.


