• Welcome to Overclockers Forums! Join us to reply in threads, receive reduced ads, and to customize your site experience!

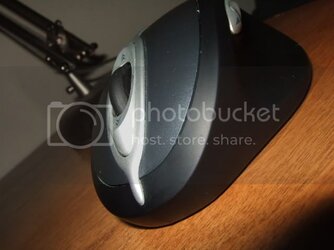
MX1000, looking for a shine, but love the stock color

Overclockers is supported by our readers. When you click a link to make a purchase, we may earn a commission. Learn More.

@md0Cer

Senior Member
Joined
Nov 6, 2003
Location
Denver, CO
I did some searching and found tons of people who have completely repainted their Logitech mice and other mice, but I am wondering about making the stock paint nice and glossy.

I am not very experienced with painting at all, so what would I use? Would it be as simple as just putting some clear coat on top of the stock paint? Unlike some of the other mice, the MX1000's paint isn't very glossy at all.
 
ilikepie said:
The newer version of the mx1000 has a glossy coat

Mine looks like this except a little greyer a little more dull and with smaller battery LED's:

4782.jpg


So does anyone have any tips or know of any good beginners guides on this whole process? I don't think I have ever painted anything in my entire life short of painting the interior of my house, which is far far far from glossy. :p
 
well i would tape of the wheel and all the black on the sides.

then buy a spray paint of ur choice and a finishing gloss.

paynt the color then let is dry for a day or 2, then apply the finishing gloss

u should be able to get the gloss at a homedepot.

i was thinking of doing this my self as i have the same one u do and the

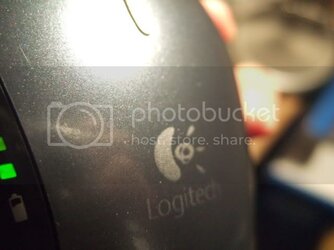
logitech logo is faiding from wear.
 
I guess you could get some of that automotive paint, that stuff finishes off with a really nice glossy shine. I cant think of the name but it spraypaint that u can find at any car parts store.
 
Don't mask anything off, you should be able to disassemble thatthing, and be able to seperate the painted part from the sides and whatnot.

Rub it down with either mineral spirits, or rubbing alcohol to clean it, and then you should just be able to use a Krylon or Dupli-Color(same company) clear coat on it.
 
sounds a little risky. i wouldnt do it for a few reasons

1) over time it would rub off only in some spots andlook sloppy
2) it wouldbe hard to cover the buttons and still give it an even finish
3)its just a mouse :)
 
Oh well, I took it apart anyway because the glue holding the battery came loose and the battery was rattling around inside anyway. I can't seperate the painted part though. I unscrewed all the screws and was able to pull it apart, except in the area by the side buttons something is still holding it. I don't know if I have to somehow take apart the side buttons and maybe there is a hidden screw under them? Anyone have an MX1000 and taken it apart before?

EDIT: Nevermind I got it, there is a quick release to easilly slide the controller card for the side buttons out and there is a screw hidden under those.
 
Last edited:
kiIIxthexIights said:
sounds a little risky. i wouldnt do it for a few reasons

1) over time it would rub off only in some spots andlook sloppy

Thats gonna be a big problem. I have some weird sweat that likes to strip the paint off all my stuff.
 
Ghost742 said:
well if u do paint it pleas post some pics

i mite want to do this to, got the same mous.


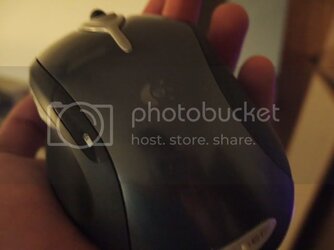
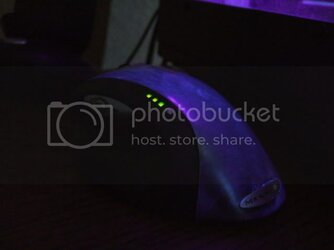
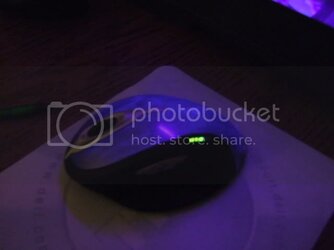
Already painted. I will try to get some pics up tonight once it gets dark and you can see the UV. :D


If you have the same mouse here are some tips:

-The two rear screws are underneath the two pads

-The front two are behind the lable. Just run your finger nail over it and you will find the indents. There is one indent by the bottom of the lable in the middle of the mouse, leave this one alone, it is just a hole.

- The bottom half clicks into the top half, so gently pry it apart. Don't force anything though because if it isn't going, something is wrong.

-Disconnect the battery cable, then take the battery tray out

-After this you have to take that controller for the side buttons out. It should work by pushing that tab back and just sliding it out. There is a black screw underneath that holds the painted plate on.

-After that side button controller is out, you should have the entire top half of the mouse apart from the other. Just disconnect the screws, gently lift a bit at the bottom, then push the mouse button things forward and up from underneath to get those out.
 
UHHH uv sounds awsome. btw i was looking at the botom of my mouse
to feel for those holes u were talking about, put my other thumb over the laser so it wouldnt damage my eyes and afer a few sec. i felt it burn me :eek:
like wen u put ur hand under a mangifingglass (spelld right??) .
so looking into one of these is realy a bad idea.
 
According to Logitech the lazer is safe for eyes and can't be modified to be unsafe. Either way I am paranoid and I just used the switch on the bottom and turned mine completely off. ;)

EDIT: I just tried to put my thumb over the lazer and made sure the mouse didn't shut off and I never felt anything. Then again, my hands are so torn up from fixing my Nissan I probably wouldn't feel it anyway.
 
Back