• Welcome to Overclockers Forums! Join us to reply in threads, receive reduced ads, and to customize your site experience!

The Console Project by Navig

Overclockers is supported by our readers. When you click a link to make a purchase, we may earn a commission. Learn More.
Some updates:

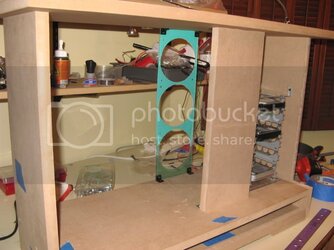
Fan intake column:
Fanintakemount.jpg


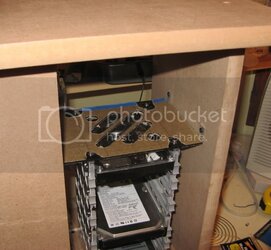
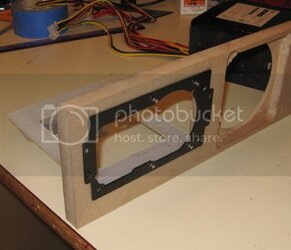
Mounted the hard drive cage rack:
Harddriveplate.jpg


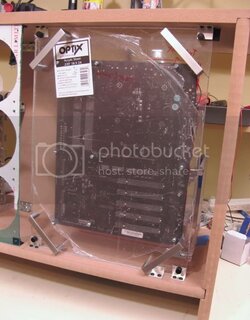
Motherboard tray:
Mobotray2.jpg


Here's how its coming:
Mobotray3.jpg
 
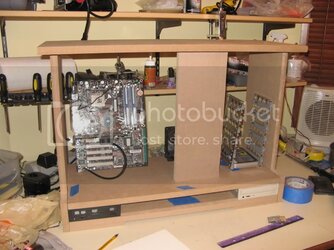
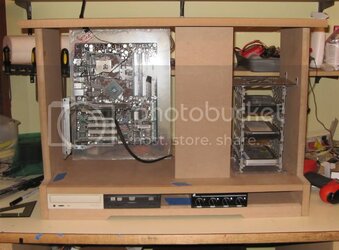
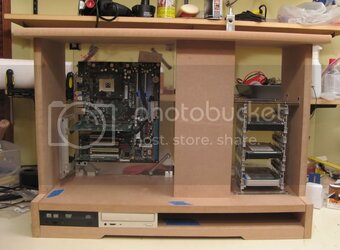
Motherboard tray is mounted:

Mobomounted1.jpg


Mobomounted2.jpg


Next I tried a little experimentation on junk board.


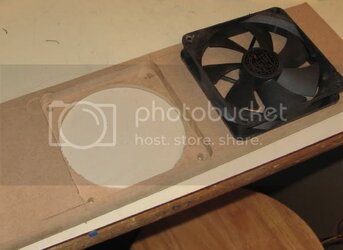
Planning on sinking my fans like so (mdf is 3/4in thick, routed down 1/2in depth):

Fanhole3.jpg


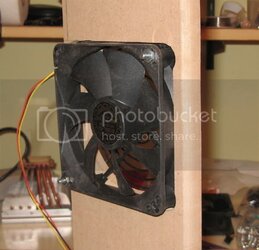
Looks like this mounted:

Fanhole4.jpg


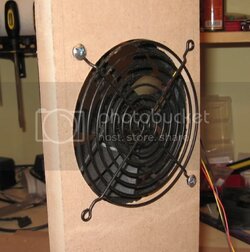
Fanhole5.jpg
 
i am liking it so far but two questions...

What are the handle looking pieces on the motherboard tray?
and what do you plan to use them for?
 
Just a suggestion, you should install the fans for your build with some type of rubber gasket to reduce the vibrations as they are in direct contact with the case...I mean console.
I think you have done a sweet job so far. Good Luck.
 
KaosInc. said:
Just a suggestion, you should install the fans for your build with some type of rubber gasket to reduce the vibrations as they are in direct contact with the case...I mean console.
I think you have done a sweet job so far. Good Luck.

i don't think it would effect his console because it is wood and not metal IMHO
 
Thanks for the comments.

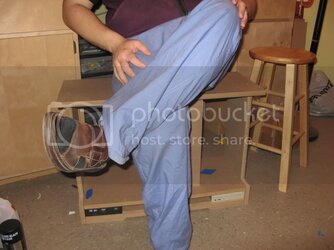
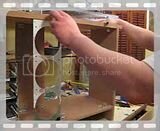
1) Handles on the mobo tray. They serve some purpose: for example see this little video of how to install the mobo tray:

th_Mobomounted.jpg

You can see how handles make this installation much easier.

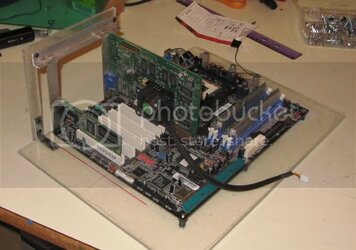
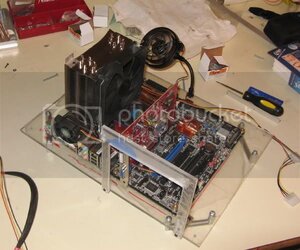
Not only that, I use the mobo tray alone as a benching station:

TR120openbench.jpg

So it needs something for feet.

But mostly I saw them at Target for wicked cheap and I thought they looked cool!


For the actual componentry...I don't know. My "brand" of modding is to build an actual real functioning case as if I were a 3rd party case maker--on crack. I look to inspiration from companies like Mountain Mods.

So, when I'm done building this case, I'll probably just chuck into it whatever components I've got at the time that look the best. I've currently got 4 systems running, and the components do move around a bit.

1) Benching station--e6600, AW9D-max, x1900xtx
2) Tower pc--Opty 175, DFI lanparty UTd, pci video card
3) Dual tower lubic build--e4300, IN9 32x, some low grade radeon ?X1350
4) Clearpc case--P4 3.2 prescott, P4C800e-d, x850xt


Why all the different systems? Benching station--my main gaming system. Tower pc--folding, dvd burning. Dual tower--platform on which I'm testing my Thermalright Ultra-120 eXtreme, folding. Clearpc case--wife's.


I'm not into one-off modding, with crazy motherboard modifying like soldering the connectors to the backside, or taking apart power supplies. I like building cases that get people saying, "I wish I could buy that case for my components".


I may violate this rule just a bit, because I may go watercooling with this project. I have some ideas for laying down clear pvc hard lines. We'll see.

navig
 
I'll add some update pics, since the abit forums seem to be down:

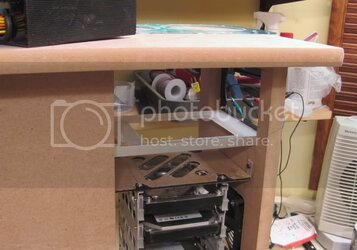
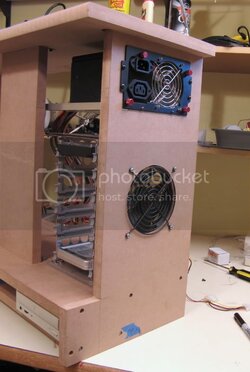
PSU rack:

PSUbracketinstalled.jpg


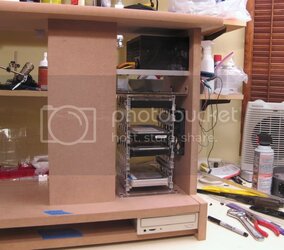
With PSU:

Psuinstalled.jpg

Also note the nice recessed fan!


PSUoutside.jpg


MDF is very solid and sound absorbing. I guess that's why its used a lot for speaker enclosures. I don't think rubber gaskets are necessary, but that sort of detail stuff I leave for the final build.
 
Back