• Welcome to Overclockers Forums! Join us to reply in threads, receive reduced ads, and to customize your site experience!

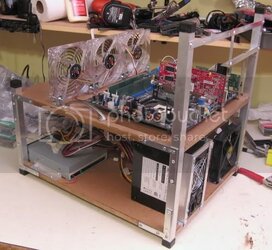
DIY Low Cost Benching Station

Overclockers is supported by our readers. When you click a link to make a purchase, we may earn a commission. Learn More.
Nice job on another DIY tech station like always Navig

You certainly make my DIY tech station looks like a peice of crap but then again I did use stuff I found in the garbage :-/

p1014848ey5.jpg

By ikikuinthenutz, shot with FE-140,X-725 at 2007-09-28
 
awesome station. i wish i had the skill and time to do this kinda thing.
 
Hi dipspit, I do have a thread in the classifieds, feel free to contact me via pm.


I'm bumping this thread up, because, at the request of Thideras, I'm building a new station.

I'm linking this thread here, because altho it did cause some confusion, it does show some useful pics. Thideras wanted some extra customizations, which are easily accomplished.


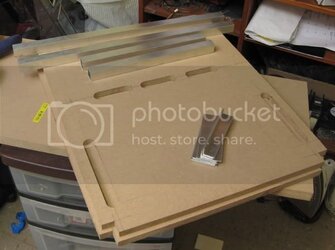
Thideras, this pic is for you. Just finished cutting out the plates, and routing the cable pass thrus, and cutting most of my stock aluminum:


Rawmaterials.jpg


navig
 
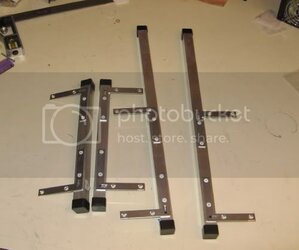
Put together the posts:

Station4posts.jpg


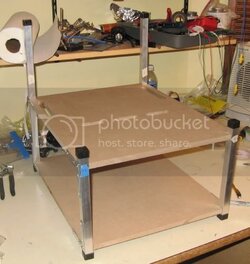
And made the first test fit:

Station4testfit.jpg


navig
 
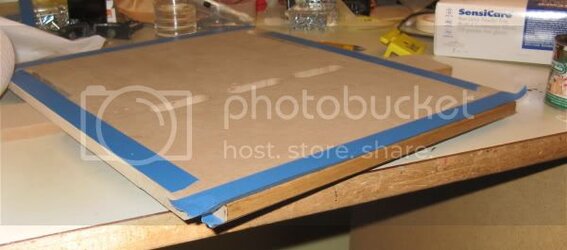
I edged the unfinished mdf sides with some stained wood trime tape:

Station4edgetrim.jpg


It's too cold tonight to apply the polyurethane, so that'll happen tommorow.


Then I'll need to add the threaded inserts, fabricate the pci bracket (note to self additional free slot), psu bracket, fan brackets, and handles.


navig
 
If i'm honest I don't like that edging tape, It makes it look cheesey IMO, Alu across would be nice.
 
Actually, the point is, when the things is done, you don't notice much (see the completed pics above)--it just looks like a piece of laminate shelf board. If I left the edges unfinished, it would stick out as a rough blotchy mess. Aluminum trim would definitely look great, and they make edge channel for this purpose--but it would jack the price up by >$20.
 
navig, what exactly is the wood trim tape for? Is is going to be left on like that? I noticed from the pictures, the laminate boards get pretty blotchy with the polyurethane (or is it just my eyes). Maybe the laminate boards soak up the polyurethane very unevenly. You should try adding wood conditioner to them, from what I read. It would push up the price though :(
 
It's a different type of blotchy. If you do a search of mdf and how to finish unfinished edges, you'll see its a bit of a problem with mdf. Since mdf is quite absorbent, if you put anything on the unfinished edges, the grain swells and "stands up". Even if you sand it back down, when you re-apply, the grains stand back up, giving it a rough uneven texture. It looks a little like uneven colored velcro.

You can apply like 10 coats of sandable sealer and eventually get over it--personally I think edge trim tape is the easiest.

Trust me, I've done a fair bit of experimentation. Leaving it unfinished really causes the edges to stick out like a sore thumb. Trying to finish it over with wood filler, wood glue mixtures, tons of primer, oil-based sealers--all jacked up the price and the time to finish.

On the flat finished edges, MDF is a wood product, so it has a certain grain and irregularity. If it looks nice, you call it "character"--if it doesn't you call it "blotchy". I can in fact paint over the whole thing and even achieve a glossy finish if a customer wanted. But that would require about 3 cans of primer and 3 cans of paint, and a hell of a lot of sanding.

navig
 
Great Job again Navig,
Yeah I have used edging tape on some cupboard doors made for entertainment centre and they come up a treat,
Was that the Iron on type you used, or the glued one
 
Its was iron-on--the $5 birch roll from Lowe's.


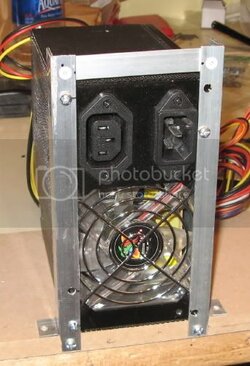
Okay, here's the psu bracket:

Station4psubracket.jpg


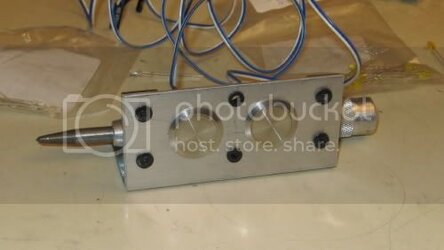
And I know this will make Thideras smile:


Switching panel:

Station4switchpanel.jpg


What color LEDs do you want, Thideras? I have red, green, amber, orange, and blue.
 
Boards are sealed, and I constructed the pci rack:

Station4pcirack.jpg


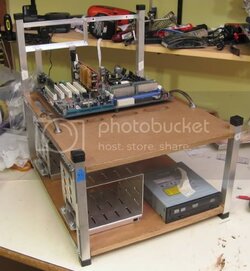
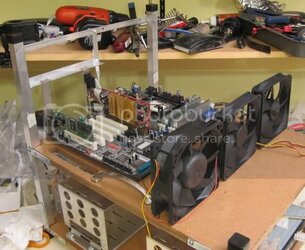
Here is the general airflow for the upper deck that you specified, make sure it looks good for you:


Station4fanstoprack.jpg


And the lower deck:

Station4bottomrack.jpg


navig
 
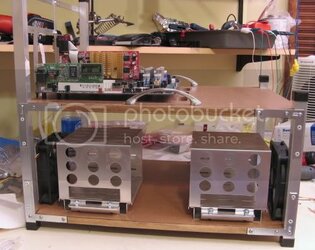
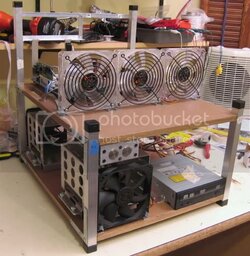
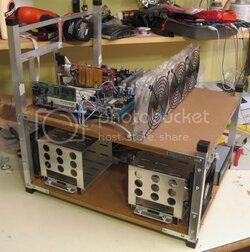
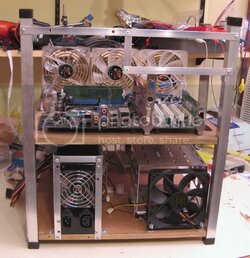
Alright, these are the final pics before I break it down for shipment:


Station4final1.jpg


Station4final2.jpg


Station4final3.jpg


Station4final4.jpg


Ah the beauty of a cheap large case. Anywhere you want to put a fan, just screw it in!

navig
 
Back