• Welcome to Overclockers Forums! Join us to reply in threads, receive reduced ads, and to customize your site experience!

DIY Low Cost Benching Station

Overclockers is supported by our readers. When you click a link to make a purchase, we may earn a commission. Learn More.
DIY Station #30


So it has been a while, but recently I got request for building a new DIY Station. This would be Station #30, what with my VLC (Very Low Cost) Stations, I’ve now built over 40!


This build request was for a fairly classic station with a couple of tweaks.
Going for the upgraded paint job.
Some custom watercooling pass thru cutouts.
Layout to include 2 power supplies and a radiator built into the lower deck.


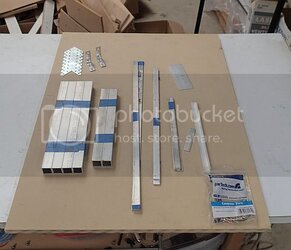
First step was to start assembling all the components. Here were most of the raw materials for this build.


Station30%20metal%20cut_zpsils6gexk.jpg


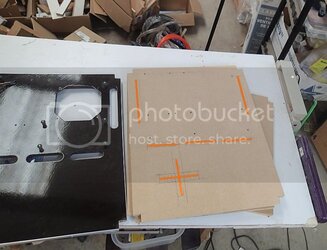
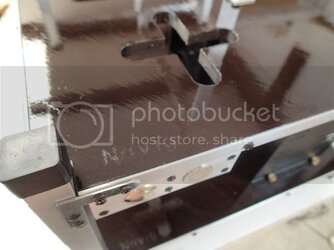
Next we settled on the layout of the cutouts. The client wanted a special cross shaped cutout for passing thru watercooling tubing.


Station30%20layout%202.5_zpsb2xagfpd.jpg

(The finished panel on the left is my personal station, which I put in the picture for comparison and scale).


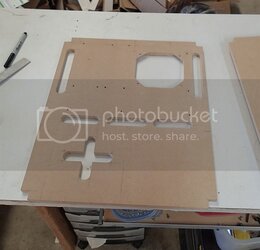
And proceeded to mill out top panel:


Station30%20top%20panel%20milled_zpskuwaco9d.jpg


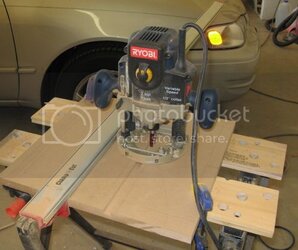
For milling out the passthrus and the under-cpu fan mount, I use a router with a ⅞” flush bit and a template bushing.

For all my traditional pass thrus and the cpu socket, I keep on hand some template jigs that mount to the motherboard socket holes, so that I can reproduce these slots quickly and repeatedly. For the custom cross shape, I used a straight edge clamp to guide the router.

Something like what I was doing in this pic:

Cutting%20dado_zps5ovgdjlc.jpg
 
30 I know! Look at the first post in this thread. 2007.


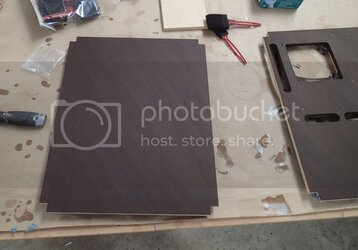
Next I started the paint process. We went with the same paint job as my personal station: stained with a Sherman Williams Cordovan stain, which is a deep dark reddish stain:


Station30%20panel%20paint1_zpsldj8ahva.jpg


I added just a hint o grain pattern by lightly dragging a brush at a diagonal.


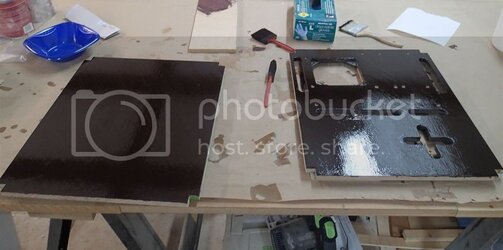
After letting that dry I started laying down my top coat, oil based quick dry glossy Varathane polyurethane. Actually had to shop around a couple of hardware stores to find this--Home Depot and Lowe’s stock a “high use” wood floor version which doesn’t lay down nearly as smooth. Had to find this specific product at my local OSH.

Station30%20panel%20paint2_zpsv8iwth68.jpg


The paint process is pretty slow and time consuming. Laid down 3 coats of polyurethane, but between each coat I had to let it dry for a day and then sanded lightly with 220 grit. Then flip both panels and repeat for the other side--not to mention time to lay down masking tape to prevent drip-over.
 
So whilst working on the paint, I went to work on the rest of the parts of the station.


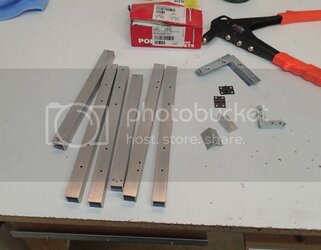
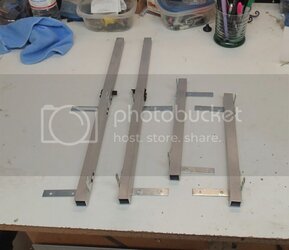
These aluminum components got assembled into the corner posts:


Station30%20post%20components_zpsqqm8hufn.jpg


Station30%20posts%20complete_zpssmrmse5i.jpg


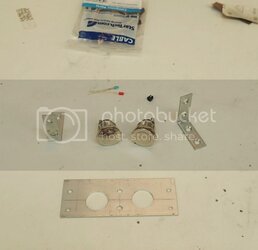
And these parts here:


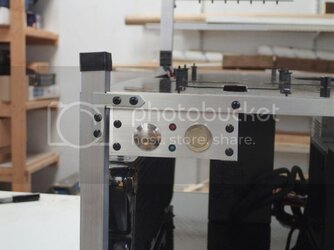
Station30%20switch%20panel%20components_zpsxwslpm7p.jpg


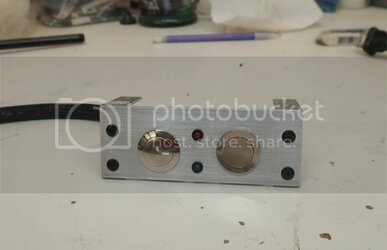
Assembled into the switching panel.


Station30%20switch%20panel%20complete_zpsp6pytlxe.jpg
 
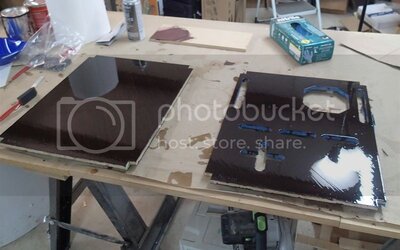
And finally, the panels had their final coats and dried:


Station30%20finishing%20paint_zpsxicdaobw.jpg


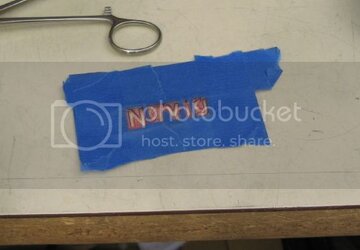
If you look carefully, I put my logo onto each of the plates, at the bottom right. I’ve been using the same stencil since 2009:


Logo%20stencil%20set_zpsebuctiuw.jpg


After the 2nd top coat of clear polyurethane (second of three coats) has fully dried and sanded, I position the stencil and mask everything else off. Then I hit it very lightly with metal flake. After that dries, it’s off for the final top coat of clear.


It was time to start the final assembly.


Station30%20posts%20attached_zpsmquxekgy.jpg


Posts and plates assembled:


Station30%20Top%20panel%20mounted_zpswnwtgj6k.jpg


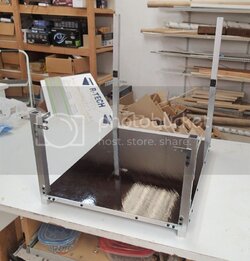
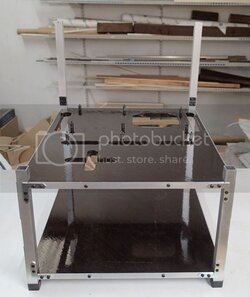
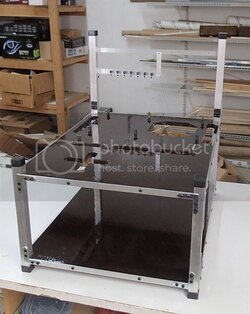
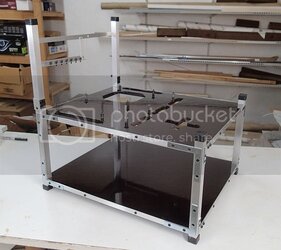
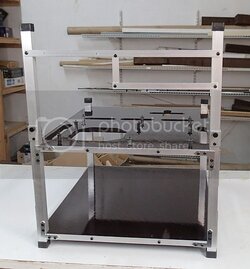
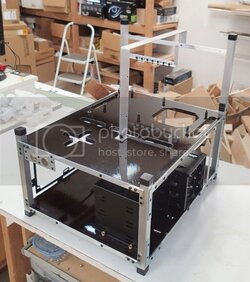
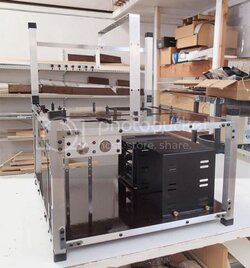
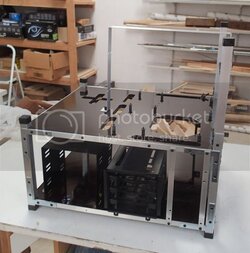
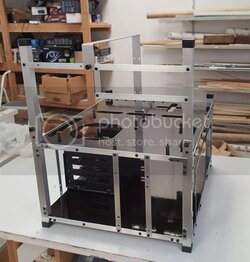
Attached the rest of the brackets and it was complete:


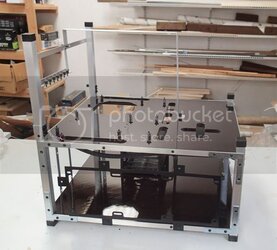
Station30%20structure%20complete1_zpsjkoupvxw.jpg


Station30%20structure%20complete2_zpsfyyz4gnj.jpg


Station30%20structure%20complete3_zpstwhydyj8.jpg
 
Looks really good Navig! Love how glossy it is now. Looks very clean with the aluminum as well! :thup:
 
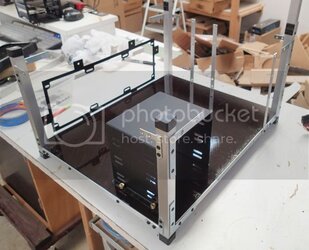
Time to finalize the layouts of the components. I started with the bottom level, which was going to be jam packed.


Station30%20final%20assembly%20bottom1_zpsbtojo6uo.jpg


On the left side, you can see the radiator mount. This is a bracket I created a while back for my DIY radiator shroud project.

http://www.overclockers.com/forums/...hroud-Navig-Style/page2?p=7440110#post7440110


You can also make out brackets to mount 2 different power supplies.


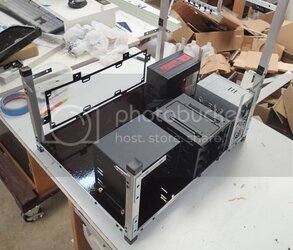
And on the right, I’ve set in the 5.25 bay.
 
Next to the 5.25 bay, I’ve put in the hard drive tray (Corsair variety), and then arranged dual power supplies in their spots.


Station30%20final%20assembly%20bottom3_zps7ymga69g.jpg


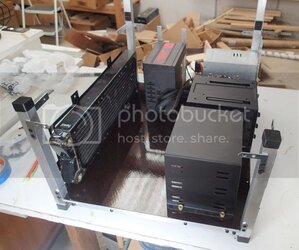
Next I threw in a mockup radiator. And in this space in the foreground is area for a pump/reservoir.


Station30%20final%20assembly%20bottom4_zpsvbbk61hx.jpg


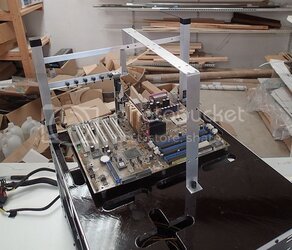
Finally, dropped the top back on and made sure the Brollock’s fan bracket fit.


Station30%20brollocks%20fan%20bracket_zpsaj8r1tlf.jpg
 
And a series of final pics:


Station30%20final1_zpstwf62r34.jpg


Station30%20final3_zps6z17myps.jpg


Station30%20final6_zps6xn0f1ri.jpg

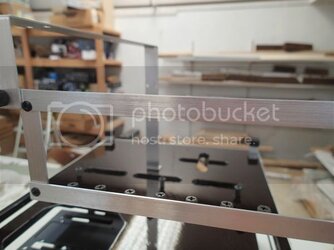
Actually took the time and brushed all the aluminum trim pieces.


Station30%20final2_zpsod1nobb4.jpg

Ghost’d in logo.


Station30%20final8_zpsrup100az.jpg

- - - Updated - - -

Station30%20final7_zpstgeova9g.jpg


Station30%20final5_zps5jnwuqmi.jpg


Station30%20final4_zpse1zfczfh.jpg


And this one is off to a (hopefully) soon to be satisfied customer!


On to the next project!
 
Back