• Welcome to Overclockers Forums! Join us to reply in threads, receive reduced ads, and to customize your site experience!

Water Cooled Framer Project

Overclockers is supported by our readers. When you click a link to make a purchase, we may earn a commission. Learn More.
Stock plastic sheets arrived courtesy of Delvie's plastics:


Plasticpanels.jpg


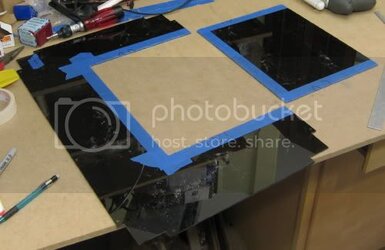
Cut my side panels:

Sidepanelscut.jpg


Bottom and back panels have been cut to sit flush:


Bottompanelcomplete.jpg
 
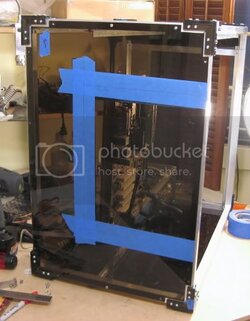
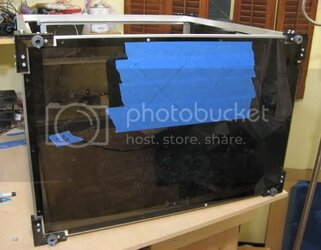
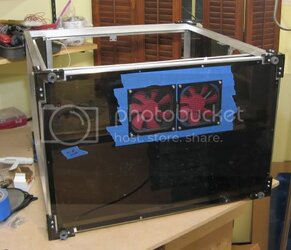
Rest of the panels have been rough cut and loosely put into place. Starting to look like a real case!


Panelscomplete1.jpg


Panelscomplete2.jpg


Panelscomplete3.jpg
 
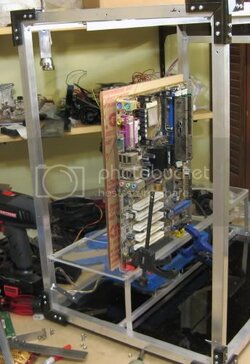
This week, I went at the next major technical hurdle: tool free removable motherboard tray.


First I cut the tray itself from 1/4" acrylic:

mobotrayrough1.jpg


Its positioned, so I could cutout the back panel portion of the tray:

mobobackpanelcutout1.jpg


Which I cut out with the scroll saw:

mobobackpanelcutout2.jpg


Next steps:

1) Cutouts for the i/o and pci cards, fans, and access to the backside of the mobo

2) Aluminum trim pieces

3) Aesthetics--brushed the aluminum, flame polished the plastic.


And here's the result:

mobotraycompleteempty.jpg


You can see the backside here; the nice big cutout allows for access to the back of the cpu socket. Very nice!

mobotraycompletebackside.jpg
 
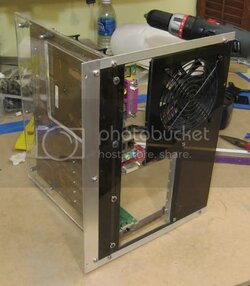
Here it is mounted up in the case:


Mobotraycompleteinstalled2.jpg


And here is the finished backside:

mobotraycompleteinstalled3.jpg


The beauty of this tray is that it is held by only thumbscrews. Here's a little boring video of me demonstrating how to remove the mobo tray:


th_Mobotrayinstall.jpg
 
A little bit of drawing:


PSUcutoutplacement.jpg


A little bit of sawing:

PSUcutoutscrollsaw2.jpg


A little of bit of fitting and trimming:

PSUcutoutfitting.jpg


Add the trim, and now I've got a psu port:

PSUcutoutcomplete.jpg
 
keep up the good work, i had a similar plan but i faild epicly at it ><

anyways, i find it very interesting and imo this is gonna be great MB cooling xD
 
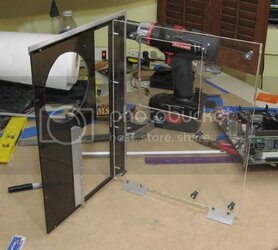
Here I've fitted, trimmed, and hardmounted the left panel.

There are 7 small screws holding it down--I'm considering thumbscrews so that it could be removed tool-free.


Leftpanelmounted.jpg
 
Here's a pic of one of the more tedious tasks that is going on.

I've decided to brush the framing bars. One at a time, I go ahead and dismount a bar. First I dremel down any significant gouges. Then I sand it with 220 grit paper, first in small strokes to work away any scratches and smooth the dremel marks. Then in long strokes to get the brushing. Finally I use a sand paper jig to get perfectly parallel long strokes.


Here in this pic you can see that I've brushed the long vertical foreground bar. The left pic is the bar before, and the right is after:


Brushcomparison.jpg
 
This also another tedious task. The large plastic panels need to be fitted to the frame (which is slightly--by mm--off from square). So I mask off a portion of the corners (see the masking tape), and dremel (sanding drum) away 1-2mm to make it sit proper.


Plastictrimming2.jpg
 
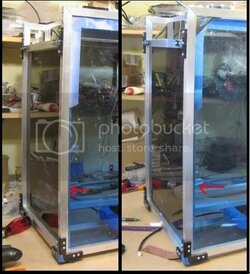
Both blue side panels are trimmed, fitted, finished and mounted:


Plasticrightpanelcomplete.jpg


Better news yet--I've finished brushing all 13 aluminum bars. So the pace should pick up on this project.
 
it would look way better tig welded up maybe you can talk to a welding shop around or even a high school shop teacher( i live down the block from one and when i want something realy pretty i stop by and he lets me use there massive tig welder not realy too hard to do). i would also polish those bars up they would turn out better than chrome. but realy bad *** case
 
One day I plan on learning how to weld. On the other hand, it's nice to know I can take my powered screw driver and completely disassemble this case into a small box and a few sheets of plastic in under 5 minutes. Also makes replacing parts or altering things a snap.

I like the brushed look because frankly it hides scratches. This one's meant to mostly be a functional case, so I don't really want to be worried about a scratches on a perfect finish. Might consider powder coating it. Don't get me wrong, tho, I do like shiny objects.


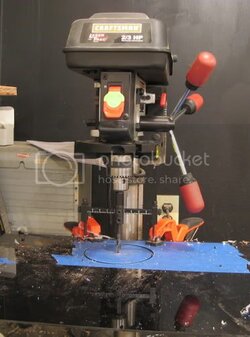
Went to work on cutting my holes for the radiator:


Bottompanelmarked.jpg


Weapon of choice: circle hole cutter.


Bottompanelholecutter2.jpg


And there you go!


Bottompanelmounted-1.jpg
 
it helps me to have my whole works facilitys to use i have benders, cutters tons of great tools. and of course there was a push by me to get a water cooled tig in but its not there yet maybe it will come in soon.
 
Back