• Welcome to Overclockers Forums! Join us to reply in threads, receive reduced ads, and to customize your site experience!

Water Cooled Framer Project

Overclockers is supported by our readers. When you click a link to make a purchase, we may earn a commission. Learn More.
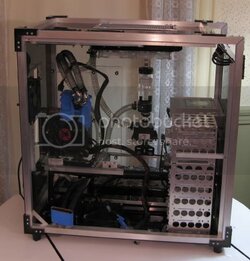
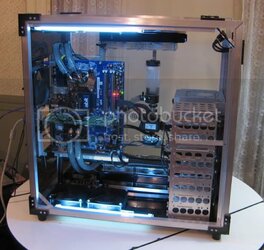
First round of basic cable installation and cleaning, and this case is complete, ready for installation!


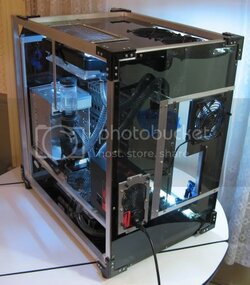
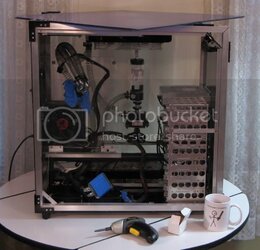
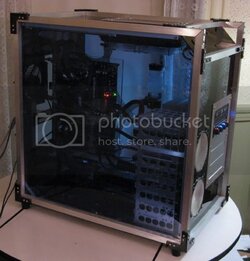
Main side view:

Roughfinishrightangle1.jpg


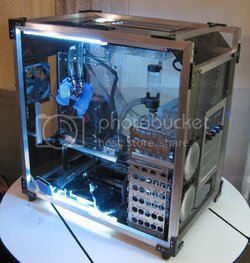
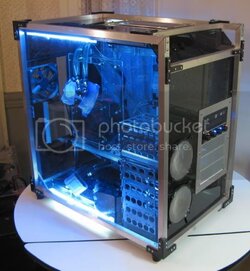
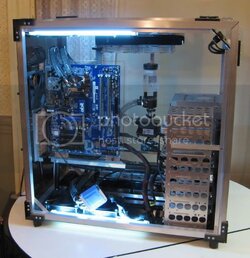
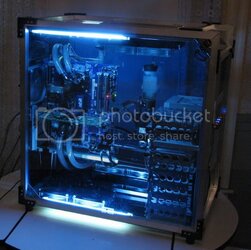
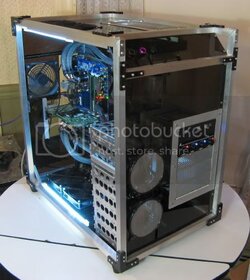
Another angle from this side, with the lights on:

Roughlitrightangle1.jpg


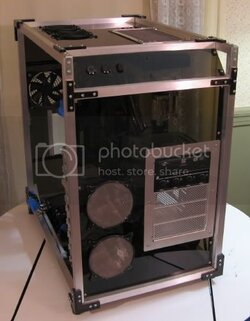
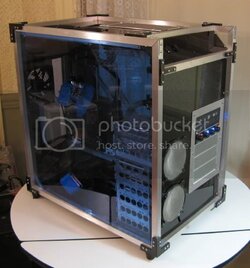
The front:

Roughfinishfront1.jpg


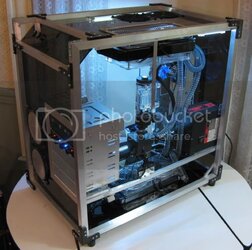
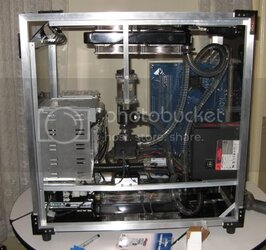
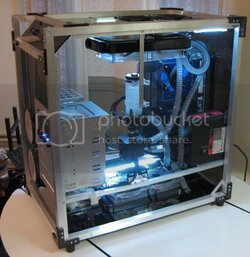
The workings behind the motherboard:

Roughlitleftangle1.jpg


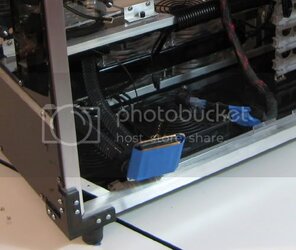
The back panel:

Roughlitbackangle1.jpg


I was going to save these type of pics for when I installed the components, but I couldn't help making a preview:


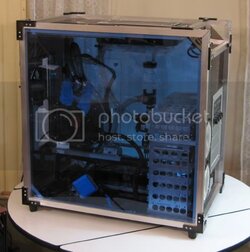
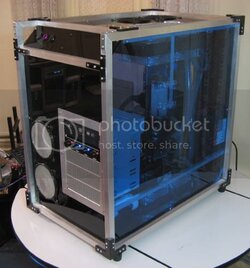
Here the case is complete with the blue side panels on:

Roughfinishsidepanels2.jpg


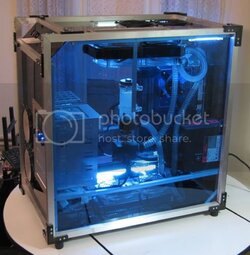
And with the lights on:

Roughfinishsidepanels1.jpg
 
Getting ready to transfer in some real components.

All modern motherboard I've worked with ground thru the PSU. I've been running plastic or wooden cases since around year 2000, never had a grounding problem.
 
So let's start installing some components!


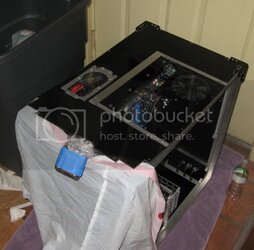
First I started with the completed but empty case:

Installstart.jpg


A dozen screws taken out in seconds (with a powered screw driver) and the side panels come off:

Installstart2.jpg


Put the motherboard on: around the backside you can see that I have a cutout that allows me access to the mounting back plate.


Installmoboback.jpg


Hook up the cpu block!

Installmoboin.jpg
 
Now the video card I had some problems!


If you take a close zoom at this pic here:

Installvideocardfiasco3.jpg


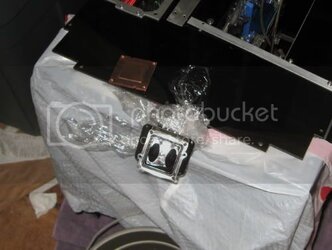
You will notice that I'm using a swiftech MCW60. If you know your watercooling, you will also notice that I've got the G80 mounting bracket attached. Which was unfortunate because I am trying to install a G92 8800gts!

So here's the kicker. The only way to replace the bracket is to REMOVE the block completely from the loop--the screws for the bracket actually hold the block together, and the bracket cannot get past the block anyways.

So how does one remove the block from the lowest point on a loop. Well I could drain the entire loop, rebuild, and then re-fill.


Or, thanks to the sturdy and easy access design of my beautiful frame project (pats self on back), I tipped my case forward. With some slack from the gpu loop tubing, I could now convert the video card block to the HIGHEST point in the whole loop:


InstallVideocardfiasco1.jpg


Which means I can safely take block apart!

Installvideocardfiasco2.jpg

Remember, as I'm taking this picture this is at least 2L of distilled water in the system!


After that little fiasco was taken care of, installing the video card was as simple as hooking up the block.

Installvideocarddone.jpg


Finally, I dropped in the hard drives, and plug in all the necessary cables and wires:

Hold you breath and hit the power on!


Installturniton.jpg
 
Just read through this build...absolutely awesome, I wish that i had the skill/time to develop the skill to make something like this
 
Alright, last set of pictures for this thread.


Completecrtangle3.jpg


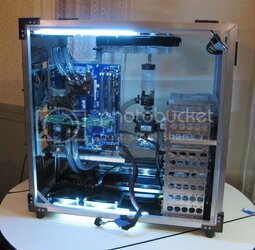
Lights on:

Completecrt3.jpg


Different angle:

Completecleftangle1.jpg


Again, lights on:

Completecleft1.jpg


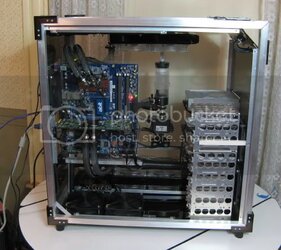
Without the side panels on:

Completerightmid2.jpg


Completeleftangle1.jpg


Front view:

Completefrontangle2.jpg


And finally, a video demonstrating the nice contrast of lights off-lights on:

th_Completelightingtest.jpg


The system is 100% running, cpu and gpu folding.


What's next for this project?

As is my tradition, when I complete a log type thread, I usually start a new thread titled "Completed".

I convert my spare bedroom to a photo studio and take some publication quality photos, and post them plus a recap of the concept and construction, in the "completed thread".

I do have a few niggling details to take care of. I got my power and HDD led's mixed up. I need to clean up and tuck away the 24pin atx and pci-e cables. Finally, I'll probably change out the cpu waterblock to an Apogee gtz I've got in the mail.

And finally I have named this project (instead of the aluminum frame colossal box thingy that I've been calling it):


The Navig Exoframe Project!


navig
 
Beautiful work Navig, stunning attention to detail. Bravo!

If you haven't already decided you're going to submit this one to CPU for the mad reader mod, you should. I've heard you've been in it before, but it would be nice to see your creation in there now that I have a subscription. :)
 
Navig... you are a GOD.
This case is simply amazing.

I am hoping to attempt to reprduce it; can you tip me on how get those awesome vertexes where the aluminum tubes meet? Or any other tips/tricks?

Thanks
Joe
 
Did you mean how I cut the aluminum to a tip?
I simply cut the aluminum with a chopsaw at 45 degrees with a fine trim blade. I've seen folks also use a miter box with a hacksaw, if you don't have power tools.

If you mean the brackets themselves, I hand cut them from 1/4" plastic with a scrollsaw (you could do it with a jigsaw), then glued them together.

This was a real time worklog, so I included lots of tips on how I did things. Please feel free to ask me specifics.

navig
 
Well it is mostly the aquistion... I cannot seem to find some stuff like clear motherboard trays, Hdd or DVD cages, or Front Panel IO stuff (USB, Audio, Status lights....), and I would also really like to see some dimensions on that beast, as I am aiming for a much smaller 12W x16H x16D and I would like to see a sense of scale.

Also, can you possibly give me a rough sketch-out of your watercooling loop(s)? I cannot quite follow it(them).
Again, thanks for anything you can tell me.
Joe
 
Last edited:
Sorry, it's odd, I guess I never linked to my competed thread.


-->> Completed Exoframe thread. <<--


There are a lot more pictures and explanations in the thread.

For example, this thread explains my wc circuit here.


Nobody really makes plastic motherboard trays (clearpc.ca or even myself could construct you one). Here is where I put some pics on the construction:

Motherboard tray construction here.


A lot of stuff miscellaneous pc stuff I get from performance-pcs. You can find things like front USB ports, especially among the Lian Li replacement parts tab.


Come to think of it, I didn't really list my sources at this thread, so I will add that to this and the completed thread.


Performance-pcs
Mountain Mods
Jab-tech
Petrastechshop
svc

mcmaster-carr
onlinemetals
Delviesplastics
Home Depot
Lowes


I get a lot of minor components from performance-pcs. I get pretty much all my hardware, screws, brackets etc. from mcmaster, and my plastic from Delvies.

navig
 
Hi Navig. I've been comtemplating a new build for a much roomier solution to my cramped case. I've thougt about using wood frame. But after searching for days for ideas, I came upon this project at 2'clock in the morning and was like "holy crap...thats perfect!".

Your case layout (i've viewed all of this thread and completed thread) is awesome. Very well thought out.

I have a question. I've used miter cuts in wood working for joining. However, I've never used a double miter cut to join three frame members. I know I could look it up, but I was wondering how you did it since this is a DIY project. Maybe you have some tips to map it easier.

Thanks!
 
Back