• Welcome to Overclockers Forums! Join us to reply in threads, receive reduced ads, and to customize your site experience!

Jolly's CM-690 Case [Main Rig Revamp / Update]

Overclockers is supported by our readers. When you click a link to make a purchase, we may earn a commission. Learn More.

Jolly-Swagman

Member
Joined
Sep 20, 2007
Jolly's CM-690 Case [Main Rig Case Mod Ver 2.0]

Jolly's CM-690 Case [Main Rig Case Mod Ver 2.0]

Another Case Mod by Jolly-Swagman


Well its been 3 years now since I got this CM-890 Case, and with its current hardware configuration has served me well,
But alas its time to move Forward and Update both the Case and some of the Hardware,

Current Rig Specs

Mobo = GA-P35-DS3L
CPU = Q6600 GO @ 3.2GHZ
GPU = EVGA GTX-295
RAM DDR2 = 4 Gig XMS2 6400 4-4-4-12
Optical = Liteon DVD-RW Lightscribe
Multi CardReader
HDD,s + 2 x 250GB Sata + 320GB sata


The Plan

First I will be transferring all the current hardware to Jolly's Tech bench 2010 so all can be still used as functioning PC, while work is being done to CM-690

FinishedFinal.jpg


Then the CM-690 will get a new lease of life Transformation, to include New Paint Work,
Both inside and out, Modded for better Cable management see below in current state.

The Inside will be Modded for better Cable management adding /enlarging Mobo Tray cable slots for rear cable entry, and the the inside will get re-painted in Matt Back with Satin Clear coat for protection, after of course the prep work and re-undercoating,

The main panel frames Outside Case, still not sure whether staying with the Black or maybe the Gun Metal like I did on the P4 Case Makeover (Undecided make even be different Colour all together ?)


The Hardware Change list

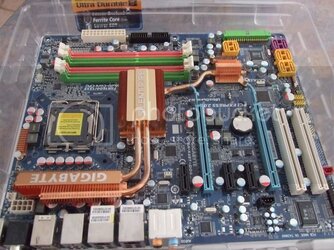
Motherboard = Gigabyte X48T-DQ6
CPU = E8500 EO 3.16GHZ
DDR3 Ram = ??????? (still need to get)
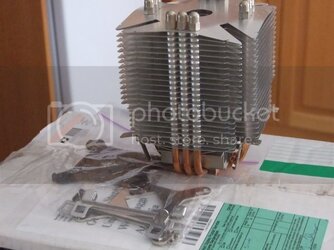
CPU HSF = Scythe Ninja

will also be still using current
GPU = EVGA GTX-295
DVD-RW Drive = Liteon Lightscribe
3.5 Multi CardReader


Scythe Ninja HSF

ScytheNinjaHSF.jpg

Gigabyte X48T-DQ6 Mobo

GA-X48T-DQ6Motherboard-1.jpg


This will Start within the next week or so and will need to get the DDR3 Ram before Hardware goes into Revamped CM-690 Case!


Update #2 18 March 2010


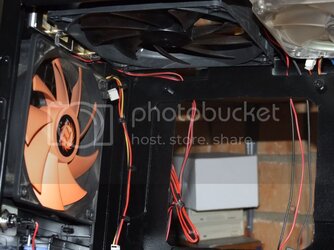
Started on the CM-690, first Removed Hardware -HDD's GPU - Motherboard - PSU from Rig,
Then also added A cooling gantry to Jolly's Tech Bench2010 to help aide in cooling GPU ect.

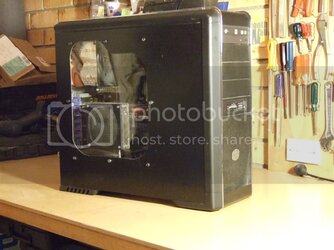
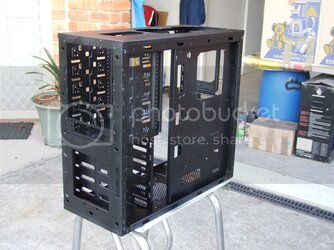
The CM-690
CM-600.jpg

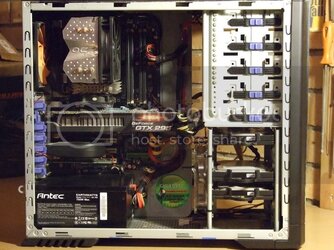
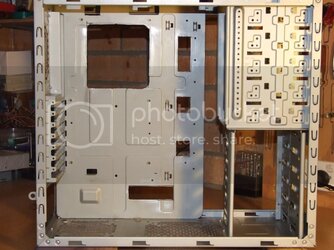
Inside CM690
CM-690Hardware.jpg

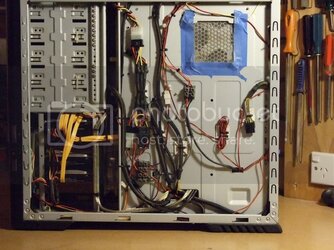
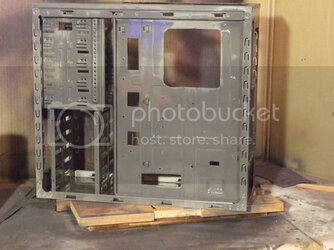
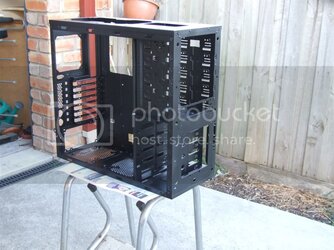
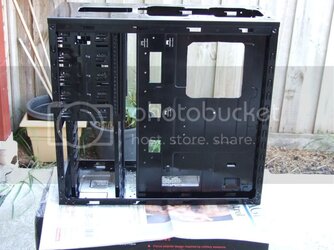
The Rear Cable Management
RearViewCM-690.jpg

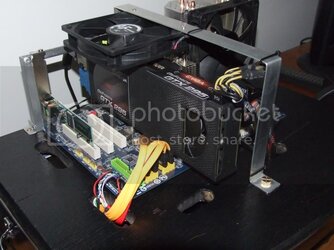
Installed new cooling gantry and Hardware into JTB 2010
JTB2010LoadedHardwareandcoolingBrac.jpg

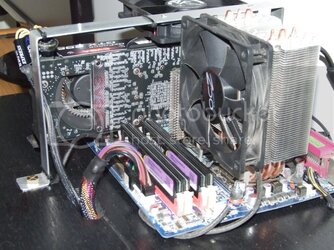
Vendetta 2 HSF View
JTBloadedHSFView.jpg

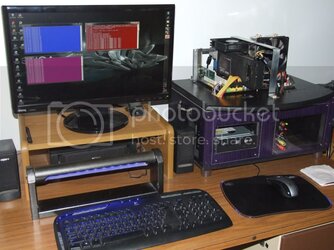
Back up Running and Folding again on Jolly's desk
JTBonDeskFoldinghome.jpg


Now I am in the Process of stripping down the rest of CM-690, fans front bezel switches ect, getting ready to do some more Cable management modding and prep for Primmer Undercoat​
 
Last edited:
Update #3 - Fri 19 March 2010


Today finished off cutting Cable Management holes/slots widened on some existing also cut more from top 2x 120/140 Fan grill area, and removed Rear exhaust fan grill.

Cut-outs
CableslotsandCPUBracketRearAccessOp.jpg

Also prepped for Primer coat
CutoutOldFangrillsbetter.jpg

Primer Coat done

GreySEPrimer.jpg


Update #4 Sat 20 March


Today I did a little more work on a few things to the Revamp of the CM-690 Case, not a lot as have had bit of a headache all Day!

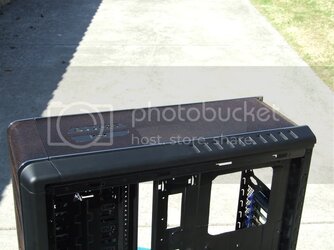
First up I removed the top I/O ports and the Top perforated Grill, Dam thing nearly took forever getting it off too!

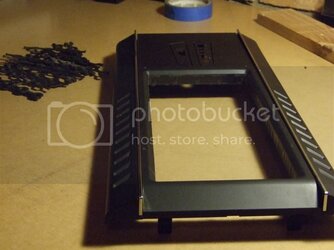
Then cut away the Top Bezel Plastic Honeycomb Grill area, as this causes fan buffering and that in turn leads to noise, will now be also better for air flow too!

Top Bezel

CM-690TopBezelCutout.jpg

Them I also did the same with the Front Bezel, this one came out allot easier than the Top did.

Front Bezel

CM-690FrontBezelCutout.jpg

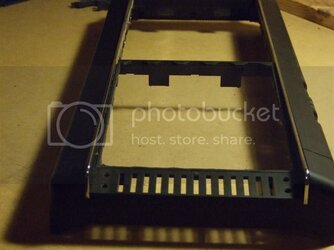
Also cut away the mesh grill on the front intake fan holder, too!

Fan Holder

FrontIntakeFanholder.jpg

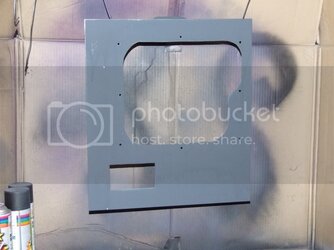
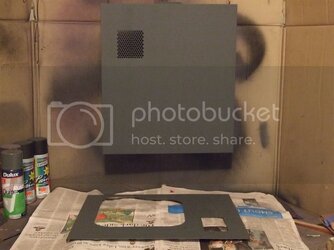
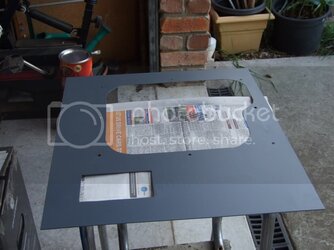
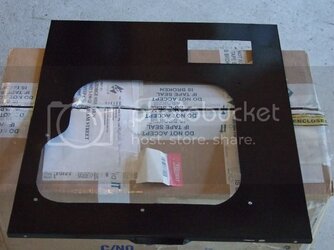
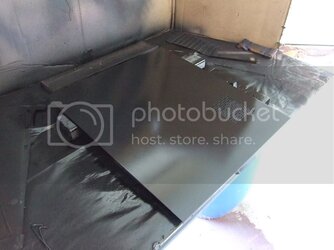
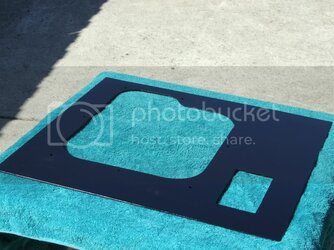
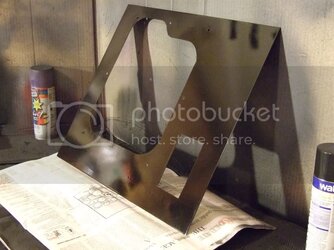
Then got down to doing some alterations to the Side Window Panel, with the Addition of another small Window to the Bottom right where the HDD's are.
Then after a sanding down, did the first Primer Undercoat,
Dam Spray Can was playing up too, think is nearly empty as started coming out thin and made some runs,
but this is easily fixed once dry, just sand back and Re-Undercoat

Window Side Panel

CM-690WindowSidePanel.jpg

The other Side Panel has also been Sanded back ready to Undercoat, when I get some more on Monday


That all for this Update Stay Tuned for more soon!​
 
Last edited:
Update #5 Sun 21 March


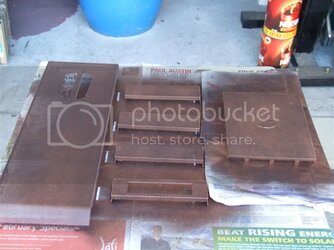
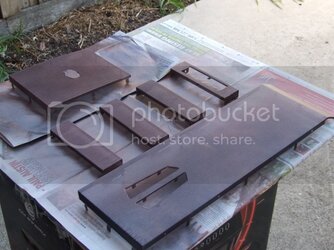
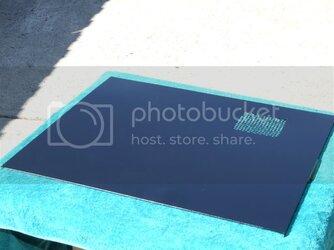
Today just re-sanded Side Panels with P1000 wet-n-dry paper, and applied second coat of Primer, all nice and smooth now!

Side Panel's 2nd Primer Coat

2ndCoatPrimer.jpg


Have also be toying with some ideas as to what I,m going to do with the Front and top Bezels covers/ grill areas.
Below is one sample I have in mind - Black base coat - with 2 light (@ 30cm distance) passover with Copper Metallic Paint

Colour Sample-1

ColourSampleshot.jpg


Its only an idea so let me know what you think,, still not sure myself

Actually looks better in person especially at different angles, if you know what I mean!


Stay Tuned for more to come soon! :comp:
 
Update #6 Mon 22 March 2020


Today went an picked up some more DULUX etch Primer and some Black Gloss and more Flat Black Spray cans,, (Dam they were out of the Clear Coat till Thursday maybe)

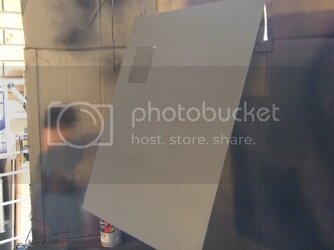
First after another quick rub down with P1000 wet-n-dry paper , Put the final coat of Primer to both Side Panels

Window Panel
CM-690WindowSidePanel2ndUC.jpg

Other Side Panel
CM-690SidePanel2ndUC.jpg

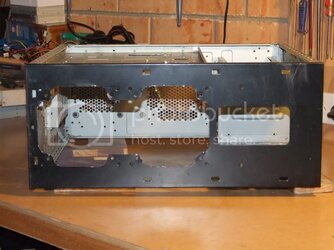
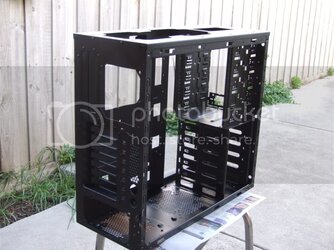
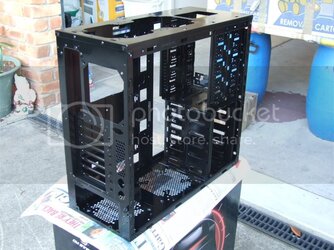
Then while they were drying did the First Coat of Matt Black to CM-690 Case Frame

Rear Side View
CM-690CaseFramePaintedMattFSView.jpg

Front Side View
CM-690CaseFramePaintedMattFRSView.jpg

CM-690CaseFramePaintedMattFSView-2.jpg

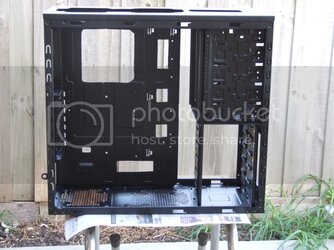
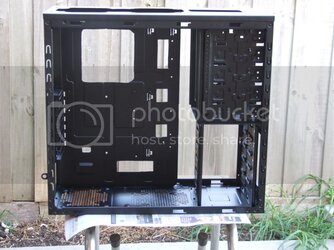
Internals View
CM-690CaseFramePaintedMattBlack.jpg

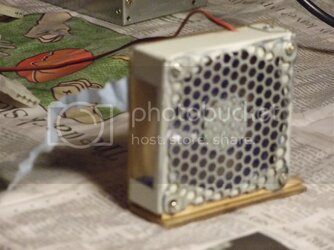
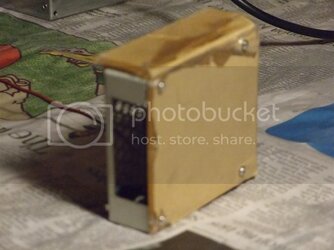
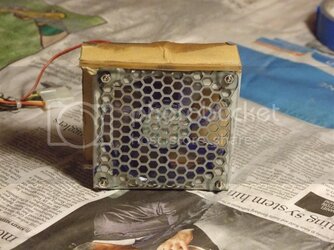
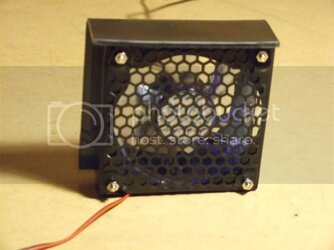
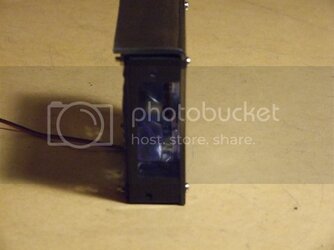
Then while waiting for Case to Dry, had an idea to make a Rear Case slot Fan to aide in cooling for GTX-295 exhaust

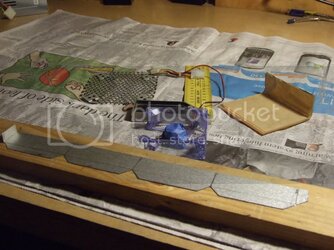
First cut up some Side panel Sheet metal still have laying around, and made a little holder box for the 80mm Fan,
Cut one side from 80mm fan to turn it into a Slot Cooler Side Blowing Fan

MakingCaseSlotExhaustFan.jpg


Now proceeded to bend and form into a box shape
Then with some Fan grill Mesh that was cut from the CM-690 Case made a fan grill for the Slot cooler,
with some 3mm Plexi had left over from previous Mods made the other Side of the Slot cooler.

Now for some testing of the output of Slot Cooler

Testing
TestingCaseSlotFan.jpg

As you can see from the blue piece of paper billowing it works fine.

Plexi Side Cover Slot Cooler

CaseSlotFanPlexiFrontCover.jpg

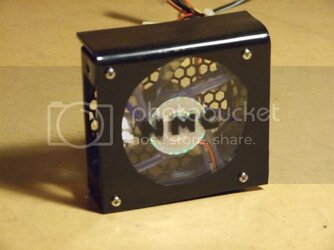
The Finished Slot Cooling Fan

CaseSlotFanGrill.jpg

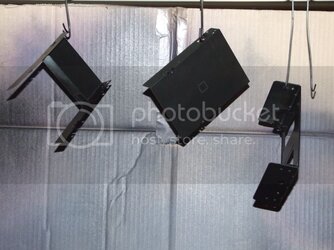
Now all that is needed is to give it a Coat of Paint ( undercoat then Black)


Thats all I have for Today, Stay Tuned for more soon!


Update #7 Wed 24 March 2010

Today early this morning I Finished off the Slot Cooler, painted the Plexi Cover, Grill and housing Black,
and NMC in the middle of window

Front Cover View
SlotCoolerpainted.jpg

Grill Intake View
SlotCoolerPaintedGrillside.jpg

Exhaust Slot View
SlotCoolerPaintedVentslot.jpg


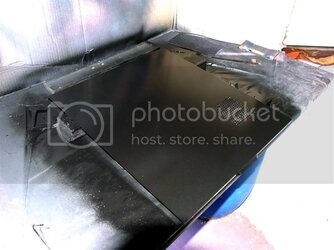
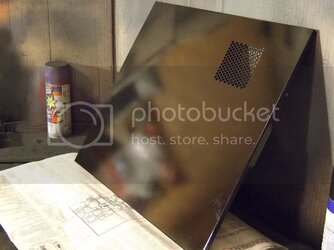
Also Today Painted Side Panels Black Gloss and the rubbed back between coats

Windowed Panel (3rd Black Gloss coat)
WindowPanelBlackGloss3rdcoat.jpg

Other Side Panel (3rd Black Gloss coat)
OtherPanelPantedBlackGloss3rdcoat.jpg

(Side Panel 4th Coat)
OtherPanelPantedBlackGloss4thcoat.jpg


Then this Afternoon Clear Gloss coated the CM-690 Frame

Side Rear View
CM-600CaseFrameClearcoated.jpg

Rear M/B Tray View
CM-690CaseFrameClearcoatRearview.jpg

Interior View
CM-690CaseFramePaintedMattBlack-1.jpg


That is all for now, Stay Tuned for more soon!

------------------------------------​
 
Last edited:
Update #8 Thurs 25 March


Today I went got some more cans of paint and seeing as was such a beautiful Day did some more painting outside, less Fumes!

4th & 5th black gloss coats to both Side Panels,

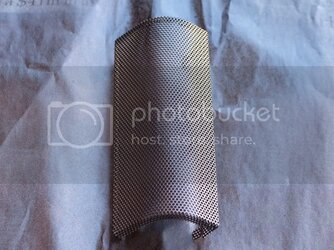
then Painted the CM-690 Mesh Grills with Gloss Black with Metallic Cooper overtones, then when dry Clear Gloss Coated


Top mesh End Cap

TopgrillEndCap.jpg

CM -690 mesh Grills

CM-690MeshGrils.jpg

Angled View

CM-690MeshGrilsAngledView.jpg

Depending at what angle you are viewing the Grills give different depth of Metallic Copper showing.


Thats all for Today, Stay Tuned for more soon!​
 
Update #9 Fri 26 March
Time AU- 23:40

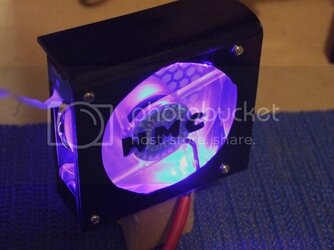
Here are the Pcs of the LED's that I have installed into the Slot Coloer,

One in the Top Corner and One in the Bottom Corner, being that they are Bright Blue LED's two was sufficient enough for lighting the Cooler,

Slot Cooler with LED's
SlotcoolerLEDs.jpg

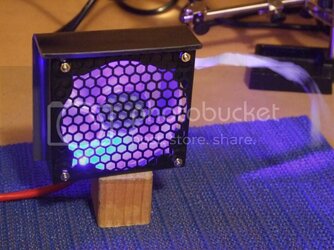
You can also see the piece of paper in the next shot showing the Air is flowing out of the exhaust slot

Grill View
SlotcoolerLEDsGrillView.jpg

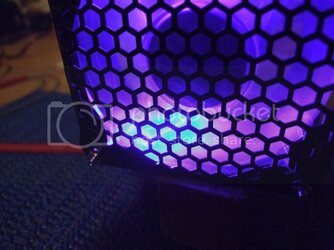
Close Up of Bottom LED
SlotcoolerLEDsCloseupbottonLED.jpg

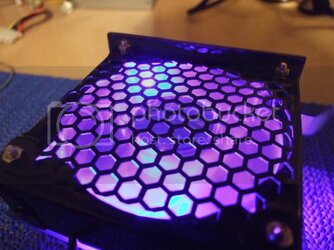
Grill View Top LED
SlotcoolerLEDsCloseupTopLED.jpg

LED,s are wired in and have 526ohm resistor and Fan connection to New Leads coming from fan to cut down on the amount of wires also sleeved with Red PVC wiring tube


That all for Now, Stay Tuned for more soon!
 
I'm liking it. If weather ever cooperates I'll get to finish mine up. Got some work done last weekend and today woke up to snow and ice. Oh well a good time to work on my OC I guess.
 
Jolly
Really cool work. Thanks for sharing.
Thank you, soldierguy

I'm liking it. If weather ever cooperates I'll get to finish mine up. Got some work done last weekend and today woke up to snow and ice. Oh well a good time to work on my OC I guess.

Also Thanks , jaymz9350
Luckily the weather here been still quite Warm 26-30C so Painting dries real quick, look forward to seeing your's completed too!
 
I wasn't sure if I should reply to this thread or wait until the whole log was finished :p
Since someone else has already done so I might as well comment.

It looks siiiick! I really like what you've done with the fans and I really can't wait until it's finished :D
 
I wasn't sure if I should reply to this thread or wait until the whole log was finished :p
Since someone else has already done so I might as well comment.

It looks siiiick! I really like what you've done with the fans and I really can't wait until it's finished :D

Thanks, tinymouse2,


Update #10 Sun 28 March


Another Black Gloss coat was done Today after a light Rub back with 1500 Wet-n Dry and the Grills all second Coat of Clear Gloss so all is Drying now!

( No pics today we all Know what the Painted Panels look like from the previous pics, will Post sme Pics of them when I Clear Gloss Coat them)


Thats all for Now Stay Tuned for more soon!

 
Update #11 Wed 31 March


Today have put back together all the PCI and Drive Bay tooless locking catches

Reinstalled the Mesh Grill ,Top and Front Bezels, and I/O panel and also gave the Side Panels there Final Black Gloss Coat of paint,

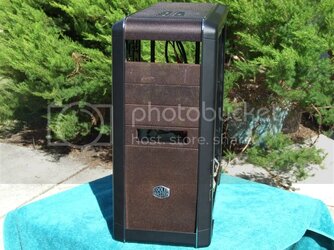
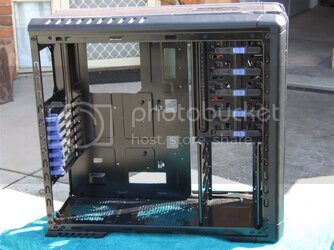
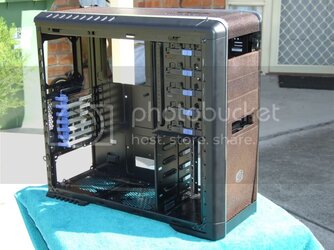
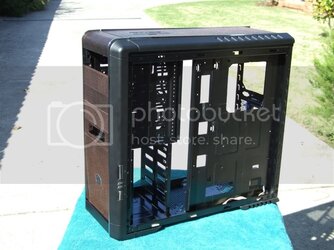
So here are some Preview Pics of Case with the Bezels back on with the Mesh grills

CM-690 Preview shots
CM-600Preview1.jpg

CM-600Preview2.jpg

CM-600Preview3.jpg

CM-600Preview4.jpg

CM-600Preview5.jpg

Final Black Gloss Paint Side Panels

CM-600Preview6FinalBlackGloss.jpg

CM-600Preview7FinalBlackGloss.jpg


have also just Done the Clear Gloss Coat on both the Side Panels when dry will give another Coat


Thats all for this Update for now, Stay Tuned for more soon! :p
 
Have you thought about using a rubber grommet where you cut out behind the motherboard?

The case looks great and I have been following this closely.
 
Have you thought about using a rubber grommet where you cut out behind the motherboard?

The case looks great and I have been following this closely.

Thanks updawg,
yeah had been looking for that 3mm C- Chanel but cant get any where I live out in the Rural Country and one of the only place can get want $5.00/Mtr + $30 to ship to me ( wont be getting at that price) and there out of stock till after Easter.

Also checked out local Auto Barn shop, but they dont seem to have much in the way of it either,
The slots have been sanded to a smooth finish though with emery cloth so they wont cut cables.
 
Update #12 Sun 4 April

Sprayed Side Panels Final coat Clear Gloss after light Wet N Dry 2000, just needs to be polished and swirl remover

Side Panel
SidePanelFinalClearGlossCoat.jpg

Window Side Panel
FinalWindowSidePanelClearGlossCoat.jpg

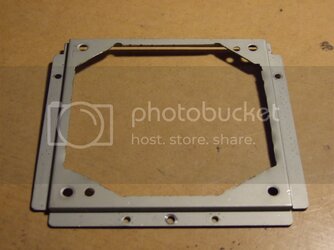
Decided to pull apart Media Multi Card reader and paint black as it stood out like a sore thumb in the 5.25 Bay, also painted the 5.25-3.5 Bay adapter plate too!

MuktiCardReader-525-35.jpg

Then since the X48T DQ6 has allot more features and extra PCIe slots also PCI adapter headers ( ESata and Molex PWR out)
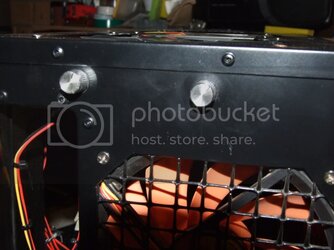
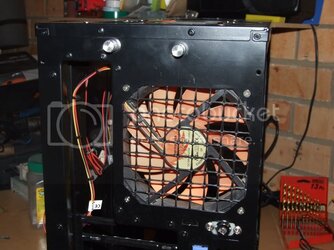
will need some of the slots that were previously taken up by Fan control knobs, so I decided to move two Fan conrollers to the Top Rear of the CM-690 Case, just below the Top section.

Fan Control Repositioned
FanControlKnobsReposition.jpg
FanControlKnobsReposition1.jpg
FanControlKnobsReposition2.jpg

Also installed some of the 120mm TT Blue LED Fans (top + rear) and the 140mm Fan LED Fan, also the Front 120mm TT Blue LED Fan

Reinstalled the External CMOS Key Switch to Rear panel,


Thats all for this Update, Stay Tuned for more soon!
:hello:​
 
Back