• Welcome to Overclockers Forums! Join us to reply in threads, receive reduced ads, and to customize your site experience!

PROJECT LOG 7Cubed, a mitx WC scratch build

Overclockers is supported by our readers. When you click a link to make a purchase, we may earn a commission. Learn More.

tkgclimb

Registered
Joined
Sep 21, 2010
Hi, welcome to 7Cubed

I recently got out of the planning stages and onto building and hardware.

First a brief rundown of my idea,

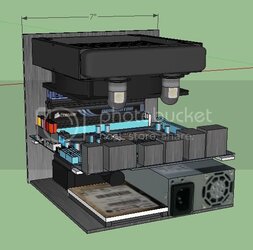
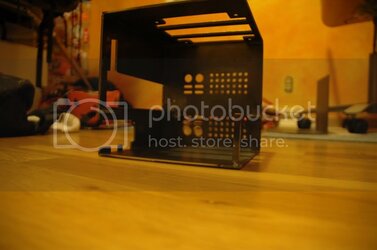
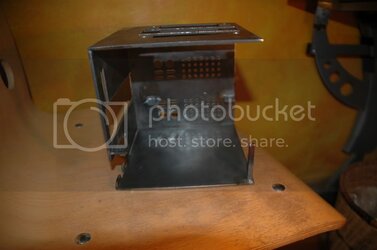
A perfect (well kinda, you'll see) 7" cube the houses a mini itx motherboard, all the standards and is water cooled. The material is 1/8" steel welded together.

Inspirations for this case are: Oliverw92 (and more specifically his MINIME case), Janik M. aka Xien16 and http://www.million-dollar-pc.com/sys...-janik/037.htm, and many others.

if you want to see about in some more detail the design challenges that faced this project see
http://forums.bit-tech.net/showthread.php?t=194611


Current state


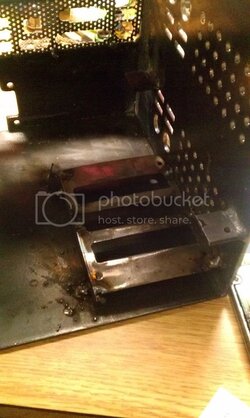
IMAG0100.jpg Hardware
Core i3 530
H55N-usb3 motherboard
Zotac GPU
Corsair 4gb ddr3 dominator at 1600mhz
Lite on slot load dvd burner

For some visuals
slim120.jpg

Sides which will be CNC plasma cam cut
Right
right.jpg
Holes are for cords and tubes that will run outside of case because of the 1/20" space between the sides and the motherboard.
Don't worry they will look purty

Okay enough with the conceptual time for some hardware


the base
DSC_0908.jpg
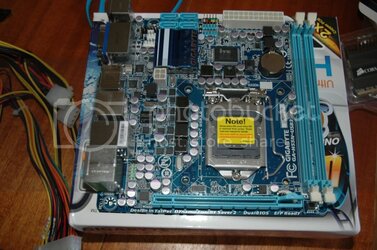
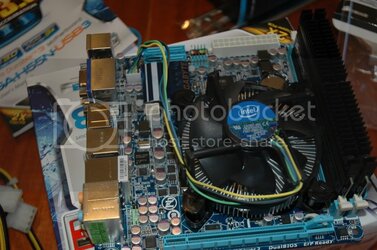
an h55n

DSC_0896.jpg
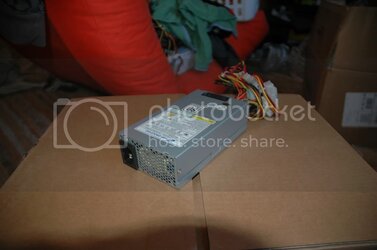
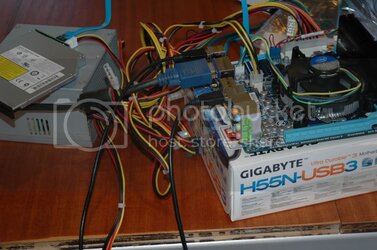
The PSU it's so cute. It's also an FSP270 flex atx

Installed with corsair dominator memory

DSC_0909.jpg
and an i3 530 to top it all of, IT"S MY FIRST INTEL CPU AND IT"S SO SMALL:rock:

DSC_0912.jpg
Checking to make sure everything's in order


Thanks for looking I'll have pics of the beginning stages up by tomorrow.
 
Last edited:
I'll be keeping an eye on this. I really like the look of it; small but easy to access for maintenance or upgrades :D
 
this looks very cool

thanks, I hope it turns out

I'll be keeping an eye on this. I really like the look of it; small but easy to access for maintenance or upgrades :D

Thanks, the accessibility is one reason I don't have a motherboard tray, I'm trying to figure out how to conceal the PSU/mount the optical drive, and one of my designs may slightly hinder accessibility, and thats the reason it's still just an idea.

nice looking design, i would love a mini itx build with water cooling!

ME TOO:D

Glad you like it


Did a little bit of drilling and filing today, broke a bit, but besides that not worth an update, (don't want to bore you guys). Hopefully I'll get more done tomorrow or Thursday, though the weekend is when I get to work in the shop.
 
Looking Forward to seeing this Scratch Build, like the design concept

Thanks

Sorry it's been awhile, I've been really busy, but I have got some stuff done.

I filled and drilled out the cord holes, and I practiced cutting the sata connectors to fit.
DSC_0944.jpg
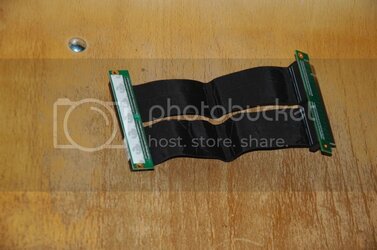
I also received a pci-e extender and a 4 pin extender, courtesy of ebay

DSC_0946.jpg


This needs some work, as it sticks out too far, and it doesn't fit in the dimensions. Sanding will take care of that.

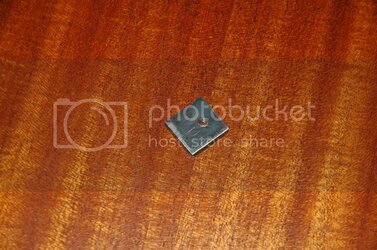
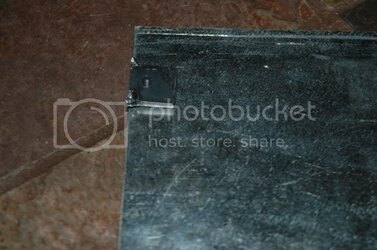
I also cut out and tapped tabs that will be welded to the sides, and where the standoffs will get screwed in.

DSC_0951.jpg

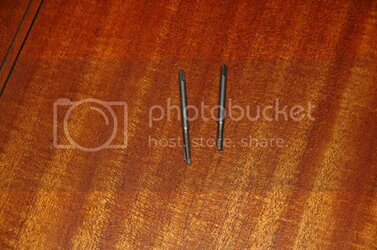
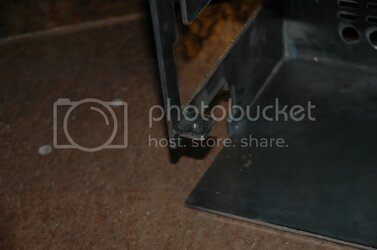
The front left standoff will get screwed into a post (because the left and front are doors) that is attached to the bottom, unfortunately tapping a hole in .25 steel square rod is difficult, as these two taps can attest too, it has yet to be conquered.

DSC_0953.jpg

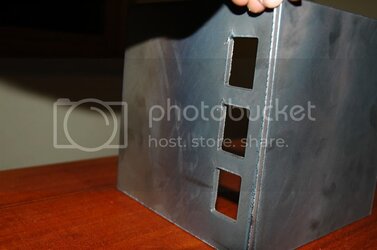
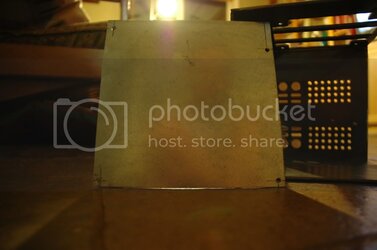
On another note I got the new back cut out and the left (one with the grill) and the front cut out, the left and front still haven't been finished.

DSC_0954.jpg
DSC_0957.jpg
these will be welded together separately and will open off of hinges on the back:)
 
Last edited:
Very cool project. Keep us posted!

Thanks, glad you like it.


I actually got the door tacked together and the mobo tabs mounted, but of course one doesn't line up properly. :temper:, it's not too hard to fix though
After that happens I will probably have another update to post, and then I might have to buy the rest of my hardware:eek:
 
I have been trying to get into welding, but time has been an issue to do proper research. What kind of welder are you using on this size steel?

I do a lot of prototype work and use a bridgeport and lathes frequently. If I was to make one suggestion, ditch the taps you are using now and order some that are made from HSS or carbide. The ones at Home Depot or local hardware stores are not what you want to use. A good tap will be much shinier. Here is an example. I have tapped 1/4" steel with the one on the bottom. The top one is from Home Depot and I can feel it flex when tapping 1/8" aluminum if not careful.

632tap.jpg
 
I have been trying to get into welding, but time has been an issue to do proper research. What kind of welder are you using on this size steel?

I do a lot of prototype work and use a bridgeport and lathes frequently. If I was to make one suggestion, ditch the taps you are using now and order some that are made from HSS or carbide. The ones at Home Depot or local hardware stores are not what you want to use. A good tap will be much shinier. Here is an example. I have tapped 1/4" steel with the one on the bottom. The top one is from Home Depot and I can feel it flex when tapping 1/8" aluminum if not careful.

I'm using a nice lincoln eletric tig/arc welder (It's not mine but I wish it was), on 1/8" sheet metal. I'm using the tig aspect of the welder (arc is to heavy duty and industrial, and I don't like the look of a MIG weld as much as a TIG). If you are just thinking about getting into welding, I would go MIG/ Wire fed welding. Tig is really hard, and complex; MIG Is just a good easy catch all. But a good MIG welder will be expensive, there are some other wire fed alternatives.

Yeah, we soon came to that conclusion that the taps I was using aren't cutting it :D, even though they are HSS (I would have to say ****** quality ones though). They did work for the 1/8" plate but broke when I went to do the support beam. I'm probably going to get some nicer ones soon, and make myself a tapping block to keep the tap straight. Thanks for the info, I/the shop doesn't do much machine work so we don't have any really nice ones on hand.

PS: I want a lathe and or a bridgeport:)
 
Sorry It's been a while, I've been really busy. But thanks for all your support.

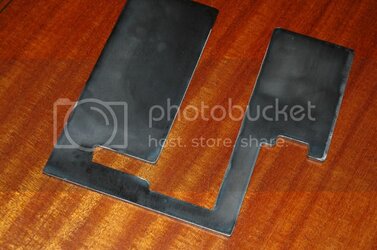
I created a mobo template so I can weld all the tabs in the right places.

DSC_0997.jpg

See like this,
DSC_0998.jpg

one tab mounted
DSC_0992.jpg
 
Hi,

I Got all the tabs welded on in the right place as well as the coluom, After i got it tapped. ( I cheated and went up a drill bit size to make it easier, not as tight as fit but a lot easier and works for my purposes).

Here's some pictures

DSC_1006.jpg

DSC_1008.jpg

DSC_1012.jpg
Pretty tig welds

DSC_1015.jpg
Everything installed

DSC_1017.jpg
I've got one hole for the psu drilled out, more to come

So long
 
loving the case!! wish retail cases could come with the motherboard raised to you could fit drives etc below them!! most mitx cases have the motherboard on the bottom, it make lots of space at the top, but that space normally gets wasted,

cant wait to see the end result!! looking good so far!
 
loving the case!! wish retail cases could come with the motherboard raised to you could fit drives etc below them!! most mitx cases have the motherboard on the bottom, it make lots of space at the top, but that space normally gets wasted,

cant wait to see the end result!! looking good so far!

Glad you like it,

I can tell you one reason they don't have the mobos raised, it's a pain to fit. On a flat surface you just place the mobo down and put the holes where you need them. Not here, it was such a pain to make sure all the tabs were in the right place, in the x,y, and x axis.

But then Again when you have thousands of dollars worth of fancy machines just to make cases it can't be that hard.


On another note I ordered my mesh for the intake grill, and I'm about to order my hinges for the door, I'm going with aircraft quality stainless steel piano hinges.
 
Got some stuff today in the mail,

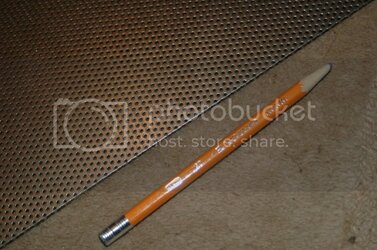
Some perforated mesh for the grill on the side and the I/O shield.
DSC_1019.jpg
they are 1/16" holes, and Though I wish they were a little closer together it will work.

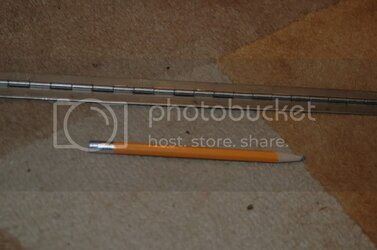
The hinge for the door, this is a stainless steel, aircraft piano hinge. I only need about 4 inches but it comes in sections of 3ft so I have a good amount extra.

DSC_1021.jpg

It will get rivited on (i'm sorry not welded)
 
Back