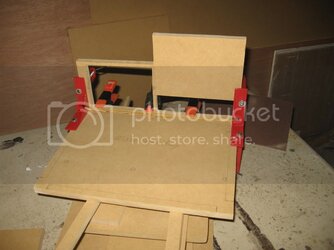
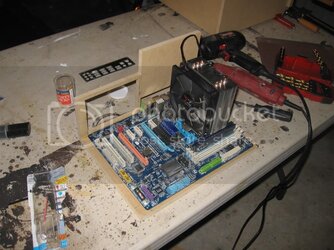
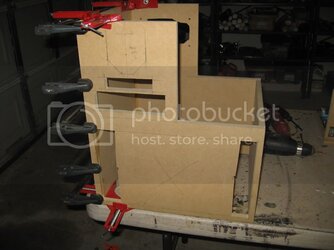
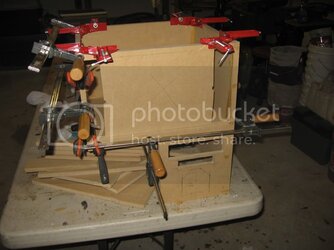
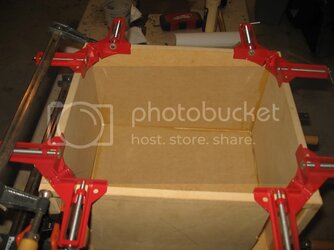
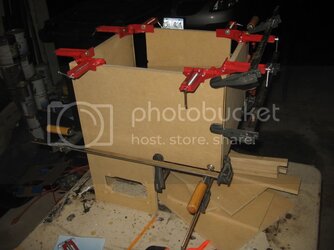
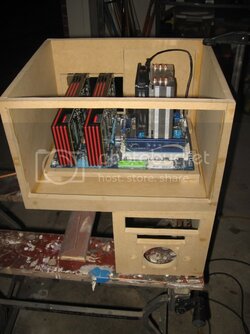
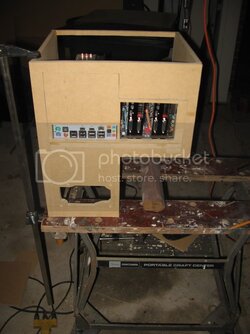
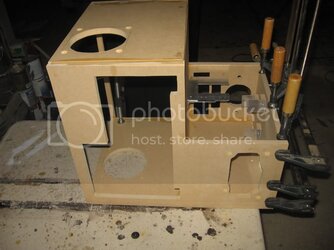
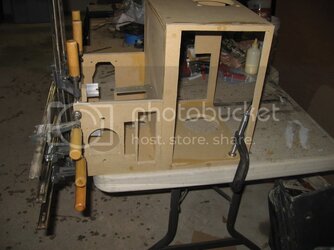
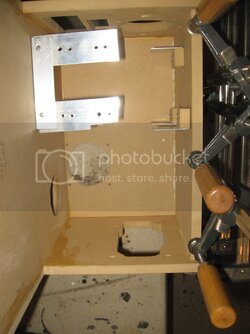
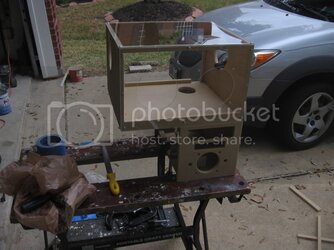
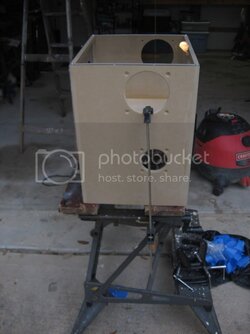
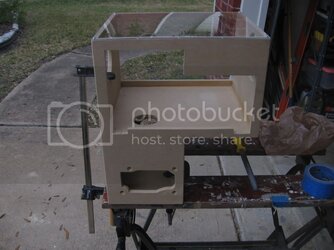
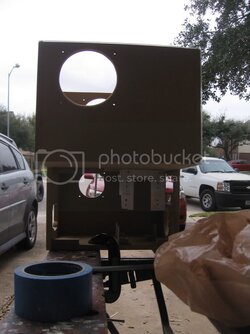
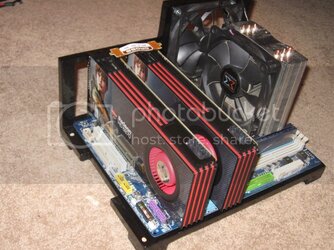
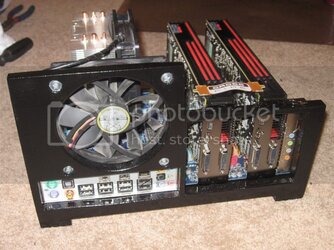
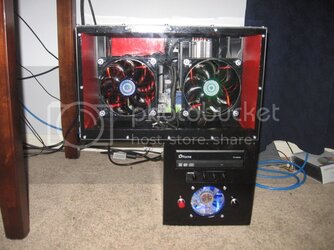
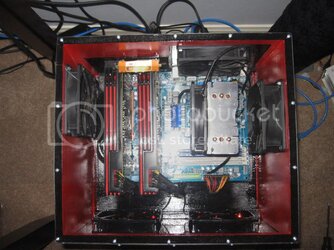
Hey guys, well during this Christmas break i'm planning on making a custom wooden case for my gaming machine.
Reasons why I'm choosing to use wood:
1. Gives me a project to do over the Christmas break while at my parents house.
2. No case on the market will fit where I want to put this case.
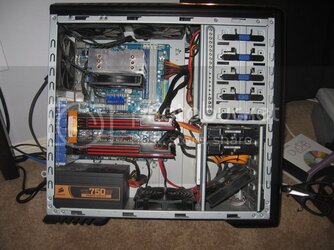
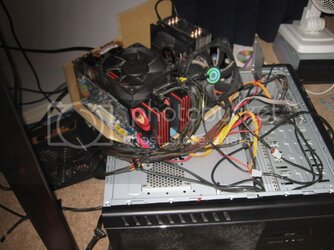
Right now my gaming rig is sitting inside a CM609. There is absolutely nothing wrong with this case, it does its job very well. I'm replacing it because I'm going to be building a file server and I'm going to be using the CM609 for that job.
Here is where I'm planning on putting the new case.

Its going to fit on top of the right side of the desk, where the monitor shelf and the top of the desk meet. I built that desk summer of 09 as a project to do while at my parents house.
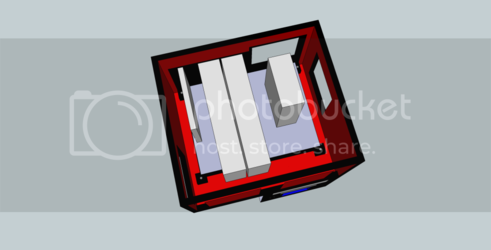
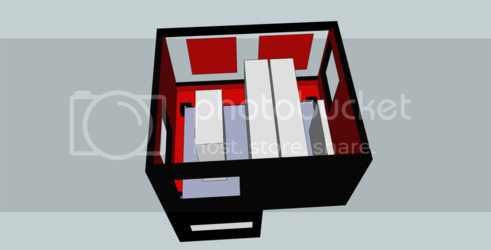
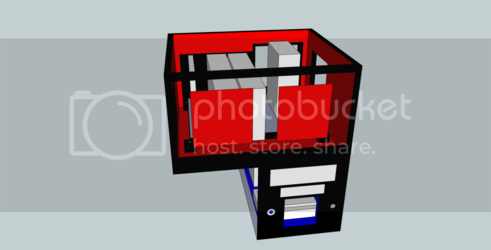
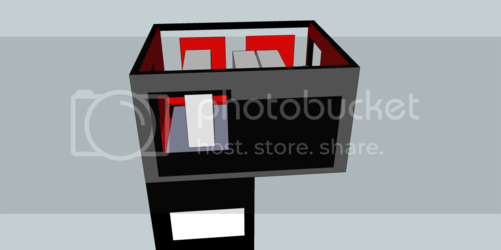
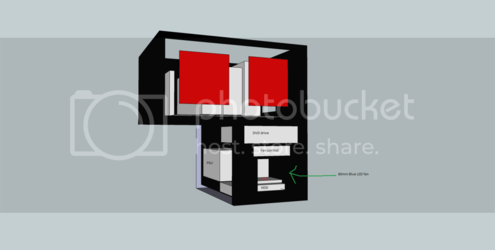
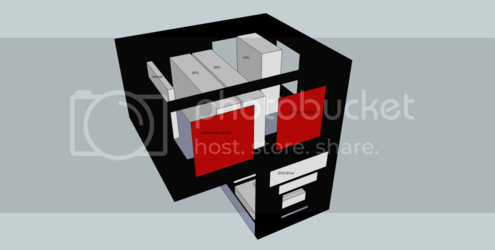
Here is the plans I have for the computer case drawn up in Google's Sketchup.
Front side:


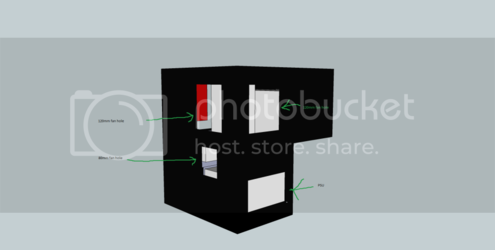
Back side:

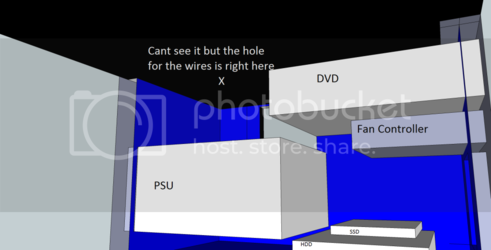
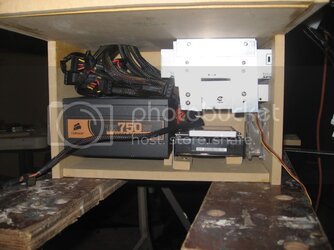
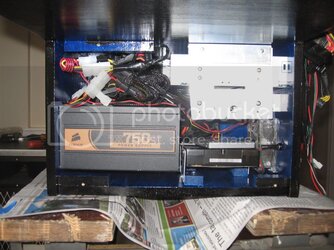
This design allows me to put the PSU/HDD/SSD/fan controller/dvd drive in one little compartment to isolate them from the actual heat producing parts.
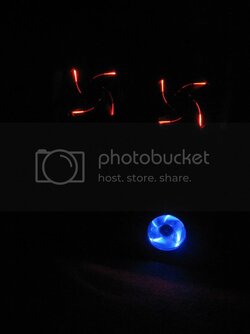
The bottom portion will have 2 80mm fans, 1 will be a blue LED intake on the front under the fan controller. The other will be a plain jane exhaust fan. My bed sits right on the edge of the desk where the computer will be located and I don't want to have lights right in my face right there. The PSU is going to be raised up a bit so that the 120mm fan at the bottom of it can have enough room to suck air into the PSU and blow it out the back. Also, the power/reset buttons will be on either side of the 80mm fan in the front.
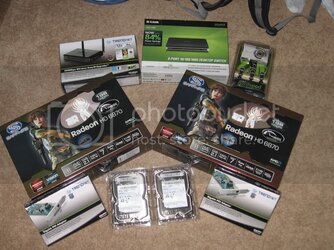
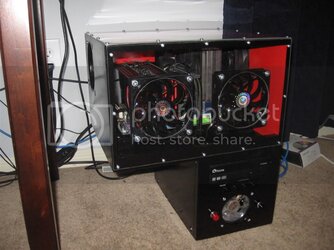
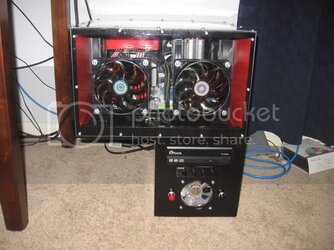
For the top portion I'm planning on having 4 120mm fans, 2 of them will be red led fans for the intake (the two in the front). the other two will be exhaust fans and probably be plain jane 120mm fans for the same reason as the the 80mm exhaust fan in the bottom compartment. In the drawing there is a 120mm CPU fan + heat sink (fan isn't included in the drawing, just the heat sink). And two GPU's (aiming for two 6870's). My question is, Should I add another 120mm fan on the left side of the case (the side next to the monitors) as an intake fan or do y'all think the setup I'm planning now will be enough to cool down 2 GPU's with a slight overclock (if needed) and an amd 720 BE with unlocked 4th core overclocked to 3.5ghz.
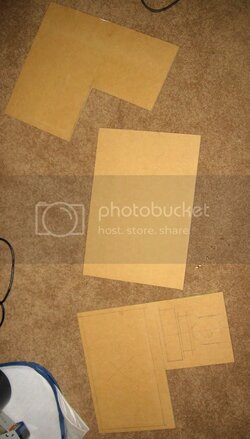
I'm going to be using 1/2in MDF and I'm planning on doing a Black mirror finish for the outside of the case and the inside of the top portion of the case. The idea of doing a red mirror finish for the inside of the case in the top portion just came into my head so I'll also be thinking about that idea... I'm going to be using some clear lexan for the top of the case and the front of the top portion, these will be removable and they will be the way to access the goodies inside. To get to the goodies on the bottom portion you will need to take off the left side panel (this part is opened in the drawings).
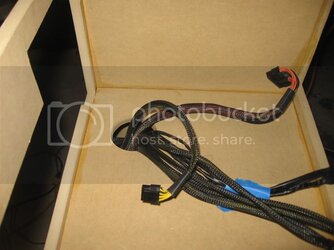
The locations of the two red led fans on top will be determined by the actual placement of the GPU's, the idea is to have 1 blowing directly into both of them while keeping a unified look (same distances on each side of the fans). Also this design allows me to easily work in cable management, the only cables that will be visible will be the fan wires and the necessary wires to get everything working. I do know that the I/O plate for the motherboard isn't in the drawings but that is some thing I will cut out when I have the exact measurements. Same thing for the GPU/sound card cutouts. Just imagine that they are in the drawings .
.
Let me know your opinions on this setup .
.
Also, if the black in the drawings make it hard to see the form of the box let me know and I can change the colors back to the original blueish-grey.
Reasons why I'm choosing to use wood:
1. Gives me a project to do over the Christmas break while at my parents house.
2. No case on the market will fit where I want to put this case.
Right now my gaming rig is sitting inside a CM609. There is absolutely nothing wrong with this case, it does its job very well. I'm replacing it because I'm going to be building a file server and I'm going to be using the CM609 for that job.
Here is where I'm planning on putting the new case.
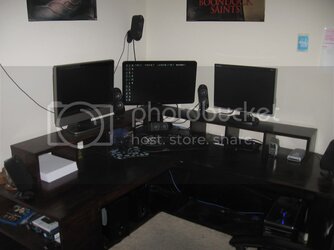
Its going to fit on top of the right side of the desk, where the monitor shelf and the top of the desk meet. I built that desk summer of 09 as a project to do while at my parents house.
Here is the plans I have for the computer case drawn up in Google's Sketchup.
Front side:
Back side:
This design allows me to put the PSU/HDD/SSD/fan controller/dvd drive in one little compartment to isolate them from the actual heat producing parts.
The bottom portion will have 2 80mm fans, 1 will be a blue LED intake on the front under the fan controller. The other will be a plain jane exhaust fan. My bed sits right on the edge of the desk where the computer will be located and I don't want to have lights right in my face right there. The PSU is going to be raised up a bit so that the 120mm fan at the bottom of it can have enough room to suck air into the PSU and blow it out the back. Also, the power/reset buttons will be on either side of the 80mm fan in the front.
For the top portion I'm planning on having 4 120mm fans, 2 of them will be red led fans for the intake (the two in the front). the other two will be exhaust fans and probably be plain jane 120mm fans for the same reason as the the 80mm exhaust fan in the bottom compartment. In the drawing there is a 120mm CPU fan + heat sink (fan isn't included in the drawing, just the heat sink). And two GPU's (aiming for two 6870's). My question is, Should I add another 120mm fan on the left side of the case (the side next to the monitors) as an intake fan or do y'all think the setup I'm planning now will be enough to cool down 2 GPU's with a slight overclock (if needed) and an amd 720 BE with unlocked 4th core overclocked to 3.5ghz.
I'm going to be using 1/2in MDF and I'm planning on doing a Black mirror finish for the outside of the case and the inside of the top portion of the case. The idea of doing a red mirror finish for the inside of the case in the top portion just came into my head so I'll also be thinking about that idea... I'm going to be using some clear lexan for the top of the case and the front of the top portion, these will be removable and they will be the way to access the goodies inside. To get to the goodies on the bottom portion you will need to take off the left side panel (this part is opened in the drawings).
The locations of the two red led fans on top will be determined by the actual placement of the GPU's, the idea is to have 1 blowing directly into both of them while keeping a unified look (same distances on each side of the fans). Also this design allows me to easily work in cable management, the only cables that will be visible will be the fan wires and the necessary wires to get everything working. I do know that the I/O plate for the motherboard isn't in the drawings but that is some thing I will cut out when I have the exact measurements. Same thing for the GPU/sound card cutouts. Just imagine that they are in the drawings
Let me know your opinions on this setup
Also, if the black in the drawings make it hard to see the form of the box let me know and I can change the colors back to the original blueish-grey.

