- Joined
- Mar 22, 2013
CURV3D | By C4B | Completed
Hello there!
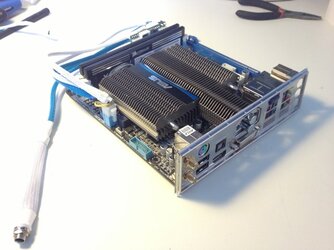
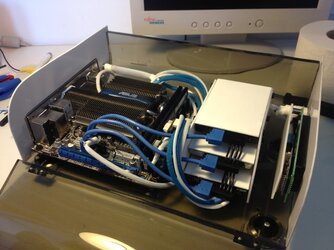
Just registered today and want to show you a little project Im working on, its actually pretty finished, new motherboard and changing to only 2.5" disks will be the last thing. However, this all started as a side project to my other build Cold Winter, but turned out to be pretty fun and took a lot of time. Its a simple HTPC but with a special design.
This is a HTPC/NAS build. The specs of the hardware is:
Asus AT3IonT-I Deluxe
Intel X-25-V G2 40gb
4gb Corsair DDR3
Western Digital Green 2TB & 3TB
Sponsors:


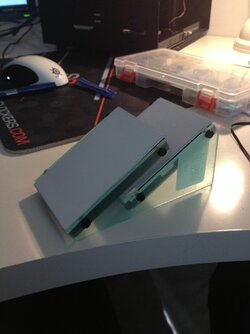
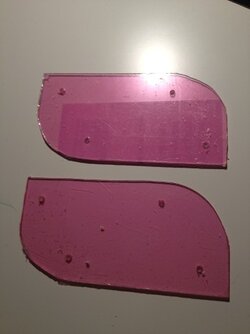
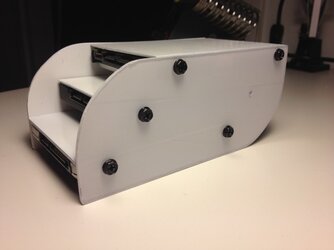
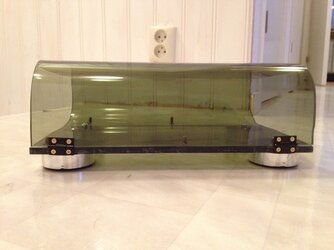
I got the idea for this build when I was looking at some of the acrylic I had left from Cold Winter. Saw some nice shape coming. So I started cutting, and got these two acrylic pieces:


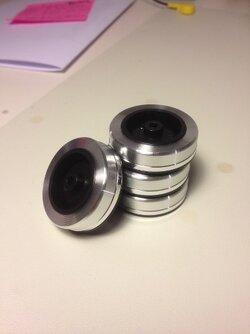
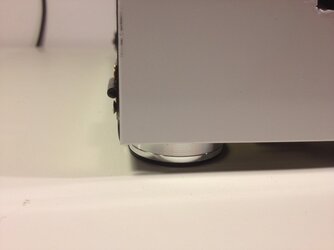
The next thing I did was to put some feet on it, havent decided yet if I should get some smaller ones. Then I put the two pieces together with two small hinges.


Glued the motherboard stand off screws into the acrylic.

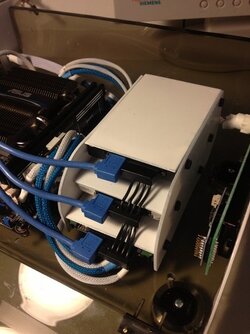
And sleeve the power cables for the drives.

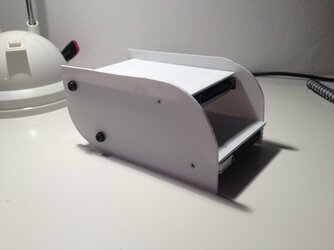
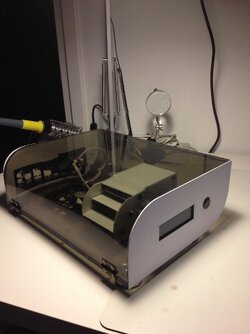
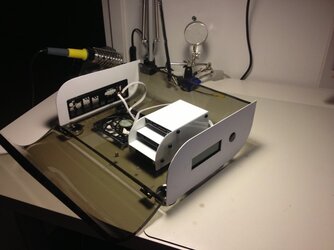
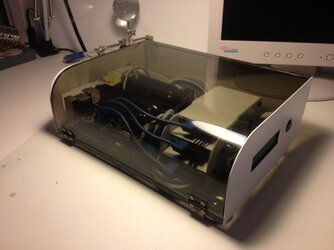
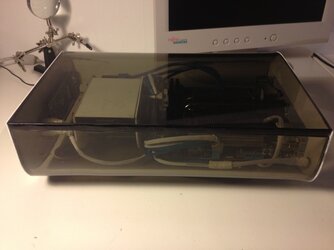
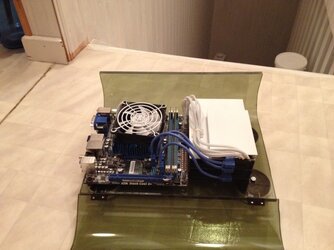
Some overview pictures.


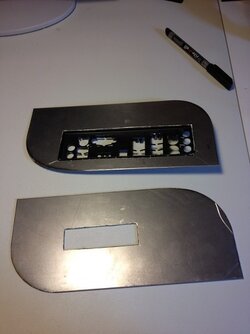
Next up is the front and backplate:

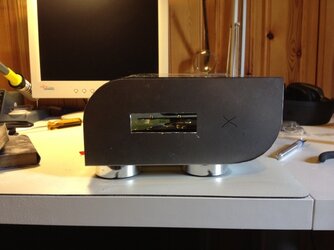
Should I go for a powerswitch on the frontplate or hide it in the back? The cross is where Im thinking of putting it.


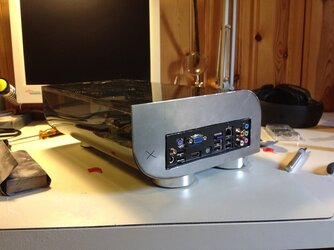
Put some paint on those! (Sorry for Instagram picture)


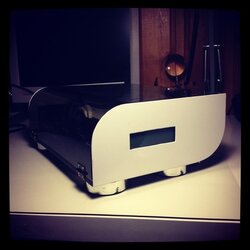
So this is how far Ive come. Dont have that much left to do.


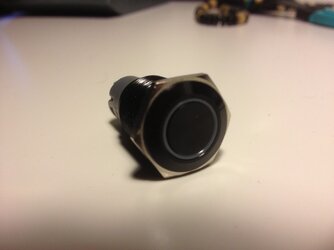
I also got a nice powerswitch with a white LED ring.

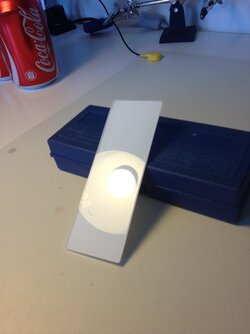
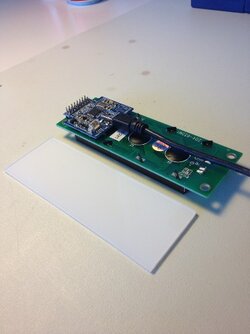
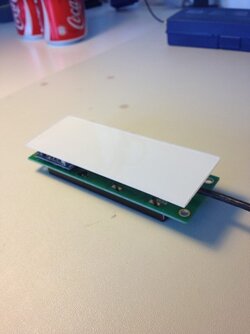
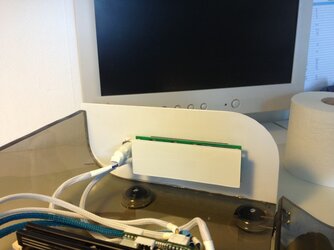
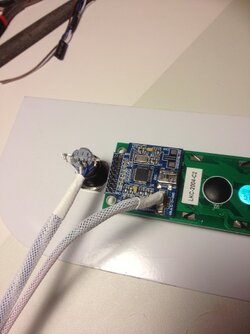
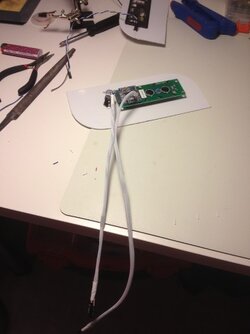
So I installed the LCD and the powerswitch on the frontpanel and soldered the cables and sleeved everything white.


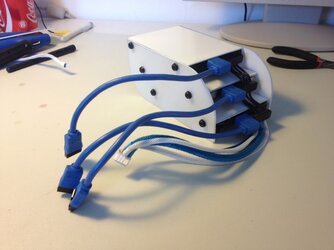
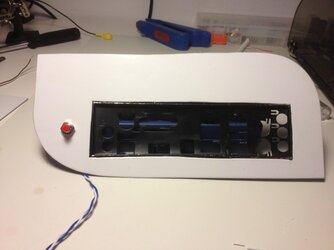
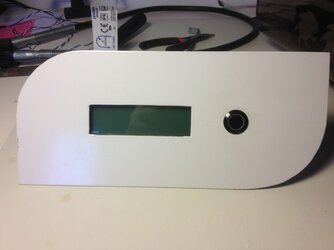
So this is how the front and backpanel looks like.


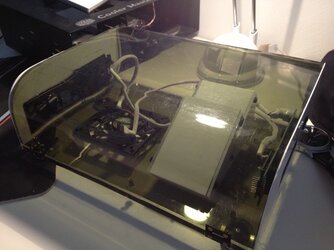
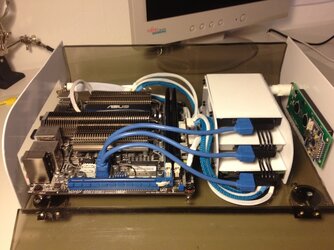
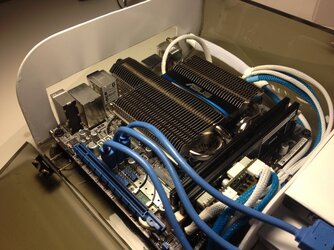
Here is some pictures of how I managed all the cables.


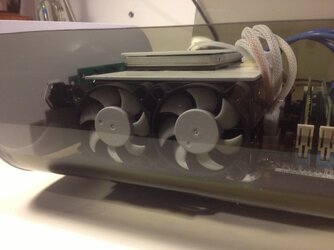
I took some small Fractal Design fans and soldered together and put on the side of the harddrives to cool them down a little.

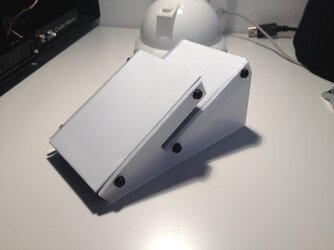
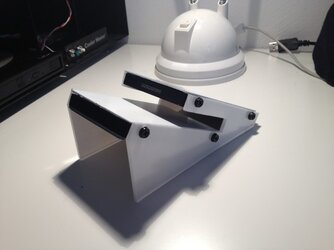
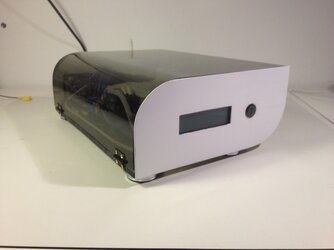
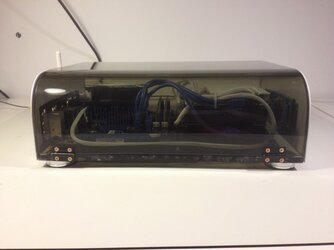
Thats about it. After this I cleaned everything and took some final pictures of the build. Im soon gonna buy a better camera so I can take some better pictures and I will post them here later. But here is the final pictures Ive got right now.


I sanded down the edges and polished it. Looks a little bit better. Also made a 100mm hole under the motherboard, will put a slim 100mm fan there on low rpm too. With a little dustfilter.
The edges


100mm hole


I also did a little "mediabenchtest". Put on 10x 1080p movies in a playlist and the CPU and GPU never got over 65c. So Im satisfied. Now with a intake it will get even better.
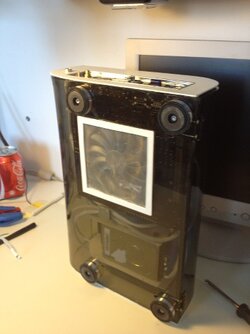
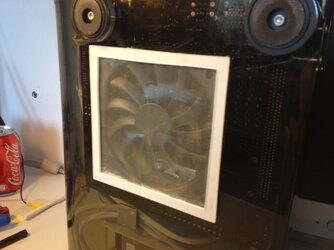
I got the 100mm fan today. A slim version from Scythe. I wasnt going to make an air intake even though everyone wanted me too, I just want to clarify, I didnt really needed it and I had no idea how to install a fan without hiding it. But then I found this fan, its 12mm thick, and the acrylic is 8mm thick, so I made a 100mm hole and installed the fan with help of some glue. So it extends 4mm over the acrylic. Just waiting for a dustfilter to go over the fan.
The only thing Ive got left now is to take the whole system apart, clean everything and fix some edges on the white plates, then put everything together again.


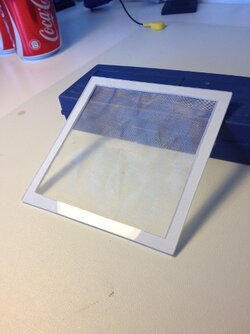
I bought a Canon 400D from a friend a couple of weeks ago so now I got some better pictures, the final pictures. The last thing I did was to install a fan filter over the 100mm fan under the motherboard.
I have been using this build as my main computer for a while because Im working on another project. The temps are pretty good, uses it for movies, music and internet. No problemo!
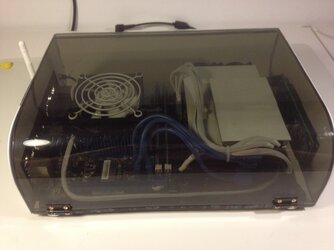
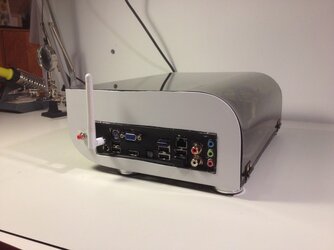
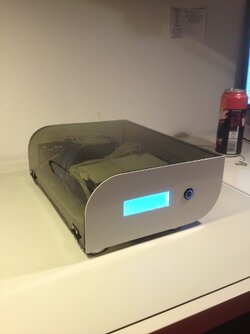
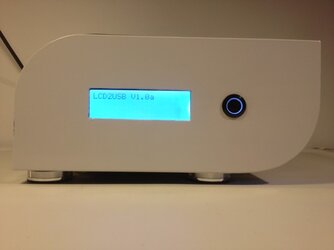
Enought with that, here are the final pictures. Hope you enjoy them!
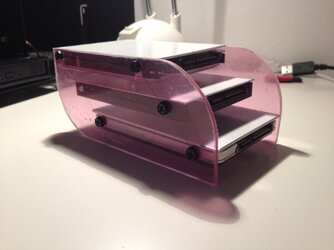
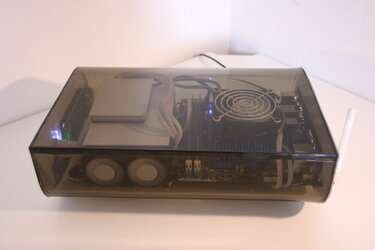
Left side


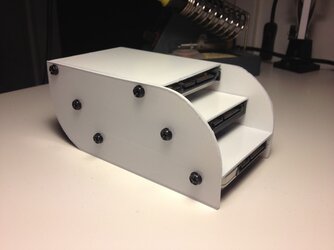
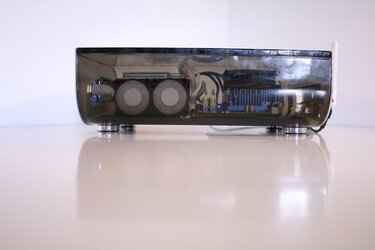
Right side


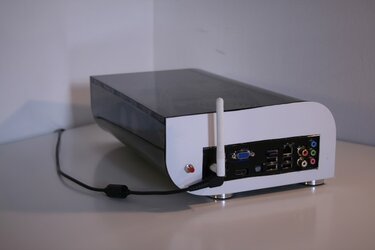
Backpanel

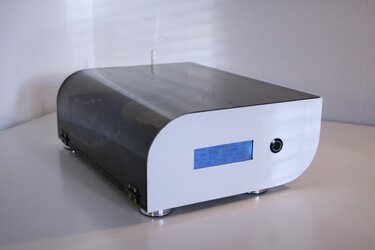
Frontpanel


Thank you and Ill see you soon again!
With kind regards
Johan Nyman
Minimalistic PC
Hello there!
Just registered today and want to show you a little project Im working on, its actually pretty finished, new motherboard and changing to only 2.5" disks will be the last thing. However, this all started as a side project to my other build Cold Winter, but turned out to be pretty fun and took a lot of time. Its a simple HTPC but with a special design.
This is a HTPC/NAS build. The specs of the hardware is:
Asus AT3IonT-I Deluxe
Intel X-25-V G2 40gb
4gb Corsair DDR3
Western Digital Green 2TB & 3TB
Sponsors:


I got the idea for this build when I was looking at some of the acrylic I had left from Cold Winter. Saw some nice shape coming. So I started cutting, and got these two acrylic pieces:
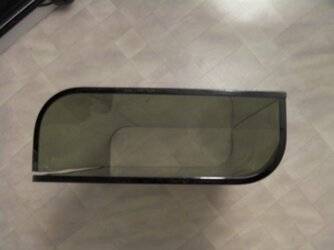


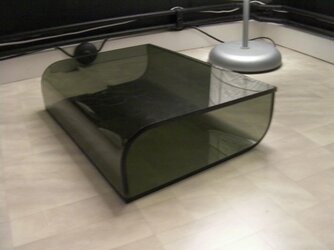
The next thing I did was to put some feet on it, havent decided yet if I should get some smaller ones. Then I put the two pieces together with two small hinges.
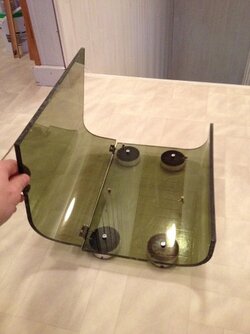
Glued the motherboard stand off screws into the acrylic.
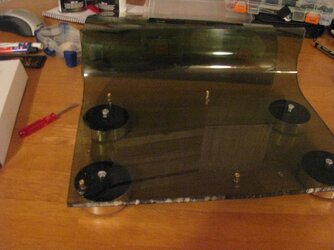
And sleeve the power cables for the drives.

Some overview pictures.

Next up is the front and backplate:
Should I go for a powerswitch on the frontplate or hide it in the back? The cross is where Im thinking of putting it.
Put some paint on those! (Sorry for Instagram picture)
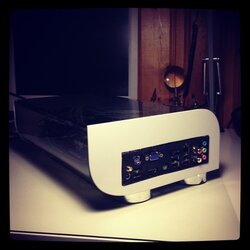
So this is how far Ive come. Dont have that much left to do.
I also got a nice powerswitch with a white LED ring.
So I installed the LCD and the powerswitch on the frontpanel and soldered the cables and sleeved everything white.
So this is how the front and backpanel looks like.
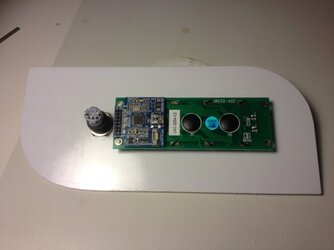
Here is some pictures of how I managed all the cables.
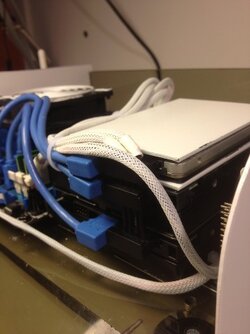
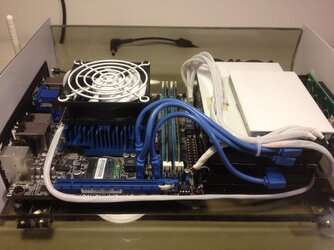
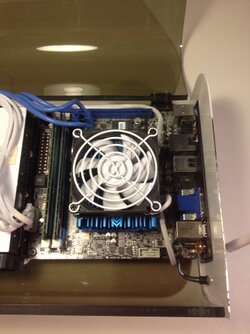
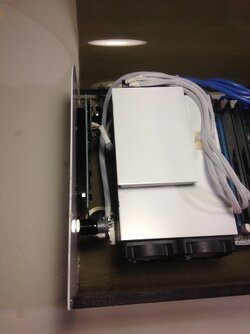
I took some small Fractal Design fans and soldered together and put on the side of the harddrives to cool them down a little.
Thats about it. After this I cleaned everything and took some final pictures of the build. Im soon gonna buy a better camera so I can take some better pictures and I will post them here later. But here is the final pictures Ive got right now.
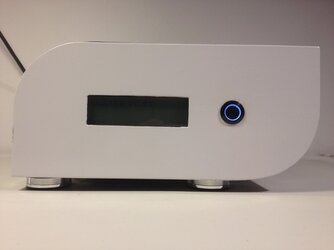
I sanded down the edges and polished it. Looks a little bit better. Also made a 100mm hole under the motherboard, will put a slim 100mm fan there on low rpm too. With a little dustfilter.
The edges

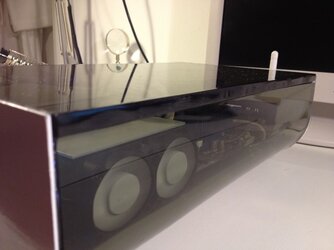
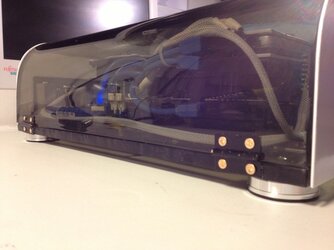
100mm hole
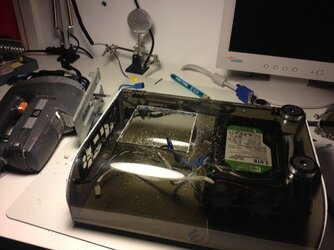
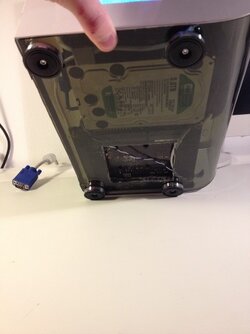
I also did a little "mediabenchtest". Put on 10x 1080p movies in a playlist and the CPU and GPU never got over 65c. So Im satisfied. Now with a intake it will get even better.
I got the 100mm fan today. A slim version from Scythe. I wasnt going to make an air intake even though everyone wanted me too, I just want to clarify, I didnt really needed it and I had no idea how to install a fan without hiding it. But then I found this fan, its 12mm thick, and the acrylic is 8mm thick, so I made a 100mm hole and installed the fan with help of some glue. So it extends 4mm over the acrylic. Just waiting for a dustfilter to go over the fan.
The only thing Ive got left now is to take the whole system apart, clean everything and fix some edges on the white plates, then put everything together again.
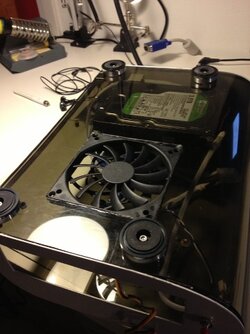

I bought a Canon 400D from a friend a couple of weeks ago so now I got some better pictures, the final pictures. The last thing I did was to install a fan filter over the 100mm fan under the motherboard.
I have been using this build as my main computer for a while because Im working on another project. The temps are pretty good, uses it for movies, music and internet. No problemo!
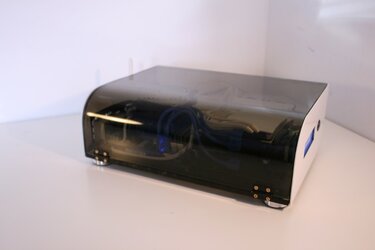
Enought with that, here are the final pictures. Hope you enjoy them!
Left side
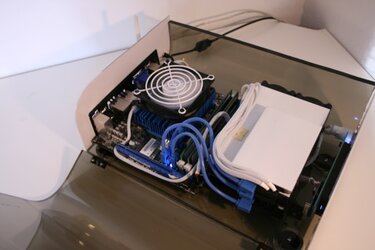
Right side
Backpanel
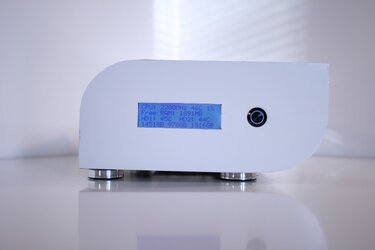
Frontpanel

Thank you and Ill see you soon again!
With kind regards
Johan Nyman
Minimalistic PC
Last edited:
