• Welcome to Overclockers Forums! Join us to reply in threads, receive reduced ads, and to customize your site experience!

Corsair 900D WC Build Log

Overclockers is supported by our readers. When you click a link to make a purchase, we may earn a commission. Learn More.
Oh ok I assumed it helps airflow and my plan is front and bottom are intake and top and back are exhaust. Written on paper and with common sense, it feels like it does make sense.

Well yes it does and that's how I originally had it setup up but because the top has a filter I felt barely any air was being pushed through and felt some air escaping to the sides. Also some air from the non-filtered back was also entering inside the case and making things a bit dusty.

Also, is there an easy-ish way to install radiators or will they forever be a pain in my arse and be a 2 person job?:bang head

Top should be ok.

Bottom you need to unscrew the drive bays out and setup the radiator brackets for the radiators. Once you've done with that you install the radiator and fans together since you're going in push. It can be a slow process but doable.

Take a look at my build log Nostalgia v2.2. Should help you out there or give you an idea.
 
Well yes it does and that's how I originally had it setup up but because the top has a filter I felt barely any air was being pushed through and felt some air escaping to the sides. Also some air from the non-filtered back was also entering inside the case and making things a bit dusty.


Top should be ok.

Bottom you need to unscrew the drive bays out and setup the radiator brackets for the radiators. Once you've done with that you install the radiator and fans together since you're going in push. It can be a slow process but doable.

Take a look at my build log Nostalgia v2.2. Should help you out there or give you an idea.
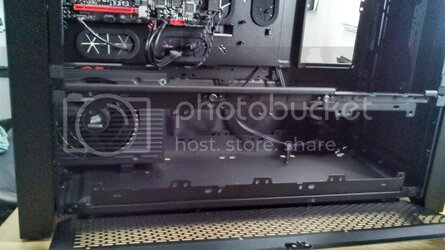
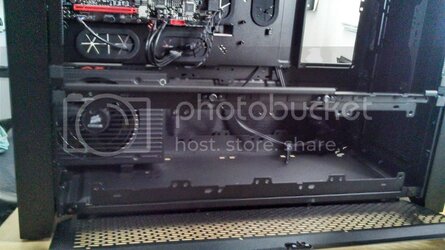
So my radiator brackets are a bit weird, the top one is able to be screwed in with the hatches but the bottom is off. If I put in the hatches and try to line up the screw hole, I'm off by a few mm?

Also your build is really nice, anything you changed about it after you posted it?
 
So my radiator brackets are a bit weird, the top one is able to be screwed in with the hatches but the bottom is off. If I put in the hatches and try to line up the screw hole, I'm off by a few mm?

Some people get bend cases. Make sure your side panels close no problem. The top taking the filter off can be a bit tricky. Be careful you don't break it as some have already done.

The radiator brackets should slide on the slider than get screwed in before you put the fans and radiator on it.

Also your build is really nice, anything you changed about it after you posted it?

Any changes to the rig will be posted on my build log along with some tests.
 
Some people get bend cases. Make sure your side panels close no problem. The top taking the filter off can be a bit tricky. Be careful you don't break it as some have already done.

The radiator brackets should slide on the slider than get screwed in before you put the fans and radiator on it.


Any changes to the rig will be posted on my build log along with some tests.
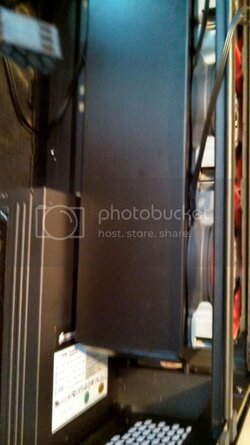
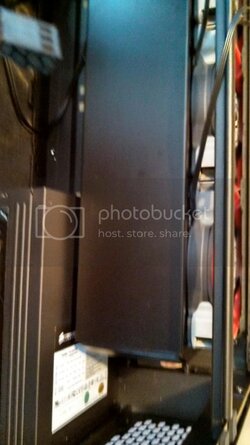
Sorry, my wording was weird, I was asking if I had to screw down the bottom bracket but it's fine now, I slid it in a lot more now it's sturdy. What I ask if I can put fans in front, in push, air going through the rad and hitting the PSU, then my rad in between the fans and the PSU? Or would I have to turn the PSU the other way(fan facing other side)? IMG_20131110_123355_291.jpg
 
Sorry, my wording was weird, I was asking if I had to screw down the bottom bracket but it's fine now, I slid it in a lot more now it's sturdy. What I ask if I can put fans in front, in push, air going through the rad and hitting the PSU, then my rad in between the fans and the PSU? Or would I have to turn the PSU the other way(fan facing other side)? IMG_20131110_123355_291.jpg

The brackets look good as long as you screwed a few holes in the top. Bottom bracket should be fixed and fine.

PSU should be turned the other way so its fan is intaking fresh filtered air and not warm air from the radiator.
 
So I just realized, if I do push, I have 5 mm of room between the rad and PSU. Could I do the other 3 in push and one in pull or all of them in pull. I'd suspect push in that area would not be beneficial for temps.
 
So I just realized, if I do push, I have 5 mm of room between the rad and PSU. Could I do the other 3 in push and one in pull or all of them in pull. I'd suspect push in that area would not be beneficial for temps.


How big are your radiators going down there again? 120.4? 60mm?


Just put the fans in front of the radiator in between the filter in push on each side and leave it alone. Whatever room is left in between is fine and your PSU will be fine as long as the PSU fan was facing its own side.
 
It's the mighty Monsta IMG_20131110_152903_282.jpg I'm just wondering if the air can push out in the tight place.


Oh my lord! :rofl: That thing is HUGE! That's maybe an inch of space.

Did you do your measurements when you bought your stuff for that case sir? Well I always told everyone to not get excited and buy stuff.


It can still work. You should be ok. It will heat up the panel side of the PSU but not enough to cause problems. Plus that PSU's fan will turn on when it needs to. You'll be ok. It won't be hot air but warm air so no worries unless you'll have crazy water temps.


Nonetheless no worries but next time do your measurements.
 
Last edited:
Oh my lord! :rofl: That thing is HUGE! That's maybe an inch of space.

Did you do your measurements when you bought your stuff for that case sir? Well I always told everyone to not get excited and buy stuff.


It can still work. You should be ok. It will heat up the panel side of the PSU but not enough to cause problems. Plus that PSU's fan will turn on when it needs to. You'll be ok. It won't be hot air but warm air so no worries unless you'll have crazy water temps.


Nonetheless no worries but next time do your measurements.
Hehe less than an inch and I measured for up top, but for the old mobo. The new one was different. I would've got the the 60 but it was delayed until November at the time and that's why I asked pull lol. You sure on push? I want to be extra sure :p
 
Hehe less than an inch and I measured for up top, but for the old mobo. The new one was different. I would've got the the 60 but it was delayed until November at the time and that's why I asked pull lol. You sure on push? I want to be extra sure :p


Yup. Either or is fine but like the way the fans show through the filter. But hey, that's just me. :D
 
IMG_20131111_160303_961.jpg

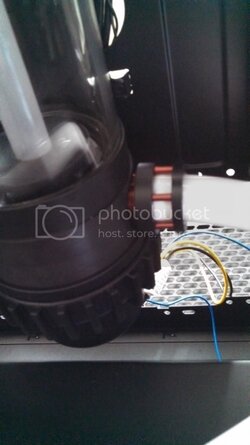
The visible o ring is trying to block about less than a mm of a gap. Would it cause leak issues or should I try my best to close that gap?

Edit:
IMG_20131111_161347_172.jpg
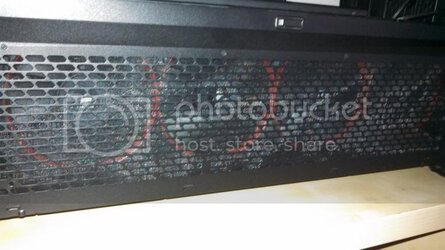
Jack, should I keep the filter on this side with the fans? And for the other side, should I unscrew that panel to provide airflow for the PSU and to keep the filter or is it already good enough?
 
Last edited:
IMG_20131111_201341_873.jpg
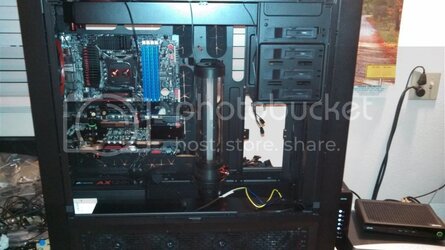
So I got my res on there with some Rotanium, just had to take off the 3 screw holes for the HPTX boards and the 2 rubber grommets. I need to go and buy a M20 to G1/4 adapter so I get a nice route of tubing. I'm not entirely sure if I need to buy some 90s or 45s or would my tubing not kink as easy with the weird routes?
 
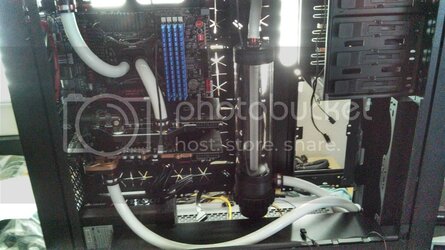
So this is the irritating tubing so far. It's not as pretty since I had to sacrifice the fittings I was going to use for a cleaner route for the 590s.
IMG_20131116_122241_613.jpg
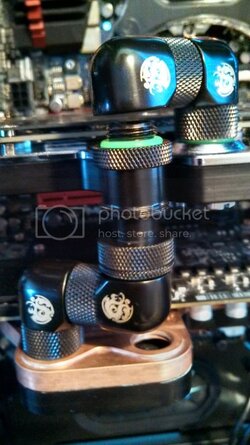
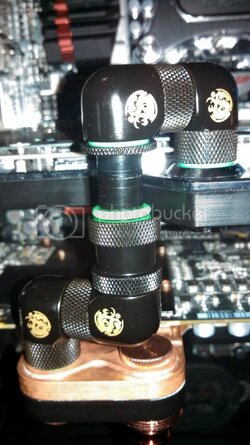
I ask though, are these fittings tight enough? Also one of my fittings on my raystorm goes over the barb but not all the way, I think it's good.

Also this is how my fittings look like and they can't be tightened further
IMG_20131116_122308_238.jpg
 
So far it looks good and is coming along. How are you liking it?

For the PSU side, you don't need to take off the panel if you're not adding a radiator there or fans. With the panel still installed there are side intakes so you don't have to worry.

A few things I noticed. The tubing on top of the reservoir doesn't look comfortably fit. Also, where is your fill in and your drain?
 
So far it looks good and is coming along. How are you liking it?

A few things I noticed. The tubing on top of the reservoir doesn't look comfortably fit. Also, where is your fill in and your drain?
Liking??? It took me 3 hours to install the tubing and fittings:cry: I'm still figuring out how to fill this, it's a weird res. I might do a regular path from the top and fill it using one of the inlets and fill from there.

That's not my concern now, I'm figuring out how to reinstall the hdd cage or maybe even mount the HDD behind the case, if possible.

I also ordered an SSD(finally) the Samsung 840 Evo 256 GB.

Welcome to Watercooling. No one ever said it was going to be easy. Best is after the first time you do it, it gets easier and better.

One thing to learn from this is when starting to watercool you want to make a diagram or a blue print of your goal. You live and learn. Once you're done it will be worth it because you did all the work.

You can only fit the HD cages to the middle 2 sections from the front.

Congrats on your new SSD. I might be grabbing one soon but not sure yet.
 
Back