• Welcome to Overclockers Forums! Join us to reply in threads, receive reduced ads, and to customize your site experience!
FEATURED Exoframe Mini

Overclockers is supported by our readers. When you click a link to make a purchase, we may earn a commission. Learn More.
You guys ain’t seen nothin’ yet!


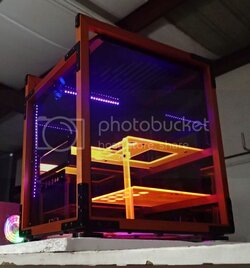
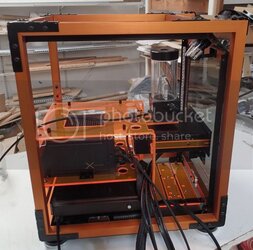
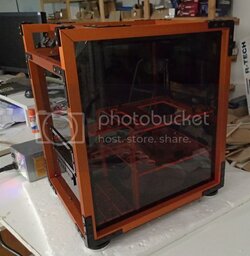
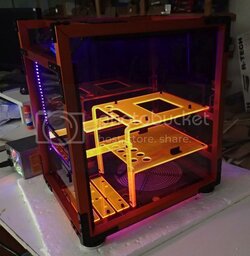
Here’s the case minding its own business:


Rebuiltunlit1_zpsb08f1a0c.jpg


Hit the third switch and this is what it looks like:


Rebuiltlit1_zps362fcfc0.jpg


Rebuiltlit3_zps9b490afa.jpg


Its hard to recreate in pictures what this looks like, so here’s a quick video:


Click Here for Video!
 
Oh damn :drool:

You have LED's in the orange plexi? or just the UV lights lighting them up?
 
That made me think of Cars when Lightning McQueen says "kachow"
 
That made me think of Cars when Lightning McQueen says "kachow"
LOL Atmin

Navig, I have to say that is a very nice piece of art. I love how the MB tray reflects the UV. Though, food for thought, maybe stick the lighting below it? I'm thinking when it's built with a mobo and components in it, they may block the UV lighting from hitting the reflective material, no? Anyhow, Damn that is cool!
 
I've done a fair bit of lighting testing, and it seems that with the multiple directions of the UV light bands, it provides very good coverage overall. There are only UV light strips mounted on both sides of the top and front of the cases. I run into obstruction of the UV lights in a few situations, as you will see in upcoming posts--1) I install a Antec Bigboy fan (38mm thick) under the top panel, which really blocks the angle of the top LED bands 2) Video card is practically a vertical divider 3) My tubing eventually casts shadows on itself. Actually never run into issues with the orange structure panels not glowing as if they were on fiyah!
 
One last video. 2 things I like about what I’ve got regarding the lighting:


1) Remarkable contrast between UV lights on and off

2) Since all the panels are made from transparent plastic, there’s a real 3 dimensionality to it--with the lit structure viewable from all sides (gonna be fun trying to keep the wiring and cabling clean).


--> Video Link Here <--


Okay, on to component install....
 
Navig, seriously that is awesome. I see what you're saying when it seems to come alive when you turn the lights on. It does make it look like it's going from 2d to 3d when you turn them on. Kudos to you Navig, it's really a nice case!
 
Navig, seriously that is awesome. I see what you're saying when it seems to come alive when you turn the lights on. It does make it look like it's going from 2d to 3d when you turn them on. Kudos to you Navig, it's really a nice case!

+1; very well done.
 
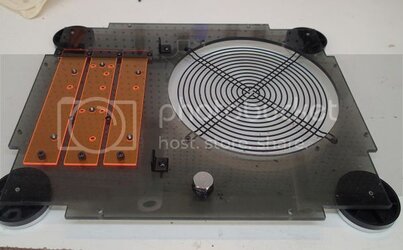
Started with sorting the bottom panel:


CIbottompanel_zps1d7ada8e.jpg


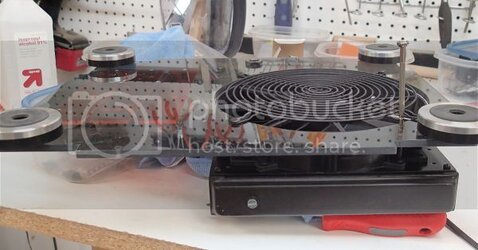
Got the bottom fan grill attached.


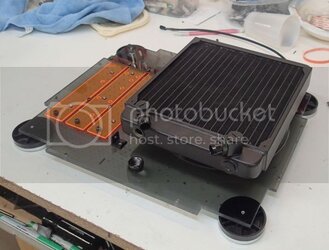
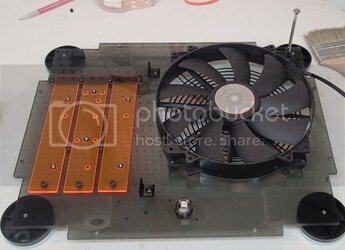
Getting the radiator and fan mounted took a little bit of tinkering cause you’ve screw holes for the fan grill to the bottom panel, the fan to the bottom panel, the fan to the radiator shroud, and the radiator shroud to the radiator. I’m throwing some of these pics down for future reference, in case I need to disassemble it.


Fan attaches to the bottom panel with these holes:


CIbottompanelfanmount_zpsf0aadec4.jpg


Fan attaches to the radiator with these screws, accessed by these thru-holes.


CIbottompanelradmount_zps0472029b.jpg


Radiator is now mounted:


CIradiatormounted_zpsda615507.jpg


Next, I plumbed my drain port--got a bulk head pass thru with a short stubby fitting:


CIdrainport1_zps6177f002.jpg


The drain port assembly is a super low clearance rotational 90 degree fitting, with a stubby end:


CIdrainport2_zps1e8563b5.jpg


Drain port:


CIdrainport3_zpsc0d60b05.jpg
 
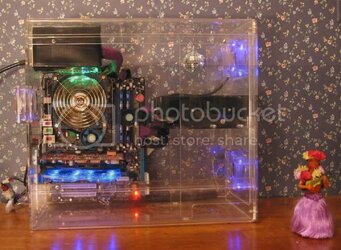
Thank you so much for your nice comments, it means the world to me. Not always talent, more like try, fail, bang head, repeat until minor success, and only post the good pics. Here's an old pic of one of my first projects. At the time, I had a Dell PC (Inspiron something or other) just like everybody else. But I was at the Fry's on NW highway in Dallas, and they had this clear acrylic case on the discount rack for like $20. I thought it looked cool, so I bought it on a whim. Ever since then I've doing computers in what I deem in my own eyes as "cool".


xp120cleanside.jpg


No comments on the wall paper, hula girl or disco ball. Interestingly, even tho this mod was done maybe before the turn of the century, you will see some its elements in my current project.


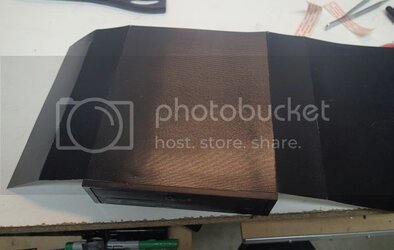
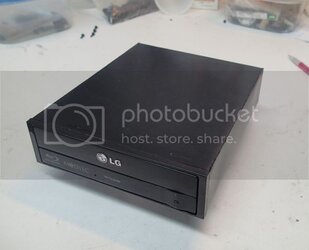
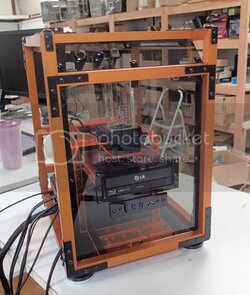
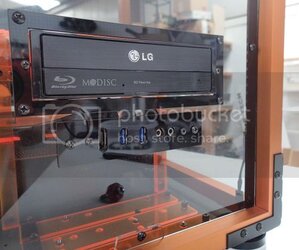
Next I worked on my Blu ray drive.

With all the internal components being so visible, couldn’t just leave the unit with ugly gray stamped metal back portion exposed. Painting is a bit of a pain, so I employed one of my classic (and by classic check out the pic above of my clearpc case done something like year 2000) lazy techniques:


Dressingupdvddrive1_zps8fc3f50a.jpg


Wrap it with some black textured paper from my local art store.


Dressingupdvddrive2_zps9687f1d4.jpg


Whole bunch of double stick tape later, and now its dark on all sides.


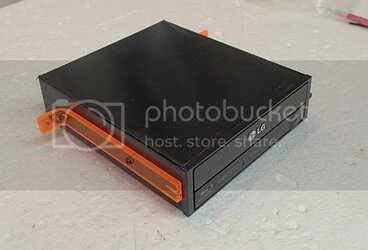
Mounting bars attach to the sides:


CIdvddrive1_zpsa6f56c50.jpg


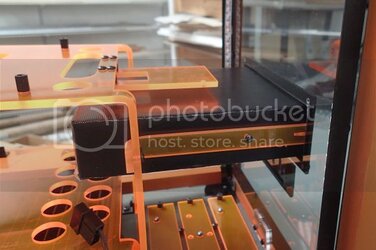
And in it goes!


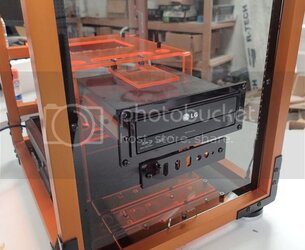
CIdvddrive2_zps3802452e.jpg


CIdvddrive3_zps30699e7b.jpg
 
But I was at the Fry's on NW highway in Dallas, and they had this clear acrylic case on the discount rack for like $20. I thought it looked cool, so I bought it on a whim.
Love the monster airflow through the case Navig, those 80mm fans must be pushing like 200 Cfm each, no ;) Amazing how far cases have come.
 
And the noise of 80mm fans!


Next I installed the front panel usb set. This is a standard Lian Li replacement set, features USB 3.0 and e-sata, and audio ports.


CIfrontusb1_zps30a249b7.jpg


CIfrontusb2_zps7d030f37.jpg

Cables are tucked right under the blu ray drive, so pretty hidden away.


Placed my power supply:


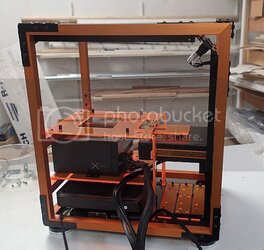
CIPSUin_zpsb62e375a.jpg


You can see cables are starting to amass! I’m using a Seasonic X-750.


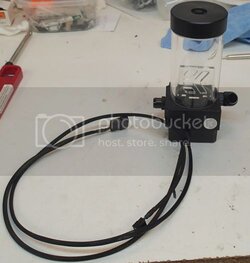
Focused on the pump. This is a Swiftech MCP-35x topped with an EK pump top and reservoir.


Started with sleeving out the cabling. Simple black weave.


CIPumpcablejob_zps7883d9da.jpg


And installed:


CIPumpinstall_zpsfb43e3d8.jpg


The pump is sort of a feature, as it is front and center, especially viewed thru the front plastic panel.


CIpumpinstall2_zps37719503.jpg
 
Let’s keep the components coming!


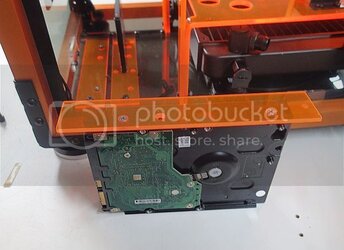
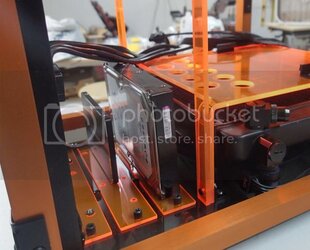
Mounted my drives up. They attach to these bracket/slats.


CIdrive1_zpsff8c1df9.jpg


Then they slide in and mount with a thumbscrew:


CIdrive2_zpscc107ebd.jpg


I’ve got a Samsung 840 256gb and a Seagate 750gb.


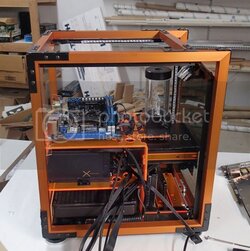
Next, dropped in the motherboard for the first time:


CImotherboard1_zpsefe46e46.jpg


This is an Asus P8Z77-i deluxe sporting 2x4gb G.skill RAM.


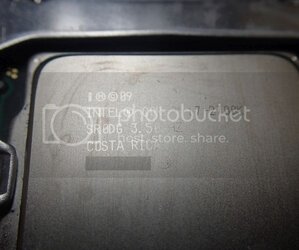
Here’s the cpu:


CPUinstall2_zps86be3738.jpg


Its under a Swiftech Apogee HD.


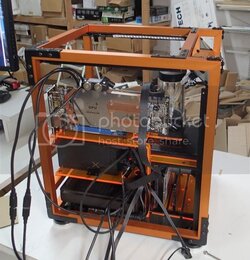
And put in the graphics card:


CIgpuinstalled_zpse70742ce.jpg


This an XFX 7970 DD, with a Heatkiller full top card and backplate.
 
Back