• Welcome to Overclockers Forums! Join us to reply in threads, receive reduced ads, and to customize your site experience!

PROJECT LOG [Cyprus 29] Cooler Master HAF935 :Update 2 : 3/24/14 : Structure up, more copper

Overclockers is supported by our readers. When you click a link to make a purchase, we may earn a commission. Learn More.

OrangeClockwerk

Registered
Joined
Mar 6, 2014
[Cyprus 29] CM Stacker : Update 11/16/15 :Finally an update! Its almost done!

AyI9EQf.jpg

Hey there everyone! Well I have been busy lately! Finished up Grey Matter, started my Fractal Design build, and also started a 4x2CNC build. I took the case feet from my fractal build and moved them to this project because I have a good idea for them. I want to thank the companies so far supporting this build, I appreciate it!

eYVxpq9.png

About this project:

Again I was looking into color schemes that are not often worked with, I wanted to do something unique and creative like Grey Matter, so I decided to use a ROG theme!:thumb: Haha just playing!:duh: I decided on a glossy brushed copper and white theme, I am calling it Cyprus 29. I came up with the name because the first copper mines in the world were located on the island of Cyprus and 29 is the atomic number on the periodic table for copper. I have some copper sheet, white paint and acrylic, brushed copper vinyl wrap. I will be using white Primochill revolvers with 1/2" copper tubing and white pastel liquid. Its going to be an interesting theme and a lot of fun to do!

Don't forget to look here for quick links to my updates! I hope to add videos along the way as well!

[x] Update 1 : March 10 : Painting and panel work. Theme now visible.
[x] Update 2 : March 24 : Structure is up! More paint more copper!
[x] Update 3 : April 9th : Structural support
[x] Update 4 : April 22nd : Top pedestal, fiberglass work!
[x] Update 5 : May 5th : Gusset, Shroud, and Sponsors!
[x] Update 6 : May 27th : Parts came in! Custom LED Trim!
[x] Update 7 : June 9th : Started custom waterfall reservoirs!
[x] Update 8 : June 24th : Custom reservoir trim!
[x] Update 9 : July 10th : z97, Power supply mod, Swiftech sponsors build!
[x] Update 10: July 28th : Copper Painted watercooling! CNC time!
[x] Update 11 : Aug. 19th : Painting, SSD panel, and Video!
[x] Update 12 : Sept. 7th : Finished SSD's, new rear panel, pump enclosure!
[x] Update 13 : Oct 5th : Grey Matter tear down, GPU, top panel.
[x] Update 14 : Dec 7th : Doors, Top, Bezel!
[x] Update 15 : March 1st : Rear Panel, MB and RAM

[x] Update 16 : Nov 11th : Finally an update! Its almost done!


Here will be the compiled list of components:

<> PC Components:
[x] Case : Cooler Master HAF 935
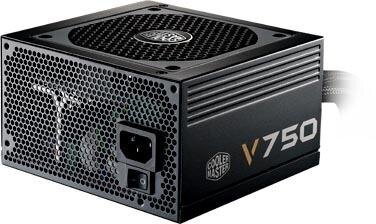
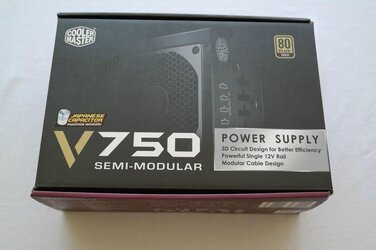
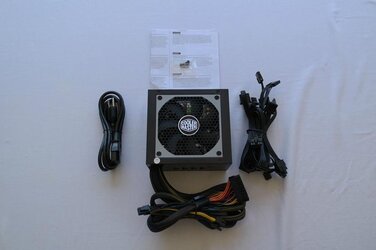
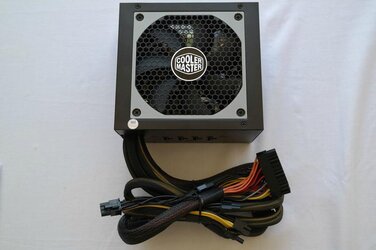
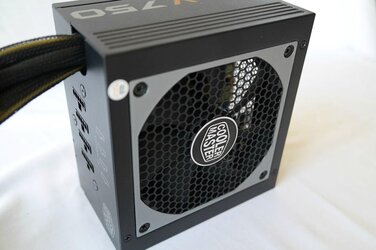
[x] PSU : Cooler Master V750w Semi-modular Gold Plus
[x] CPU: Intel
[x] MoBo: Asus z97 Sabertooth
[x] RAM:
[x] GPU: 2x Evga 780 GTX
[x] SSD: 2x Corsair Force LX 256Gb - Raid 0
[x] Optical:

<> Water Cooling System:
[x] 2x Handmade acrylic waterfall reservoirs
[x] Primochill 1/2"OD PETG Tubing
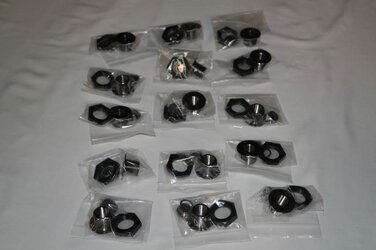
[x] 15x Primochill Nickel Plated Bulkhead
[x] 50x Primochill Revolver Fittings - Straight Knurl
[x] Primochill Intensifier Sicle Colors
[x] Swiftech Apogee XL - Clear - CPU Block
[x] 2x Swiftech Komodo-NV GPU Block
[x] Swiftech 240mm Radiator
[x] Swiftech 360mm Radiator
[x] Swiftech PWM MCP35x2 Pump - With Heatsink

<> Mod Parts:
[x] 1/8" white acrylic sheet
[x] 1/8" clear acrylic sheet
[x] 3/8" aluminum clockwerk case cubes
[x] 3mm white LED
[x] Mod/Smart white MaxCord paracord
[x] 2x Mod/Smart 20 light LED board
Parts bought from MNPCtech.com

M3 PC Radiator screws.


PC Modders Mesh Sheets.


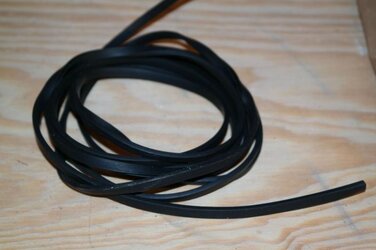
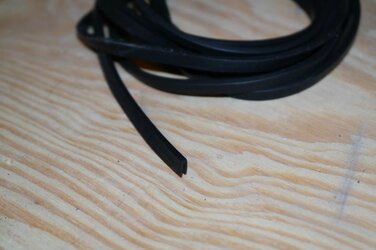
Rubber U-channel panel edge and window trim.


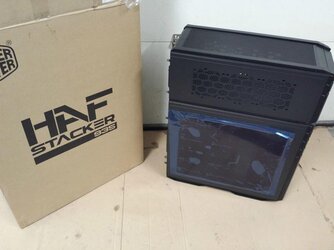
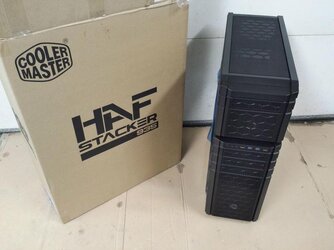
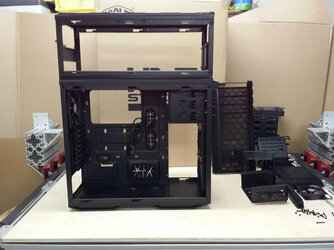
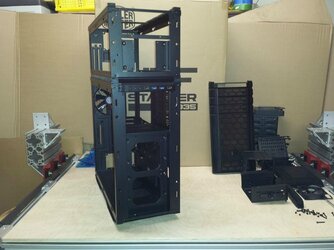
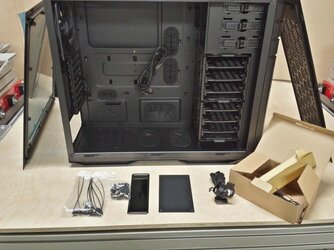
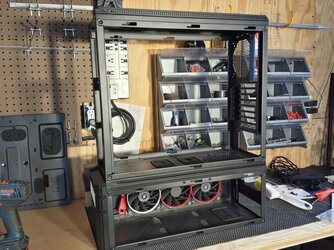
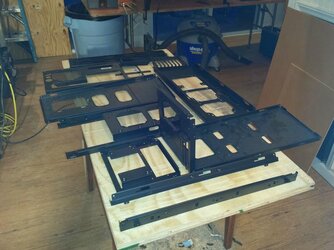
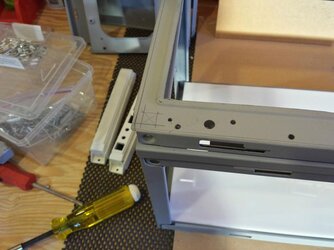
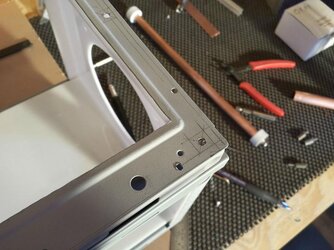
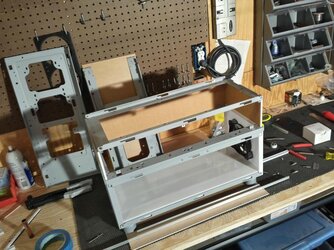
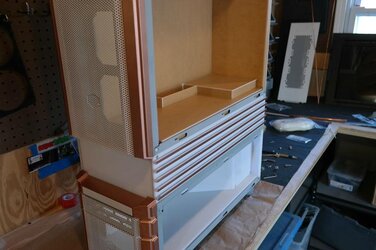
Alright. With all that out of the way, lets take a look at this beast of a case. First thing I did was get it out of the box and tear some of it down to start planning the component orientation. Thanks again to Cooler Master North America for the case! :thumb:

FXLhFMv.jpg

AfLcvsG.jpg

dk0k5Uo.jpg

IrU91Zf.jpg

dVpxsdi.jpg


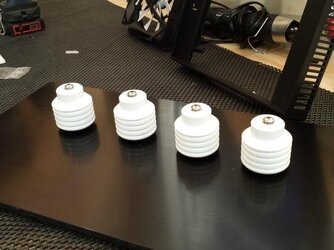
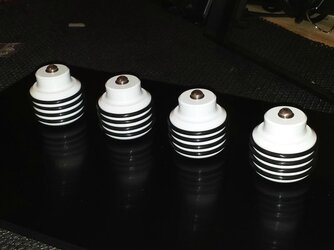
In case you missed them on he Black Frost Fractal build, here are the beast mode case feet from Casefeet.com. I am going to make copper rings for them.

dgbefw2.jpg

gl9IxYH.jpg


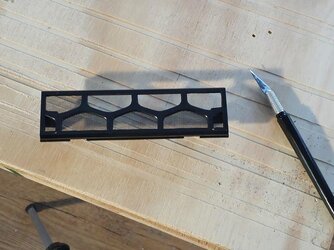
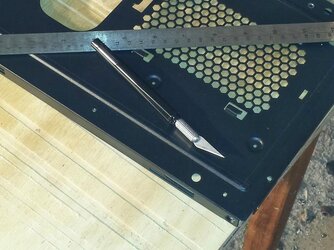
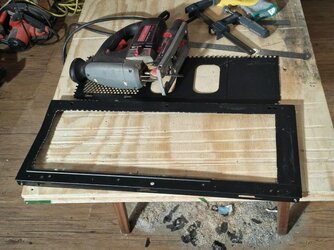
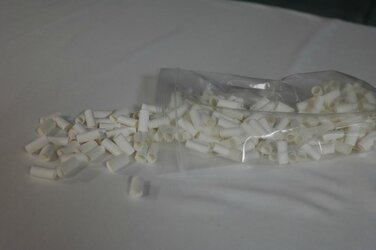
One gripe I found about the case is these glued in filters, they are a pain when it comes to modding. So I proceeded to razor them all out.

uncu2xY.jpg


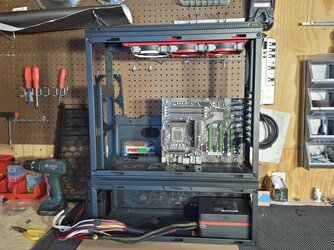
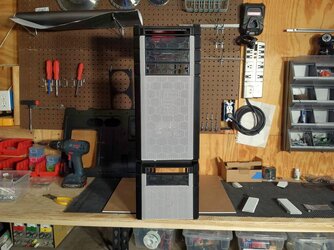
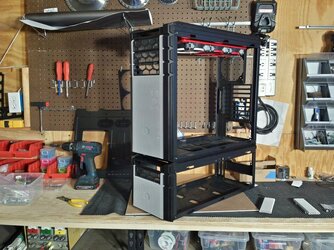
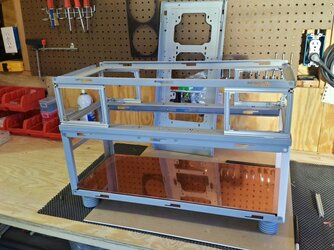
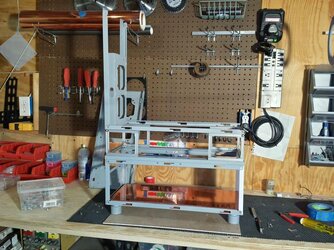
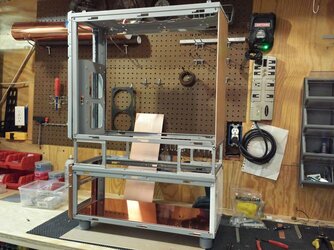
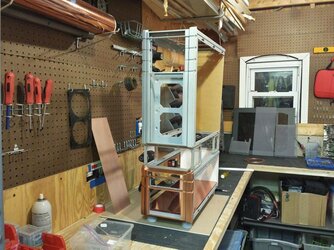
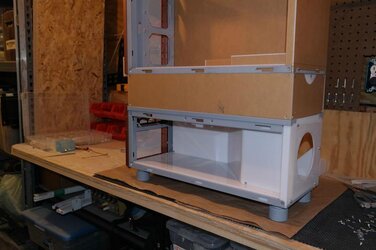
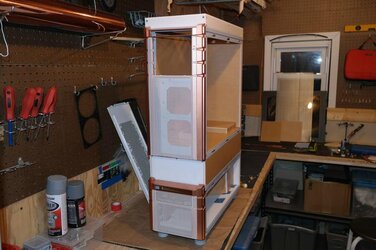
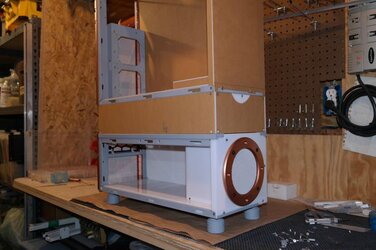
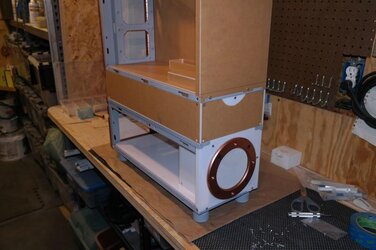
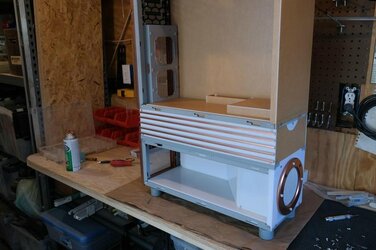
For the component orientation I decided on, I will be using the small case on the bottom as a pedestal. and I also flipped the case so the back door is now the front window so I can flip the motherboard 270°.

kqsae1f.jpg

ft7sTAw.jpg


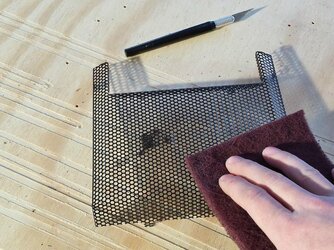
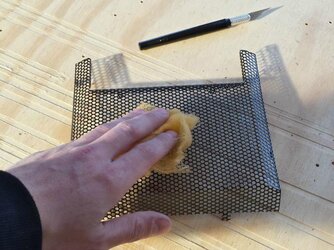
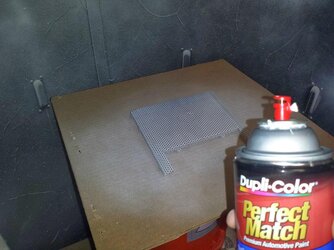
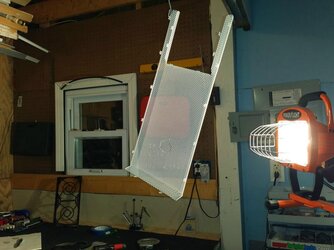
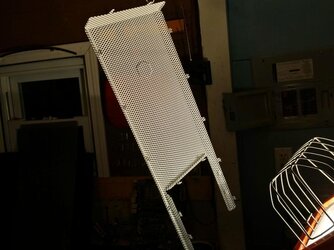
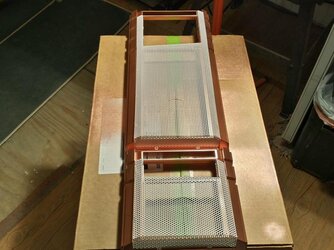
then I did a little prep work and painted the mesh. I painted it a bright white and the plastic panels will be painted with polished copper. Ill have some of that next update. First I scuffed the mesh then washed it off. Let it dry then tack cloth it. Then I sprayed paint adhesive then the paint follow by clear coat. I am using acrylic lacquer paint now as opposed to acrylic enamel in the past.

J6QJDsb.jpg

8SHC3dZ.jpg

WeXSZGF.jpg

tCy9FHt.jpg

v73lQmg.jpg

qz8JKk7.jpg


Well that is what I have for now. I should have an update at least once a week, I try for every Monday. I hope you enjoyed it and are excited as I am!:rock: Talk to you all very soon!


Last edited:
Hey everyone! I got busy on this build over the last week. I really have to say I am excited to see this build come to be. The copper and white color scheme is really growing to be my favorite scheme yet!

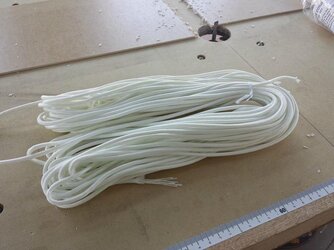
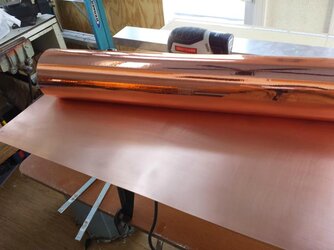
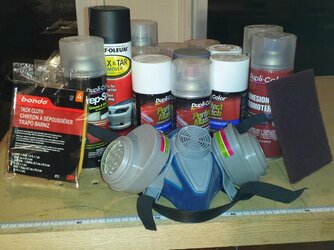
Well lets get into it! Some copper film and paracord came in the mail through the week. I also picked up some painting supplies to start.

8bpCfGt.jpg

mHkNvU3.jpg

cq4uBzP.jpg


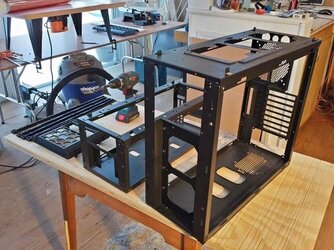
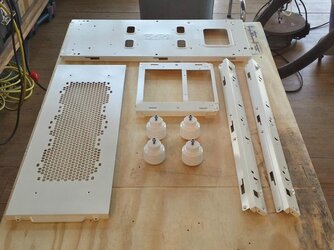
I disassembled the entire case.

OPHEC56.jpg

hV5GzHN.jpg


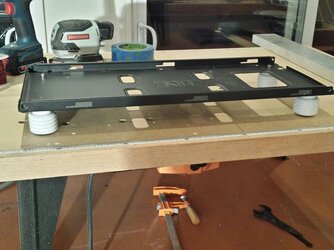
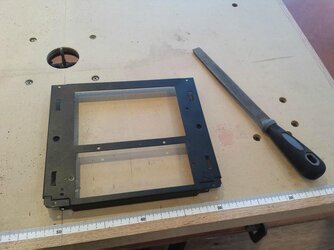
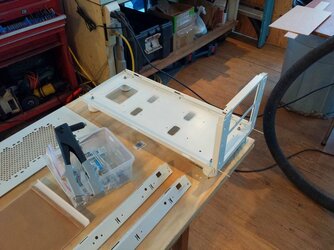
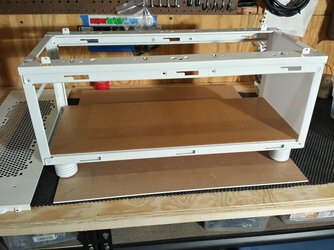
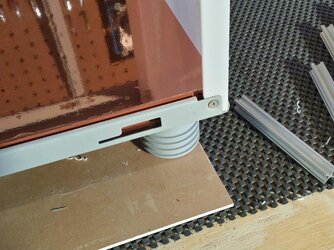
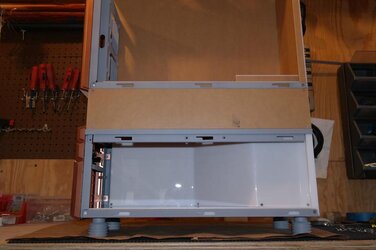
Once it was apart I did some work to both bottom panels. I removed most of the top case bottom panel and I added the massive case feet to the bottom case bottom panel. I am going to file down the top case bottom panel when my U-channel arrives.

Rlh3mBp.jpg

e3sGyo0.jpg

rlI3E31.jpg

8qKq3La.jpg

Tnmzag0.jpg

XnCH093.jpg


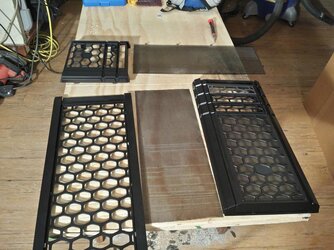
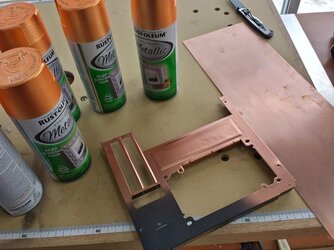
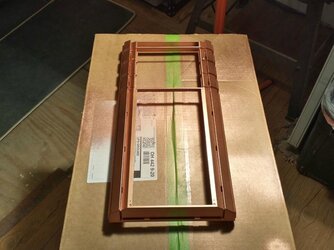
After razor cutting out 75% of the dust filters that are cast into the bezel, I decided to cut the honeycomb plastic fronts out. They are barely visible through the mesh anyway. I will be painting the bezel with this metallic copper paint I just ordered, as long as it matches the copper correctly. All the plastics in the build will get the copper paint and should be prepped and ready when it arrives.

GdnfLtY.jpg

ONgIZqF.jpg

fNTow8e.jpg

PBWKIcO.jpg

CYYJwcO.jpg

1b2Bmfd.jpg

vgPlAJ7.jpg


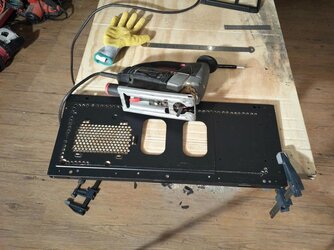
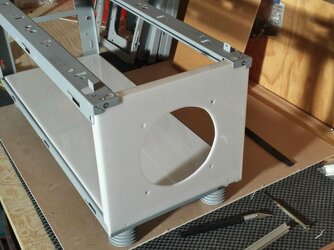
Most work went into the bottom case, or pedestal if you will. First, I had to remove some material from the front.

KW0E8Fy.jpg

BaqczcE.jpg

27Imvz6.jpg


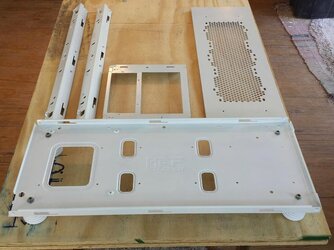
Then I removed the back panel.

A7OoXFc.jpg

2fg16jQ.jpg


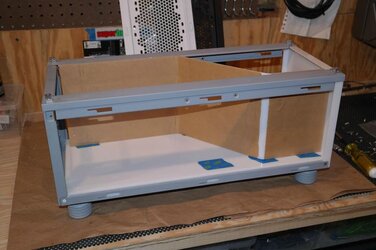
After that I was able to paint and do a little assembly.

r6in1H9.jpg

TU2FZzd.jpg

hYkp0iO.jpg


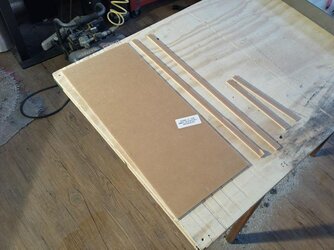
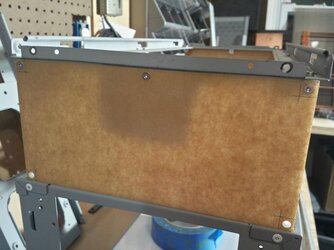
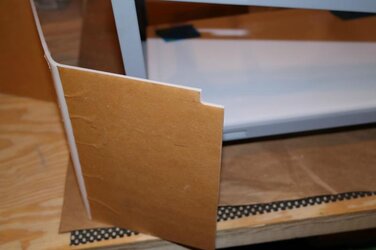
I made a new rear panel out of white acrylic. I made new rear panels because of the way my components will be installed.

J4aSPIa.jpg

L0SMyKW.jpg

GkcvYaj.jpg


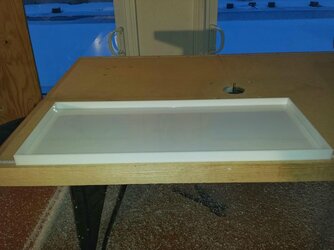
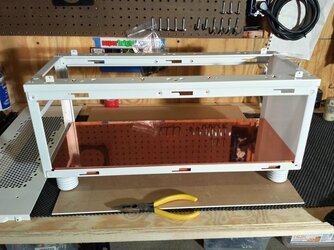
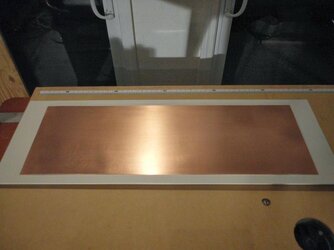
Then I made a made a new floor out of acrylic and wrapped it in the copper film. I got excited when I saw the copper on the white! Its exactly as awesome at I thought it would be!

x0Wi7m6.jpg

H66VhAc.jpg

ARNyrAq.jpg

tlGv9bg.jpg

ySYq8GV.jpg


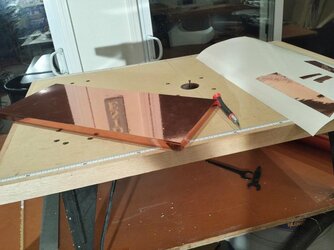
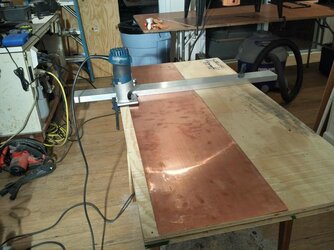
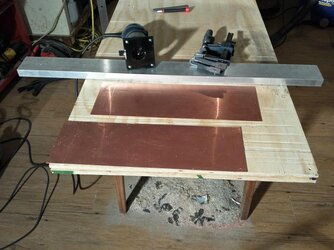
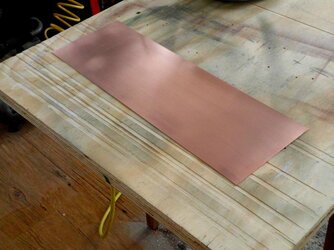
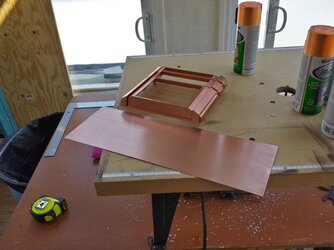
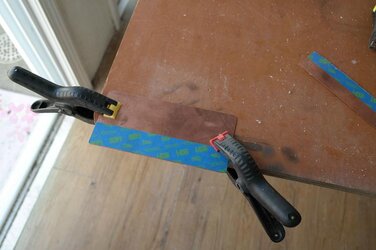
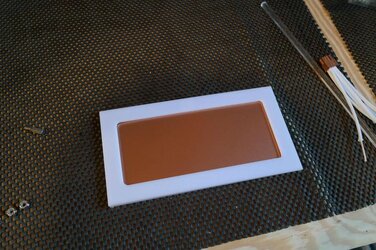
The last thing I was working on was my logo plate for the back door of the bottom case. I'm cutting "Cyprus 29" out of white acrylic and attaching it to a polished copper panel backdrop.
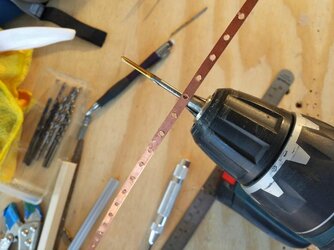
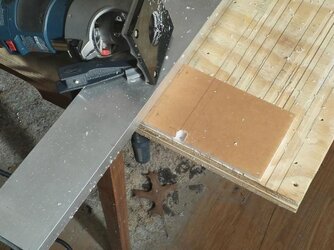
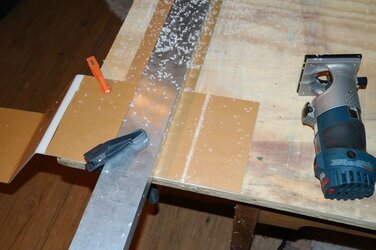
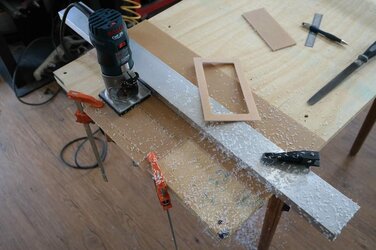
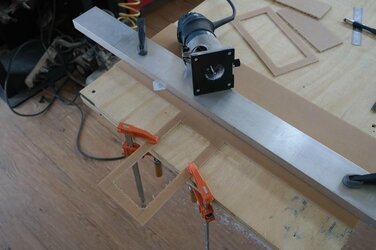
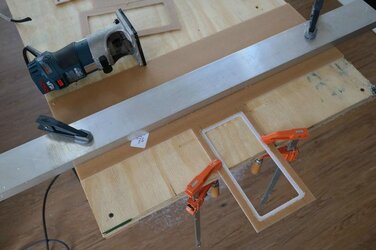
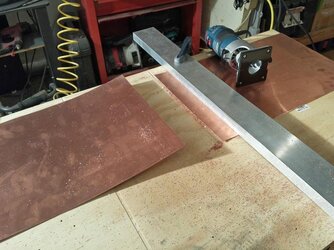
I cut the copper with the Bosch Colt, that boy is a champ!

Kvl8bq8.jpg

CLTOsLA.jpg

amRPfUW.jpg


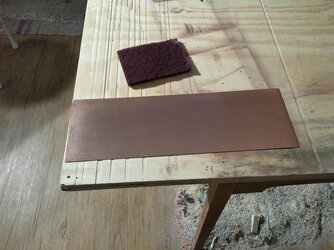
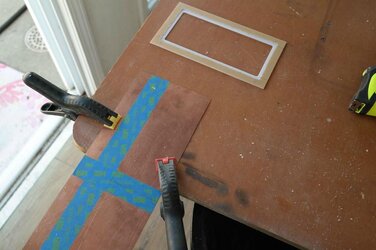
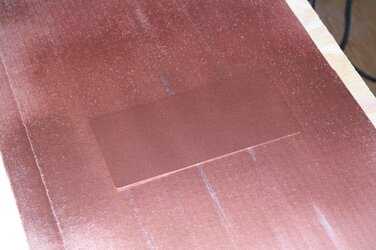
Once it was cut I started scuffing the oxidation off. Even the brushed copper look is really nice. I will get it polished and finished for next update. I set it where its going to be mounted for a photo.

BJZ9rDD.jpg

usetbEK.jpg

kB6HyBC.jpg


Well thats all I got for now. Thanks for watching!
 
Last edited:
I was like copper and white that's going to look weird, until you got the bottom case painted white with the copper floor. you got me sold, its looks awesome.

grey matter is amazing also
 
I was like copper and white that's going to look weird, until you got the bottom case painted white with the copper floor. you got me sold, its looks awesome.

grey matter is amazing also

Thank you man! I cant wait to start modding the PC parts and water cooling pats with this theme! Thats really when things are gonna look wild!
 
Hey there everyone! I wanted to share what I have done over the last couple weeks. I have 5 times the number of forums to update this time around so I am trying to stay on a 2 week update schedule unlike last build I tried to update every week.

If you would like to see some live updates check out my Facebook modding page Clockwerk Case Mods. I regularly post photos and share my work as I am doing it. Then head back to the forums for a bi-weekly update. I also share the work of friends and other modders I have met along the way in my time modding!Basically I just wanted to let you know where I can be found in between updates, now Ill get to my work.

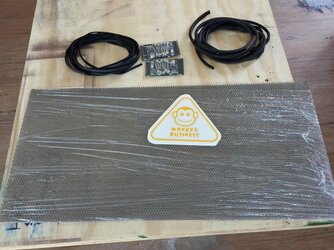
A few Items arrived from MNPCtech.com! Some Modders mesh, U-channel, rad screws, and a monkey modding decal!

Q9JvqWU.jpg


I also found some metallic copper paint that matched almost exactly to brushed copper. I would of liked to stay with the reflective polished look but I also liked the brushed look very much as well. I am just happy I found a match!

PJEf4bb.jpg


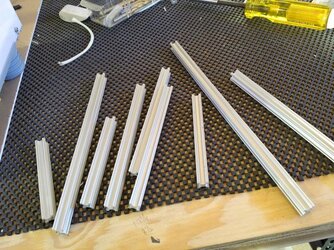
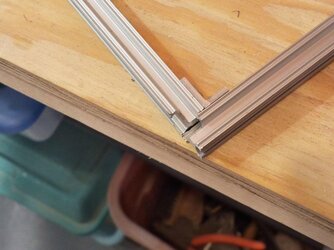
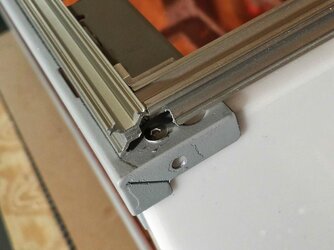
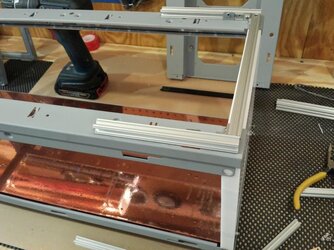
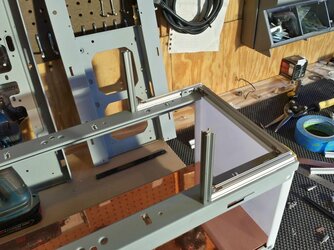
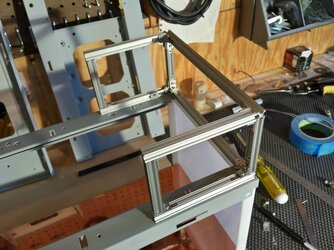
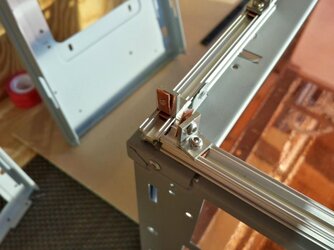
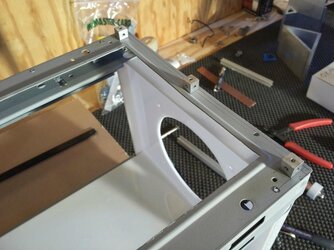
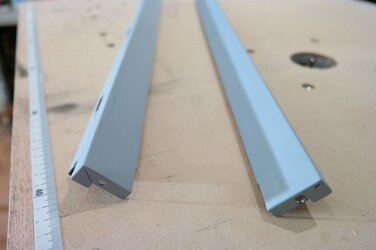
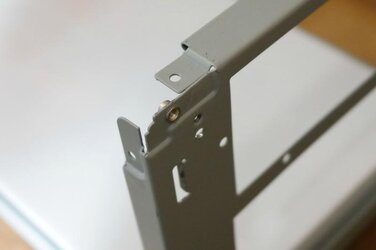
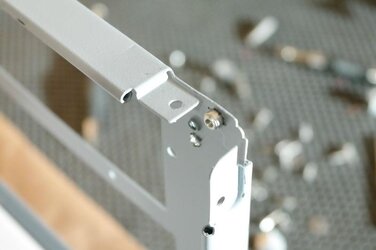
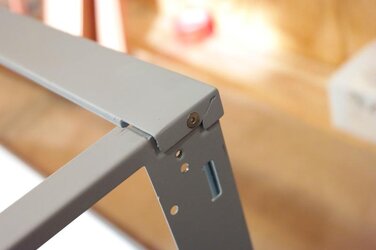
One of the first things I worked on was building an extension area between the 2 cases to route tubing from bulkheads and route wires. For the way I want to run all my tubing it is definitely needed. The sad thing is i changed my mind on the way I will build it after a lot of work put into building up a frame out of MicroRax. I ran out of parts for the MicroRax and had to make my own. It was a huge pain and I decided to eventually fall back onto the aluminum cubes for an easier cleaner look.

DN3i6Aa.jpg


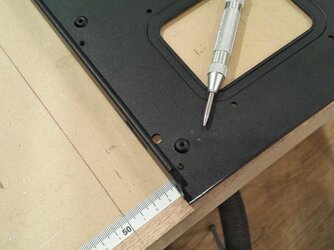
I had to make cut outs to avoid screws.

eYr3GEW.jpg

AXjGpna.jpg

MyjIhKl.jpg

fTk085D.jpg

iVB6GhQ.jpg


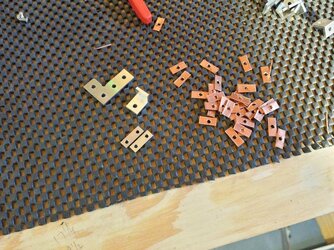
That wasn't bad, the annoying thing was making the slide in threaded inserts.

GAVihP3.jpg

Xo9k5lL.jpg

f5pr9o8.jpg

kVyUdF4.jpg

QTsT23z.jpg


[x]BREAK[x]


The good thing was, by doing all this work, I got a good look at what I will be working with when I build it back up in the next week and create the interior panel layouts. I have a few cool ideas right now for the panels to close in the extension area too.

RClEUnu.jpg

PyQSSrs.jpg

i5UePKX.jpg

TQFtKPM.jpg

G3k1UIE.jpg


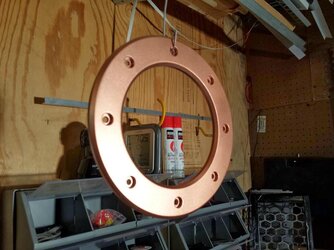
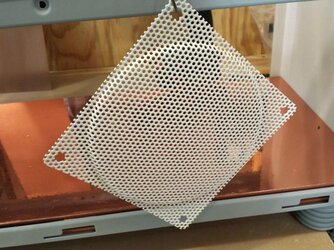
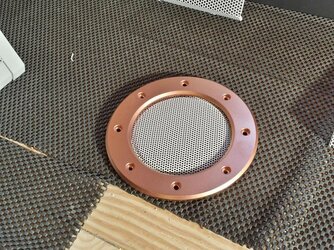
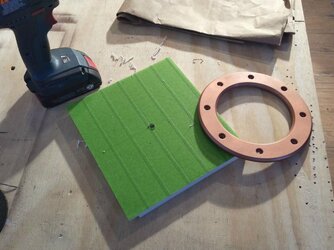
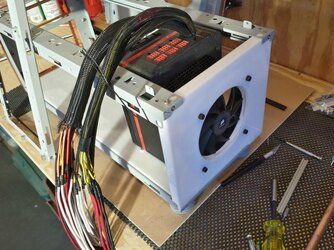
After building up the case I broke it back down to do a little painting and redesign. I had a MNPCtech billet fan grill I have been wanting to use so I painted it according to the theme and got it mounted. Its use will be to mount a fan the pulls air into the PSU.

P1i5rJh.jpg

3OoKupc.jpg

uALa6Ba.jpg

YErMjDM.jpg

b3B8Op2.jpg

nIKFmGw.jpg


It the end I think it looks like it really belongs on this panel lol.

AKXd0nG.jpg


I put the panel back on and got a shot showing how it mounts and its purpose..

hgNiYiP.jpg

k5FrHo5.jpg


[x]BREAK[x]


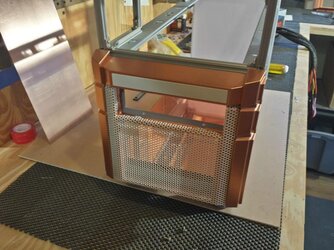
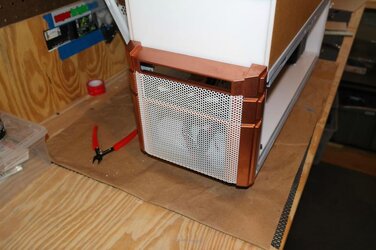
I hit the copper paint on the front bezel, it really shows the contrast of the theme well, just like the billet fan grill.

LGqvpnG.jpg

YMs2d1u.jpg

6watN3s.jpg

zh2kxOU.jpg

4TcR0N8.jpg

aJ0saXb.jpg


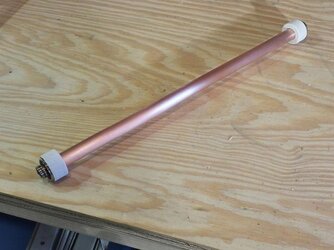
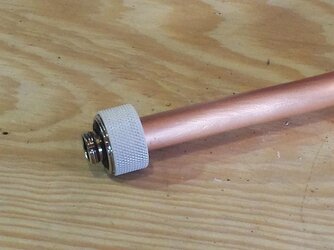
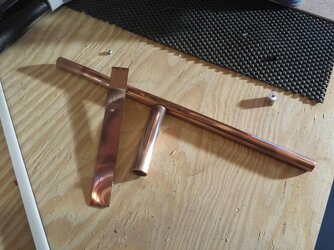
I was at the store and grabbed 10 feet of copper tubing to play around with. I threw some Primochill ghost fittings on a piece to get a look at my tubing set up. Ill be using white revolvers in the actually loop.

EK1DaR9.jpg

FUq0zAs.jpg


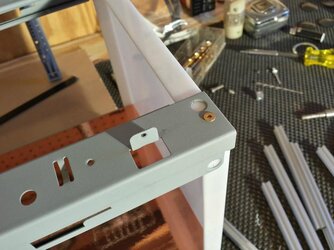
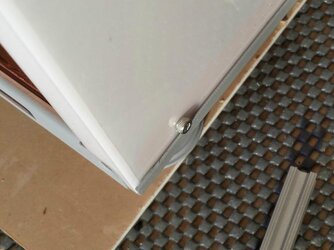
Here are a few shots of how the rear panel is attached.

oArjrFm.jpg

bj4azFF.jpg

BdWfBeV.jpg


Lastly I mounted all the cubes to the bottom panel of the top case. You will see the significance next update.

zcXGgWa.jpg

EirR59Y.jpg

MKz2JSC.jpg


Well thats all I have for now. I hope you are enjoying the build so far. Again like I said come check out my page if you wanna check on the build and other modding related stuff in between updates.Clockwerk Case Mods. Take care gents see you soon!
 
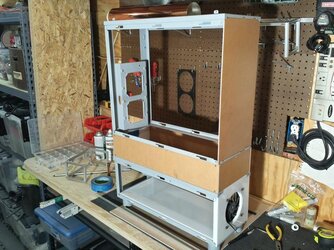
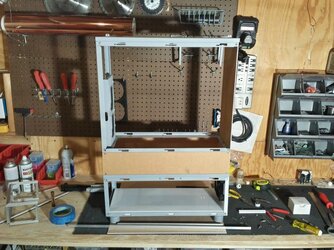
Whats up Everyone!? Im back with another bi-weekly forum update! I Got a solid chunk of update for you on this Cyprus build! I did some panel work on the interior, I made the case more structurally sound. I remade the extension area with cubes instead of MicroRax and it looks cleaner in my opinion! If you want to see live updates from the workshop as I am building check out my Facebook page Clockwerk Case Mods. With having 15 forums to update I try to stay on a bi-weekly forum schedule, staying organized is a huge factor when doing multiple builds and projects and this seems to be working well so I am going to continue to roll with it! Anyway on with some work photos!

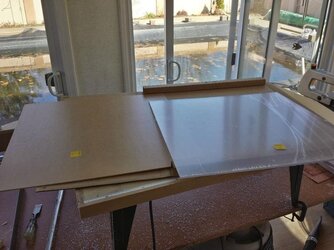
I picked up the last acrylic I needed to make my MB tray and also picked up some 1/4" PETG to make my hand made reservoirs, those will hopefully be in next update.

YkhDWd5.jpg


I decided that the polished copper actually matched the paint pretty well after testing a few pieces, so I decided I am going to run with that over the brushed copper. I can't help it man I love shiny stuff =D

KAAeOHi.jpg

d6V8fpq.jpg


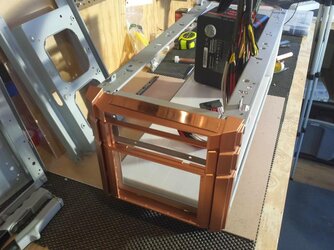
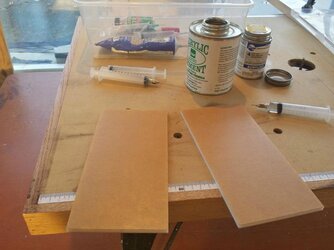
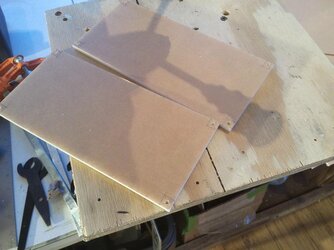
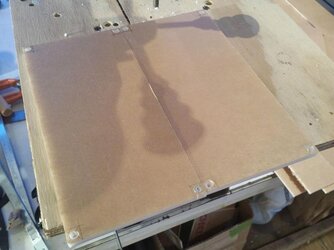
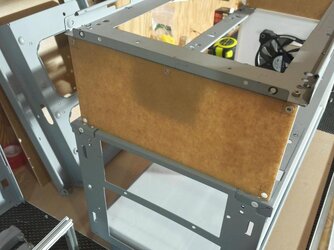
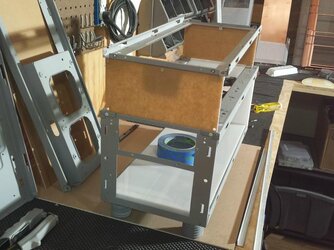
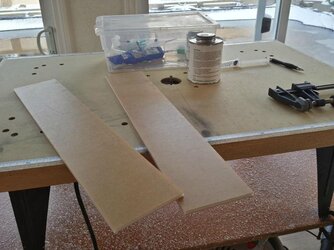
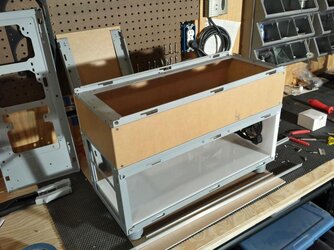
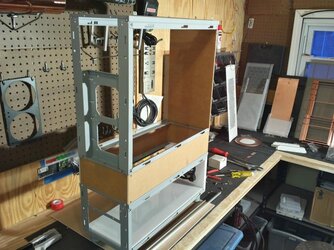
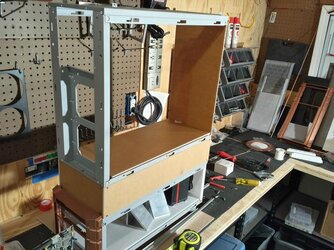
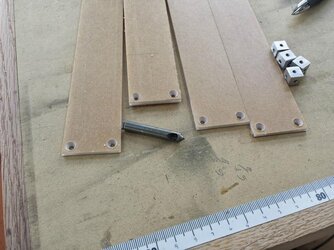
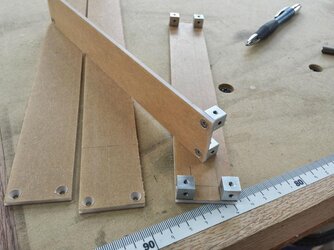
I started to make the extension area with my aluminum cubes and 1/4" acrylic. (glueing two 1/8" pieces together) Its solid as a rock now with even less metal framing.

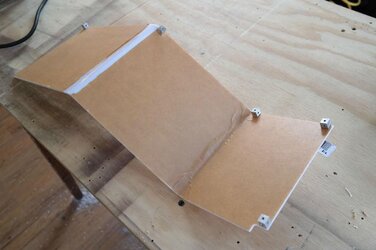
First I did the front and back.

thpvQgj.jpg

7aTRjJU.jpg

03bhvCb.jpg


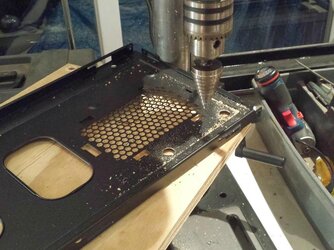
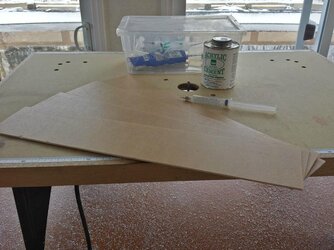
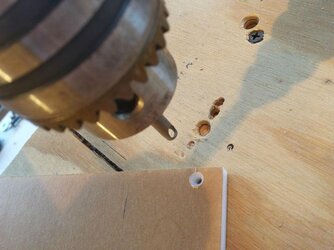
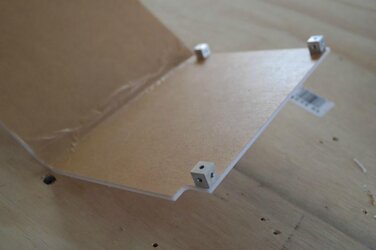
Once they were glued I marked the holes for attaching the cubes and I countersunk them with a zero flute 82° pitch countersink. They work excellent on acrylic with a drill press, I highly recommend them.

ZfgKzA6.jpg

32I2qNk.jpg


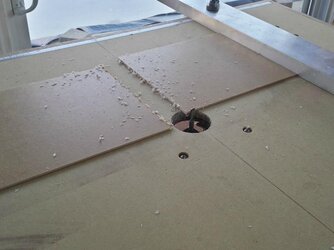
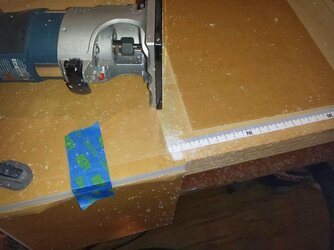
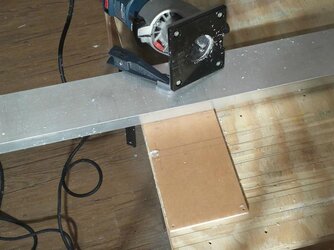
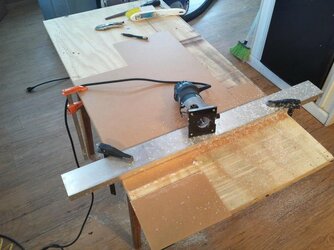
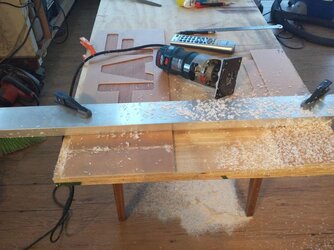
I had to router out a 1/8" notch for the one center cube to fit it in the correct place. Worked perfectly.

meODNjD.jpg

r8iBWkE.jpg


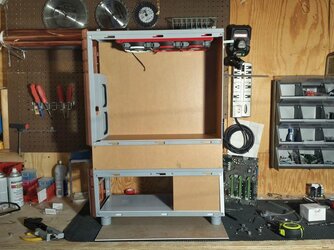
Then I attached them to the bottom panel of the top case first.

ZPu46o4.jpg

zdBzDlo.jpg

aqdCnO8.jpg


After they were on I made the sides the same way.

xwRKMAm.jpg

sq5JfVu.jpg

W7UibcY.jpg


Here is a good shot of the zero flute. It really kicks ***, super clean circle countersunk hole.

9rAb8Mc.jpg


Once they were drilled I attached them.

OlJhAJ0.jpg

iaocyUA.jpg

hJnZBp0.jpg

Iw9xECb.jpg


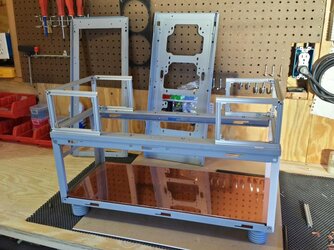
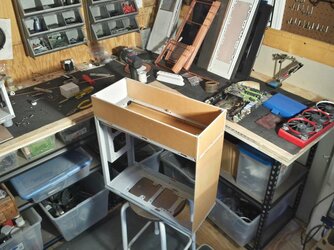
Now the case is up and very sturdy! I am happy with it now =D

HmqtDTV.jpg

ZvpSDWo.jpg

Zwyjrml.jpg


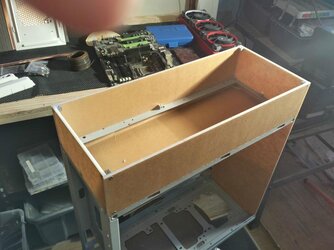
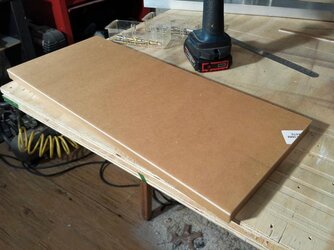
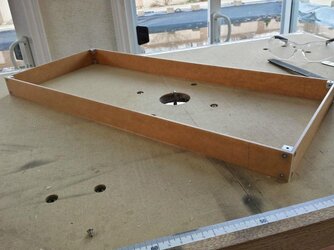
Next up is make the floor for the top case.

IrpgAUw.jpg

IOZkGEj.jpg

4alTLFj.jpg


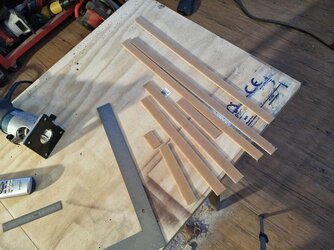
Trim pieces for the floor and rear panel.

LefggDW.jpg


Glued them on and dropped it into place, fit like a glove!

tzDTa4G.jpg

2iKIQqi.jpg

dKz16BJ.jpg


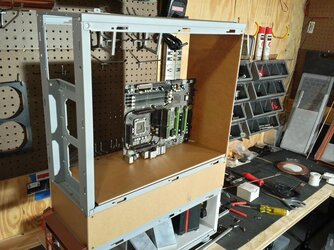
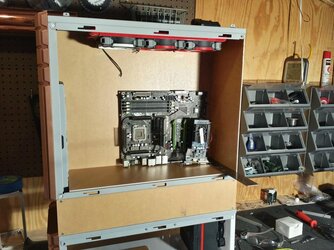
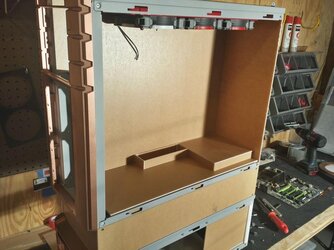
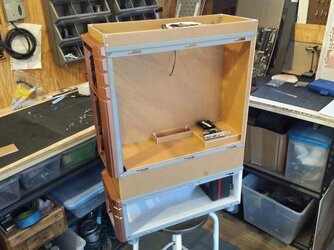
Next I slapped the MB tray in and set some parts in to show orientation. It is going to get interesting when I start going into detail mode. I can't wait =D

iXhMTdW.jpg

vphqfsi.jpg


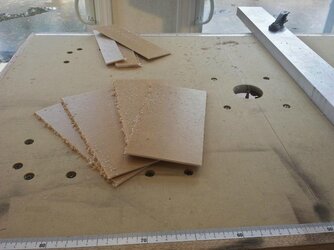
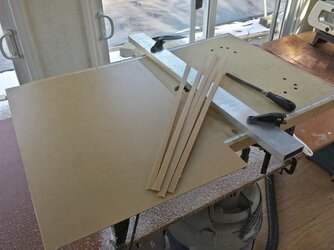
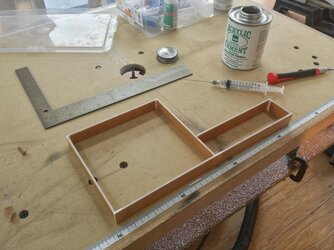
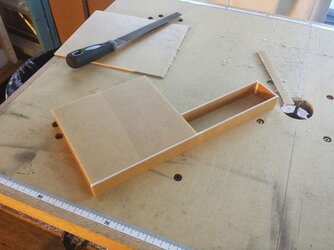
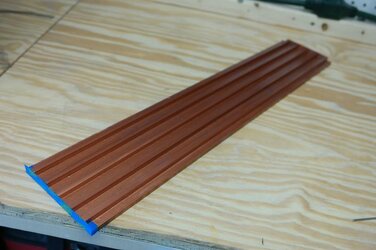
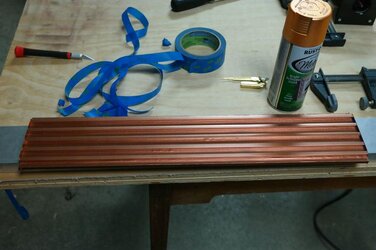
Next up was making a IO panel. I cut 1" strips and 7/8" strips and glued them together accordingly.

EmbdYB3.jpg

vMYGt67.jpg

Gy07YPy.jpg


I cut the GPU mounting plate and set that into place. What I am going to do is bend the 90° edge of the GPU mounting bracket to 180° flat and screw it right into the plate. You will see what I mean when I do it.

i5cgcsi.jpg

EhJqrNY.jpg


Last thing I got done was cutting the corners off the top panel to fit the rear panel trim. I somehow didn't get a shot of the whole case with the rear panel trim on but you can check it out on my FB page when you get time, Ill get a couple shots of that up after work today, you will also see it in the next update for sure.

BOFB6BP.jpg

NiiscE2.jpg


Well thats all I have for this update. I hope you enjoyed checking out the build progress as much as I love sharing with you guys! Remember to check out my page Clockwerk Case Mods for live updates on my builds and modding projects! Thanks again to my sponsors Cooler Master and Casefeet.com, your support is helping to make this awesome build happen! Take care everyone Ill be back with another update in a couple weeks! Cheers!
 
Update 4 : April 22nd 2014 : Top pedestal, Fiber glass work
Hey everyone!! Time for another forum update! If you want to catch daily updates check out my Facebook page Clockwerk Case Mods. I usually update photos there either right from the shop or at the end of each work day. In this update I have work on the top pedestal I made to cover the fans in the roof, and I tore the case down to start working in the bottom box. In other news my Cooler Master HAF912 mod Grey Matter is featured in the current issue of Custom PC Magazine in the Readers Drives section! I want to thank Antony and Bit-tech for choosing my build I am very grateful!! Well without anything else on to the update!

This update is pretty straight forward, one thing first really quick, I painted some fittings and connectors. I will be using white fittings with copper tubing but I plan on using one clear tube between the two reservoirs. With the clear tube I will paint the fittings copper. I will also paint my connectors copper and use white sleeve. I have a lot of white Teleios left I may use that, I did want to use paracord but I am not sure yet.

BhSC8v0.jpg

sqHvcM9.jpg

LAyZXOd.jpg


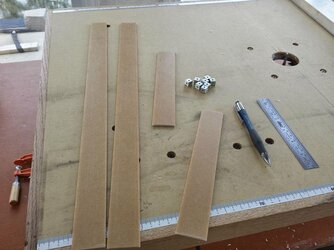
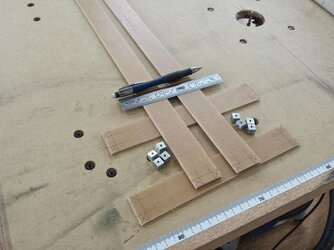
Now I'll show you the pedestal. I started by cutting strips for the sides.

7Fvfl9w.jpg

mgIYkv8.jpg

Nt4UeJQ.jpg


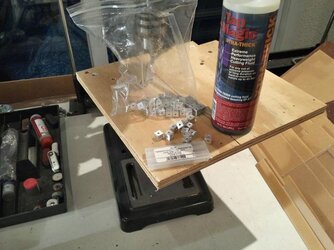
Once they were made I had to tap more aluminum cubes for connecting everything together.

rvhvtLt.jpg


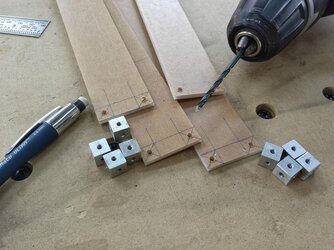
Then I collected everything and marked the lines to drill and countersink the holes.

AEFtaut.jpg

hgEq3pi.jpg

eZYkis5.jpg

QaK2k84.jpg


Once everything was drilled I started connecting panels. I love the zero flute countersinks! They make such a clean finish.

tLDumwW.jpg

kOEPB9X.jpg

YfFoy4t.jpg


BREAK


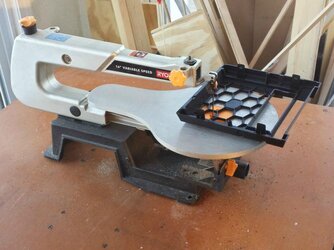
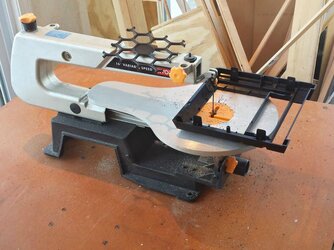
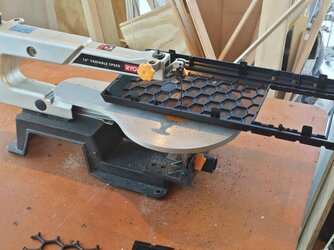
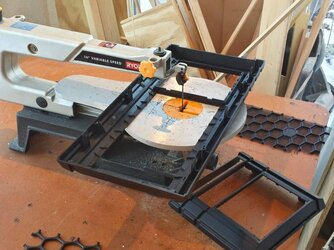
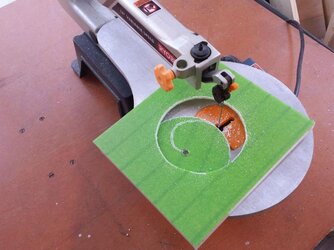
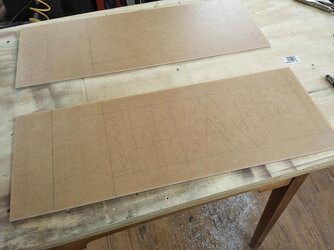
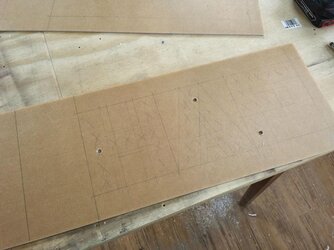
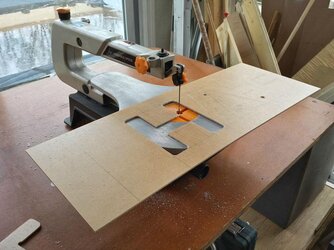
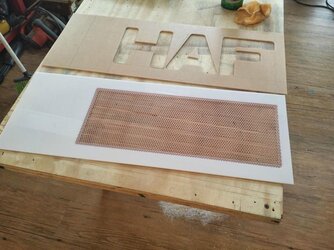
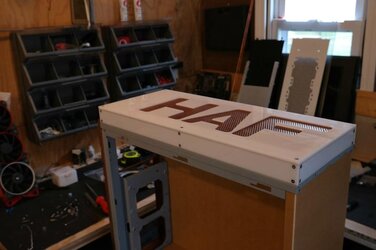
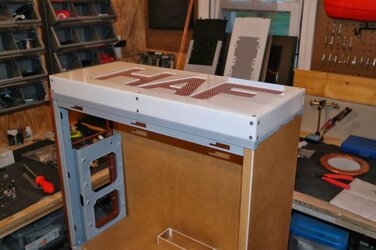
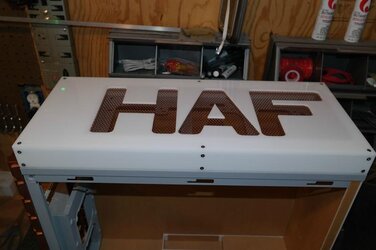
After seeing that the size was right I ripped to panels to make the grill for the top. I drew out the letters HAF and cut them with the scroll saw.

lwDawTk.jpg

9oHag0K.jpg

HHVhpgr.jpg


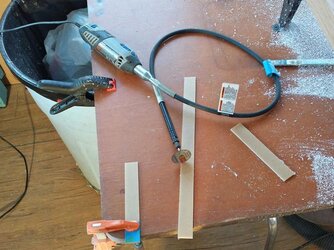
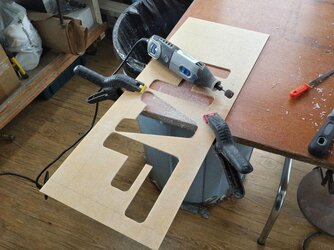
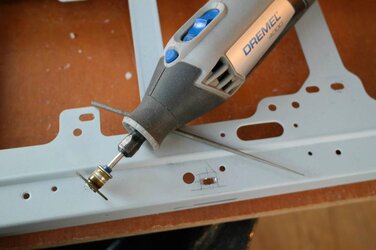
Once I did the rough cuts with the scroll saw I came back through with the Dremel :dremel: and cleaned up the edges.

2GlRzUo.jpg


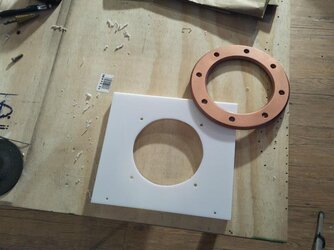
With the top piece done I got the bottom piece cut out and cut a drop set path around the edge to fit the mod mesh sandwiched in the middle.

44InybT.jpg

0ElE48E.jpg

3aM4LZJ.jpg


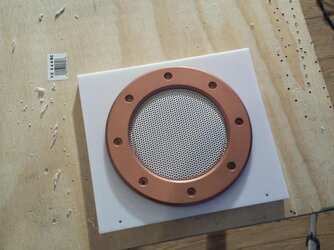
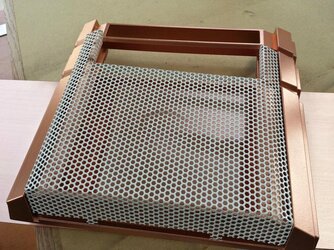
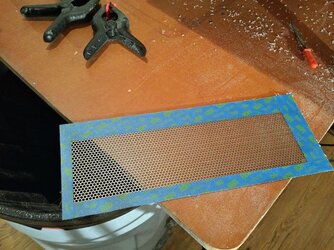
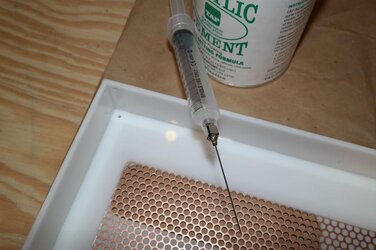
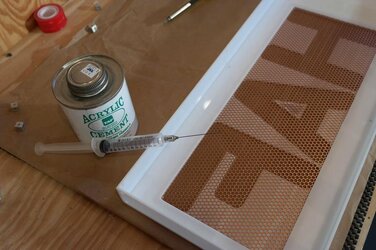
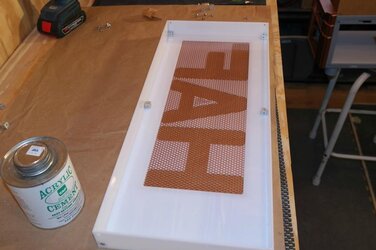
Next I cut the mesh to size and painted it copper. Then I set it into place and glued the two pieces together with the mesh pressed in the middle and cut the excess of the end.

G8NjMs1.jpg

BlbNNIx.jpg

cdBpBJr.jpg

gaalXZ1.jpg


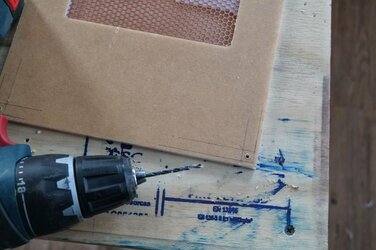
Now its time to mark the holes for mounting and get it attached!

pmNG8FT.jpg

gldWjPD.jpg

IQM9jdF.jpg


BREAK


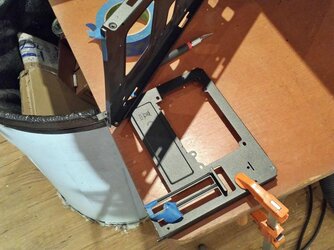
When the top was put on, I marked and drilled into the top metal panel to secure the pedestal to the case.

1U39kq7.jpg

ioskS9v.jpg


Then it was time to install!

5yuKpV8.jpg


I really liked it but I noticed the seams did not line up as precisely as I would of liked, they were off by about 1/2 a mm or a 1/32". I wasn't comfortable with that so I glued the top panel onto the sides. This worked perfectly aside from the fact the some of the cubes are just for show now but I am glad it clean.

MrZfwKH.jpg

AaT4g08.jpg

V7nOlgv.jpg


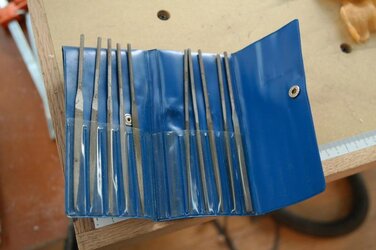
I also opened up the top panel mounting holes a bit so I had some room to play and was able to perfectly center the pedestal on the top. The dremel and mini precision files came in handy for that!

qFhyWax.jpg

4FLUy0S.jpg


Now the pedestal is nice and clean and attached perfectly. I am very happy with the final product there. The MNPCtech mod mesh is an awesome look here!

tZXiB5N.jpg

7JpZiFx.jpg


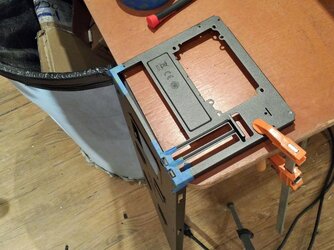
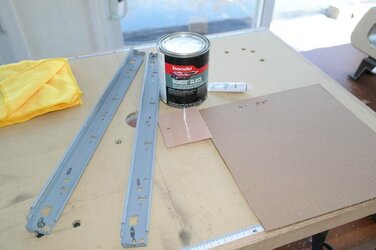
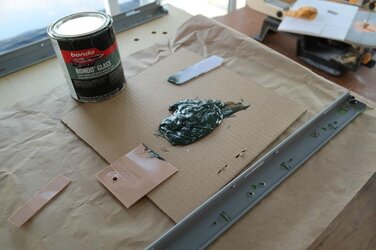
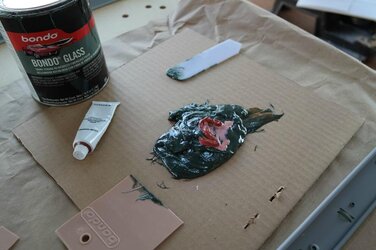
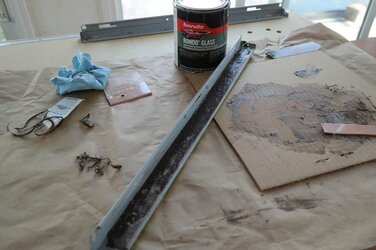
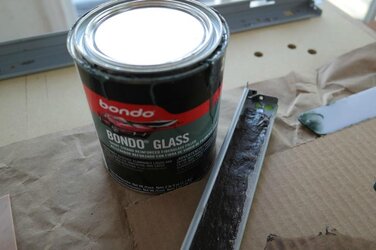
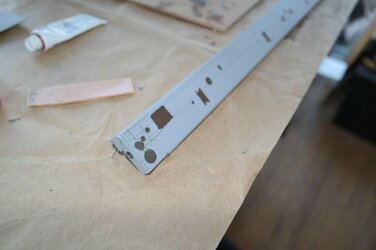
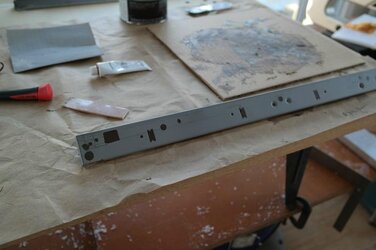
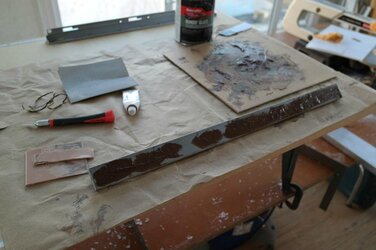
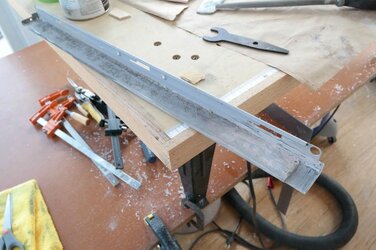
After that was done I tore the case down and I am now cleaning up the bottom box and finishing the last bit of structure work so I can start the interior. First thing I wanted to do was fiber glass the brackets to fill in all the holes and drill out the only necessary mounting holes. Its still a work in progress and needs some more sanding but once I prime it you will think it was actually built this way.

I collected materials, mixed up fiber glass bondo and started filling.

BqzxwDL.jpg

E9ETekf.jpg

NpAOsYe.jpg

U4pOyr1.jpg

eucn6MU.jpg


BREAK


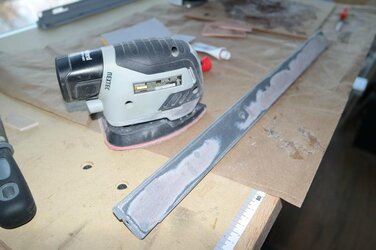
I filled from the bottom first then over the top and started the never ending sanding process!:lol:

cjEGaqW.jpg

9FfXZzp.jpg

ueL3wVG.jpg

3pBQrtC.jpg


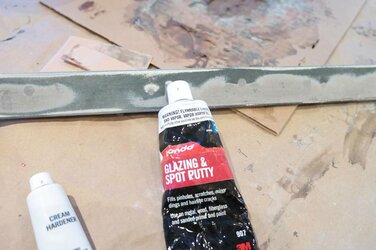
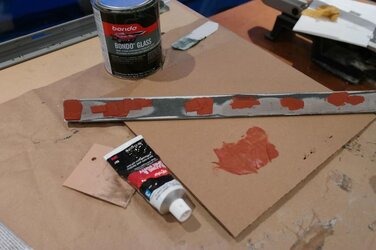
I filled in some pinholes and some bigger holes with spot puddy. I would of liked to use bondo first but my bondo had sat on the shelf too long and started setting up in the can a little so it was useless.

pDYDqp7.jpg

b9AVImo.jpg


I sanded the notches in the edge and kept leveling out the middle.

hGyZN6c.jpg

gaxIAJ3.jpg

SepUX2f.jpg

yx3AsNH.jpg


I am sitting with this right now. Its a lot of work but it will look great when done, Ill have it finished next update and should have progress on the bottom case interior.

cvgczBU.jpg


Thats all I have for right now! These brackets are quite the project but I should have them done in the next day to so and get back to acrylic! Oh also, I should have my 4ftx2ft CNC done in the next couple weeks! I am really happy about that because I will actually be able to use it on this build a little bit, I am thinking about making my custom reservoirs with it! Also, don't forget to check out daily progress on my page Clockwerk Case Mods between forum updates if you would like! Thanks again to my sponsors and thanks to you guys for following the build! Until next time, take care!
 
Update 5: May 5th : Gusset, Shroud, and Sponsors!

Hey everyone! Got another update for ya! I finished up the brackets I started at the end of last update and made the case sturdier with a gusset and a shroud through the bottom case. I am very pleased with the build so far! I also am stoked to announce that Primochill and Mod/smart are officially going to sponsor the build! I hope to have some of that in the next update! Also Cooler Master is going to sponsor the build with the new VSM750w semi-modular power supply! I plan to sleeve it up with Mod/Smarts new MaxCord paracord, and I will be painting the connectors copper! Thanks to these sponsors for helping make this case mod awesome!

BTzHil5.jpg

z2iHQXB.jpg

blYLnCi.jpg

Now that I let you in on the great news, lets get into the update!

First off Ill show you the brackets I fiber glassed to fill all the holes. They almost look like they came stock this way =D

mSc8CiQ.jpg

4C1xQy9.jpg

sfdP0xi.jpg

mC8ibVI.jpg


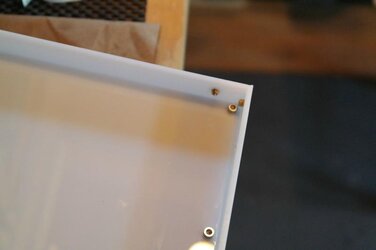
I decided to use rivet nuts instead of rivets so I can screw the case back together with bolts now.

3ssgi8X.jpg

6WOrgCZ.jpg

U8AnFxu.jpg


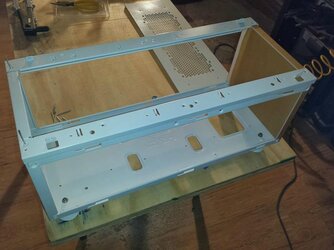
Now I had a nice neat bottom box ready.

w2bsgEo.jpg

8KIsmPy.jpg


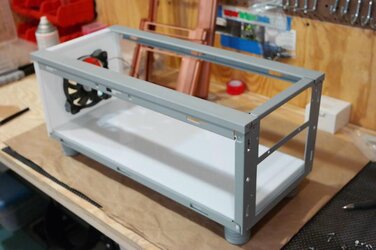
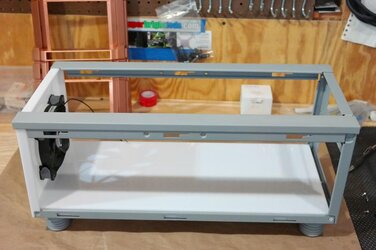
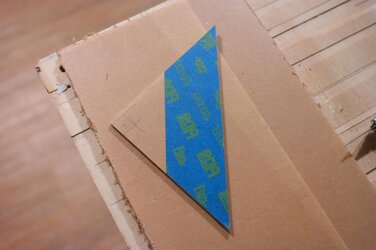
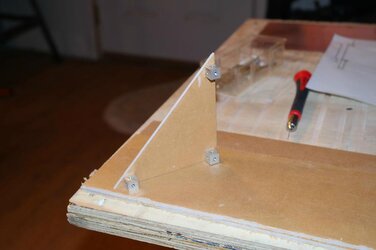
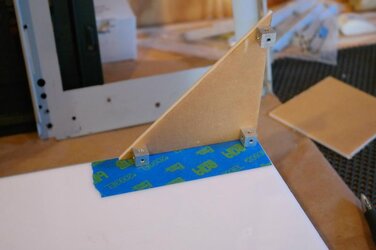
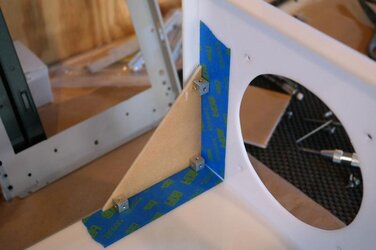
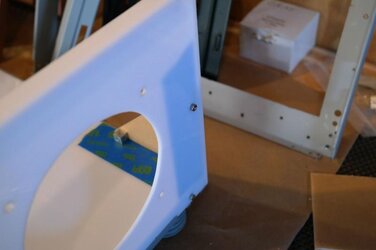
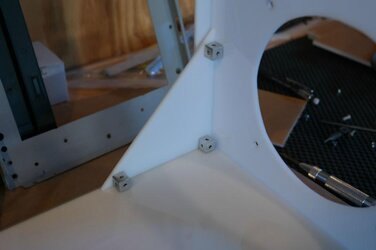
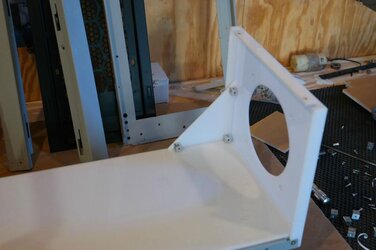
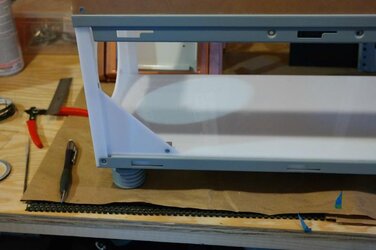
Next I made a gusset for strength using acrylic and aluminum cube standoff/nuts. My machinist is sending me the jig to make these and I should have them available for purchase soon after an overwhelming demand for them! Please visit my Facebook Page and leave a message for details. Ill leave a link at the end of the update!

LoILLUt.jpg

xx6hLx5.jpg

N0uTCs7.jpg

l2jqolw.jpg

dawSTn4.jpg

kZtCP2z.jpg

uEMSKxt.jpg

ekThJGa.jpg

SZ40Bsg.jpg


Just that little gusset alone made the case really rigid! Next up was the shroud which will have a small window to show the side of the power supply, and also will have my solid states that I use mounted on it.

First I cut the shroud to size and marked lines to make my bends.

mp8kkoH.jpg

wKe3BEB.jpg

qxCGMQn.jpg


After the first bends I sized it up to mark the excess to be cut off with the router.

ClEkkjr.jpg

uHUCpsZ.jpg

KJ79Er5.jpg


I had to make a notch to clear the lip on the right side. It ended up fitting really nice, then it was time to bolt it down.

wYM6ZuH.jpg

8c8dVIq.jpg


I marked off the cube mounts and got them all on.

ZbglfmH.jpg

GfaUByK.jpg

PtUCqfs.jpg


Once they were on I got it into place. marked them off on the case and then bolted it in.

3CueBJY.jpg

R6r9I2U.jpg

7rU5hyW.jpg


It fit like a glove and came out cleaner than I expected. =D

HVi1Crc.jpg

4pwnfPe.jpg


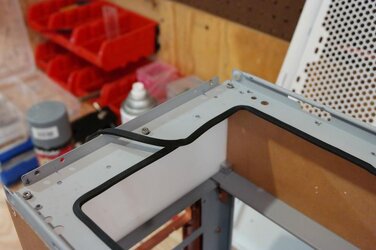
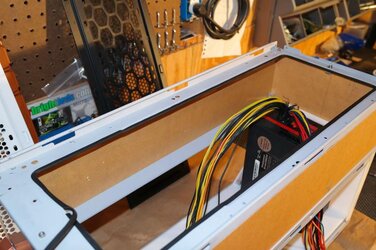
While I had it tore down I added some MNPCtech.com U-Channel to the bottom panel on the top case that I cut out. It is without a doubt the best U-channel I have used. I left some slack because I will be coating it in white PlastiDip and the last time I did that it shrunk the U-channel a bit.

V4xmglA.jpg

yaS00XM.jpg

yX6NdzW.jpg

aoLRlsy.jpg


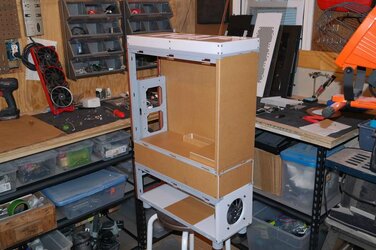
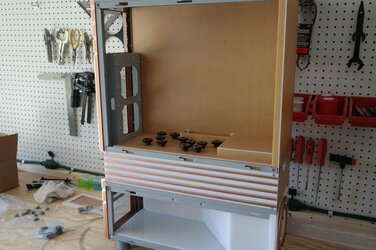
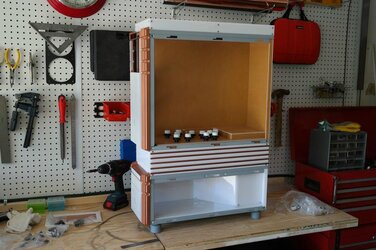
Last I stacked up the case and took some photos of where I am sitting at =D

tEAjpJ4.jpg

6t3fE4k.jpg

kDbPI5O.jpg

o3LuPZE.jpg

rb28ZVp.jpg

13gYsJw.jpg

Y6m3rhm.jpg


Well that is all I have for now! Thanks again so much for checking out the build progress! Remember to check my Facebook modding page Clockwerk Case Mods for daily updates and to inquire about the aluminum cubes I will be offering very soon! Take care guys until next time!
 
Haha at this point it almost seems it would have been easier for you to start from scratch!
 
Update 6: May 27th : Parts came in! LED trim!

Hey everyone!! Sorry for the delay in updates on the forums! I had an update prepared for last week and ended up moving my workshop from the pool house area to the garage for the summer and I collected some tools and had a huge organization break. So now I am back at it and it is smooth operator! Aluminum cubes are still available at Clockwerk Case Mods, just send me a PM for information! Alright now on with the updates! Lots of goodies came in and I started some of the cool details that will be in this mod!

First thing is first, huge thanks to my awesome sponsors! You guys are really making this build extra special to me!

prYgepC.png


Alright now I want to show you the goodies that came in! First up my power supply from Cooler Master! The newly released semi-modular VSM750w Gold Rated Power supply. I wrote up a little review, check it out >here< Next update I will have it all sleeved up with the Mod/Smart MaxCord I am about to show you!

teXBdO4.jpg

WVJRBdy.jpg

SfEOisT.jpg

Qz0B2HB.jpg


Alright now on to my Primochill & Mod/Smart parts!

5SFgu7S.jpg

fzThCaf.jpg


Bright white MaxCord paracord!

yLjpaQy.jpg

FvCbuhx.jpg


Kobra sleeve for the sata signal cables.

1M9mIES.jpg


Connectors for making custom cables.

vJB52N1.jpg


Heatshrink to match.

QNhZagO.jpg


LED boards for the numerous single wired LEDs I have going into this build.

A7qoBWc.jpg

zC9lgvH.jpg


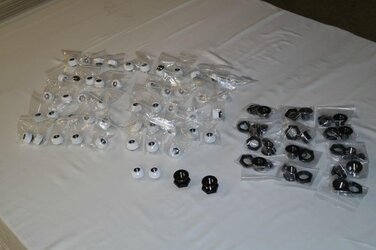
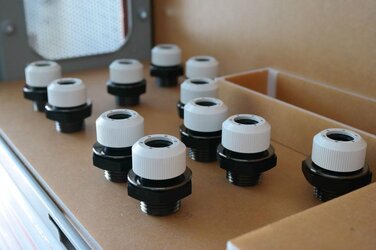
Many bulkheads! Ill be custom painting them copper =D

iYJNcRy.jpg


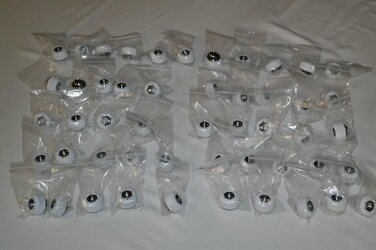
More revolvers than the wild west!!

UlQ6vFZ.jpg


All the fittings I will be using.

uP6RxRP.jpg


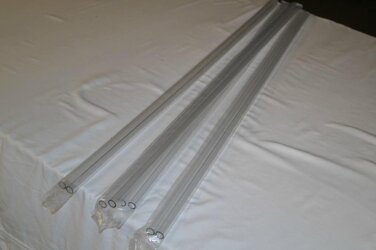
Can't connect the revolvers without PETG! Originally I was going to use copper tube and I was only using PETG behind the scenes to connect the bulkheads but I have a little surprise for my tubing later on!

jSsMo6Q.jpg


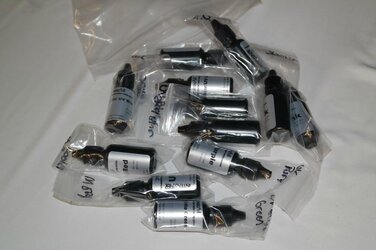
Can't forget the awesome selection of Primochill Intesifier Sicle Colors! That's all I can say about them though!

ZaklPEf.jpg


Alright that's all the parts for now! On to the labor =D First is the LED trim, I use 1/4" acrylic stock and painted the face copper and drilled the ends for 3mm LEDs. Last night I ended up masking them off and painting the top for a more fuller look and the light will show out the bottoms.

mJq0VY0.jpg

UEKl8sx.jpg

DoIleAJ.jpg

eWjayHC.jpg

Lhvj7Mc.jpg

VYPd3nJ.jpg

rDeGxRT.jpg

tFerqe9.jpg

dbn2B8T.jpg


Once they were drilled and cut, they got hit with paint.

loeDbDY.jpg

zETDdc6.jpg

S5PdkYY.jpg

D8XQRFD.jpg

1YsA6zX.jpg


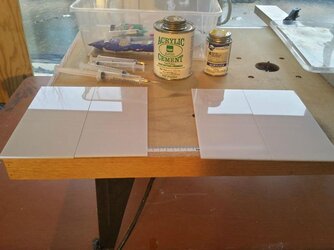
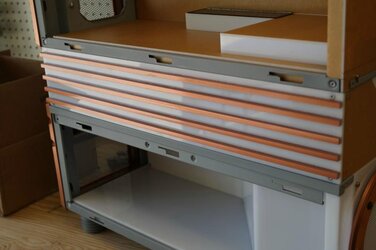
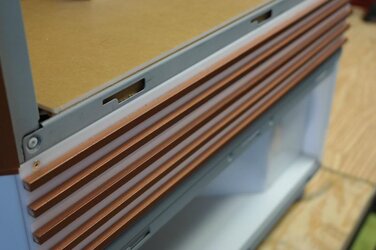
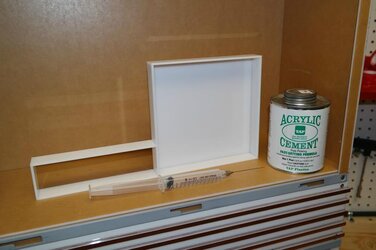
Then I glued them to the side panel with my acrylic cement.

oSHDp26.jpg

hxQsRZl.jpg

9Mxhx0d.jpg

97N47vo.jpg


It looked great but you could see some air pocket of glue because the stock wasn't perfectly flat. So I decided to tape off the panel and repaint the face and paint the top side as well, then clear coat them.

05FEPTr.jpg

GsDUOoA.jpg


I am glad I did that it made the copper effect more bold.

top2FEz.jpg

xloEuWQ.jpg


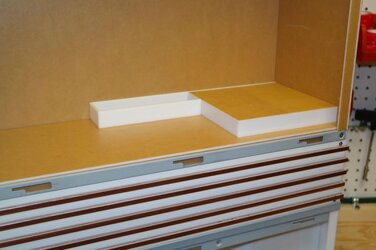
I also glued my IO panel together. once I have my GPUs I will cut the holes for them.

yjvlFeR.jpg

2bfH5IU.jpg


I also made a front bezel, I am going to redo it a little smaller to make it sit flush in the gap between the 2 original bezels but I can show you how I made it. At this point I decided I am going to use the copper paint instead of actual copper panels as I would prefer everything be the same color rather than real copper and not match exactly.

Here I started with the acrylic trim.

kKgXtDU.jpg

uVNtEOA.jpg

0te2Qn3.jpg

PXBYMd6.jpg

98klFzy.jpg

gYxllVV.jpg

Hdi4RsU.jpg


Then I cut some copper I had and painted it copper...copper on copper lol

CnxxZdW.jpg

yoHdWIn.jpg

DX28NhN.jpg


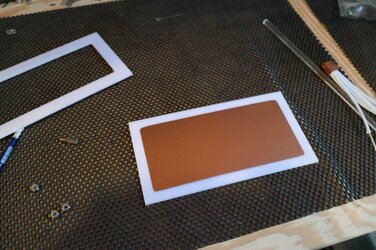
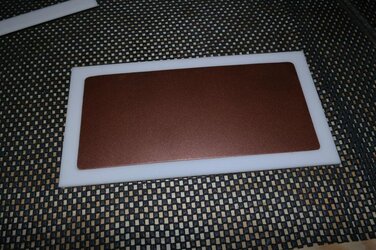
Once that was all set, I dropped it in to make a nice framed copper panel. I am going to try to trim a little off to make it fit, if that doesn't work I will just remake one, it was easy to do.

kU5xaWq.jpg

DHlkElf.jpg

8LmLOj5.jpg


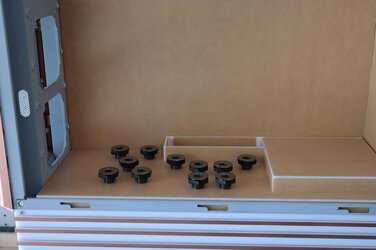
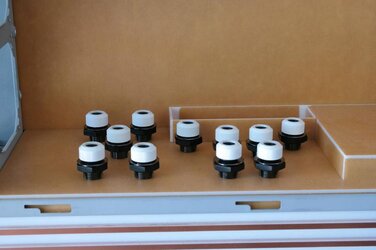
The last thing I want to show you really quick is the interior mid plate bulkhead placement, I was going to drill and mount them but I want to wait until I have the corresponding piece of hardware to line up the fittings as close to perfect as possible. I think its going to look pretty amazing, you can get the idea if you use a little imagination =D

GoAYX4k.jpg

0mxV9JU.jpg

K3ZP2I9.jpg

ff1MnuS.jpg

AXHXJbJ.jpg


Well guys I tried to load this update with photos for you since I had a delay between posts, I hope you enjoyed the update! Should have another juicy update for you in a little over a week. Oh yeah dont forget to check out my page Clockwerk Case Mods to get daily photos of whats going on in the workshop! Thanks again for checking out the build, take care for now =D
 
Back