• Welcome to Overclockers Forums! Join us to reply in threads, receive reduced ads, and to customize your site experience!

PROJECT LOG The Powerful Pretty Pink Processor (aka, "The PPPP")

Overclockers is supported by our readers. When you click a link to make a purchase, we may earn a commission. Learn More.
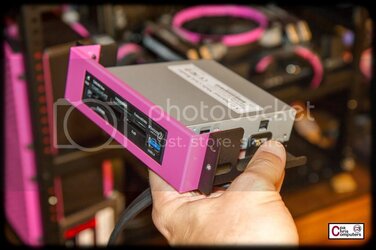
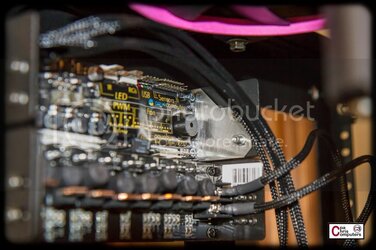
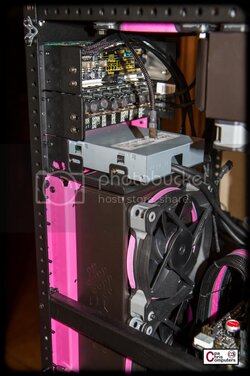
Still working on getting ready the package of stuff that I'm shipping off to be powdercoated. Today was the card reader and some faceplates. I pointed this out previously....but the card reader's light grey color is really throwing my mojo off when I look in the case. See?


0001-_MG_1892.jpg


I can't spend all this time on black and pink accents....and just leave the ugly grey box. Jen already previously weighed in....and the color needs to be black for this box. I could just rattle can it....but as long as I'm already sending some stuff for powder coating, why not make it match the inside of the case exactly, right?


0002-_MG_1893.jpg


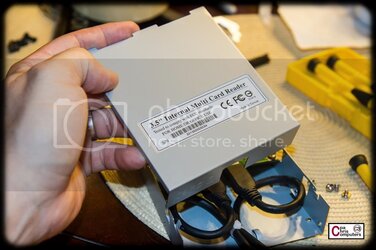
The cover came off easily....


0003-_MG_1894.jpg


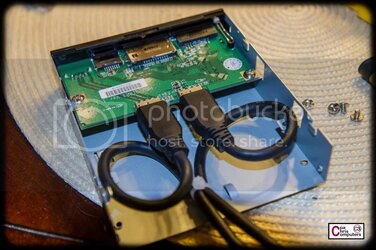
...and to my delight the wires inside were simple micro-b connectors, so I could remove them with no effort.


0004-_MG_1895.jpg


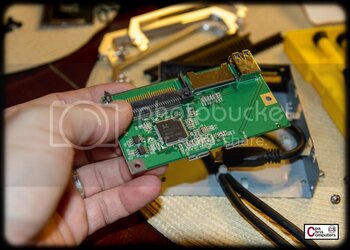
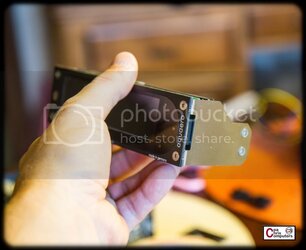
Cute lil' pcb.....


0005-_MG_1896.jpg


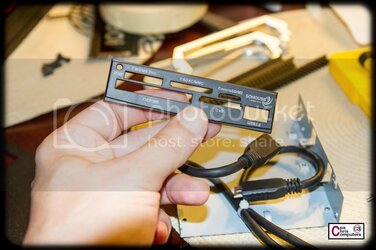
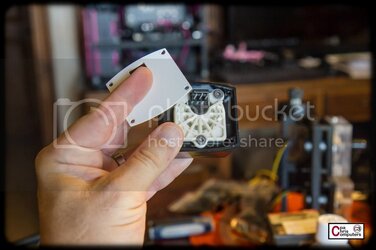
Pop off the face plate. Since it's already surrounded by the CaseLabs 3.5 inch adaptor which is pink....I'm going to leave this faceplate black for a little contrast. Plus...it's plastic, so powdercoat is not an option.


0006-_MG_1897.jpg


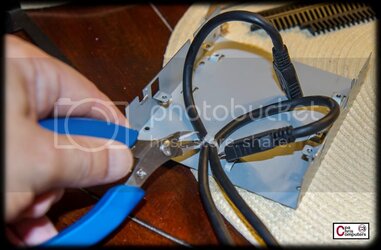
Snip the cable tie holding the cables in place.....


0007-_MG_1898.jpg


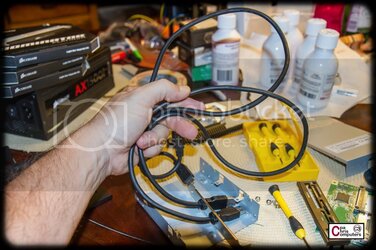
....and remove the cables completely from the PCB and card reader housing. These will be a breeze to sleeve. The pass PCI pass through bracket will also get powder coated black....


0008-_MG_1899.jpg


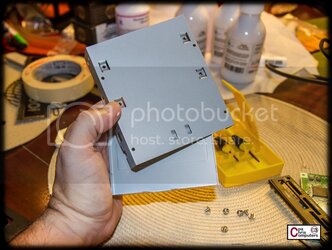
Ta-da! Card reader housing ready to go.


0009-_MG_1900.jpg


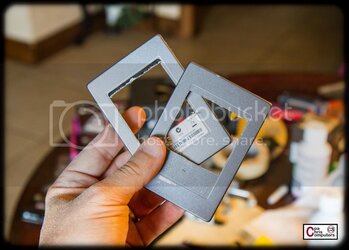
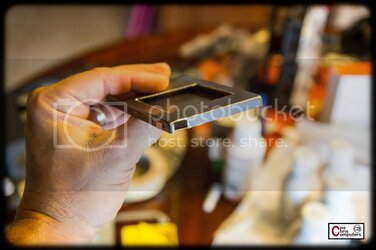
Few more nits. The Aquaero 6 mounting brackets are silver, but are hidden behind the black CaseLabs mounts so that they really don't show much. But....as long as I'm getting some stuff powder coated....


0010-_MG_2256.jpg


....so I removed the Aquaero and took off the mounting brackets. We'll make these black as well.


0011-_MG_2257.jpg


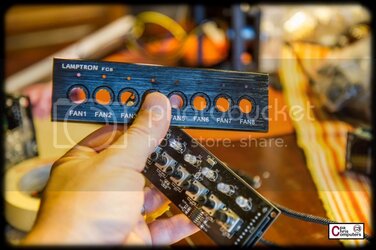
This black faceplate for the FC8 is aluminum. It won't be black much longer. We'll send this in for pink powdercoating, so that it matches the outside of the case exactly. I did this with my FC8 on the BBBB and it looks pretty sweet and custom when it matches the rest of the case exterior.


I'll also give some props to Lamptron. They've improved the build quality of the FC8 significantly since I bought my last one.


0012-_MG_2258.jpg


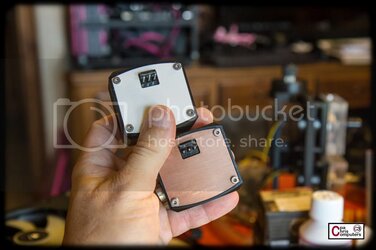
I had some left over flow meters from the last build. I had powdercoated the faceplate white for one....and had the other copper plated. I think I'm going to have the white faceplate on this Aquaero flow meter powdercoated pink. That will be unique.....


0013-_MG_2243.jpg


0014-_MG_2244.jpg


I have just a few more items to get ready, including the SSD's and the LED lighting brackets. More on those tomorrow!
 
Posting to re-sub after the forum upgrade and to say it's looking really good! :thup:

Man, you know how to make computers look good - even in pink :p :chair:
Looking forward to more pics :)
 
Finished up the last of my items for the powdercoat batch, and I've sent the package off. Woo-hoo! Here are the last of the items that went....


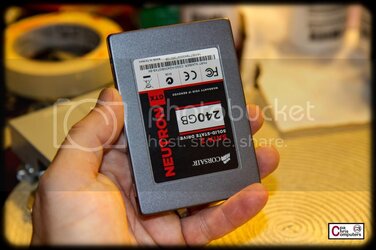
These Corsair Neutron SSD's are already pretty darn good lookin'....


0001-_MG_1901.jpg


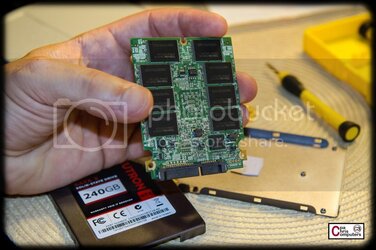
But I wanted to do something special with them, and I have a couple of ideas kicking around in my head. So I took the innards out again. The PCB inside is even smaller than the case.


0002-_MG_1902.jpg


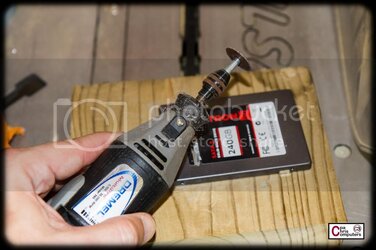
Got out the Dremmel....


0003-_MG_1903.jpg


...and cut-out a window for the front of the SSD cases. The idea here would be to put a thin piece of plexi on the inside of the cover...


0004-_MG_2241.jpg


...and then etch it with a logo and light it up with an LED fed through this hole I made.


0005-_MG_2242.jpg


The SSD cases themselves are being sent for black powdercoating so they will match the inside of the case. I may make the LED glow from the window a pink'ish glow to tie out the theme.


My other idea with the SSD's is to not use the case for them at all...and instead stack the two PCB's together with some standoffs, and use a solid piece of plexi on the front and back to provide some protection. It would become kind of a clear "brick" of SSD's. Might be fun. I'll probably try it both ways and decide.


I asked the kitty what he thought.....


0007-_MG_2249.jpg


....and he said he liked both ideas for the SSD's....but that we really needed to think about making the lighting for the inside of the case look nice also. Fair enough....


0008-_MG_2251.jpg


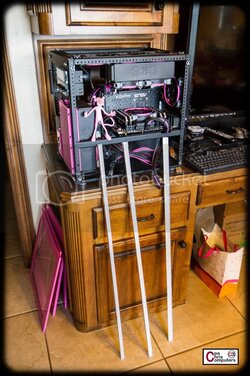
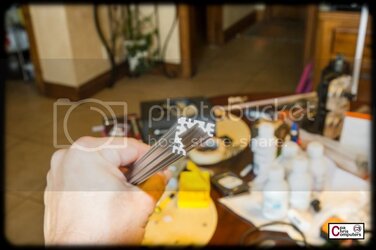
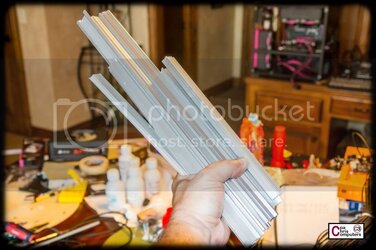
So I showed him the 3 different styles of LED U-channel that I had picked up.


0006-_MG_2245.jpg


This one is for corners where you want the light to point at a 45 degree angle...


0009-_MG_2252.jpg


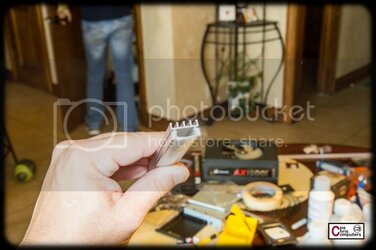
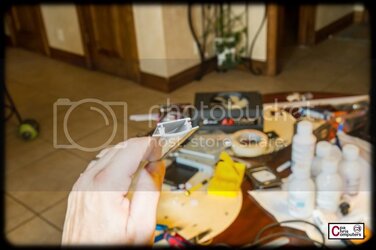
This one is for flat mounting and has some heat fins....


0010-_MG_2253.jpg


This one is for ultra low profile flat mounting....


0011-_MG_2254.jpg


I cut them all up into sizes that would fit nicely in the spots in my case where I'm considering lighting....


0012-_MG_2255.jpg


....and included them in my package of "black" items for powdercoating. These covers should blend right into the inside of the case since they will be finished in the exact same powder as the case. Should be almost invisible. I did a lot of LED strip lighting in my last build also, but was able to hide the strips from view based on how big the case was. With this S8 and 4 windows....almost everything inside is view-able, so there is no place to hide something ugly. Must make everything attractive. So we'll give these u-channel a shot and see what they look like when finished black.


That's it for the powder coat items. Now...I'll get back to some wiring work while I wait on these to be returned.


Getting close to time to start plumbing this baby up!
 
Chris, check out the RGB LED strip from Icemodz. It could help you a lot (very easy to hide)
 
Chris, check out the RGB LED strip from Icemodz. It could help you a lot (very easy to hide)

I actually meant to ask you about those LED strips on icemodz.
Blaylock pointed me to them for my retro case as I wanted LED's in it.

Looks like they can do pretty much any colour you want :thup:
 
I actually meant to ask you about those LED strips on icemodz.
Blaylock pointed me to them for my retro case as I wanted LED's in it.

Looks like they can do pretty much any colour you want :thup:

Any color you want with color, brightness, and flashing control via remote :)
 
Simply and Purely Beautiful. Hoping my own S8 comes out half as Nice

Thanks Moonters! Are you doing a build log? I'll always subscribe a S8 build!


Chris, check out the RGB LED strip from Icemodz. It could help you a lot (very easy to hide)

I actually meant to ask you about those LED strips on icemodz.
Blaylock pointed me to them for my retro case as I wanted LED's in it.

Looks like they can do pretty much any colour you want :thup:

Any color you want with color, brightness, and flashing control via remote :)

What makes these any easier to hide than other strips? Just curious....
 
What makes these any easier to hide than other strips? Just curious....

The strip is flexible and made with 3M adhesive on the back. You don't have to worry about how to attach it or anything.

It's roughly an eighth of an inch thick, about a quarter inch wide.

Easy to route right around the edge where a door hooks on.
 
The strip is flexible and made with 3M adhesive on the back. You don't have to worry about how to attach it or anything.

It's roughly an eighth of an inch thick, about a quarter inch wide.

Easy to route right around the edge where a door hooks on.

Sounds like most LED strips......

I used some from HitLights last time and stuck them in corners and around the top of the case....but this time I'm going to go for something that hides the bare LED's. Almost all spots are viewable inside this case, so I want something a little more attractive to put the LED strips in.
 
Ah, I see what you're going for now.

I keep forgetting how much of this case is a window!
 
Thanks Moonters! Are you doing a build log? I'll always subscribe a S8 build!


If I get the nerve to... I tend to be a lurker and the idea excites and horrifies me. Also I'll have a massive rats nest of wire as my skills for sleeving are non existent. Once I get some fans and radiators I'll take some pictures of my lil red Monster and see if I get the nerve to actually post them :)
 
Last edited:
If I get the nerve to... I tend to be a lurker and the idea excites and horrifies me. Also I'll have a massive rats nest of wire as my skills for sleeving are non existent. Once I get some fans and radiators I'll take some pictures of my lil red Monster and see if I get the nerve to actually post them :)

A red S8? Intriguing......

Did CaseLabs do it for you, someone else....or did you do it yourself?
 
I see what you are doing, trying to get me to post pictures of my Really Rather Red S8 :)

honest, I'll find some lights and take a few pics. It's rattle can, red kind of a metallic color, isn't too bad other then a few stray hairs.

I'm not getting along with black any more, so All of the case is red
 
With all of my "to-be-powdercoated-items" sent off to California....I've resumed working on some of the cabling/sleeving....


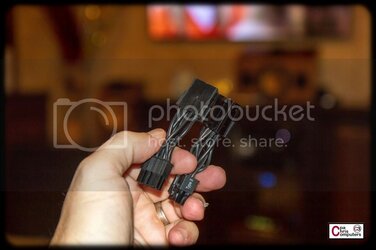
I finished up the last two of my little patch cables for the GPU's.....


0001-_MG_2264.jpg


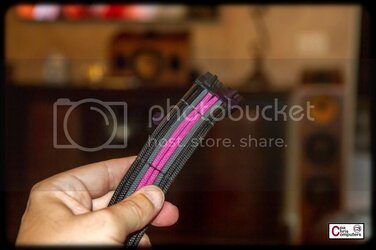
...and I've started in on the cable sewing again. Got caught up with Big Brother, watched 3 more episodes of Game of Thrones...and had a date with Nucky Thompson. 5 or 6 hours of watching and sewing...and I had most of one of the GPU cables done. I'm sewing the two 8 pins together into one solid cable. This allows me to make a mini version of the same pattern I used for the 24 pin.


0002-_MG_2262.jpg


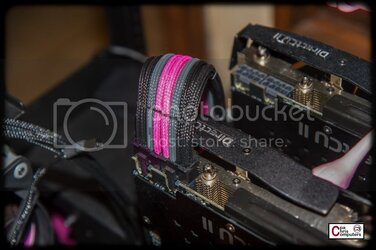
My current idea is to have the top GPU cable wrap down and between the GPU's....and when I'm finished with the other GPU cable, it will wrap up and between the GPU's. So they will meet together and become one solid mass going down between the GPU's. May even sew them together like that. You can't see in these pictures....but I'm going to have to make the cable management cutout a little wider to allow the cables to keep their flat shape when they pass through the midplate.


Wait....what's that thing in the lower right corner...?????


0003-_MG_2269.jpg


It's the kitty! He approves. You can see how well the GPU pattern matches the 24 pin pattern in this picture . Similar pattern....similar shape. Coming together nicely....


0004-_MG_2267.jpg


0005-_MG_2270.jpg


0006-_MG_2271.jpg


Now I need to queue up another couple of Game of Thrones episodes and finish up the other GPU cable!!
 
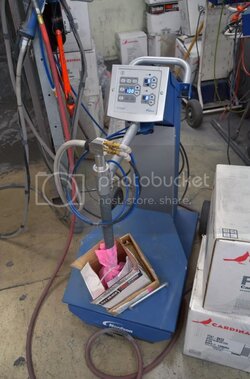
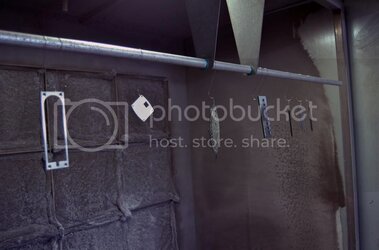
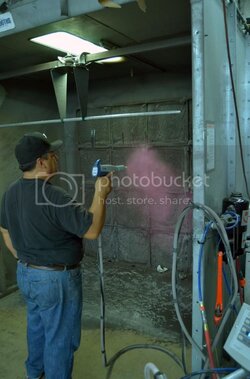
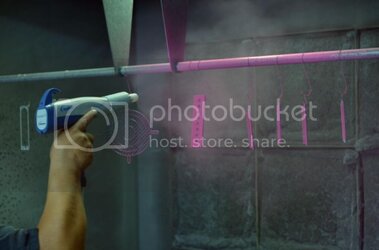
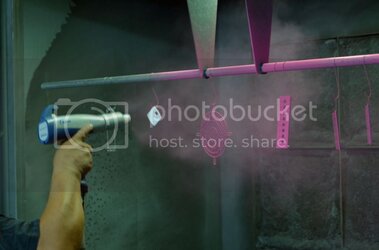
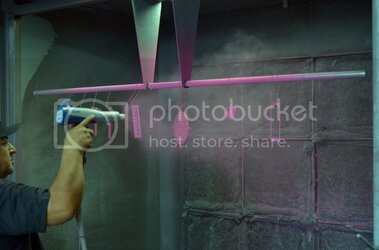
You are in for a treat tonight! I was lucky enough to receive, and Kevin was kind enough to send me, some pictures of the pink parts getting the powder applied right there at the secret laboratory CaseLabs keeps in California! Let the action commence....


Looks like they use a nice Encore powder gun system....


DSC_7968.jpg


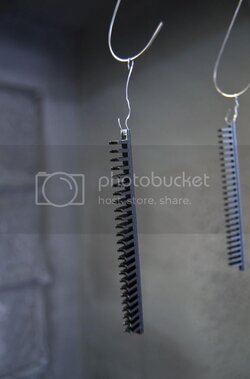
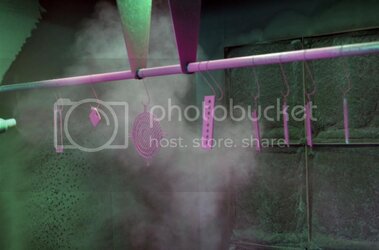
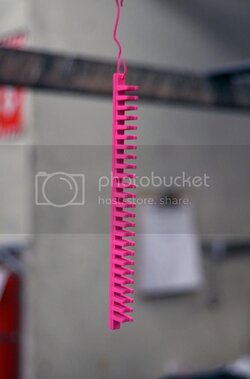
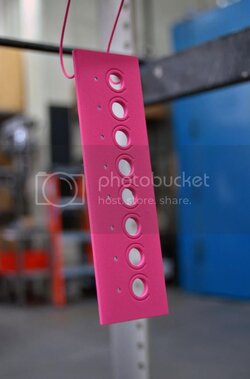
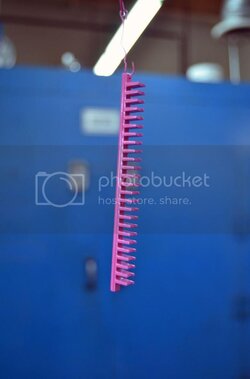
Kevin was even kind enough to drill some holes for me in parts that didn't have a place to hang already. Like the memory heatsinks in the picture below. Here they are up on the line...awaiting their glorious pink treatment....


DSC_7969.jpg


DSC_7970.jpg


This lucky guy got the honor of seeing the first Corsair pink heatsink. :eek:


DSC_7971.jpg


Spray on, my brother. Spray on....


DSC_7972.jpg


DSC_7973.jpg


DSC_7974.jpg


DSC_7975.jpg


Yes!


DSC_7977.jpg


Looks like the powder covered the engraved lettering on the Lamptron faceplate nicely....


DSC_7979.jpg


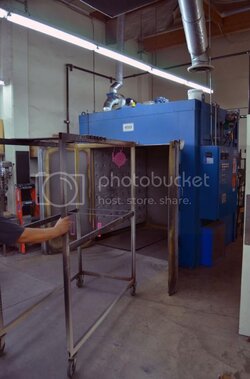
Into the oven to bake!


DSC_7980.jpg


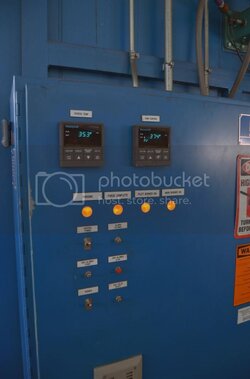
Kevin mentioned that actual curing was done at 400 degrees for about 12 minutes. Must still be heating up here. Man they've got some cool toys!


DSC_7981.jpg


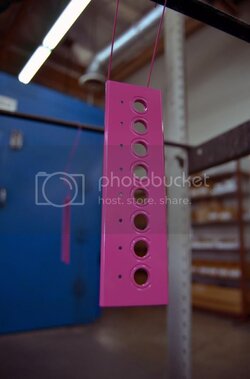
Just like any tasty treat....needs some time to cool after baking. :rolleyes:


DSC_7982.jpg


DSC_7985.jpg


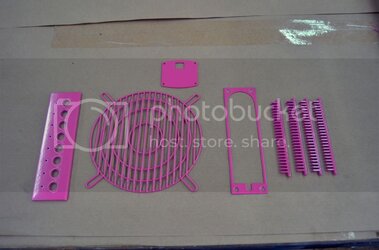
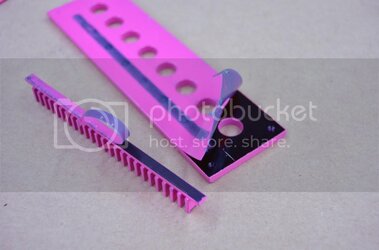
And presto! All done. These look even tastier than a fresh hot blueberry muffin. Or, something like that. Er....never mind.


DSC_7986.jpg


Even some protective film for parts that didn't need powder! I was going to sand off these areas. CaseLabs saved me some time!


DSC_7987.jpg


They'll shoot the black parts next, and then return my lovelies to me. Kevin also shared some pictures of my PSU cover....which got pretty bent up during transit. He spent some time trying to return it to its original state, and thinks it will survive. USPS. Gotta love em'.


Anyway....thanks a ton to CaseLabs for sponsoring this project and continuing to show it love. Above and beyond the call of duty!
 
Back