- Joined
- Apr 12, 2013
- Location
- Central US
I had a few idea's on how I wanted to proceed, but with limited funds, I decided to do a little piece at a time. I look to have it all completed by February.
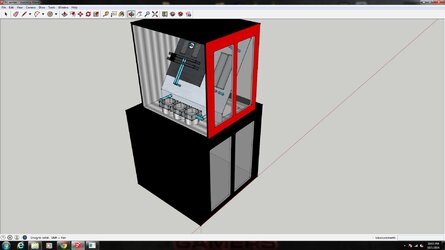
First time using sketchup, so...it's not very good, but gives an idea of what I'm looking for. The front is only red here, so it's visible. The front on the build will be black.

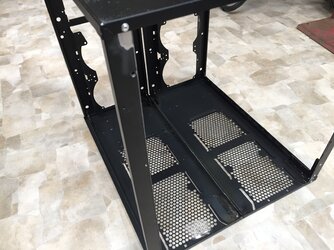
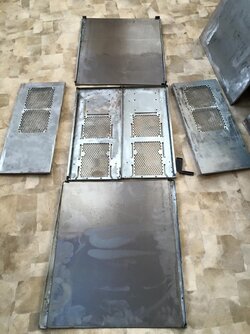
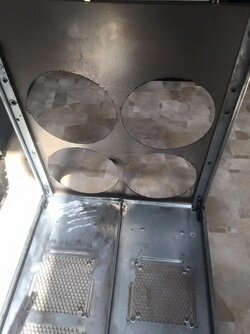
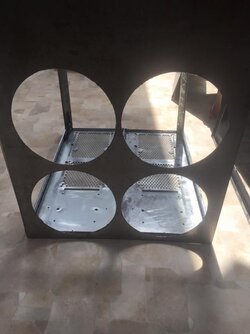
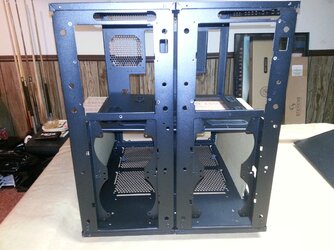
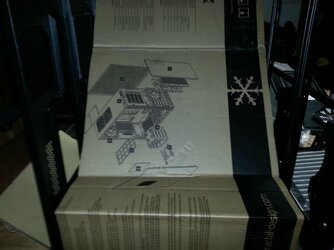
The top portion of the case will be 2 x Fractal Design XL R2's riveted together and a lot of cutting done. The floor will be removed entirely and the front and back will be replaced. The cases arrived and tear down commenced.


Toying with an idea here...I didn't like it, so went back to my original plan.

Mocking up the motherboard with some cardboard so I could get some measurements and have the sheet metal cut and pressed.


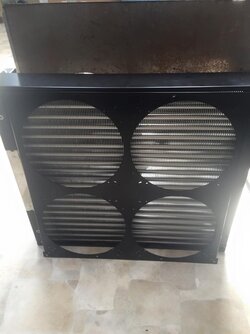
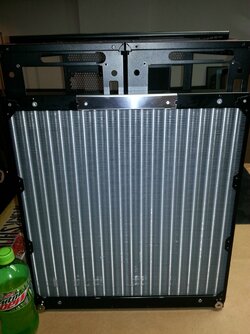
The radiator arrived. I stood it up in front of the case to demonstrate just how big that monster is.

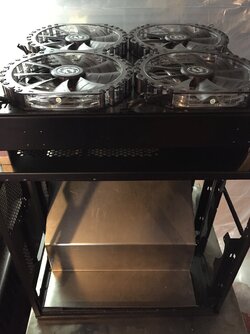
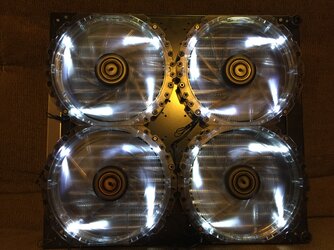
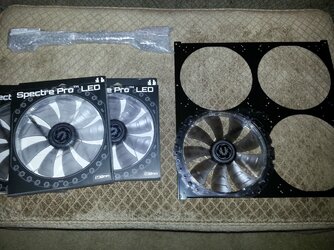
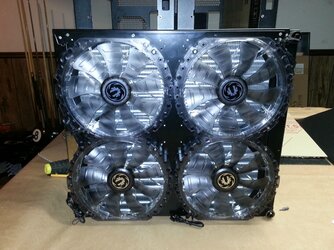
Added the fans.


Had a buddy of mine at Apocalypse Tables make the base and motherboard tray for me. Rough, but I can work with it. This is with the polished stainless steel casters already attached.

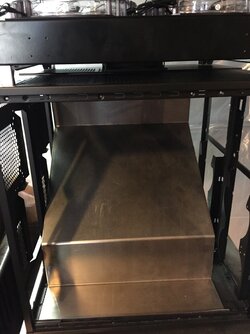
Fitting it all together. The motherboard ended up being about a half inch too long, so I have to shave a bit off. At this point, I still have a LOT of cutting to do, but it's starting to come together.


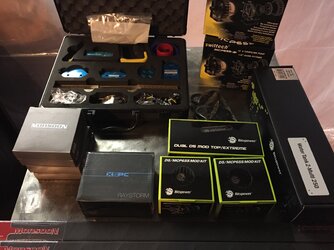
That's all I have for now. I'll post more in the coming weeks as I get more pieces in. The motherboard tray is on it's way from Mountain Mods, and the DemciFlex filters are already in hand, I just haven't put them on yet. Once the motherboard tray arrives I can cut the front and back out, and get everything cut and placed for that portion of the build. It's still pretty rough at this point.
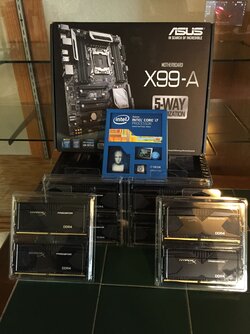
The final build will be all black and chrome with an MSI X99 SLI Plus, i7-5820k, 32GB DDR4 3000Mhz RAM, and either 2 EVGA 970 FTW's or 2 x 980's. I haven't decided yet on the GPU's.
First time using sketchup, so...it's not very good, but gives an idea of what I'm looking for. The front is only red here, so it's visible. The front on the build will be black.
The top portion of the case will be 2 x Fractal Design XL R2's riveted together and a lot of cutting done. The floor will be removed entirely and the front and back will be replaced. The cases arrived and tear down commenced.
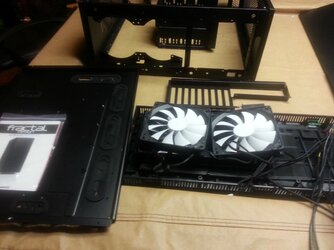
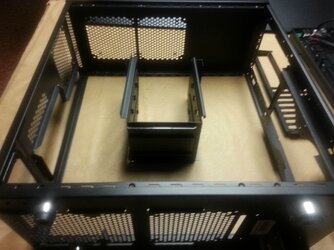
Toying with an idea here...I didn't like it, so went back to my original plan.
Mocking up the motherboard with some cardboard so I could get some measurements and have the sheet metal cut and pressed.
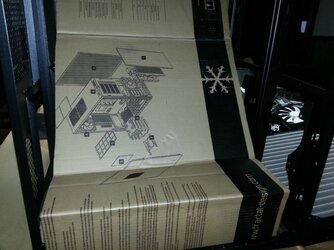
The radiator arrived. I stood it up in front of the case to demonstrate just how big that monster is.
Added the fans.
Had a buddy of mine at Apocalypse Tables make the base and motherboard tray for me. Rough, but I can work with it. This is with the polished stainless steel casters already attached.
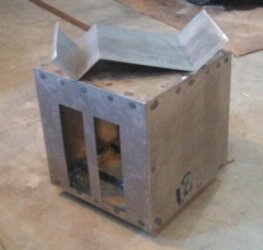
Fitting it all together. The motherboard ended up being about a half inch too long, so I have to shave a bit off. At this point, I still have a LOT of cutting to do, but it's starting to come together.
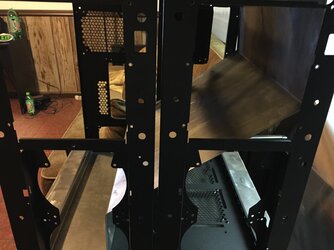
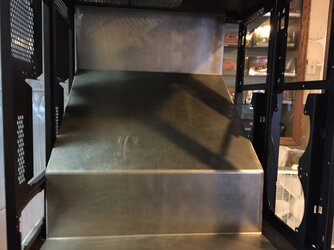
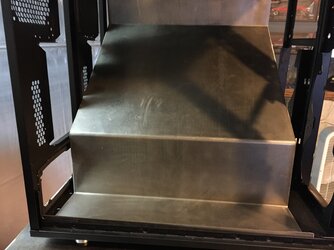
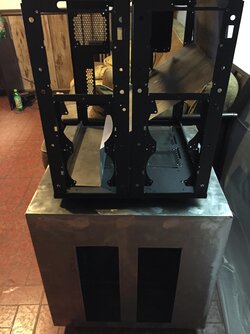
That's all I have for now. I'll post more in the coming weeks as I get more pieces in. The motherboard tray is on it's way from Mountain Mods, and the DemciFlex filters are already in hand, I just haven't put them on yet. Once the motherboard tray arrives I can cut the front and back out, and get everything cut and placed for that portion of the build. It's still pretty rough at this point.
The final build will be all black and chrome with an MSI X99 SLI Plus, i7-5820k, 32GB DDR4 3000Mhz RAM, and either 2 EVGA 970 FTW's or 2 x 980's. I haven't decided yet on the GPU's.
Last edited:
