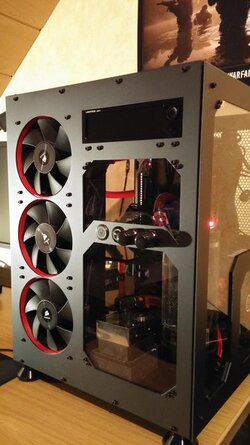
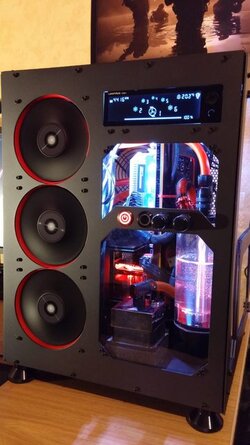
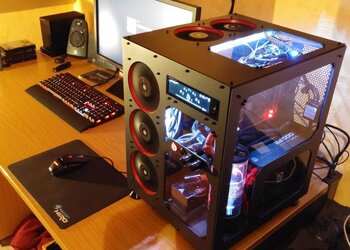
Hello Overclockers,
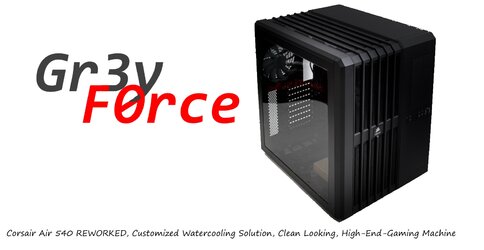
I want to introduce you my Gaming PC Project "Gr3yF0rce" .
Who am I?
My name is Martin and i am 23 years old. I am a IT Professional in Germany. Since 8 years i am building and modding PC´s. Earlier it was just Cutting a Window into such a worse looking HP Case and some IDE sleeving, now i show you what i am doing in these days
What is Gr3yF0rce:
It is the Name of my Project inspired by my Online Nickname Gr3yh0unD
Objectives:
High quality, good looking gaming PC with much Overclocking potential. Not that loud, but not a silent system.
Hardware:
Asus Crosshair V Formula-Z
AMD FX 8350 @ 5.2GHz
16GB Corsair Dominator Platinum @ 1600Mhz
2x EVGA 780 Classified
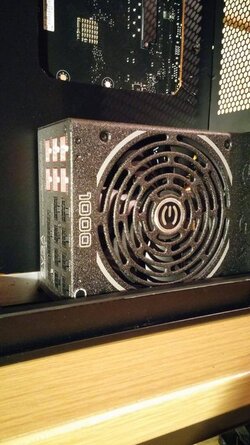
EVGA Supernova 1000W P2
Creative Soundblaster Z
Samsung EVO 840 240GB
Acknowledgment
Aquatuning (Special Thanks to Mr. Klassen for his guidance and kindness while phoning with him)

Christian Hollerbuhl for the help with cutting those aluminium parts.
And the biggest "THANK YOU" goes to my girlfriend for taking patience with me and my project
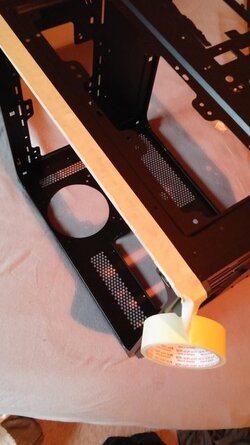
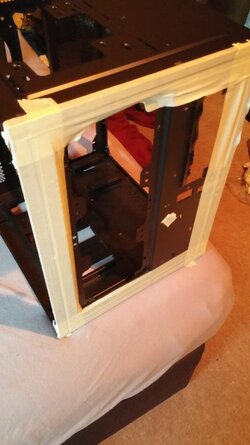
Now let me show you what will be left from the Corsair Air 540

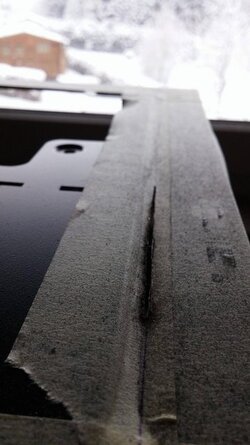
Final works on the Case and yeah it was tougher than i though.


Done!

Let me show you the custom made parts for my project.
"Doors" front, top, mainboardtray and some parts for the modular bottom (sry for the bad picture)

Example configuration for the bottom

Now you will see all parts taken together
The Frame:

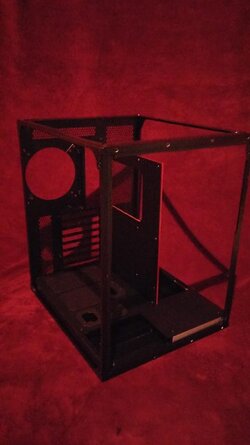
Attaching bottom and mainboardtray:

A Red UV Plexiplate for some accents

All together:roll::

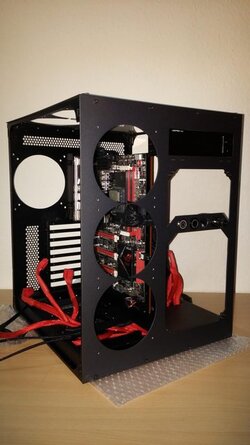
One last time the empty Case:

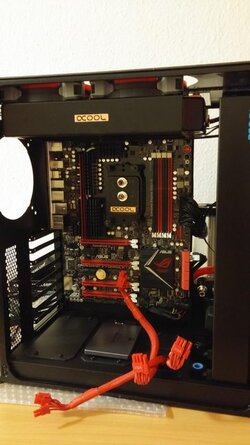
And now the mainboard fits perfect


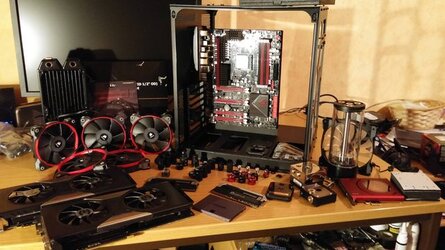
Overview what i will build into the case !!!( Some parts are missing on the picture like the gpu cooler and the "BIG" Radiator):

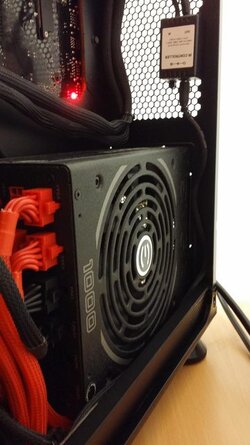
The PSU fits perfect too :
:

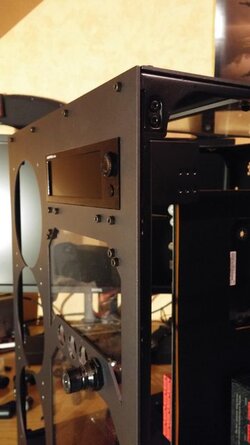
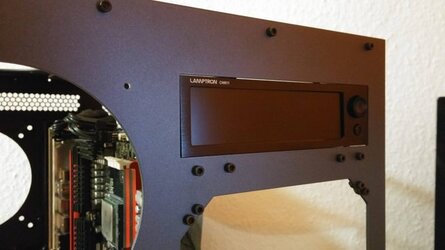
The pump and fan control which really suits to the case in my opinion.


Installing the cables...there is not much space left ....

NOW THE INTRESTING PART STARTS
:toast:
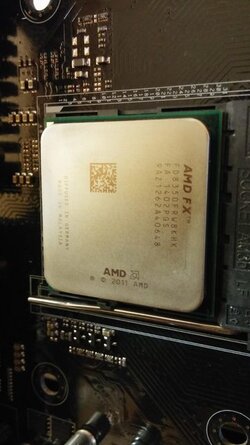
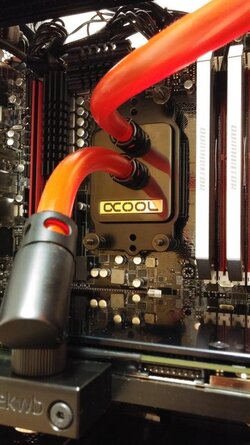
The CPU and its cooler


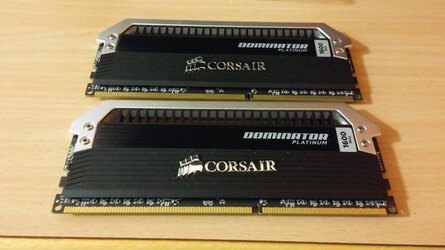
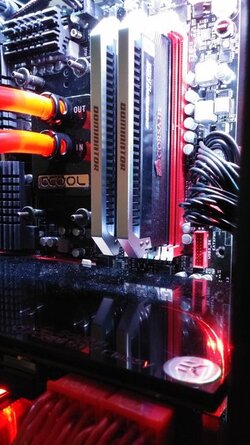
Some nice Corsair Dominator Platinum RAM

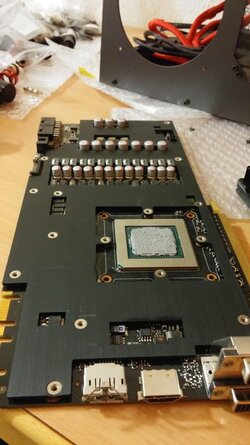
The GPU"s" ... sry i am missing those pics


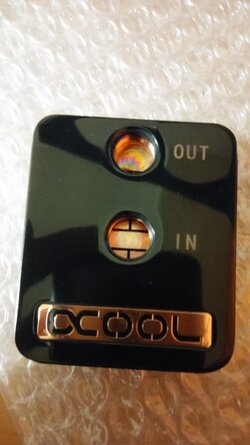
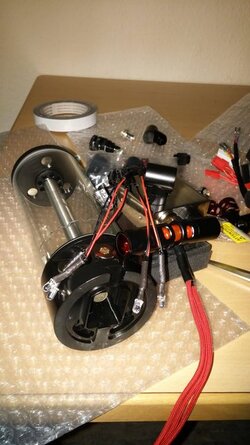
Finally get those LED´s into the Reservoir (they didnt want to stay in ) after that we can start installing the rest of the Hardware:

LET´S START
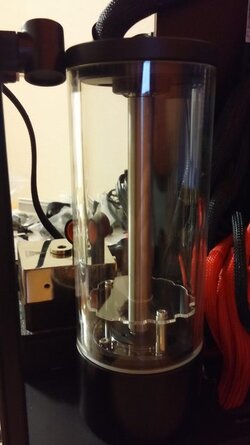
Reservoir and the sandwiched Pump installed:


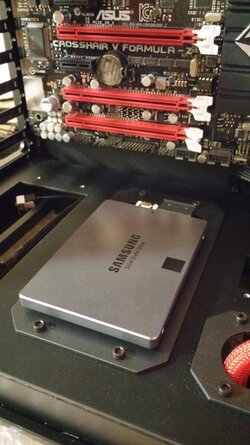
The SSD, but it is sadly only the 250GB....

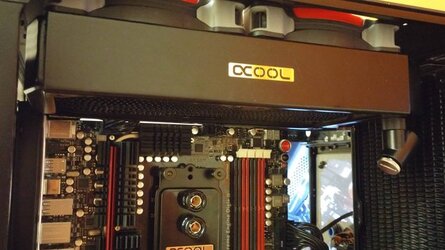
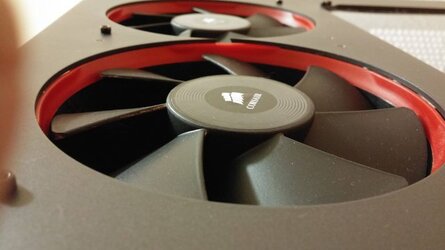
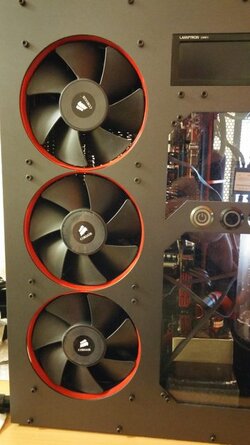
Rads and fans I think they will keep everything cool.

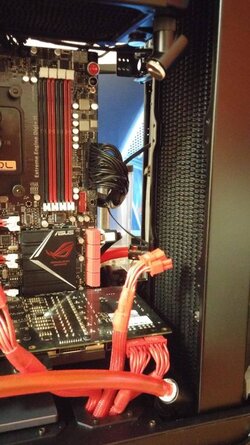
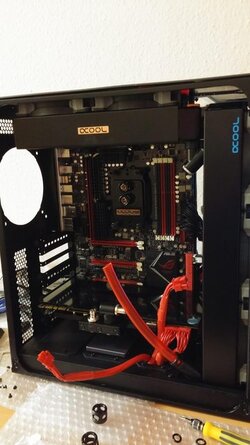
Had to install the GPU just to look if it will fit with the Rad... you see there is no space left


First of two GPU´s with cooler and backplate installed


And here is the second one ...my soundcard sneaked into the picture :fear:


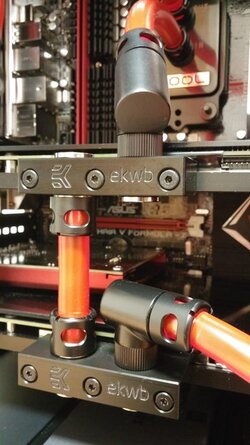
Now the tubing

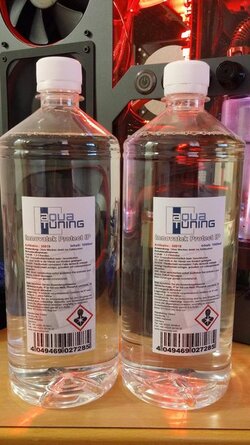
Let´s fill the Loop with some Innovatek Protect.
I had an idea with my FillPort and DrainPort (just look next to the Power/Reset Buttons). And if i want to test some new stuff i can connect it there too imp:
imp: imp:
imp: imp:
imp:


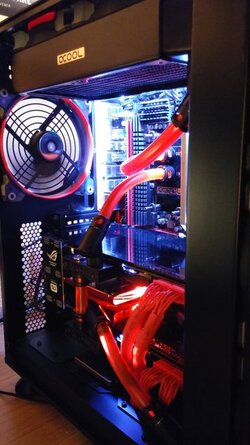
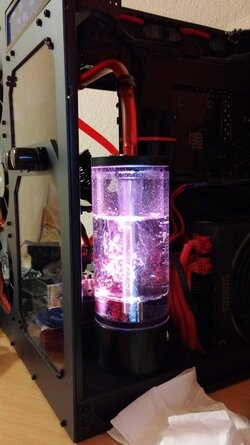
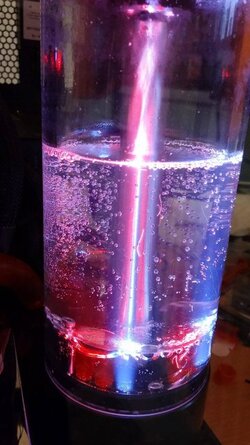
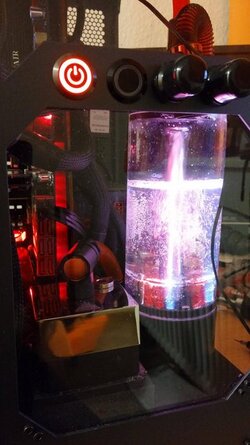
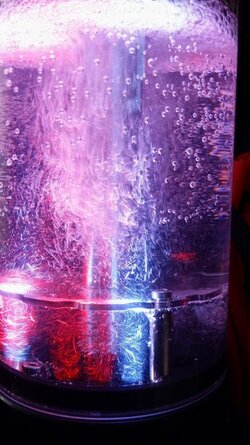
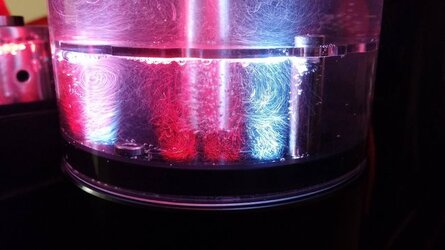
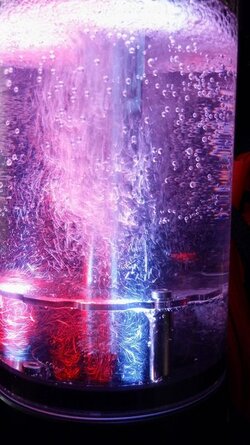
The Reservoir in action:respect:


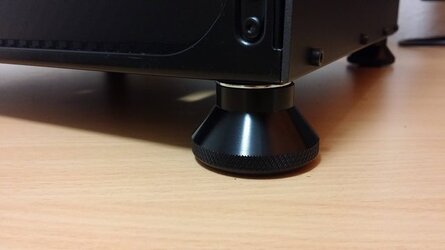
Finally after a package from USA arrived here in Germany i could install those nice looking case feet.

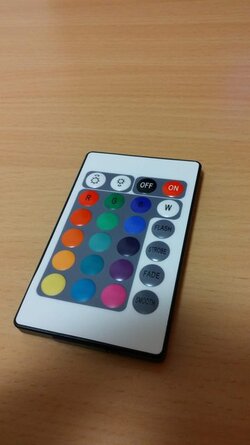
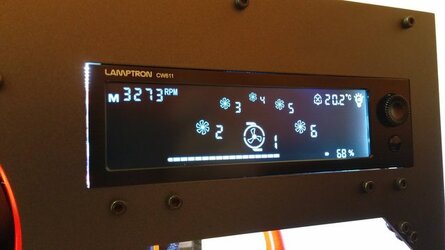
The LED Controller


Last but not least... i wanted to see where to plug in my usb stuff :banghead::banghead::banghead:

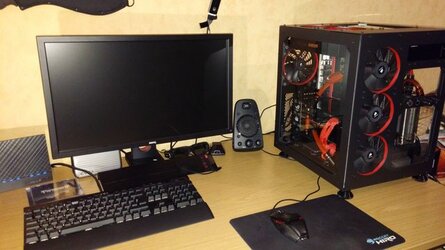
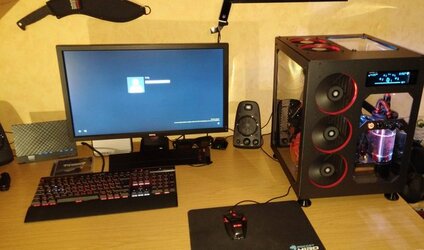
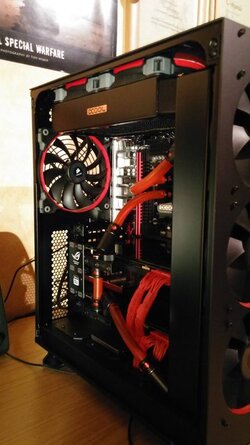
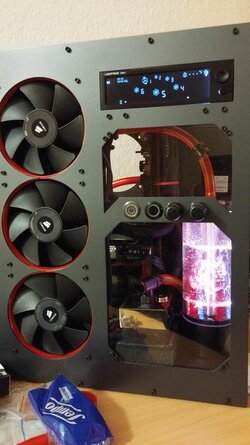
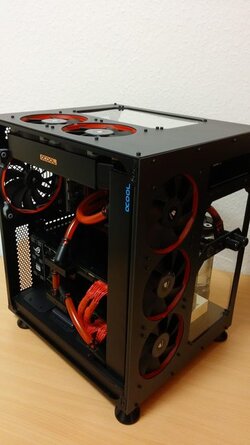
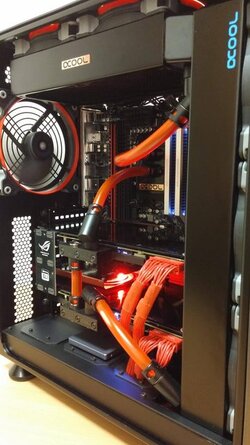
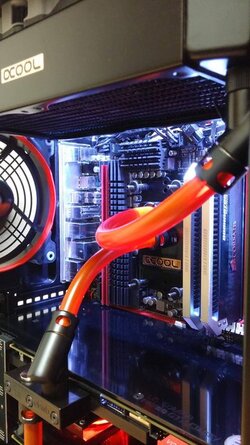
Final Pics of the System
:toast:


Hope you enjoyed my Worklog and i would be happy to get some Feedback (positive or negative) just feel free :nutkick:
I want to introduce you my Gaming PC Project "Gr3yF0rce" .
Who am I?
My name is Martin and i am 23 years old. I am a IT Professional in Germany. Since 8 years i am building and modding PC´s. Earlier it was just Cutting a Window into such a worse looking HP Case and some IDE sleeving, now i show you what i am doing in these days
What is Gr3yF0rce:
It is the Name of my Project inspired by my Online Nickname Gr3yh0unD
Objectives:
High quality, good looking gaming PC with much Overclocking potential. Not that loud, but not a silent system.
Hardware:
Asus Crosshair V Formula-Z
AMD FX 8350 @ 5.2GHz
16GB Corsair Dominator Platinum @ 1600Mhz
2x EVGA 780 Classified
EVGA Supernova 1000W P2
Creative Soundblaster Z
Samsung EVO 840 240GB
Acknowledgment
Aquatuning (Special Thanks to Mr. Klassen for his guidance and kindness while phoning with him)

Christian Hollerbuhl for the help with cutting those aluminium parts.
And the biggest "THANK YOU" goes to my girlfriend for taking patience with me and my project
Now let me show you what will be left from the Corsair Air 540
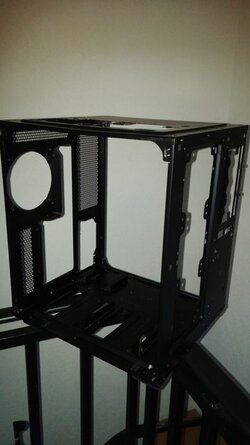
Final works on the Case and yeah it was tougher than i though.
Done!
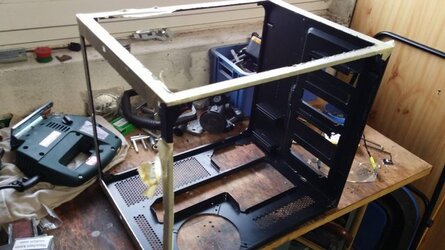
Let me show you the custom made parts for my project.
"Doors" front, top, mainboardtray and some parts for the modular bottom (sry for the bad picture)
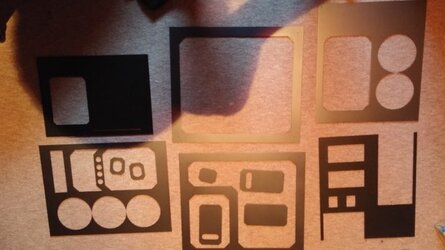
Example configuration for the bottom
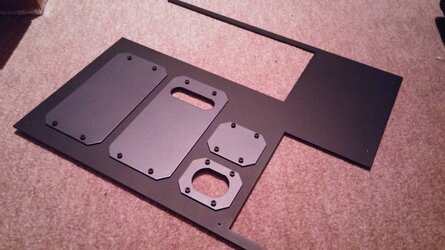
Now you will see all parts taken together
The Frame:
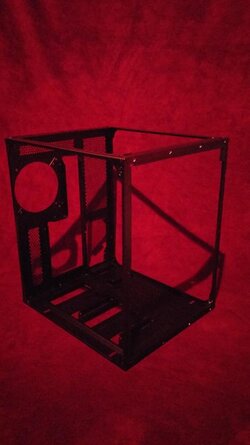
Attaching bottom and mainboardtray:
A Red UV Plexiplate for some accents
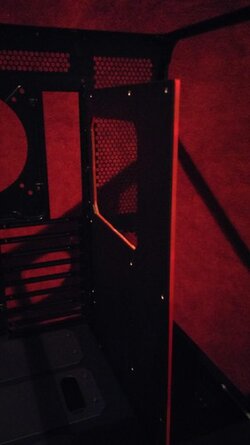
All together:roll::
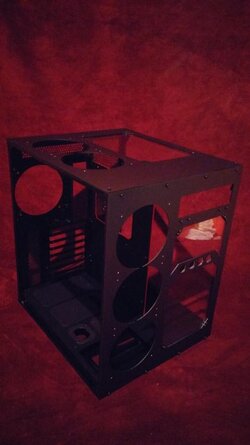
One last time the empty Case:
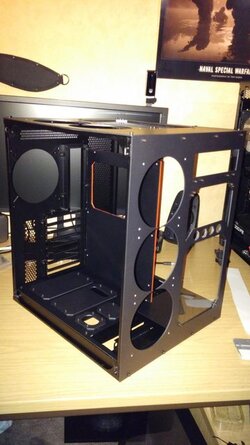
And now the mainboard fits perfect
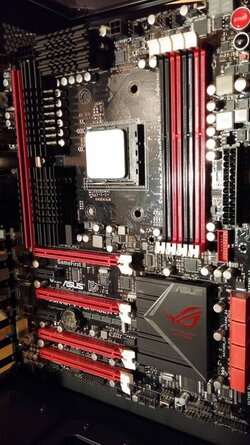
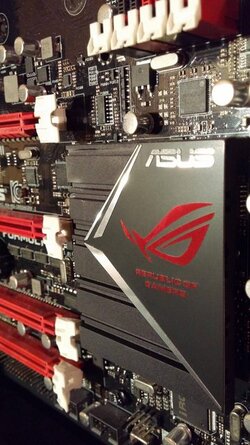
Overview what i will build into the case !!!( Some parts are missing on the picture like the gpu cooler and the "BIG" Radiator):
The PSU fits perfect too
The pump and fan control which really suits to the case in my opinion.
Installing the cables...there is not much space left ....
NOW THE INTRESTING PART STARTS
:toast:
The CPU and its cooler
Some nice Corsair Dominator Platinum RAM
The GPU"s" ... sry i am missing those pics
Finally get those LED´s into the Reservoir (they didnt want to stay in
LET´S START
Reservoir and the sandwiched Pump installed:
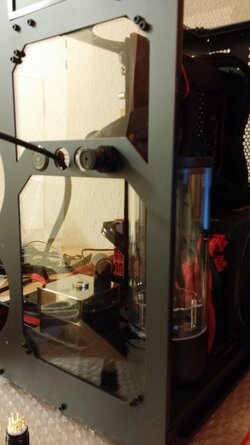
The SSD, but it is sadly only the 250GB....
Rads and fans
Had to install the GPU just to look if it will fit with the Rad... you see there is no space left
First of two GPU´s with cooler and backplate installed
And here is the second one ...my soundcard sneaked into the picture :fear:
Now the tubing
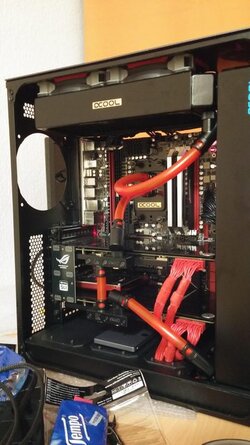
Let´s fill the Loop with some Innovatek Protect.
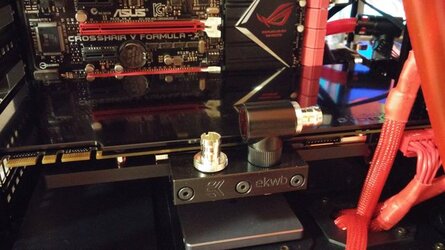
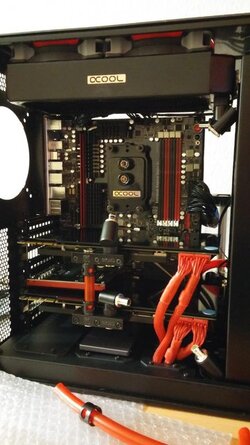
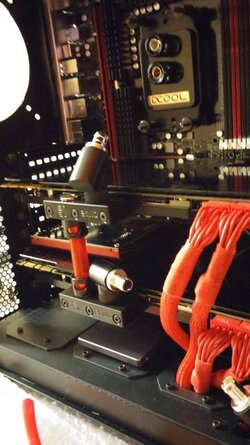
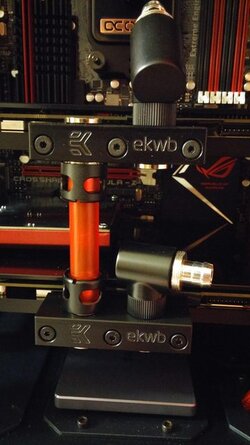
I had an idea with my FillPort and DrainPort (just look next to the Power/Reset Buttons). And if i want to test some new stuff i can connect it there too
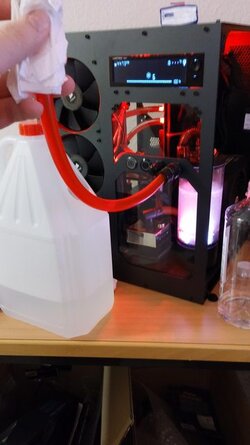
The Reservoir in action:respect:
Finally after a package from USA arrived here in Germany i could install those nice looking case feet.
The LED Controller

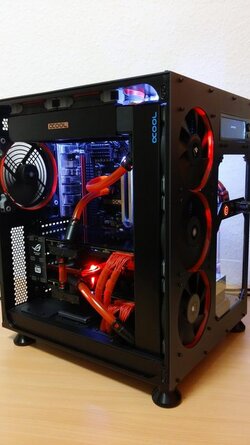
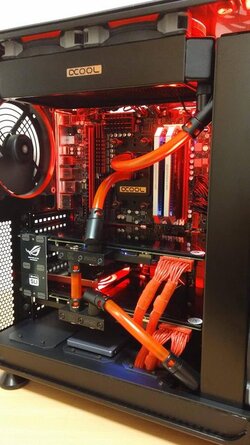
Last but not least... i wanted to see where to plug in my usb stuff :banghead::banghead::banghead:
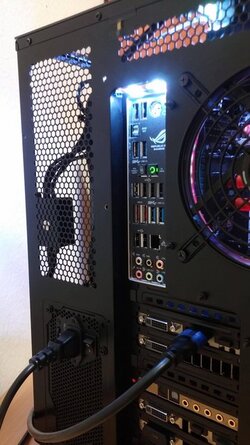
Final Pics of the System
:toast:
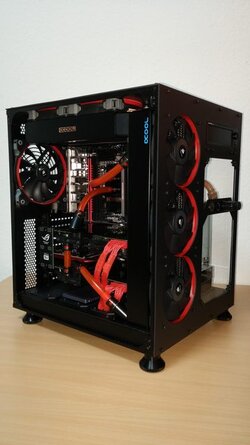
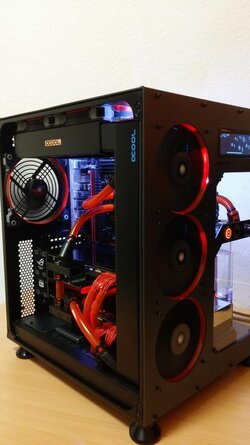
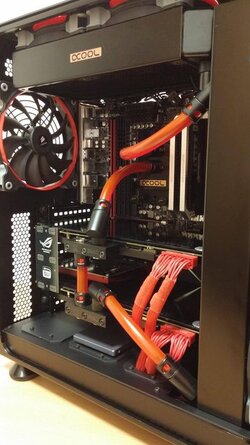
Hope you enjoyed my Worklog and i would be happy to get some Feedback (positive or negative) just feel free :nutkick:
 that is one sharp setup. Nice job!