• Welcome to Overclockers Forums! Join us to reply in threads, receive reduced ads, and to customize your site experience!

Face lift with watercooling

Overclockers is supported by our readers. When you click a link to make a purchase, we may earn a commission. Learn More.

t1nm4n

Member
Joined
Jun 12, 2005
Location
Texas
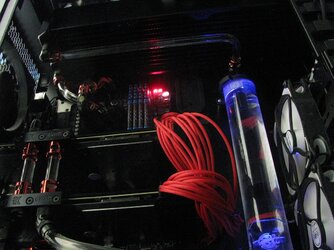
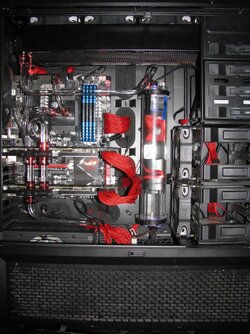
It's about time I finally got around to posting some pics of this beast, well beast might be slightly over reaching, it's a tame kitten really with a massive water problem. Ok, so none of that is true, it's just a venture into water cooling that started here about a year ago reading everything I could and asking so many of the same questions others have asked, and then I don't take your advise and end up doing my own thing. What started off as a fun project of building a good gaming computer a lil over a year ago turned into (so far) a really nice water-cooled PC.

customloop2.jpg

This is how it started, well actually it started as a single gpu build but I always wanted a multi GPU PC so it got one pretty quick. Then all the planning and reading of darned near every thread and review of different blocks, radiators, fans, pump and anything else that could be crammed into a water loop.

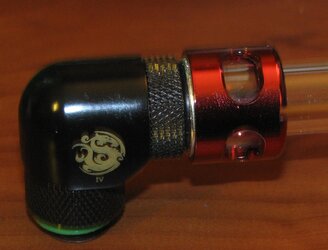
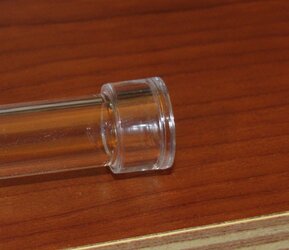
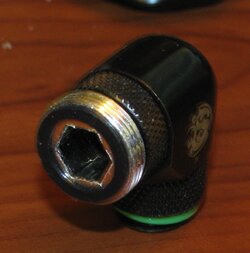
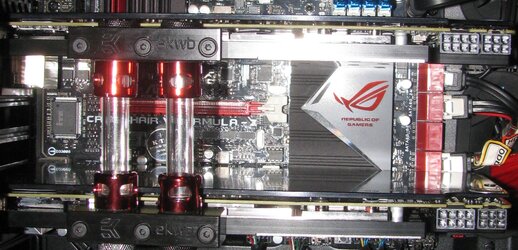
I went with EK blocks, while I like the look of some of the other brands out there, I like the simplistic looks for this build, and it seemed they were close to the best performing (like the 1-2c difference across the board was that big). I also wanted to give a shot at acrylic tubing, but I'm not a fan of rubber o-ring and compression fittings for hard tubing, so I went with the monsoon glue it all together it ain't breaking unless you want it broken fittings. The Acrylic isn't that hard to bend, but it's pretty touchy if you apply too much heat for too long the gases inside will separate and form bubbles inside the tubing (wasted a foot of tubing cause of that).

fitting1.jpg

fitting2.jpg

fitting3.jpg

The fittings are pretty easy to use, glue is nice that it doesn't set unless it's put in sunlight UV rays. Easy to seal with these fittings.

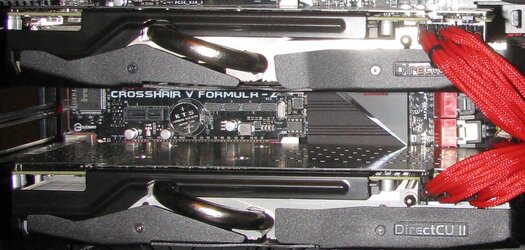
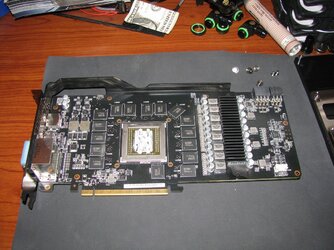
I've never taken the coolers off GPUs before so I was pretty hesitant, but a lot of reading and the if it's going to break just get it over with attitude got me from this:

fromthis.jpg

Tothis.jpg

More updates to come.
 
I didn't say how long before more pic were to come, since the sytem is nearly completed it won't take long to get all the pics sized and posted, well, not long for this computer novice means something different I'm guessing :D

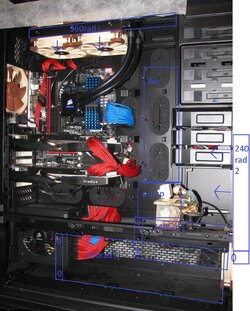
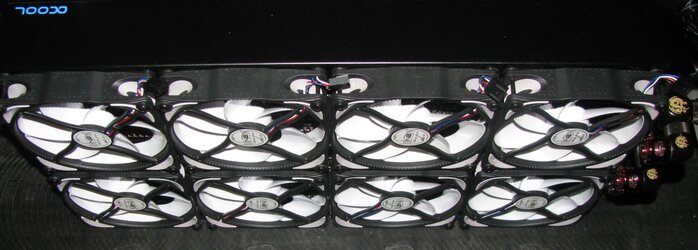
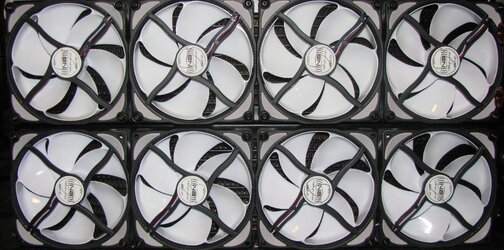
So for all the gear that went into this beast, I'll leave that a work in progress, cause it's a lot. As you can see though I had this crazy Idea of stuffing a lot of rads in the 900D well I didn't stuff a lot of rads, just a lot of rad in the form of 2 Alphacool UT60 480mm rads, you might think that is a lot of rads, it's only a lot of rad. They were shoe-horning in there with some elbow grease, I had to fortify the foundation for the house so it wouldn't crack when I filled these up with water, lol. But they look sweet all dressed up with fans some simple straight acrylic tubes and my nice lil Flow meter.

480b.jpg

480sexiness.jpg

480x2.jpg

enough480.jpg

flowmetersexiness.jpg

I think this will be enough surface area to keep the FX-8320, 2 R9-290X Direct CUII and the NB/VRM on the CHV-z temps at bay, if not, I'll work on that later.

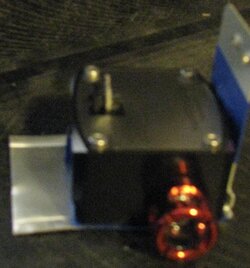
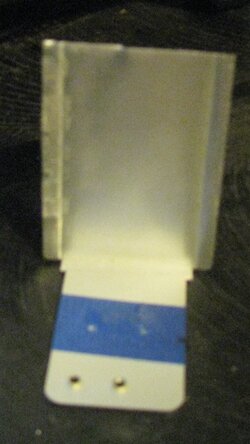
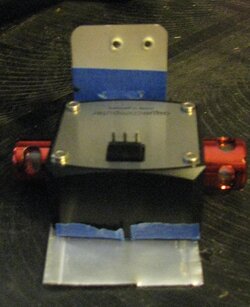
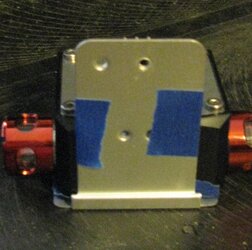
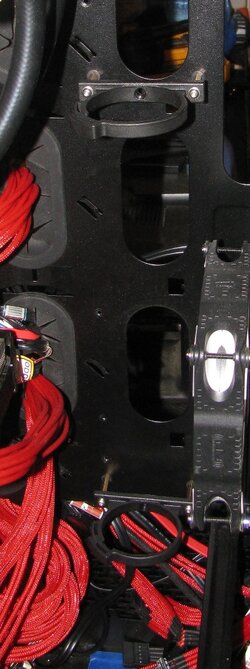
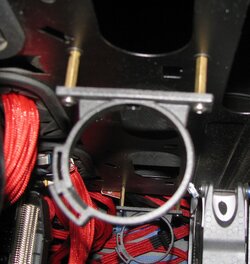
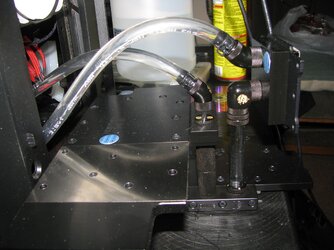
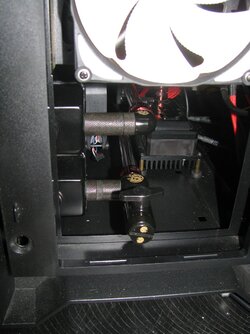
If your curious how that Flow meter is mounted I'm glad you didn't ask, cause as it turns out I'm going to tell you anyways. I built a computer for my mom like 10 years ago and still had the old drive bay covers hidden collecting dust, I just cut on in half.

flowmeter.jpg

flowmeterbase.jpg

flowmetertestfit.jpg

olddrivecover.jpg

Put the meter on it made some marks drilled a hole or two, took out the Dremel and opened up the original mounting holes so there was some movement for final fitting and blammy, it actually worked is out of sight and holds that flow meter just right. Surprising how well things work out when you least expect it, wish the rest of the build was that easy, used some tin snips to trim off the excess too.

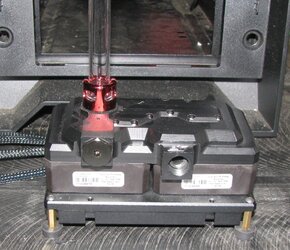
Lets not stop here, with all that water you gots to have a place to store some of it and definatly gonna need some power to move it where you to as fast as you want to move it. Here is the best lil pump I have ever used (actually my first pump and was recommended by FLat_6 (I stole several of the things I saw in his build to be fair), I think it's the same one here used, and it's just right for the job.

powerfulpump.jpg

resfinished.jpg

unevenmount.jpg

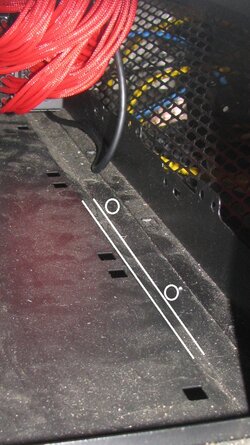
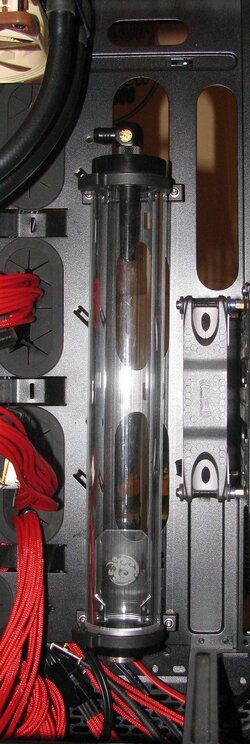
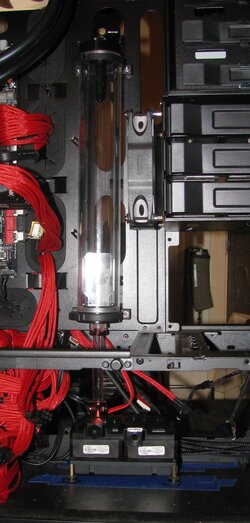
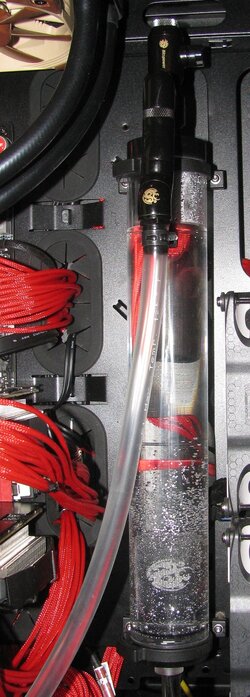
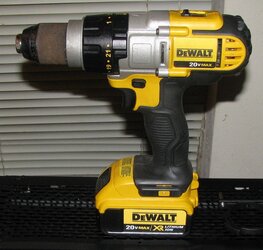
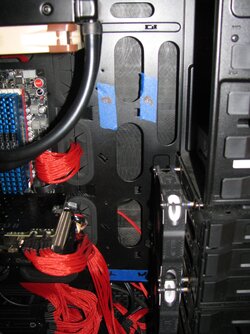
Those brass standoffs are 15mm on the short side and 20mm on the long side for that slight drop in the bottom of the case, I wanted to mount the pump to the flood of the case so incase my case takes off flying from a tornado here in Texas the pump will stay in position :rofl: So long as it doesn't move I'll be happy. Mounting that res was another story, with the hardline tubing and I didn't want a bend there I had to place stand-offs for the res holders to get the distance right, it just so turns out with .5mm washers and 15 or 20mm stand-offs it puts the res in just the right spot for a nice simple drop of water to the pumps. If you plan on doing any work, have the right tools, or just have tools powerful enough to the job with minimal effort.
havewillwork.jpg

Love this drill!!! :thup:

mountingholes.jpg

resholders.jpg

resstandoff.jpg

mounted.jpg

Turned out pretty decent for eyeballing it, well mostly eyeballing it. I used something to get it pretty darned close to being straight up and down, not like I would notice if it was at a slight tilt anyways. :eh?:
 
Now that I had the res mounted.... oh yeah, I should of mounted the pump first, DOH!! I can't remember what I was thinking, I sure do hope it all lines up after I spent all this time getting the holes marked and mounting the res first :shrug: We shall see.

mountedpump.jpg

Surprise surprise, it fit like a glove on anyone other than OJ Simpson. I did forget to take the masking tape off prior to screwing it down which led to me being lazy and leaving some bits of masking tape under the rubber grommets, oh well. Such a sweet thing seeing this start to come together and look like a cooling loop. On an added note, that hardling tubing does a great job as structural support for that 300mm res, thos lil res holders don't grip it tight enough to hold it up, so if I had flexible tubing I think it would of started to sag after awhile. Now come some of the fun bit, taking the MB out and putting the NB/VRM block on, the new CPU block with it's massive backplate and the GPU, but you saw those already. Got a lil worries with the NB, whatever TIM ASUS uses is some nasty stuff, was a pain to get all of it off.

northbridge.jpg

Came out alright, rubbing alcohol wasn't enough, but that Indigo Extreme Clean is some gnarly stuff. Don't leave the lid open either it will just evaporate away while you watch. I used Prolimatech PK-3 on all my components and in mot cases used the FujiPoly 17K/w thermal pads where I could, I figured I might as well get he best thermal transferfance I could so that the waterloop could do what it's supposed to and keep it all as cool as possible without going Dice of LN2 (or the redneck cooler full of ice route :rofl:)

With the pump in and working on the MB I thought it might be a good time to test out the blocks and hook them up to the pump to make sure non of them will leak and that they are as clean as can be. I took them all apart to check inside and make sure they were in good condition, that and check the nickel plating for defects if I could see them. All good there. This was a good tiem to test out different fittings I might use for leaks also. Mainly this is just another reason to post a picture.

leakcheck1.jpg

leakcheck2.jpg

leakcheck3.jpg

Not sure if that was nessecary, but it was something to do while I was waiting to get to other thing, I fogot I had done this before I pulled the MB out to work on it, oh well, it was only last week I did all this :screwy:

I found the Pr0n pictures we all wanted to see, but I feel so bad, there are so many out there alreadyI feel like I'm late tot he party.

bareitall.jpg

Even had the dollar bill out when she got ready to start dancing :clap: :drool:
 
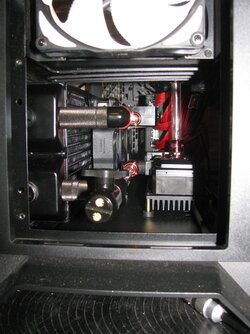
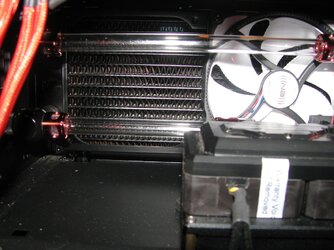
It's really getting cramped in this 900D case, especially at the bottom where there is a 480x60mm rad dual top mcp35x pump and corsair AX1550i PSU, I mean I didn't think I could run out of room down there.

roomy1.jpg

roomy2.jpg

roomy3.jpg

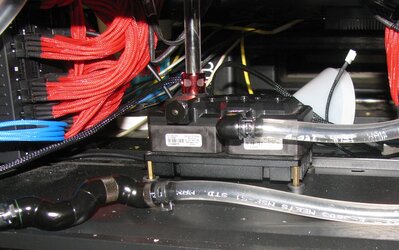
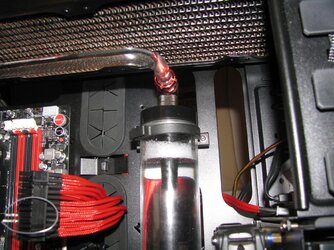
Here you can see a better shot of how the offset standoffs keep the pump level and off the floor for airflow around the heat sink so it stays nice and cool, I opted to go without the optional fan, I mean I have 12 120mm and 2 140mm fans already, so wouldn't one more just overkill :eh?: :D This was just a test fit and finalizing which fittings I would use from the pump to the rad for the drain valve and to get it as straight as possible so I'm not putting any undo torque on any of the fittings. The fan is now in place and pulling air across the rad like a champ, these fans rock. I opted for a pull config cause I didn't want to have to disassemble everything to clean lint/dirt from the rads. But she is coming alive now.

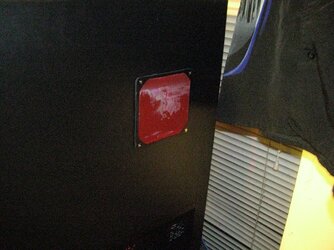
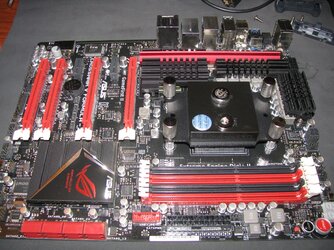
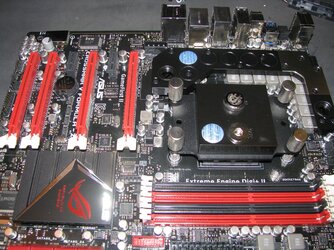
Back to where I jumped ahead with the NB, nothing to complicated there, I was a bit disappointed I couldn't keep the lil heat spreaders on the backside of the MB with the water block, I managed to save one, but the other on would warp with the slightest pressure, I still retain the 140mm fan pushing cool air on the rear door and made a custom filter using Outerwears Filter material and a hacked up radiator gasket to seal it up and make it look decent. No close ups, it's sort of a mess, but works and won't be seen by many if any.

mbfilter.jpg

It does the job it needs to do and keeps the backside of the MB more or less dust free, so that makes me happy.

I'll skip to a better pic now.

MBblocks.jpg

MBblocks2.jpg

I went with all Acetel/Nickel Blocks cause that's all they had really, lol. But I liked the clean look of the CPU block better than that CSQ stuff EK has. In Hind-sight I should of rotated the CPU block 180, you will see why later.
 
Now to start putting it all back together and maybe filler up, no maybe about it, ima throw water in there and take off running. Got to put water in it to leak test it, Although common sense would say adding water to any electrical components isn't a sane thing to do, so it's understandable why I would wait. Forget all that.

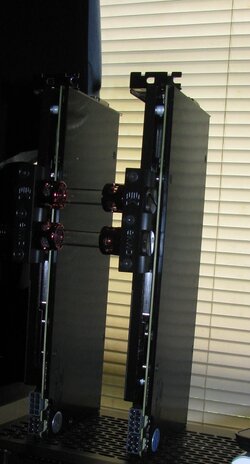
Now Like I said earlier this is my first dual GPU rig, and I've heard a lot of people say that the 290x is a power hog, runs hot and will just let you down performance wise, well I'm here to tell you I don't think I could of gotten two better more reliable GPUs.
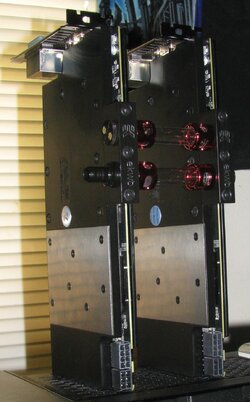
standupgpus.jpg

It's not hard to say these are a couple of stand-up GPUs, they ain't let me down yet.

Now that all the blocks are on its time to start to reassemble and figure out lines. Easier said than done, I ended up with enough fittings to do this whole thing in hardline or flexible tubing, I ended up with a myriad of both cause I'm just too lazy to do some of the bends I need to make it look right, Still not there, but I got it in a good spot, just not as clean as I would like. But before I did the all the line running I thought I would hook up the rads to make sure they are leak proof, after the rad dance (sorry no videos of me doing the "Truffle Shuffle", can you name that movie?) I thought I would put them in and hook them up the rads and let them run overnight with some antimicrobial dish soap in there, yes it took a couple of rinses to get the suds out, but the rads are supper clean. Of course this is just another good excuse to post another picture :thup:

radclense.jpg

wasn't worried about the suds in the res, cause... well, that was the point of this test. But were getting so much closer to putting it together, normally I have no patience for this sort of thing, but with allt he money I have invested I figure it's better safe than sorry, and this being my first, I wanted to do it right. Or at least not do it wrong and have it leaking right off the bat. Enough rambling about nothing, where the pics at? I'm not sure, it's getting late and I will update later.
 
My god that tubing! :drool:
I asked you before about it didn't I? ....

You wouldn't happen to have that link to buy some again would you? :chair:

It's a really clean rig you have sir :salute:
 
"The Goonies"

WINNER WINNER chicken dinner, hmm what sorta of lottery prize shall I draw from all the left over parts I have?

@SP these are the fittings I used and this tubing. they say don't mix and match brands of fittings and tubing cause of slight variations of wall thickness and diameter, so I didn't. I've only bought the one package of tubing so far, ruined a couple of pieces, but they were short mostly scrap I have one omplete 24" tube left to get the last two stretches right, but I will wait before I get those done, I might be changing a few more bends cause the routing I took isn't the best.

But it picture time, just got to get them organized, sorted, put in some sort of chronological order.... too much work, I'll post them and tell pointless lil excerpts from what I can remember and bore people to death :blah:

Edit: forgot links :bang head
 
t1nm4n

...I really think I like how you have done the deal. A lot of fannage and raddage to get in place and all in all, I really like the outcome man. Super story teller but you type for shett in a couple of places. Hehehe. :salute:

Thanks for sharing.

RGone...
 
Thanks for the links and tips t1nm4n :)

I'll see if I can use 'em in my new case. Might need flexible stuff for this one though...
Are you gonna put that sweet purple dye in this loop at all?
 
My grammar is out of whack, but I'm tellin-a-story so grammar don't mean skat :censored: :muahaha: Anyhow, it's picture time :santa:
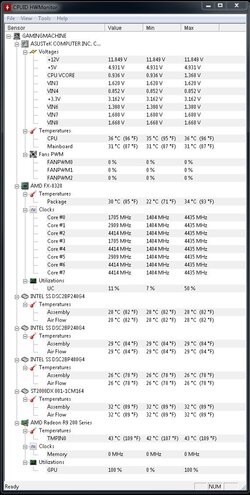
I actually had to look back up there to see what all I put in the thread, funny how a nights sleep affects your memory. Back at it, I think I was successful with the extra round of soapy water to clean the rads, it was time to drain, tilt it this way, tilt it that way and pray you got all the water out when you start undoing fittings. Had a lil spill out from the top rad on to the outside of the PSU, got that mopped up quick and off to bending school. Thought I had pics of the messed up tubing but I guess I wanted no proof that I wasted supplies, so no go there, but I have this for you.

testfit.jpg

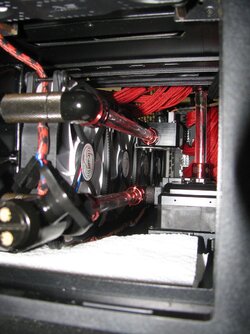
The long single bend was easy enough, just wish I had something better than a 400grit sanding stone to do the fine detail trimming and fitting. Yes I sat there with a sanding stone to get these pieces as close to a perfect fit so they weren't torqueing on fittings or pulling blocks, might look like some funky (insert newage artistic term) but it works and that acrylic really looks like a glass tube when filled with water, I LIKE IT!!! :clap:

But it's time to put those stand-up GPUs in and start the arduous journey of leaking testing, this make like the 3 round of leak tests for various components :confused: Although I guess in reality while it in use it's just one big long leak test :shock:

standupgpus2.jpg

Sorry, that's just a whole lot of sexiness imo :attn: :drool:

assembled.jpg

Darned GPUs are just laying down on the job now, I tell you it's hard to find good workers these days.

But time to start the leak testing it all fits look decent enough to make me smile, that's what really counts right :D

sudds.jpg

Whoops :eek: look like I didn't get all the soap out of the rads or other components, looks like it will get cleaned again, I guess you can't start off with too clean of a loop now can you. shall see if this stops growth with the silver bullets I have in the loop, no other chemicals were added, just the residue of wally worlds brand dish soap.

I goo shot of the bracket I made for the flow meter and a lil more perspective on how little room there is on the bottom floor of this high-rise apartment building.

braketshot.jpg


Can't forget the obligatory shot of paper towels littering the hallways like there was some frat party gone wrong :rofl:

lookingood.jpg

Those animals just treating this palace like some trash dump, kids these days :rofl:


Just means it's time to leave this parting gift.

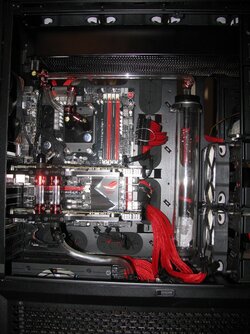
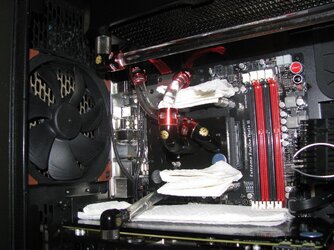
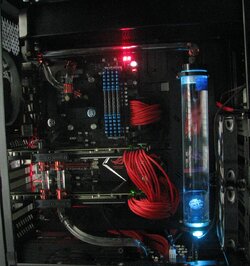
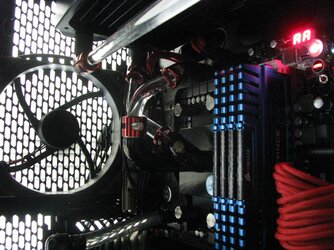
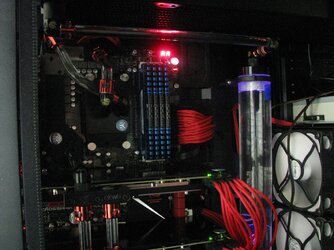
finished1.jpg

finished2.jpg

finished3.jpg

finished4.jpg

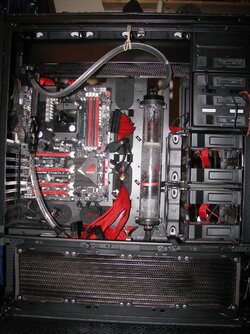
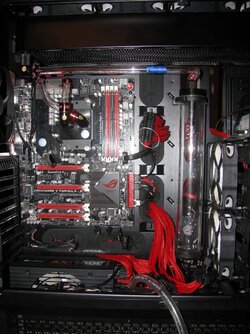
Is it done, not hardly, but it's done for now, it's running and keeping temps cooler than I have ever seen, about 8 hours of folding on 6 of the cpu cores and both gpus netter highest temps on the cpu of 48/43c package/socket Gpus were both at 42c diode and 41/37c on the VRMs so all in all I would say it was a successful endeavor. Water temps were never more than 2-3c above ambient which fluctuated from 22 to 29c at it's hottest around 2cst this afternoon. I have stopped the cpu folding cause it's a waste.

For those who care the loop goes Pump > bottom rad > flow meter > parallel gpus ? NB/VRM MB block > CPU > top rad > res rinse repeat. I have an aquero unit controlling the pump and powering the rad fans. I fluctuate pump speed cause it has helped move more of the air bubbles out of the rads and is less noisy then dual pumps chugging along. Fans run from roughly 900-1750 rpms and pumps range from 2000-4500 rpms, that cpu block is pretty darned restrictive cause max flow I can get is about 1.2 gpm and least I get is about .3 gpm which when surfing is more than enough to keep all temps in the low 30's. When I was just cleaning the rads I was getting 2.2 gpm with both pumps full bore, but I guess the bends dual gpu block the mb and cpu block it would drop it some.
 
Thanks for the links and tips t1nm4n :)

I'll see if I can use 'em in my new case. Might need flexible stuff for this one though...
Are you gonna put that sweet purple dye in this loop at all?

I found with that tubing, it pays off using the Monsoon bending kit to make the bends uniformed, if you use a flat piece the tub will have a flattened edge on it, not a big deal, but it could irritate some people. I thought if making my own jig with a 1/2in round router bit and some dense wood, could probably get some unique bends like that which just come out perfect. Watch those Monsoon videos, they're a bit lengthy, but help a lot, they did for me at least.

That staining and separation test are still ongoing, not sure if it will purple of some variation of the blue red mix I could try. I will play with it some at a later date, maybe when I get around to doing the final bends or changing the cpu block orientation so the bends are crossing each other. I don't know why I didn't think about it, I was concerned with the EK badge being upside down so I put it in the orientation it's in, just never dawned on me that the badge would be blocked by the tubes so it wouldn't matter what direction it was when installed. But I got it in and it's working, so that's for another day.
 
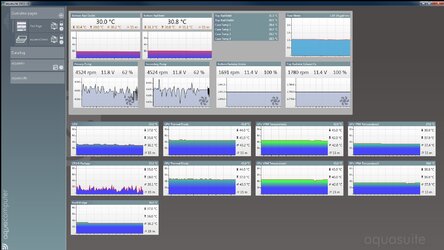
Thought I would share this, it's started to cool off on this side of the house so temps are pretty decent, I know folding isn't the most stressful thing you can do with a GPU, but after nearly 12 hours the temps in the water and gpus have steadies up some, normal temps with the fans locked at 70% would run roughly 75c, this is by far more quiet. CPU is only staying warm cause of the warm water from the GPUs I suspect. The case temp probes are 4 probes that came with the unit and placed in different parts of the case, one is under the bottom rad where there is no heat other than radiated heat from the bottom rad, so it's the coolest on, another is in one of the recesses of the case near the front intake fans so it's another cool temp, the other two are in areas were there isn't a lot of air flow but heat like on the back side of the motherboard around that rear intake fan but wrapped up in wiring, and the other is... I don't remember, have to trace them out again.

aquero.jpg

Edit: Reference temps.

aqueroreference.JPG

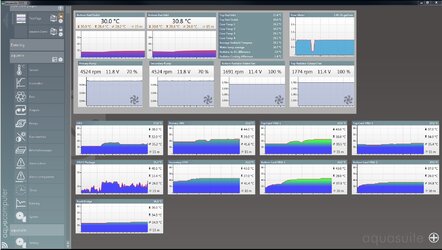
New Aquearo information and better looks. I added some temp differences for efficiency purposes and the helluv-it. I think this is a pretty decent place to get all the pertinent info regarding temps I should need, and the charts look cool :cool:

aquerobetter.jpg

I haven't started on seeing what I can do as far as increased clock speeds, but I did a short 20min test last night to check temps with P95 and heaven looped @4K which sort of hurt the gpu temps I think cause they were slightly restricted with all the cpu usage for the p95, but temps for the cpu were low 40's iirc and gpu were the same. I will have to run p95 longer to saturate temps with all this rad space and cooling power, I mean as you can see it's at a 3c difference from ambient air temps, and as ambient increases cooling efficiency decreases, where this starts and stops I don't know, but I know when the air temp was 24 rad temp difference was 1-2c so that 28c temp might be an efficiency killer, more studying on that later.
 
Last edited:
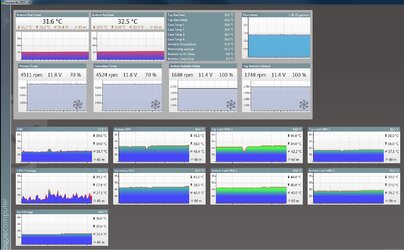
as it turns out, My flow rate kept getting lower and lower and lower, I didn't think much of it, cause it didn't start as high as I thought it would (roughly 1.2gpm) and dropped to what you can see in those screenies, I sort of figured the once the system gets all the air pockets out of the radiators it would drop a little, but the tubing from the flow meter to the bottom GPU appeared to have bulged up some and flow had dropped to .99 as stated above, I know these things aren't that accurate, but that tubing looked like it was under a good deal of pressure, so I tore the thing down ARGH!!! :mad: It happens I guess :shrug:. I figured since the gpu and cpu are the blocks that have tightly spaced fins there must of been something blocking partial flow. Got the gpu blocks apart and there was some plastic shavings (in both of them) from where I screwed fittings in, Surely not enough to make a difference I thought. When I got the cpu opened up, it looked like the lint trap on a dryer machine in the laundry room, I could see red, white and blue lint on the opening of that plate EK uses to push water through the fins. Got all that cleaned out and looking shiny again. Once I put it all back together and got her filled back up this was the result.

aqueroimproved.jpg

That's a massive improvement, same pump speed and .4gpm improvement, I think I might need to take it apart again and clean it out some more. I came to the conclusion, when your oom is right next to the laundry room and you have one of the A/C unit intakes in your room, run a ceiling fan on high you get all kinds of dust in there. All I can figure is that when I was fillign the loop the funnel I used got lint on it, maybe some of the fittings got lint in them while sittings after one of the cleaning runs and gathered lint, doesn't help that I'm a smoker (I know quite it will clog your rad fins with nicotine) but what a fun adventure right off the bat.

FYI those gpu temps are while F@H so I think they are awesome. Not sure why the average water and calculated air temperatures are so different, but I guess it's still a good system to stay under 5c water > Air difference. This is with the case all buttoned up, so I think it's pretty decent, not as good as I hoped, but good enough to keep them 290Xs cool.
 
I still got work to do on it, but it was time to show it off I think. I would really like the wiring to be more uniformed and neater but for the time being it's working good. Also need to figure out how I keep getting lint inside the closed loop (must of been there when I did final assembly) I guess this is what I get for not pre-cleaning everything again before final assembly, flow is slowing down again, well it's stabilized at 1.35-1.38ish. I give 2 digit cause they say that High flow meter from Aquacomputer is pretty darned accurate.

Next thing I'm working on is getting the controller unit all mounted super flush using the supplied bay covers for the 900D. I thought how cool would it be if I could use it to make the faceplate for the Aquearo unit. I got only so far and am need to somehow shave the thickness down, preferable uniformly so it fits nice and flush. Will post pictures later when I resize them, no one wants 4k sized pics of dremeled plastic bits now do they? :p
 
I ran into some problems, Most of which were from the Tygon-36?? series of tubing, they were leeching plasticizer into the system, and then they were also picking up some black material from in between the fins in the cpu and gpu blocks. I can only assume that material was something left over from the nickel plating process, I also found that the nickel plating on the cpu was not all that well done, probably because of the spacing of the fins, I couldn't get a picture of it as the lighting was so bad and with or without the flash proved this lil canon powershot isn't up to the task. The Typgon tubing started to cloud up, I mean it turned a good opaque, again I let curiosity get the best of me and cleaned the tubing before taking pictures, but what was interesting was when I used a white paper towel I got a blueish residue, so I think that the Tygon plasticizer free tubing had a reaction with the distilled water and kills coils. I have yet to put any dyes in my loop or any other biocides other than the Monsoon Kill-coils.

So as I don't plan on having a complicated chemically infused loop I decided to just replace the few pieces of Tygon tubing with some acrylic, and redo the how the cpu block was run, I think it turned out better this way, most bends were free-hand, as I couldn't get the bends I wanted as exact as they needed to be for the Hard-lok fittings. I think it turned out pretty darned good, although better pictures are needed.

Allacrylic.jpg

I did change out the res, that smaller one was nice and all, but I did notice that with all the filling and refilling it was a pain, with this res its nice and easy to plop on another fitting and just poor away, instead of having to pop off the top to add water.

On a side not the poor aquaero unit had to take a bench on getting mounted nicely, but it's still in the works, the idea of using a belt sander as a makeshift planer didn't pan out the way I wanted, so back to the drawing board.
 
Leeching eh?
What's your water temps?

I bought some cheap braided PVC tubing... I'm going to test it in my loop.
Soaking it in 42C water clouded it but no leeching that I could see.
 
Back