• Welcome to Overclockers Forums! Join us to reply in threads, receive reduced ads, and to customize your site experience!

PROJECT LOG Biohazard Buildlog

Overclockers is supported by our readers. When you click a link to make a purchase, we may earn a commission. Learn More.

sporktar

Member
Joined
Jul 10, 2010
King Scrud’s build log – Project: T̶H̶E̶ ̶P̶O̶W̶E̶R̶ Biohazard

I’ve been a long time lurker of the OFC forums since the early 2000’s. OFC got me into building computers, taught me how to overclock, how to mine for cryptocurrency, inspired me to dive into watercooling, and provided me with hours of general entertainment. I’ve never had much input to contribute in the past, but I wanted to make a log in my favorite subforum to help give back to this community. So I hope you enjoy my ongoing project- T̶H̶E̶ ̶P̶O̶W̶E̶R̶ Biohazard. This will be an ongoing project as i slowly but steadily pour more money into my setup, so subscribe if you're interested!

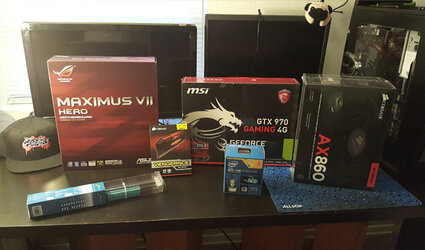
For the last few years I’ve been using an ASUS G75VW gaming laptop. It served me well throughout school providing me with a competent gaming rig that was still portable enough to bring to class, or to lan with friends. As I get more into PC gaming (used to be an xbox gamer of 10 years) I needed something a bit more powerful, so as a graduation/got a big-boy job present to myself I bought all the parts for a new gaming rig:

Corsair 450D case
i7-4790K 4.0 GHz
MSI GTX 970
2x Corsair Vengeance 16 gb 1866 RAM sticks
ASUS VII HERO motherboard
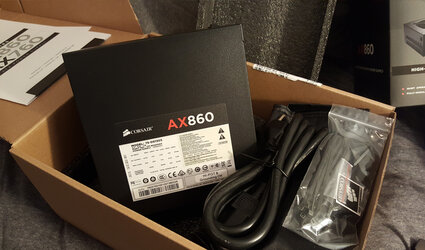
CORSAIR AX 860W power supply 80 plus platinum certified (for ‘dat energy efficiency)
I already have an old HP and Sony monitor laying around, along with an HP membrane keyboard, and a Coolermaster Storm gaming mouse.

It's definately not a balls-to-the wall gaming computer, but it's the nicest pc I've ever bought. You may notice i didn't order any hard drives/SSD's. More on that later.

Day 1:
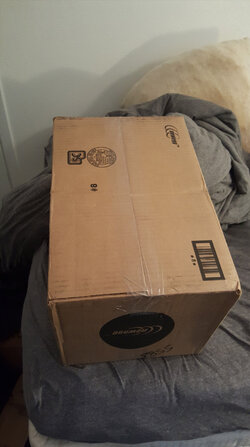
I had planned on getting some stuff done today, until I got home from work and my roommate told me "I knew I was definitely living with you again when weird packages started showing up at the house." (we lived together 3 years ago)

2015-07-02 19.28.31.jpg

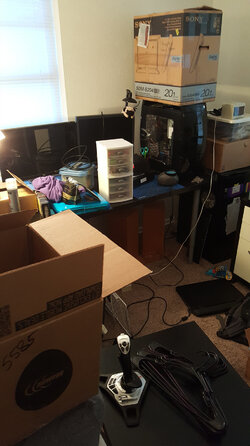
NOPE NOTHING GETTING DONE TODAY. Unfortunately i had just moved in about 2 days before, so I'm not quite settled in, and there's a lot of unpacked junk in my room. so first things first, I have to clean up enough space to actually work.

2.jpg

After i shoved enough things into the corner to be able to move i dug out the loot. I was a bit worried i would be missing RAM, as it was on sale when i ordered it, and was on backorder. A tiny yellow package in my mailbox eased these worries.

3.jpg

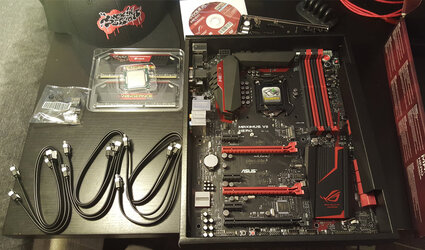
Some of the more observant amongst you may have noticed a fancy new case is not included in that glamorous lineup. No worries though, we can work with this. Now prepare yourselves for some glorious unboxing photos:

4.jpg

I've always been a sucker for the black and red color scheme, so of course i'm going with that on this build.

5.jpg

860 watts is a bit overkill for this system, but i may add another gpu or something in the future, and I'd rather be prepared now. Plus corsair PSU's have a pretty great reputation, so I'm not too worried about it dying anytime soon. This is the first time i've owned a modular power supply, and the wire management benefits are amazing. I plan on doing some custom sleeving in the future, or buying pre-sleeved wires depending on the cost. The platinum model was an obvious choice for me, as my pc is going to spend a long time powered on folding for the team 32 Folding@home team (check me out on the leaderboards @ King Scrud, i broke the top 500 using my old laptop recently!)

6.jpg

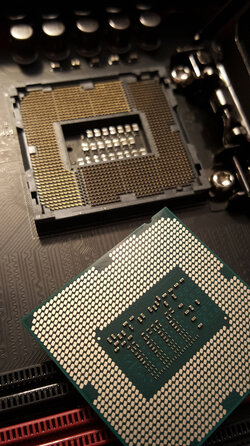
My initial reaction to opening up the processor box was "Where the F#$^ are all the pins? I haven't built a desktop since the AM3 days. Then i realized not having pins on a $350+ CPU is brilliant.

After getting the basic components together, and slapping the stock heatsink on it was time for a post test...

7.jpg

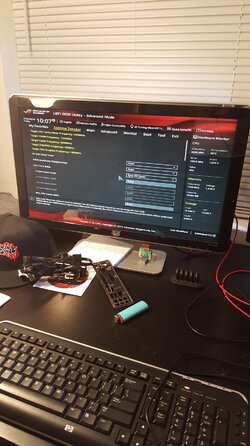
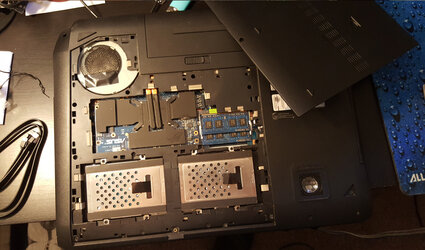
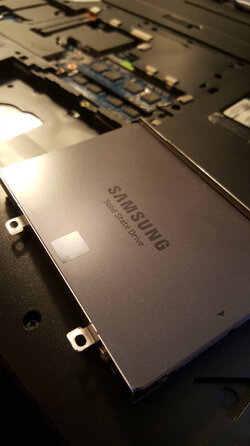
After a sigh of relief, it was time to boot it up and see how it actually runs. Unfortunately, in order to do that you have to actually have some sort of storage hooked up. My beloved laptops SSD was quickly sacrificed to the build.

8.jpg

9.jpg

My trusty Samsung SSD. With no case, it was time to use the "set it on the motherboard box" technique. Or in my case, set it on some plastic on top of some mousepads.

10.jpg

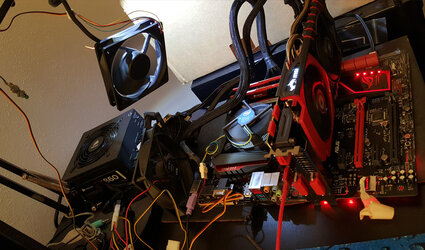
But Scrud, why is your motherboard taped down? Why is there a fan hanging from the ceiling? Why is it blowing the wrong way?


I will answer all these questions, and more on the next episode of THE POWER build log!
 
Last edited:
LOL, your room aint the messy, that's how mine looks on any given day. I had (actually still have) that same PSU, it powered 2 290xs and a 4350 nicely, great PSU imo.

SSDs are a worthy sacrifice from a laptop to the PC, I just wish they were around 15 years ago, SSDs that is.
 
Day 2:

So why are there fans hanging from my ceiling? Turns out the 4 GHz quad core turbo boost isn’t particularly fond of the stock cooler.

stresstest1.png

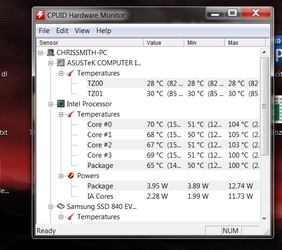
Idle temps were initially around 55-65C after boot, and about 15 seconds of prime95 shot temps up to 105 (at which point I closed the software as fast as humanly possible). I had read through reviews that this chip isn’t effectively cooled by this cooler, but I wasn’t expecting such poor temps. Added airflow didn’t seem to do much, and the fact I didn’t notice my sky-fan was pointed the wrong direction probably didn’t help ether.
My initial plan was to purchase the main build, then take some time to save up more funds for an amazing most certainly way too overkill unique custom watercooling loop. However after some testing I don’t really feel comfortable even gaming on this pc right now, for fear of melty-bits or just straight up CPU combustion. (I know that doesn’t actually happen, but you get my drift)

11.jpg

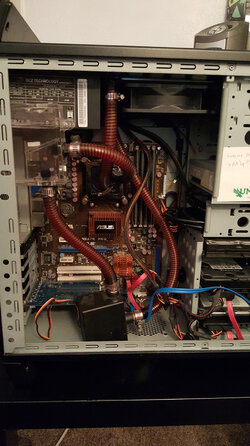
As a short term solution, I decided to pull the waterblock out of my old PC and see if I could mount it in the LGA1150 socket. The hole spacing for the new socket is 75 mm, and the old AM3 waterblock’s mounting hardware allows for 72 mm. I seriously considered going all linus media group on THE POWER, and just doing some creative bolting, or zip-tieing, but I knew if I managed to fry my $350+ CPU I would be very upset with myself. So for now the stock cooler stays.

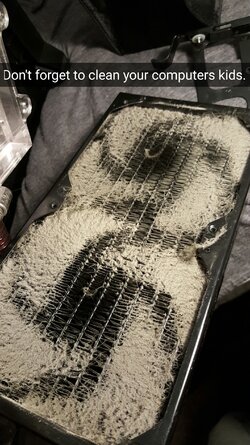
Protip- Clean your radiators at least once a year. Especially if you are running Scythe jet engine 130+ CFM fans 24/7 without a side panel.

Snapchat--9047185961703151302.jpg

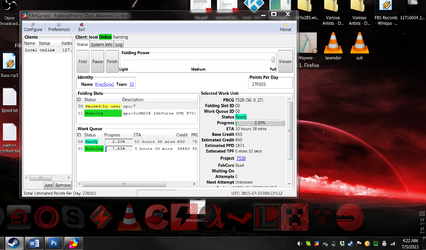
On a more positive note, i was pretty blown away by the 970's performance at f@h. I was doing CPU folding on my laptop, and getting roughly 35,000 PPD. This is what i get with my new GPU:

sfah.png

What's even more impressive is the card is basically silent. The fans don't even come on until it hits heavy load, and even then they spin at under 1k RPM. I almost don't want to replace this amazing cooler with a waterblock. But one of my primary cooling goals is to have a radiator setup outside my window. Because i fold pretty much all the time, my shoebox of a room can get pretty toasty. We already pay enough for AC, no need to add unnecessary heat into the mix.

I'm coming for you top 250 :D
 
Last edited:
Day 4
One of the best parts about being an adult is you get to order yourself sweet new toys, then open them like it's Christmas in July. I spent a lot of time looking at different cases for this build, and went with the 450D for a number of reasons.
1: 140mm casefans
2: Removable/expandable drive bays
3: only two 5 inch bays (considering a fan controller or a double slot res)
4: 'dat cable management space in the back
5: magnetic fan filters

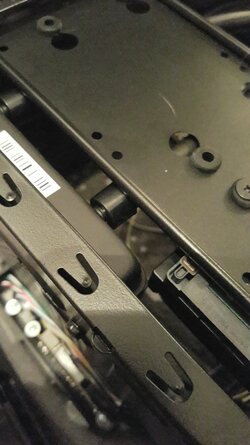
Overall I'm pretty impressed with this case. The build quality is nice, and the only real complaint i have about it is the fact you can't remove the 5 inch bays, and the 3.5 inch bays feel a bit flimsy.

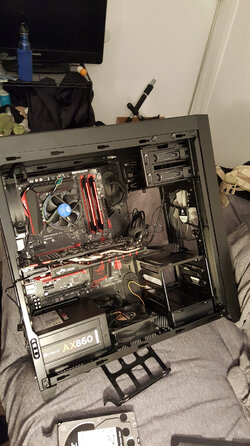
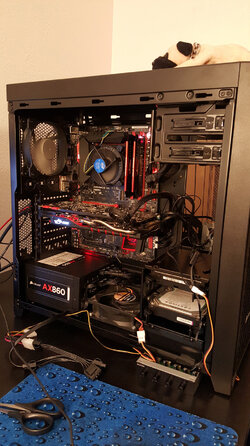
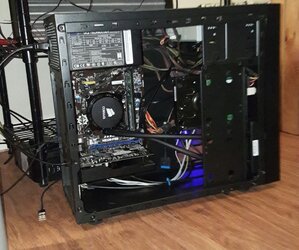
Here we have the basic components mounted inside.

12.jpg

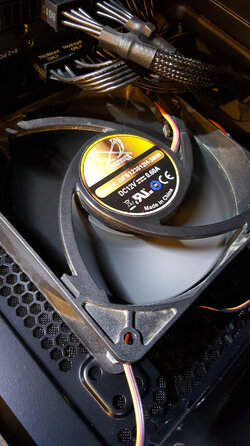
Some of you may recognize this fan. If you don't have a fan controller i would strongly advise against ever buying one, but if you need to push a lot of air and don't mind the sound of a hovercraft on your desk, these are a pretty solid bet. (I would also advise you buy a fan grill. This thing draws blood, i know from experience) I realized after installation that the gpu would block most of the airflow to the cpu, but more airflow can't hurt for now.

14.jpg

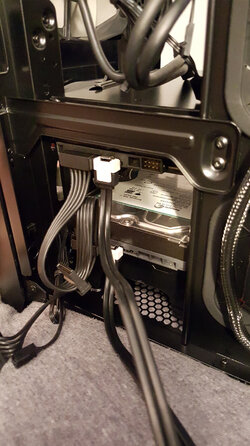
I really like the cable management space in the back, and the fact that you can mount drives facing away from the window-side.

13.jpg

Much easier to work on than my old school NZXT case. (I had to dremel holes into the motherboard tray for wire management. NZXT had no idea what they were doing in 2008.)

Since i don't have a floppy bay to mount my existing fan controller, i just left it on my desk. I may be able to utilize it in a later stage of this build, time will tell.

15.jpg

To Do:
  • Transfer all necessary DJ software back to the laptop HDD so i can permanently mount the SSD into desktop
  • Plug in all front panel I/O
  • start looking into watercooling hardware
  • Start work on outdoor radiator enclosure
  • Custom psu sleeving
 
What version of Prime95 were you using? Newer versions will max temps even on exceptional cooling.

Looks to be a nice build so far, sub'd.
 
I still have a few of those "meat chopper", sythe, ultra kaze 3000 fans around, the music they make!!!!!!!!
 
What version of Prime95 were you using? Newer versions will max temps even on exceptional cooling.

Looks to be a nice build so far, sub'd.
I didn't check, but it was one of the newer versions. I was aware of this, but i still hit 105C on occasion when windows gets hung up on something, or if i'm running something cpu intensive.

I still have a few of those "meat chopper", sythe, ultra kaze 3000 fans around, the music they make!!!!!!!!
These things are no joke. I had them set as top exhaust fans on my old rig. When i had it sitting on the floor they would actually start spinning my ceiling fan.

Day 5

Sorry for the delays, with work and other misc. life obligations i haven't been able to spend much time on this project.

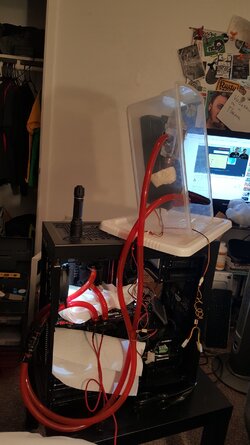
As i mentioned earlier, my cpu is resting at about 50C idle, and hitting scary high temps at load. My gpu temps are fairly low, but since most of it's processing power goes towards folding@home it still unloads quite a bit of heat into my matchbox-sized room. I've been combating this by leaving my door open, but it's not exactly an ideal solution, and i have to stop folding when i go to sleep. My temporary solution to this problem is to install my old res, rad, and pump into a box, then mount this box on my windowsill to remove all waste heat from my room.

16.jpg
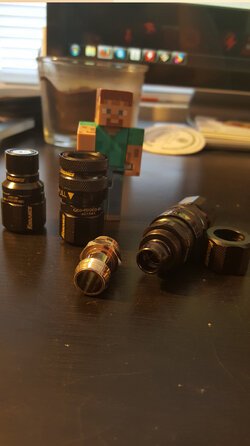
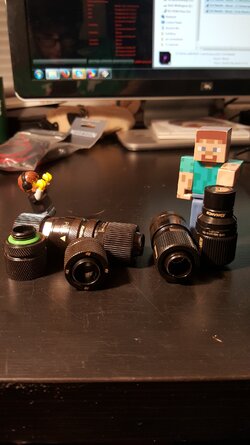
Summer Christmas time! My Koolance QD's came in the mail a few days ago. I'm a little bit bummed out, as i accidentally ordered the 3/8 ID version instead of the 1/2 ID version. As you can see by the silver fitting from my old waterblock, i have always used 1/2 inch ID tubing and fittings in my build, but it's been about 6 or 7 years since i actually ordered watercooling parts so i forgot this tiny detail. Unfortunately Koolance doesn't like exchanging fittings or QD's, as they explicitly stated on my invoice that they don't do exchanges so I'm stuck at 3/8th ID for now. I'm not thrilled about this... my research online showed that the actual performance difference is negligible, but aesthetically i like the look of larger tubing, and i will now have to buy new fittings for the rest of my parts.

17.jpg
I decided the cheapest solution for everything outside the actual tower right now is best, as I'll only be using this solution for about 3 months until i move out of this house. It's more of a proof of concept to see if outside watercooling is even feasible where i live (it's about 95 degrees as I'm typing this message). After cleaning out the red gunk from the dyed coolant i used 6 years ago from the barbs (lesson learned, DON'T USE DYED COOLANT)
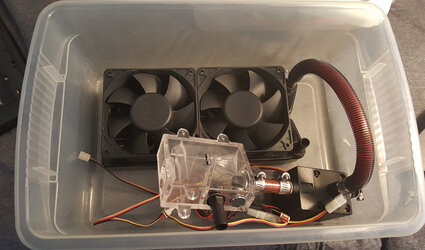
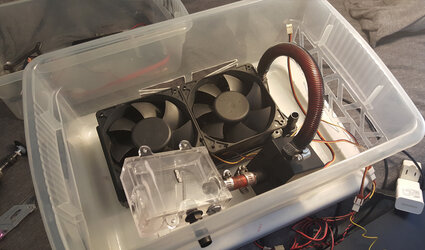
I re-used the existing tubing from my old loop, cut down the lengths and did a mock fitting in a plastic box i had laying around.

18.jpg
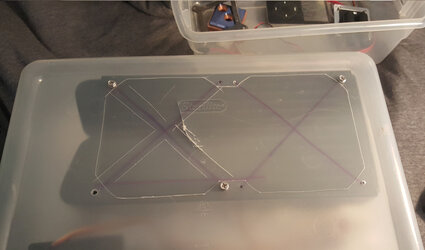
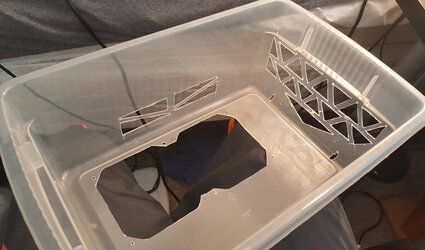
After mounting the rad to the box, i marked out the exhaust with a box cutter, then dusted off my trusty dremel.

19.jpg
After a lot of cutting and de-burring i'm left with a pretty solid little box. Even though there has to be a lot of open space for airflow, i still wanted the box to be relatively rain-proof, so the vast majority of the intake holes are at the bottom of the case, where water will just drip down away from the parts. I added those two drainage notches as well to prevent any puddles building up from leaks in the box. None of this should matter since this is going to be mounted under a roof under-hang, but better safe than sorry.

20.jpg
I noticed that for the past several years my pump has been oriented in the wrong direction with the outtake flowing into the res, so i fixed this and re-configured the layout a bit. I drilled a hole for the intake tube and did some airflow testing to make sure i wasn't choking up the fans...nope still sounds and feels like a hovercraft.

My next step is to order a cpu+gpu waterblock, and some tubing. I plan on using watercooling tubing, and using some hardware store tubing on the external side of the quick disconnects running to the external box, as i don't want to waste good tubing on a 3 month 'test' project.

Does anyone have any good online watercooling retailer suggestions? A lot of my old trusted vendors are out of business by now, and i can't seem to find primochill blood red 3/8x1/2 tubing anywhere.
 
If you're at 50°C on idle then you have a problem with either the block mount or the water flow through the block.
 
I daresay you have either a bad mount or a case airflow issue.
That's what i thought too, but the original tests were outside the case with several fans providing good airflow over the mobo. I even re-seated the cooler with fresh thermal paste, no luck. I've been thinking about undervolting or disabling turbo boost until i can get this cooling setup finished.
 
Day 6

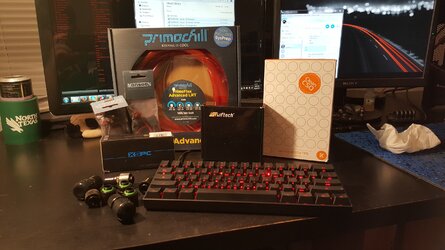
It's been a little bit since my last update, been busy with social obligations and work. Saved up enough money for the next step in my build, so check out some of these sweet gearporn photos!

2015-08-20_204534.jpg

Big shoutout to Koolance, even though their invoice explicitly stated my fittings weren't eligible for warranty since they had been opened, and they were not damaged they allowed me to return them so i could purchase the 1/2 id 5/8 od version.

2015-08-20_204330.jpg

Group shot of all my sweet new loot (missing a picture of my WD red 6 tb NAS/Backup drive)

2015-08-20_203808.jpg

Gotta give a shout out to the Performance PC packing guy for actually responding to my request to draw a dinosaur handing watercooling hardware on my invoice. I also like that he stated that he is "no longer allowed anymore" Implying at one time he was, and then there was an incident that warranted stopping this sort of thing...

2015-08-21_143132.jpg

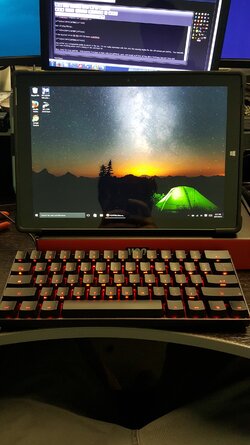
Playing with my KBP V60 with cherry MX Browns on my work's Surface pro 3. I'm really enjoying this keyboard so far. I've only owned rubber dome cheap keyboards in the past, and the difference is substantial.

2015-08-20_205748.jpg

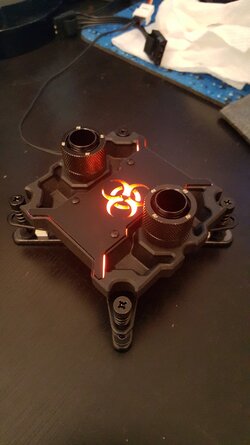
CPU waterblock complete with biohazard LED

2015-08-20_204922.jpg

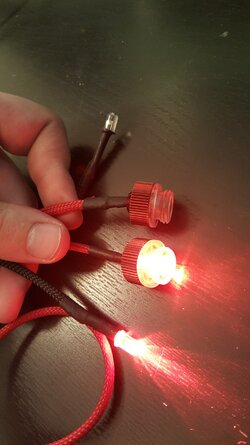
Red LED plug fittings...

2015-08-20_210251.jpg

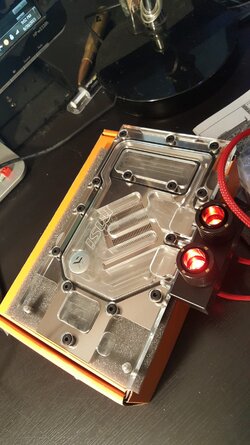
To be mounted on my EK MSI 970 full cover waterblock.

2015-08-20_205139.jpg

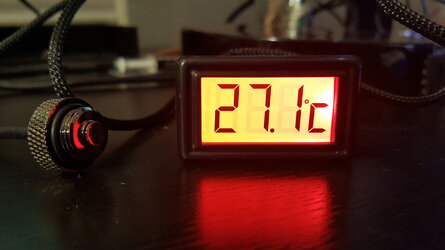
Also picked up a temperature probe to mount in the res. I'm not really impressed with this unit, the viewing angles for the LED screen are AWFUL. You basically can't see anything unless you're looking at the unit head on.

Stay tuned for more updates. Unfortunately I've been so busy with the girlfriend, work, and social stuff that all this fancy hardware has just been sitting on my desk gathering dust all week D:
 
Looks great so far ! I was looking at a similar cpu block for my build with a led dragon on it. I was worried that the fittings would cover it up. I have to reconsider my decision now :). Keep up the great work.
 
Sorry for the lack of updates, i've been pretty sidetracked lately. The photos from this update are actually several months old, i just never got around to uploading them.

2015-08-21_220936.jpg

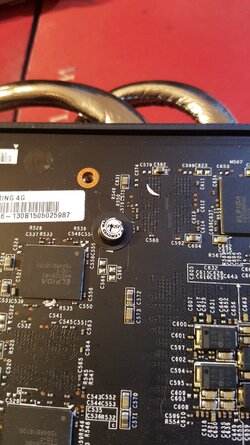
Time to void some warranties!

2015-08-21_222225.jpg

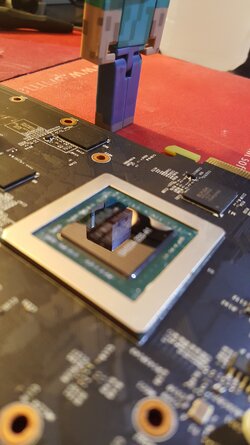
Got the GPU paste off, looking mirror clean.

2015-08-21_223406.jpg

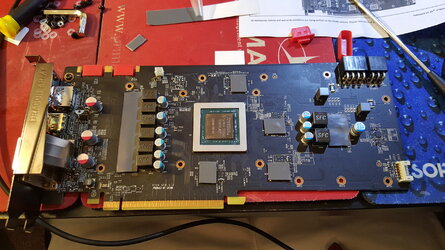
GPU with thermal pads installed.

2015-08-21_223721.jpg

Very excited to be installing my first full cover waterblock...

2015-08-21_224939.jpg

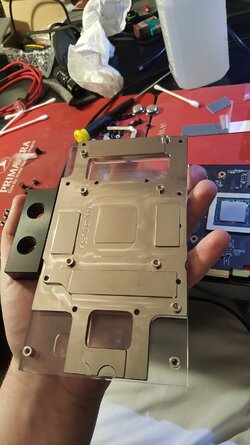
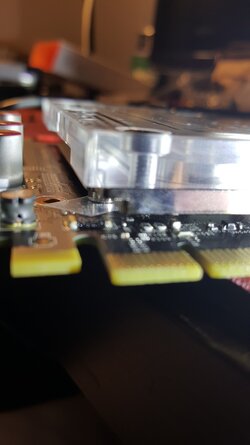
...But it helps to make sure you buy the model for your board revision... A mistake that cost me $120, and a failed RMA shipping fee. I installed the block not knowing that graphics cards had different board revisions. I have ordered and installed the correct revision waterblock since these photos were taken. (If anyone is on the market for a rev 1.1 msi 970 block, i may know a guy......)

2015-08-29_181630.jpg

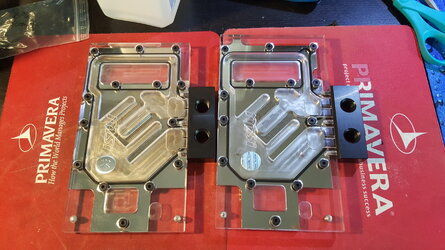
Here's a photo of the blocks side by side.

2015-08-29_191357.jpg

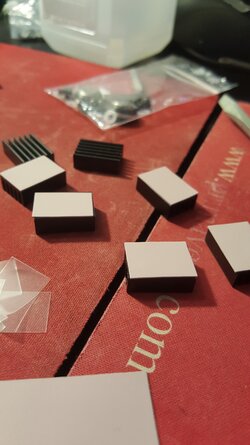
I was able to find some vram heatsinks from my old build, so i used some spare thermal pads to mount them on top of my card instead of a backplate.

2015-08-22_011657.jpg

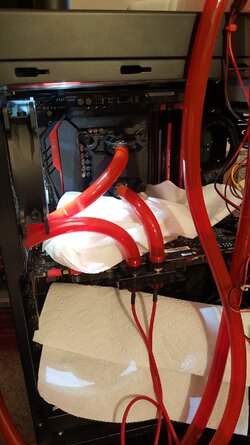
Leak testing the new loop

2015-08-22_011703.jpg

One of the benefits of having an external pump/rad box is the loop is extremely easy to fill and bleed. Much easier than my old loop.

2015-08-22_024130.jpg

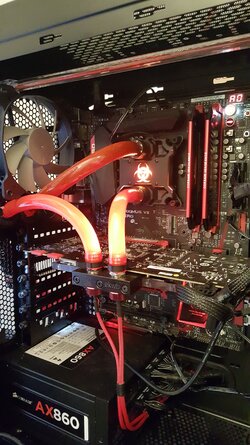
Photo of the working loop. Overall i was quite satisfied with the outcome.

Stay tuned for some updates in the near future. Since these photos were taken i have moved into a new apartment, replaced my pump, res, and radiator with a significantly nicer (and pricier) upgrade, and bought some other new toys for my battlestation.
 
Looking good, sucks to hear about the blocks though

Thanks! Yea it's a hard lesson to learn, but I'm trying to find a 1.1 card for my girlfriend so she can at least use my block for her build. So far all my craigslist/ebay leads have resulted in 1.3 versions :c
 
Buildlogception

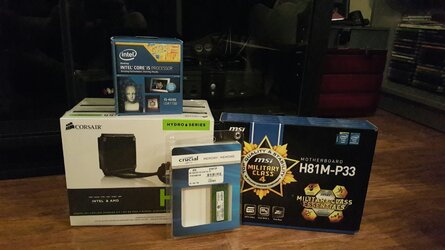
I had some downtime at work today, so I decided to put some work into the buildlog. I still have a few photos to take when i get home, so i figured i would post a mini-update showing a build i did for my old roommate.

The pc i pulled my original watercooling hardware from was donated to my roommate, but it was pretty dated, so recently he sent me the psu, graphics card and hard drive so i could build him a more up to date system to play on.

Case - Fractal Design Core 1000
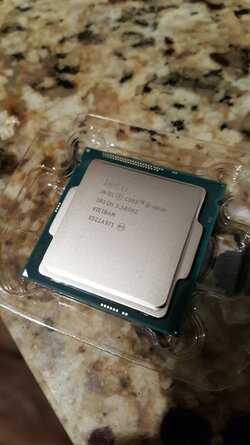
CPU - Intel Core i5-4690 Haswell Quad-Core 3.5 GHz
MoBo - MSI H81M-P33
RAM - 1x Crucial 8GB DDR3
HDD - Used seagate 1 tb
PSU - 500 watt (can't recall the brand)

01.jpg

02.jpg

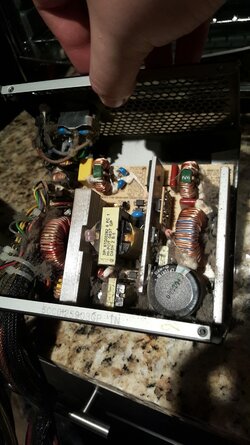
Cleaned out the multiple dust balls out of the psu. It was disgusting and intensely gratifying. (Obligatory PSA, don't open your PSU if you don't know what you're doing. It voids your warranty, and you can zap yourself to death if you don't know what you're doing)

03.jpg
MmmmmMMMmmMMMmm.

04.jpg

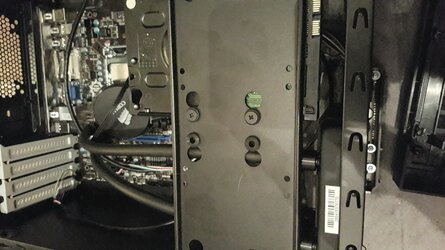
I convinced him to go with the corsair AIO cooler, because h̶e̶ ̶h̶a̶s̶ ̶a̶n̶ ̶o̶v̶e̶r̶c̶l̶o̶c̶k̶a̶b̶l̶e̶ ̶C̶P̶U̶ (no he doesn't i'm dumb ignore me), but mostly i just wanted an excuse to see the unit for myself, and play around with it a bit. Installation was pretty easy, and it got temps pretty low. Unfortunately the motherboard i used only had 4 pin fan control, so the fan is locked at 100%. Not ideal, but it works.

05.jpg
The cooler wouldn't mount to the side intake without interfering with the gpu, so i had to mount it up front. I was worried about the clearance from the drive mounting panel, especially since i was shipping it across the country, but it held up fine.

06.jpg
I was pretty impressed with the case. The foam/mesh no the front grill was pretty cheap and will probably be hard to clean, but the case itself is well designed and thought out. Wire management isn't the greatest, but externally it's an attractive case with solid airflow, and for 35 dollars on newegg it's hard to beat.
 
Last edited:
Uh, you mean "un-overclockable" CPU? Because that's the non-"K" CPU, meaning locked....

Well i feel rather dumb now... I scrolled up to look at the picture and you're right.. Before he decided on the AIO, i was planning on getting him the non-k series, I must have gotten my bookmarks mixed up when i was ordering his system, or not updated my order. Oh well, the odds of him taking the time to learn how to overclock were pretty slim anyways, i probably just saved him ~$15. Good catch.
 
Last edited:
Back