-
Welcome to Overclockers Forums! Join us to reply in threads, receive reduced ads, and to customize your site experience!
You are using an out of date browser. It may not display this or other websites correctly.
You should upgrade or use an alternative browser.
You should upgrade or use an alternative browser.
PROJECT LOG [MSI PRO MOD S3] - KRAIT VENOM
- Thread starter alexciobanu
- Start date
- Joined
- Jan 2, 2015
- Location
- Sydney, Australia
- Thread Starter
- #22
Wait....and here I was thinking "This guy has to be older" >.> Nope hes a decade younger.
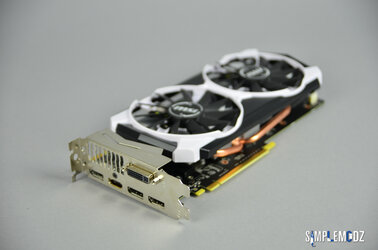
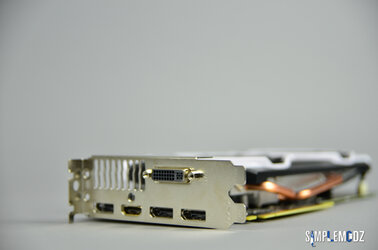
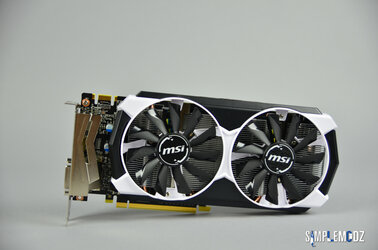
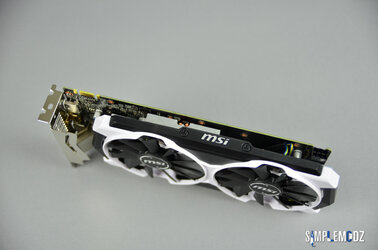
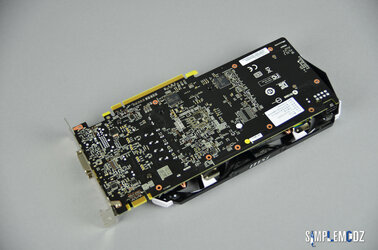
Again, nice hardware shots.
Haha yea not that old
Populate it,colonize it,start plugging stuff in!
Soon, very soon! Been so busy lately
- Joined
- Jan 2, 2015
- Location
- Sydney, Australia
- Thread Starter
- #23
- Joined
- Sep 7, 2013
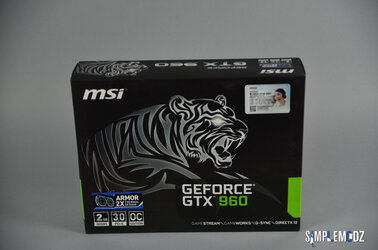
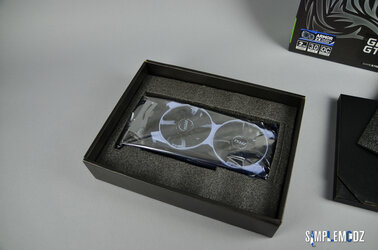
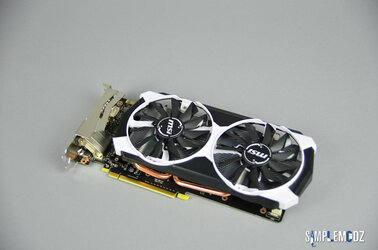
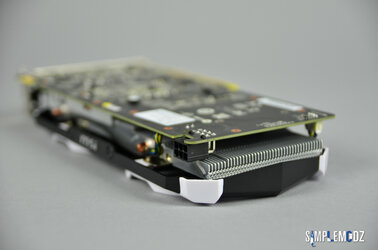
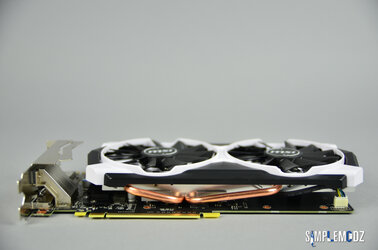
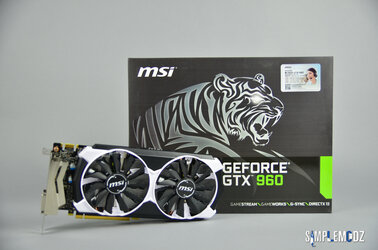
Nice card, it'll go well with the build 
Coming together slowly now

Coming together slowly now
- Joined
- Jan 2, 2015
- Location
- Sydney, Australia
- Thread Starter
- #25
Nice card, it'll go well with the build
Coming together slowly now
Cheers
- Joined
- Jan 2, 2015
- Location
- Sydney, Australia
- Thread Starter
- #26

Hi guys!
Time for another update!
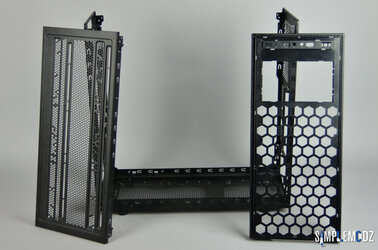
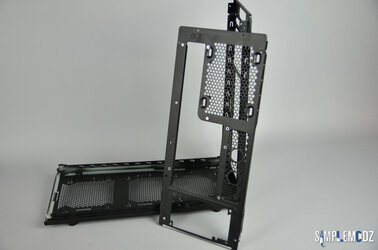
It seems like the MSI dragon has gotten out of his cage and into the build as I'm doing some test fitting with the Thermaltake Pacific RL360 Rad.
The build looks like it will have a custom loop going in after all starting with this awesome and rather large rad compared to this case, already powdercoated in white by Thermaltake.
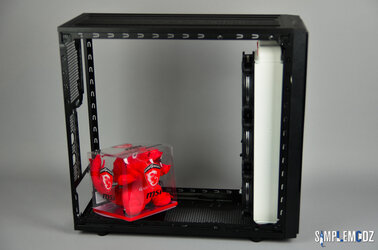
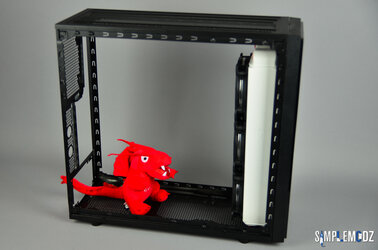
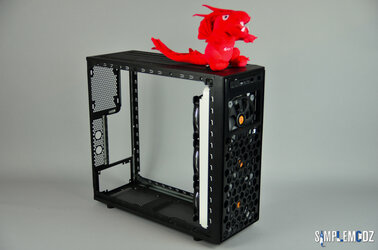
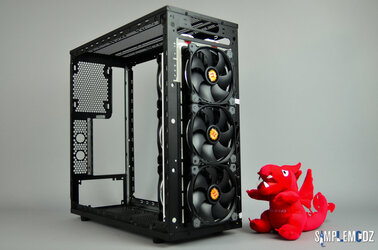
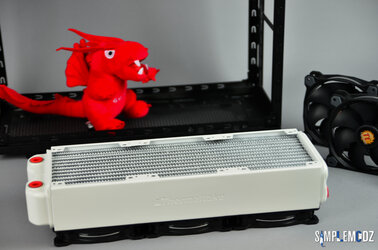
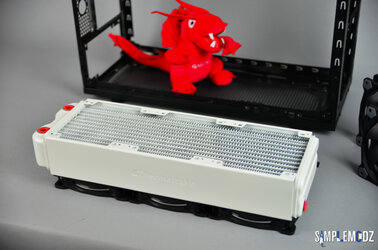
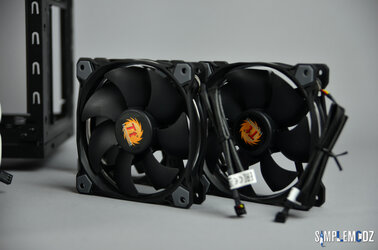
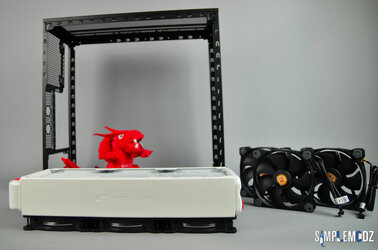
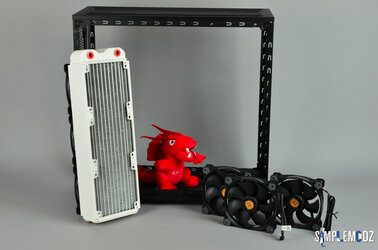
Once the test fitment is done, out with the dremel rotary, jig saw and scroll saw on this case before doing the paint job
Thanks for checking it out!
Stay tuned for more!
Cheers,
Alex
- Joined
- Sep 7, 2013
Sweet case so far! I love the hex style grill over the rad too.
RAWWWWWRR
RAWWWWWRR
- Joined
- Jan 2, 2015
- Location
- Sydney, Australia
- Thread Starter
- #28
Sweet case so far! I love the hex style grill over the rad too.
RAWWWWWRR
Yea the case is pretty good for the price. I think it is around $70 or so. The front panel will be cut out and I will be adding my own panel to that, should turn out pretty good
- Joined
- Jan 2, 2015
- Location
- Sydney, Australia
- Thread Starter
- #29

Hi guys!
Back with another quick update!
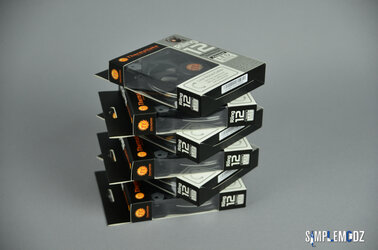
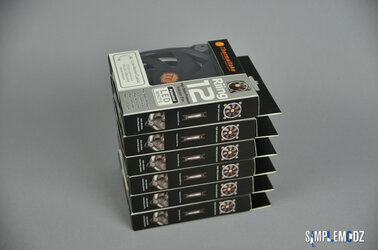
I want to show you some more goodies. Awesome Thermaltake Riing fans with white LED and Thermaltake Thoughpower 550W PSU which will be more than enough for this build as well as the the G.Skill Ripsaws V DDR4 memory.
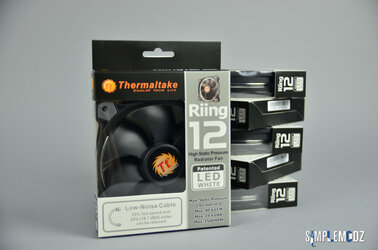
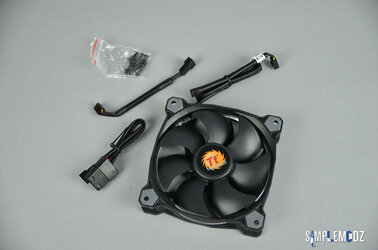
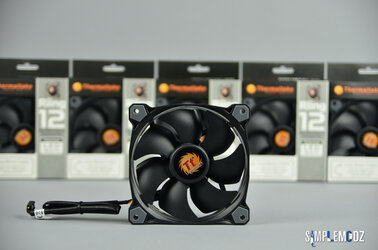
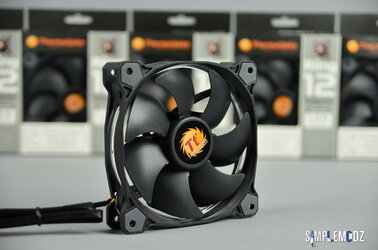
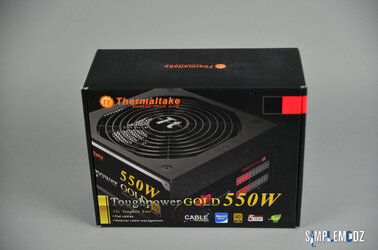
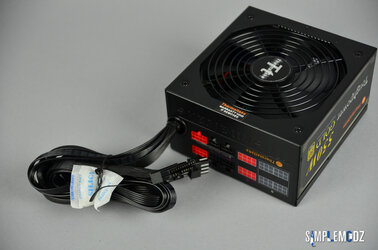
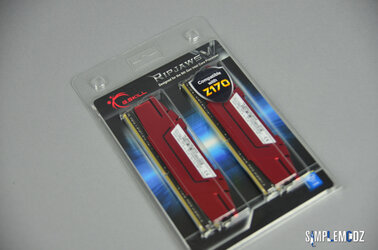
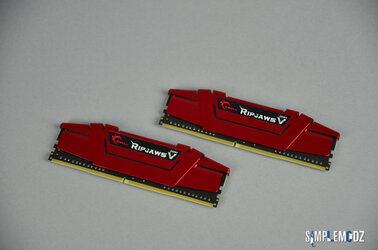
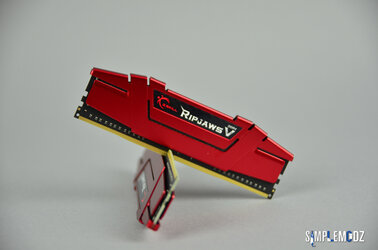
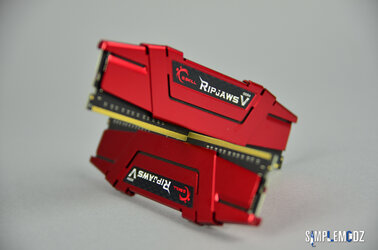
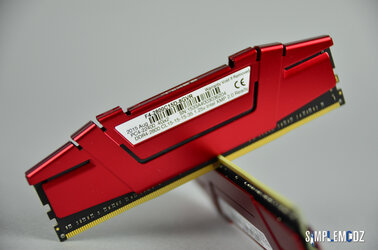
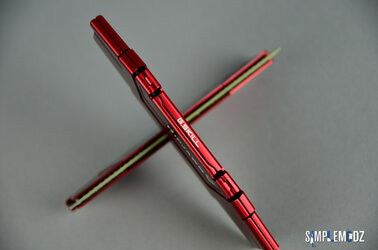
Thanks for checking it out and stay tuned for more!
Cheers,
Alex
- Joined
- Sep 7, 2013
Mmmmmm DDR4 
Can't wait to see 'em installed in the mobo

Can't wait to see 'em installed in the mobo
- Joined
- Sep 3, 2015
- Location
- Gardnerville, NV
I've been contemplating similar Thermaltake Ring fans for my build. Great work so far! 
- Joined
- Jan 2, 2015
- Location
- Sydney, Australia
- Thread Starter
- #33
Mmmmmm DDR4
Can't wait to see 'em installed in the mobo
Cheers
Twenty says,things are gonna happen to them modules...
Haha you know it
I've been contemplating similar Thermaltake Ring fans for my build. Great work so far!
Honestly Tt Riing fans are some of the best looking LED fans out there
- Joined
- Jan 2, 2015
- Location
- Sydney, Australia
- Thread Starter
- #34

Hi guys,
All the rough cuts have been made on the case and it's pretty much all torn apart. It's now time to start working with some aluminum panels
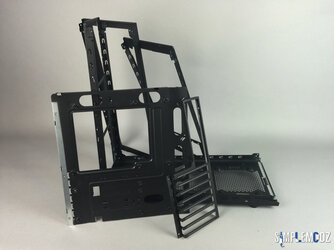
First up I shortened the I/O bracket and also the motherboard tray
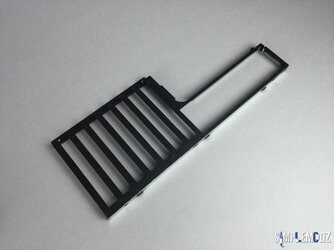
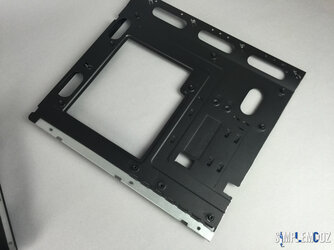
I completely removed the back as best as I could leaving just the PSU mount
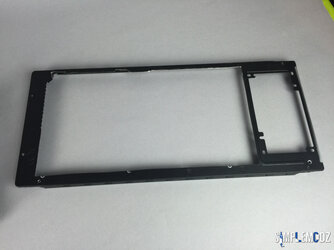
Also there is a massive hole in the top as well with some simple mounting left
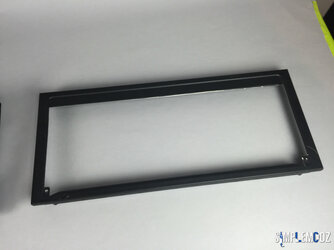
Made a cut out to clean up the front as well to better accommodate the front 360mm radiator
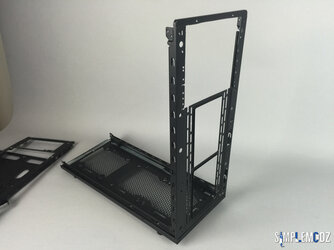
Thanks for checking it out and stay tuned for more over the coming days which might answer some questions as to where I'm taking this mod by removing so much of the original case
Cheers,
Alex
- Joined
- Sep 3, 2015
- Location
- Gardnerville, NV
Thanks for checking it out and stay tuned for more over the coming days which might answer some questions as to where I'm taking this mod by removing so much of the original case
Cheers,
Alex
Innovation at its finest! I can't wait to see where you're headed with this one, not to mention all the clean tubing runs at the end.
- Joined
- Jan 2, 2015
- Location
- Sydney, Australia
- Thread Starter
- #36
Innovation at its finest! I can't wait to see where you're headed with this one, not to mention all the clean tubing runs at the end.
Thanks a lot mate
- Joined
- Sep 7, 2013
Interesting... 
Will have to wait and see eh?

Will have to wait and see eh?
- Joined
- Jan 2, 2015
- Location
- Sydney, Australia
- Thread Starter
- #38

The motherboard tray is now mounted in it's new location.
What I am doing is mounting the I/O to the top of the case to change things around a bit
Here is the tray with the aluminum panel I made
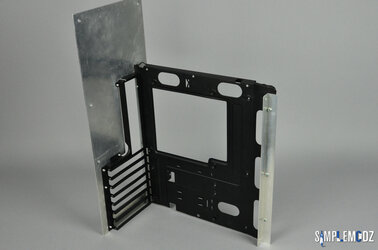
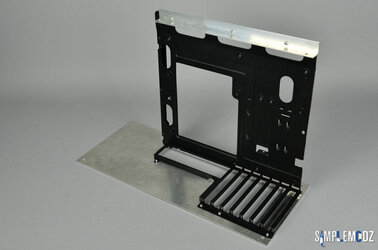
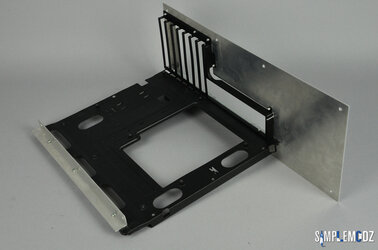
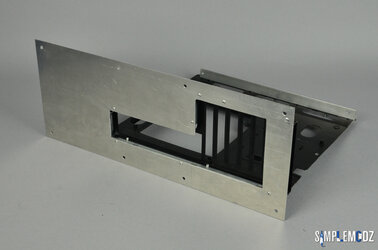
The 90 degree aluminum corner bar is mounted there for a shroud to mount to once the motherboard tray is in the case. I will showcase this once done
Also here is how I am mounting the motherboard tray panel to the top of the case. Using these brackets and other 90 degree aluminum corner bars and leaving a small compartment in the top for cables to connect with ease.
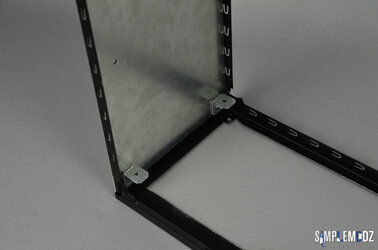
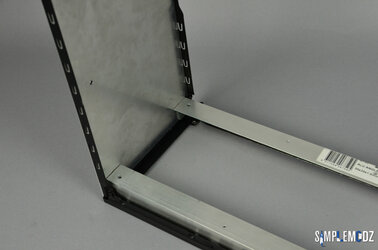
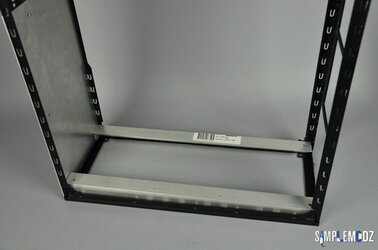
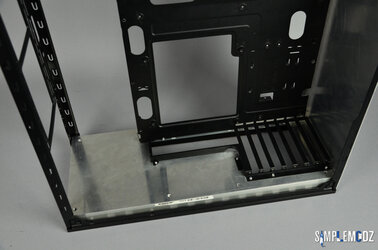
Hope you guys like the progress so far and stay tuned for more
Cheers,
Alex
- Joined
- Sep 7, 2013
Nice!
Are you leaving the aluminium as is or are ya painting it?
Or maybe I'll have to wait to find out?
Are you leaving the aluminium as is or are ya painting it?
Or maybe I'll have to wait to find out?
- Joined
- Sep 3, 2015
- Location
- Gardnerville, NV
I am definitely watching this one, it has a lot of design metalworking that I will eventually be doing to mine.
Similar threads
PROJECT LOG
Project Invicta - Build Log
- Replies
- 17
- Views
- 1K
- Replies
- 44
- Views
- 8K
- Replies
- 11
- Views
- 1K
- Replies
- 8
- Views
- 2K
- Replies
- 12
- Views
- 1K

