- Joined
- Sep 13, 2015
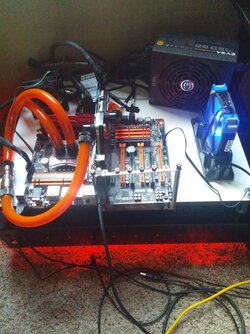
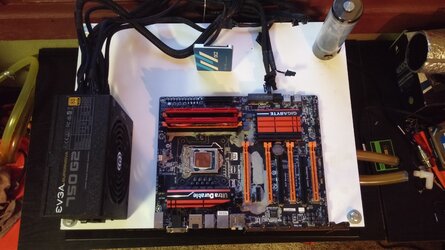
So I have been in search of a better benching setup for about 6 months now and have tried multiple configurations and was not satisfied with any of them. The largest factor in this is the monster rad I have in the Phobya 1260 Supernova Radiator. No matter what I did I could not seem to manage this thing well. Lately I have been running everything just attached to a large piece of plywood because it made moving the whole setup easier than anything else, it was still unwieldy and an eyesore.
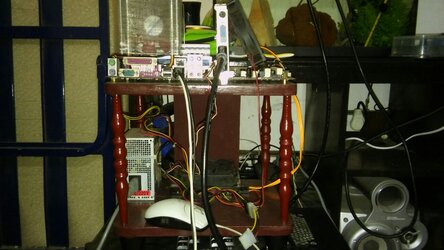
Existing Setup

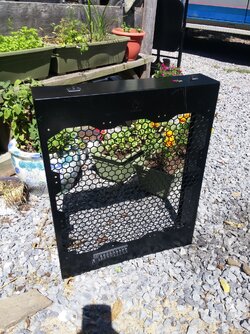
So after fighting with this for awhile I have decided that I need something better. So I have decided to integrate the radiator and stand directly into the benching table. Being my normal cheap self I am trying to utilize as much material as I have on hand as possible so I set out on a manhunt through my house looking for parts. I luckily came across my old drawing board which I decided would make a great base for the pc components.


So first step was to clean up the board and strip off the existing hardware.

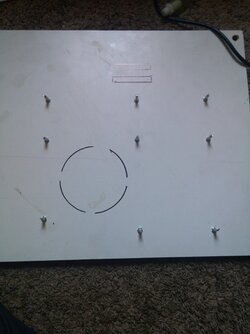
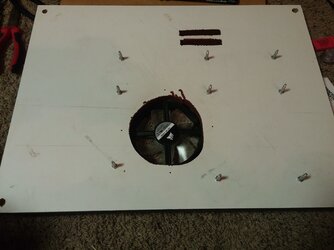
I was then able to free up my radiator stand and laid out the board to mark some drill holes for the upper deck supports and lower legs.


So i drilled my first 2 sets of holes and bolted it tight to line up for the drilling of the other side and make sure everything lines up afterwards.

After finishing up the drilling pulled everything apart to check out my handiwork and clean up the holes as need be.

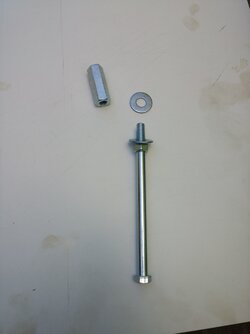
So for the lower support legs I am using 4x 6"x3/8" hex bolts. I ran a nut down tight against the back of the threads and topped with a washer. These were slid through the holes in the radiator stand and then added another layer of washer and topped it off with a 3/8" all thread coupling. This coupling will serve not only to lock the legs tight on the lower portion but will also act as spacers to offset the upper deck.


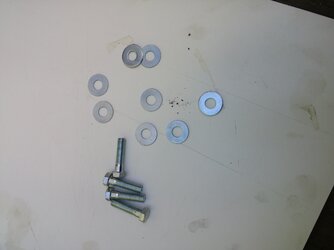
I then bolted down the top deck with 4x 1.5"x3/8" hex bolts with washers sandwiched on either side of the top deck.


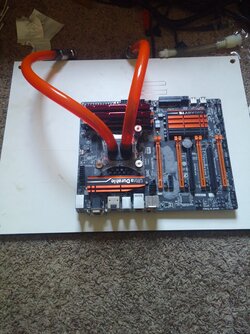
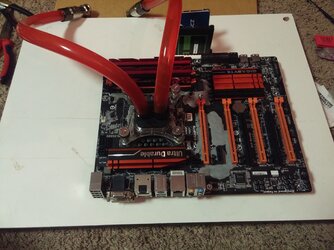
This was it for the work I set out to complete in the first stage as I need to play with the system to figure component layout to figure out how I want to layout the components on the top deck before I start drilling and cutting on it. I decided to bring it in the house and sett it up to try some layouts and I am glad I did because I ran into a hiccup first thing. So first I laid out some parts to see what is going to work best. I was kinda limited by the tubing lengths I had on hand so was restricted to where I could place the motherboard. I have more tubing on order so I can have more flexibility to test different component layouts but in the meantime this is what I am running with.

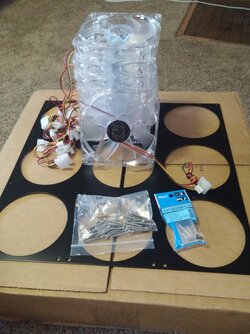
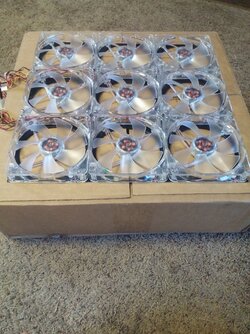
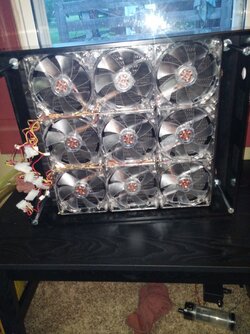
SO I mentioned earlier I found a hiccup in my plan already (other than short tubing lengths) and that reared its head after running my system for about 45 minutes. I was running along fine and then noticed that my temperatures cpu temperatures were starting to climb as well as my water temperature . So after checking to make sure I had proper flow and the fans were running I found that the fan plate I made for this radiator was flexing away from he surface of the radiator and allowing all of the air out of the sides
 .
.

So after this discovery I have temporarily added some supports underneath to hold up the fans and everything seems to be working well. I have an email out to Performance-PCs and they are trying to help me get a replacement plate on order through Phobya(great customer service here by the way) but am waiting on this before doing final wire management on the underside of the radiator. I am probably going to add the fan breakout connector I had on the outside of the radiator stand underneath to power the fan array, speaking of the fan connector, getting that unstuck from the side of the radiator stand was the hardest part of the build so far. I ended up have to force a razor blade underneath and wiggle it back and forth the full length of the break out board to get it off. I don't know what glue they used on it but man was it stuck.
So that is it for tonight, I hope this sparked your interest enough to join in the discussion going forward because I am sure I will need help/ideas going forward to get this to a final build stage. I apologize in advance as I do not have Swarthacks way with words and I tend to be kinda dry, maybe I can con him into narrating this build log for me as it would probably be much funnier that way . My next plan is to test different component layouts to see what I like best and then work on some cad drawings of how to finish the top deck to accommodate the components. I will get some pics up of the different layouts and the associated cad drawings to see what everyone thinks. In the meantime please feel free to leave feedback and suggestions as I am flying by the seat of my pants on this one.
Now everyone can go back to,

-Lochekey
Existing Setup
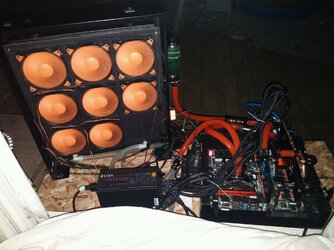
So after fighting with this for awhile I have decided that I need something better. So I have decided to integrate the radiator and stand directly into the benching table. Being my normal cheap self I am trying to utilize as much material as I have on hand as possible so I set out on a manhunt through my house looking for parts. I luckily came across my old drawing board which I decided would make a great base for the pc components.
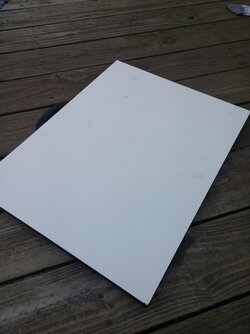
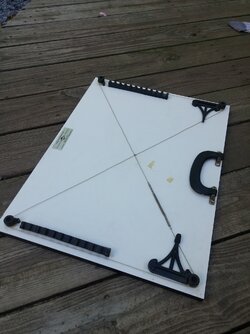
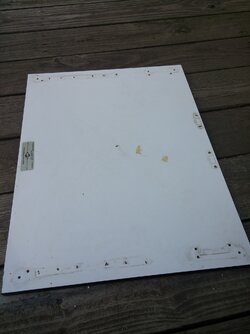
So first step was to clean up the board and strip off the existing hardware.
I was then able to free up my radiator stand and laid out the board to mark some drill holes for the upper deck supports and lower legs.
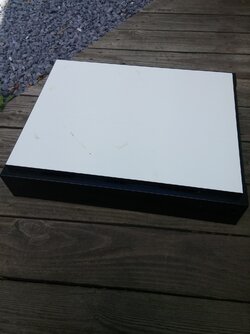
So i drilled my first 2 sets of holes and bolted it tight to line up for the drilling of the other side and make sure everything lines up afterwards.
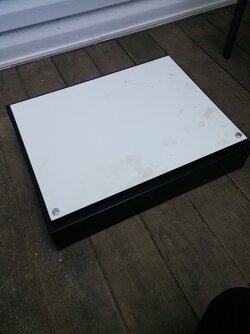
After finishing up the drilling pulled everything apart to check out my handiwork and clean up the holes as need be.
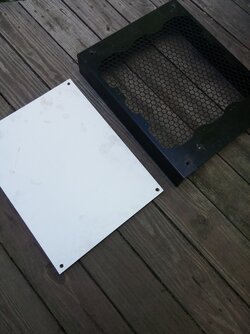
So for the lower support legs I am using 4x 6"x3/8" hex bolts. I ran a nut down tight against the back of the threads and topped with a washer. These were slid through the holes in the radiator stand and then added another layer of washer and topped it off with a 3/8" all thread coupling. This coupling will serve not only to lock the legs tight on the lower portion but will also act as spacers to offset the upper deck.
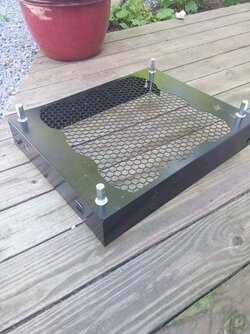
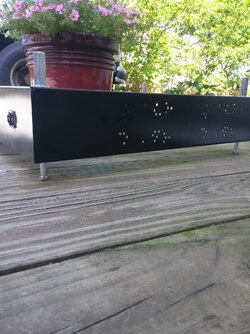
I then bolted down the top deck with 4x 1.5"x3/8" hex bolts with washers sandwiched on either side of the top deck.
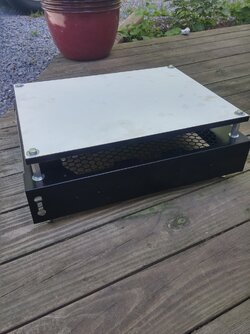
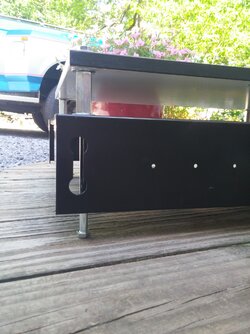
This was it for the work I set out to complete in the first stage as I need to play with the system to figure component layout to figure out how I want to layout the components on the top deck before I start drilling and cutting on it. I decided to bring it in the house and sett it up to try some layouts and I am glad I did because I ran into a hiccup first thing. So first I laid out some parts to see what is going to work best. I was kinda limited by the tubing lengths I had on hand so was restricted to where I could place the motherboard. I have more tubing on order so I can have more flexibility to test different component layouts but in the meantime this is what I am running with.
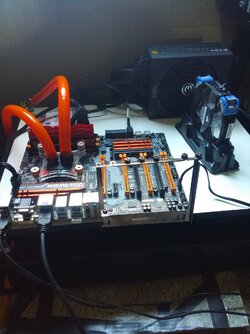
SO I mentioned earlier I found a hiccup in my plan already (other than short tubing lengths) and that reared its head after running my system for about 45 minutes. I was running along fine and then noticed that my temperatures cpu temperatures were starting to climb as well as my water temperature
 . So after checking to make sure I had proper flow and the fans were running I found that the fan plate I made for this radiator was flexing away from he surface of the radiator and allowing all of the air out of the sides
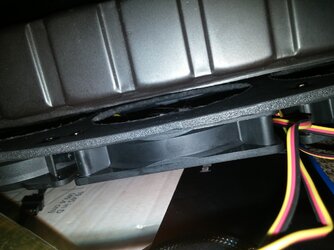
So after this discovery I have temporarily added some supports underneath to hold up the fans and everything seems to be working well. I have an email out to Performance-PCs and they are trying to help me get a replacement plate on order through Phobya(great customer service here by the way) but am waiting on this before doing final wire management on the underside of the radiator. I am probably going to add the fan breakout connector I had on the outside of the radiator stand underneath to power the fan array, speaking of the fan connector, getting that unstuck from the side of the radiator stand was the hardest part of the build so far. I ended up have to force a razor blade underneath and wiggle it back and forth the full length of the break out board to get it off. I don't know what glue they used on it but man was it stuck.
So that is it for tonight, I hope this sparked your interest enough to join in the discussion going forward because I am sure I will need help/ideas going forward to get this to a final build stage. I apologize in advance as I do not have Swarthacks way with words and I tend to be kinda dry, maybe I can con him into narrating this build log for me as it would probably be much funnier that way
Now everyone can go back to,

-Lochekey



 I got bench envy, gotta eventually get one of those 9x rigs...
 for the extra exposure