• Welcome to Overclockers Forums! Join us to reply in threads, receive reduced ads, and to customize your site experience!

PROJECT LOG Blue Fury - Entry for Gigabyte's modding challenge

Overclockers is supported by our readers. When you click a link to make a purchase, we may earn a commission. Learn More.

Dalchi Frusche

Member
Joined
Sep 3, 2015
Location
Gardnerville, NV
Sig_BlueFury.png


Good morning all my beautiful modders!

This is going to be a pretty quick and dirty modding build log. This is going to be my entry for the modding challenge Gigabyte is holding to celebrate their 30th anniversary. The challenge ends November 14th so I'll have just under a month to complete the work. Good news is the case is scheduled to arrive this coming Wednesday(Oct. 19th) and I'm excited to start tearing it down and painting it.


So first, we will look at the design for this entry. The only things that will be different in my build will be no big pretty motherboard or GPU and I will only have a 120mm rad. The design concept was based off winning the design challenge. But everything else should match up pretty close.
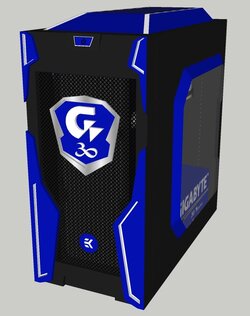
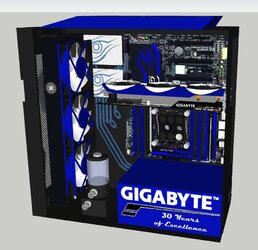
Blue Fury_FrontRight2.jpg
Blue Fury_Right.jpg


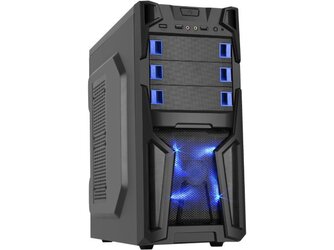
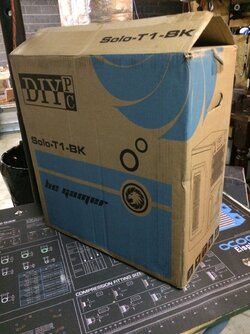
The case I will be using will be the DIYPC Solo-T1-BK Black. Looking back on Newegg this morning I see I bought the last one as they now show Out of Stock. :thup:

Case1.jpg


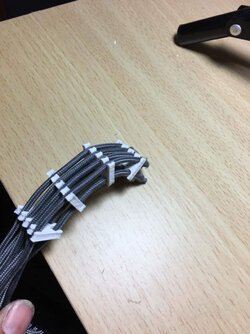
This is the sleeving design for the build, will be adjusted off the sleeving in place currently from my Night Shark upgrade a few years back.
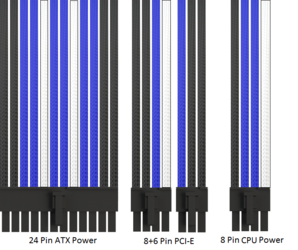
Sleeving2.png


Parts List - Remember.... budget friendly

Mobo: GIGABYTE GA-MA785GM-US2H (Stolen from my PFSense router)
CPU: Athlon II X2 220 Dual Core 2.8Ghz (Stolen from my PFSense router)
RAM: SAMSUNG 8GB 2x4GB PC2-6400 DDR2-800 240pin DIMM (Stolen from my PFSense router)
RAM: Corsair XMS3 DHX 4GB (2 x 2GB) 240-Pin DDR3 (Stolen from my PFSense router)
GPU: Gigabyte Radeon HD 7970 3GB Video Card (Borrowing from another local PC enthusiest)
PSU: Corsair TX650 (Leftover from latest Night Shark upgrade)
SSD: Corsair Force 120 (Leftover from latest Night Shark upgrade)
HDD: ?
Fans: NB-Eloop 120mm(Stolen from my Double Dragon parts)
CPU Cooler: Corsair H60 in push/pull (Leftover from latest Night Shark upgrade)

Until the next update....

Modders Unite!
 
Last edited:
Sig_BlueFury.png

Small update

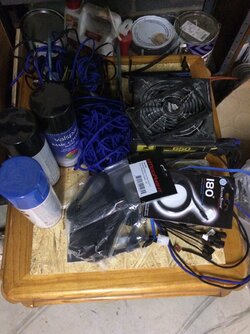
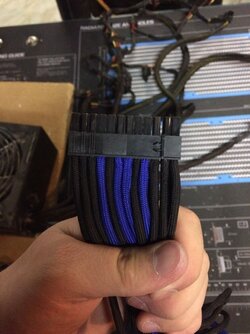
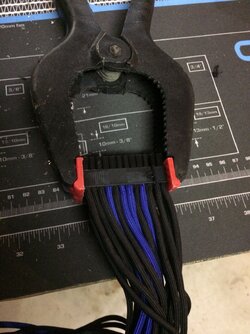
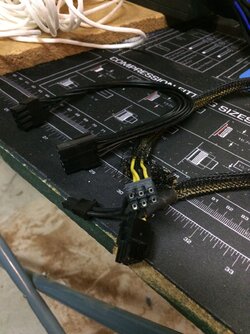
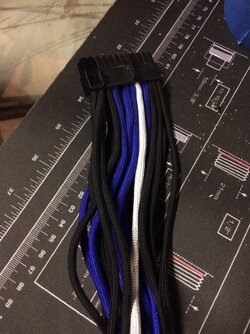
So while I wait for the case to arrive, I have begun doing some concept work on the PSU shroud and a couple custom pieces. Below we have some pictures of the sleeving process. I decided to use a 8-pin extension I had to conserve paracord. I believe my pin remover tool doesn't quite get far enough down for the male connector side so I haven't started on that yet. Progress is 24 pin complete and PCI-E 6+2 pin complete.

IMG_1253.JPG
IMG_1254.JPG
IMG_1255.JPG
IMG_1260.JPG
IMG_1261.JPG
IMG_1262.JPG

- - - Updated - - -

Curious to see how inverting the motherboard goes for you.

You and me both... my thoughts are I'm going to have to cut new holes for the front panel to snap into once I flip the case.
 
So exciting news! Just checked and the delivery was moved up a day.... to TODAY :clap:

So hopefully I'll have a good update with some hardware pics for everyone tomorrow. :D
 
Update 10/19/16

Sig_BlueFury.png


Good morning modding friends!

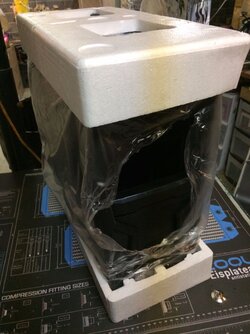
The case arrived 2 days earlier than originally quoted at the time of purchase *cheer* that’s 2 more days of hacking and slicing this case. But onto the case, let’s get it out of the packaging shall we?

IMG_1312.JPG


The only issue I found with the packing was the front drive bay covers had fallen out and were rattling around inside the case when it arrived.

IMG_1313.JPG


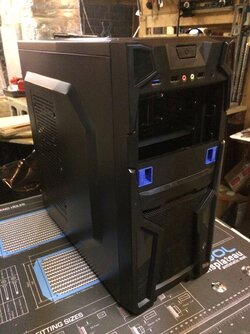
Isn’t she a beaut! Overall, a decent budget case.

IMG_1314.JPG


First thing I noticed was how light the case was. But, since the last new case I bought was amost 10 years ago and steel, I shouldn’t be surprised.

IMG_1315.JPG


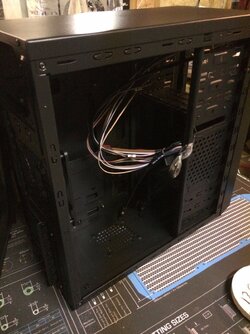
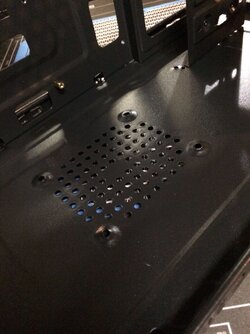
Second thing I noticed were the multiple SSD mounts around the case. You have the option of mounting the SSD to the floor or to the side of the drive bay panel.

IMG_1321.JPG
IMG_1322.JPG


Additionally, it also has spots for watercooling passthrough in the back just above the exhaust fans, but I would recommend trimming the holes with u-channel or grommets.

IMG_1319.JPG


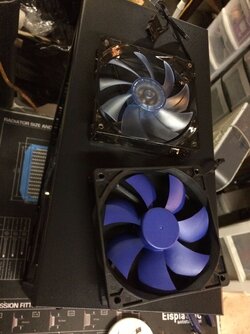
The two fans that are included are a 120mm Blue LED and a 120mm Blue non-LED. For case fans, they don’t look to bad, we’ll see how they work when hooked up later on.

IMG_1318.JPG


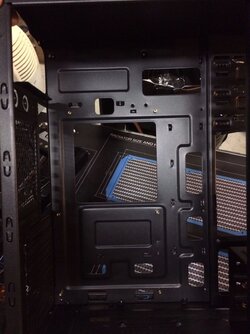
That motherboard tray sure doesn’t have much “tray” to it. But that will ease the wire management a bit.

IMG_1323.JPG


Test fit of 3 120mm fans in the front of the case, it’s going to be a tight squeeze for sure.

IMG_1325.JPG


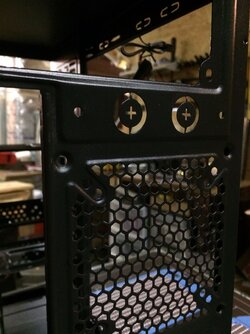
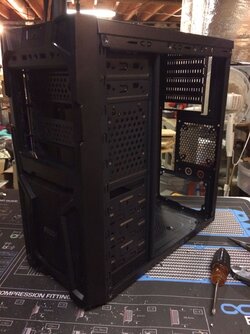
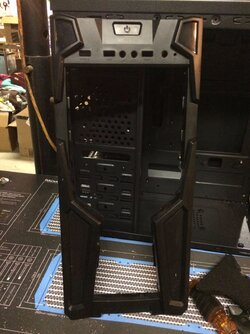
Was able to reverse the case fairly easy. Most of the holes lined up perfect, just a couple new rivet holes to be drilled and two holes for the front panel clips. *cheer*

IMG_1326.JPG


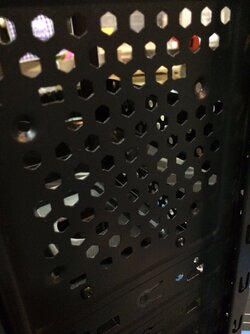
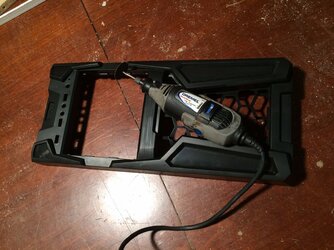
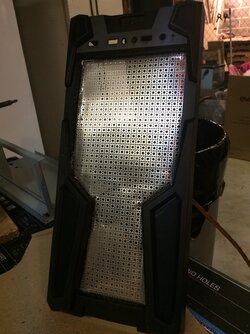
Time to hack up the front panel and get it ready for airflow.

IMG_1328.JPG


All that intake space *thumbs up*

IMG_1329.JPG
 
FWIW with a case that low in price it is almost certainly steel.
Glad the flip went easily!!
 
looks like a good start

Thanks, I think I enjoyed hacking up that front panel a little too much.

FWIW with a case that low in price it is almost certainly steel.
Glad the flip went easily!!

You are right about that. It's the SECC Steel electrogalvanized material used in a lot of cases. Good catch! :) I am also glad the flip went easy, I thought about doing the same for Project: Military Tech, but then got looking closely at how the front panel attached and decided against it. I am definitely ready to get some more work done tomorrow morning. I think cutting the drive bays and window is next. With time and if I finish all my cuts, I'll probably mask off the front panel to start painting. Crafting the front mesh will probably happen at the same time. So much to do :D
 
Update 10/21/16

Sig_BlueFury.png

Got some pretty good work done this morning.


First I managed to get the mesh installed in the front panel after a lot of sanding and cleanup of my cuts.

IMG_1336.JPG

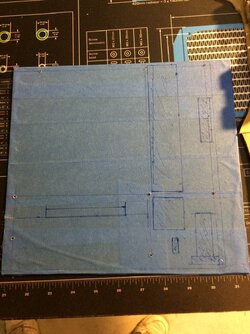
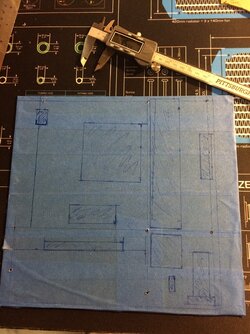
Then I turned my attention to my surprise design addition.... can anyone guess what it is?

IMG_1340.JPG

Got everything marked out, now to cut and paint.

IMG_1341.JPG
 
Last edited:
Update 10/27/16

Sig_BlueFury.png


Good morning fellow modders and enthusiasts. Time for another update, I know it’s been a few days, but I’ve only had the time to work in couple minute increments.

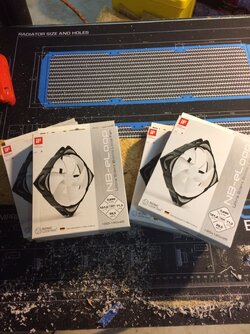
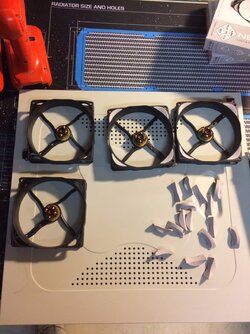
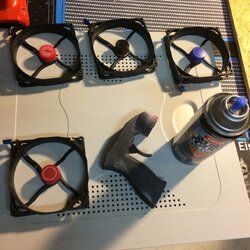
Our first order of business is to get started painting. First we start with our fans. These NB E-Loops were super easy to pop the blades out of the housing and get masked off.

IMG_1350.JPG
IMG_1351.JPG
IMG_1352.JPG

Then I was able to hit it with paint. Difference between the first coat and the third coat. Nice light coats with some quality paint.

IMG_1353.JPG
IMG_1356.JPG

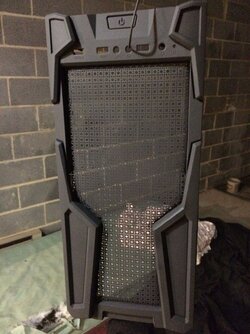
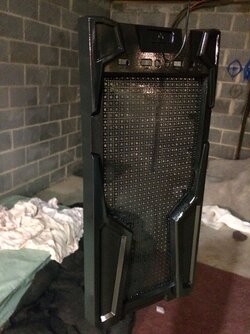
Then I turned my attention to the front panel. After all the cutting and sanding it was time to repaint it. I did the first coat with flat black, but in comparison to the rest of the case, I didn’t like how it looked. So I hit it with a coat of gloss black. The gloss will really bring out the details…. And besides…. Who doesn’t like shiny things.

IMG_1357.JPG
IMG_1358.JPG

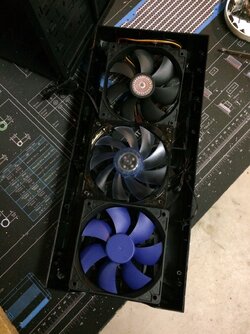
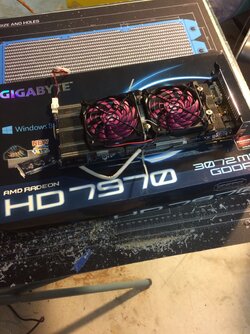
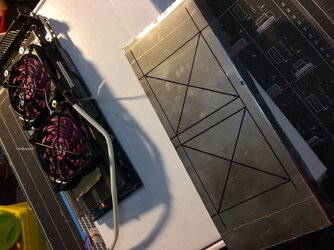
Here’s a complimentary shot of the Gigabyte HD 7970 that I am borrowing to use in this build. As you can see the original heatsink and shroud are gone and replaced with an aftermarket heatsink and 2 80mm slim fans. So I will be designing a new shroud for it to get cut out and painted this week.

IMG_1349.JPG

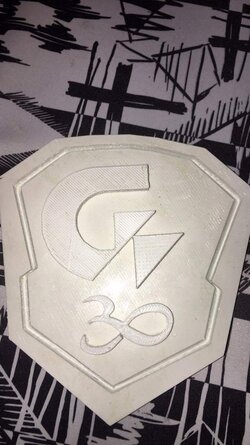
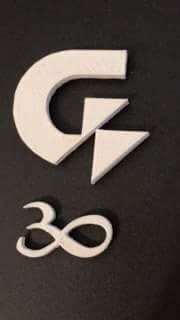
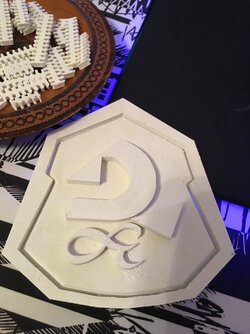
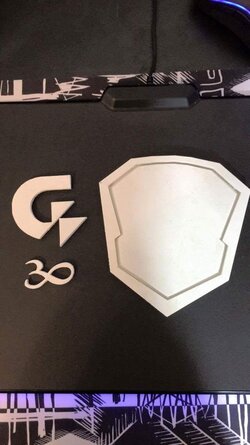
Here are some shots of the front badge after being printed. Can’t wait until the badge and cable combs arrive so I can get them painted.

IMG_1359.JPG
IMG_1361.JPG
IMG_1362.JPG
IMG_1363.JPG

As always, I’d love to hear everyone’s thoughts and comments.
Modders Unite!
 
It's a good start. I like the gloss black more too.

I'm glad I'm not the only one. The rest of the case is kinda a textured semi-gloss. But I'm feeling the gloss black will really make that part pop. I will be painting some other pieces some gloss black as well to help tie everything together. The blue definitely is the perfect color I was wanting. The blue paint I already had was too light in color and wasn't close enough to a true blue to match the sleeving.

Thanks for chiming in, always glad to hear what the community thinks. :)
 
Update 10/28/16

Sig_BlueFury.png

Good morning my fellow modders, it’s time for another update. Just a quick one this morning but look for a slightly more involved one in the next couple days.

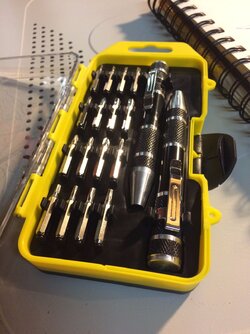
First, I have to share the small precision screwdriver kit my wife got me for Christmas…. But wait, it’s not Christmas yet. My wife had ordered from Amazon a few items. She is having to return an item, so she wanted to make sure I was going to like them. Also, she figured I might be able to use them for my current builds. Thank you awesome wife!

IMG_1364.JPG

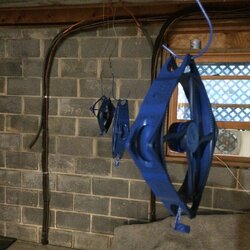
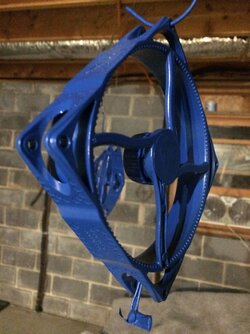
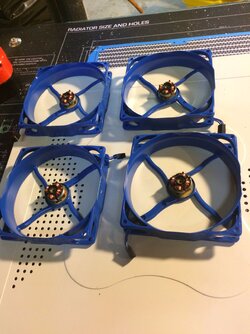
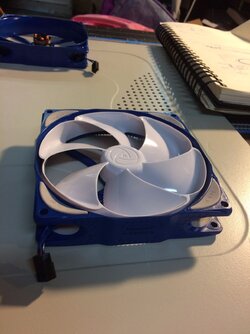
Next, we take a look at our fans. All four NB E-Loops have been painted blue.

IMG_1365.JPG

Now lets take a look at one reassembled. The rubber is a very light grey, but I don’t think it distracts from the overall look of the fans. They will look sharp against a black radiator or the black case frame.

IMG_1366.JPG

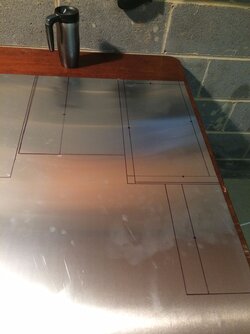
Last we take a quick glimpse on what I was working on this morning. Getting all my pieces marked and cut out of the sheet aluminum for Blue Fury and Project: Military Tech. For Blue Fury, I cut and bent the two pieces to use for my PSU and GPU shrouds.
IMG_1367.JPG

Next order of business is to cut the fan holes and power slot out of the GPU shroud and design the paint job that I will be using.

Until next time, Happy Modding!
 
Update 10/31/16

Sig_BlueFury_Halloween.png

Good morning my fellow ghouls and goblins,

Let us see what craziness has been brewing in the witches pot this weekend. First we start with our custom GPU shroud. Cut out, bent and marked for fan holes. The shroud will mount directly to the fans covering the monstrosity of heatsink/zipties/ and fans.

IMG_1376.JPG

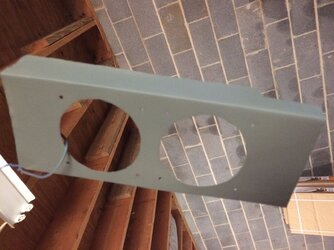
Cut out the fan holes…. Man this old hole saw is terrible. I had to do quite a bit of cleanup and finishing with the dremel. The hole saw couldn’t even cut all the way through haha. It’s what I get for buying from a pawn shop.

IMG_1377.JPG

All cut out, sanded and cleaned…. Now to hit it with primer. (Forgot to get a picture, but it got hit with gloss black after a couple good coats of primer.)

IMG_1380.JPG

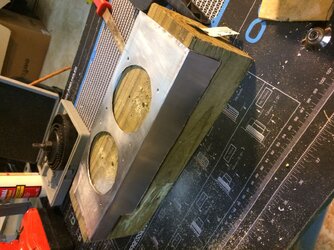
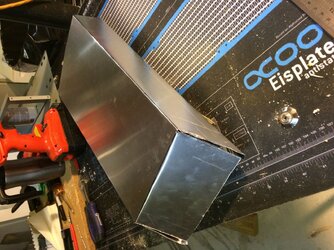
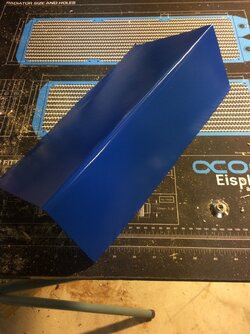
Next we turn our attention to the top vent solution. With the fans mounting inside the vent, there is room to fit at least a slim 240 rad up top. If only I had the watercooling elements to use. First we cut the aluminum and bend it into shape.

IMG_1378.JPG

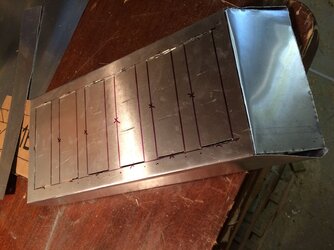
Then we can mark it and get to cutting it with the dremel. After which we can bend the slats inward at an angle.

IMG_1379.JPG

A quick shot of the PSU shroud ready to be wet sanded before masking off for the detail work.

IMG_1385.JPG

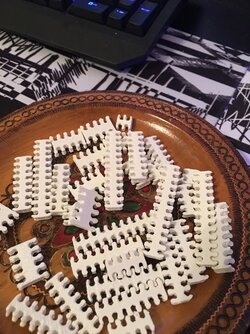
Some glory shots of the cable combs and front badge from the 3D printer. They should be in the mail tomorrow. He wants to try a couple extra prints that might fit in the design. So we’ll see what he comes up with.

IMG_1383.JPG
IMG_1384.JPG

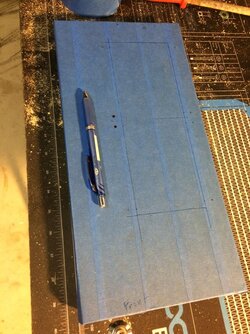
Next order of business is to cut the top panel in order for the fans(and optional rad) to fit. Masked off the top panel and started marking my cuts. Then it’s off to the bench to be dremeled.

IMG_1386.JPG


Until next time, enjoy the holiday and Happy Modding!
 
Back