• Welcome to Overclockers Forums! Join us to reply in threads, receive reduced ads, and to customize your site experience!

Replacing the battery to a iPhone 5

Overclockers is supported by our readers. When you click a link to make a purchase, we may earn a commission. Learn More.

GTXJackBauer

Water Cooling Senior Member, #TEAMH20HNO
Joined
May 22, 2011
Location
USA
I had purchased a used iPhone 5 back in 2014 while the iPhone 5's were officially released in 2012. I knew it was two years old then and so I had purchased a replacement battery in advanced for it. I finally came to the point where I felt the originally battery has come to its last leg. Keeping busy with the phone for about 20-30 minutes at 80%-90% of battery life, left me with about 10%-30% battery life as of late. So I felt it was time and figured I should document the battery replacement process as well.

Hope you all enjoy just as much as I did.


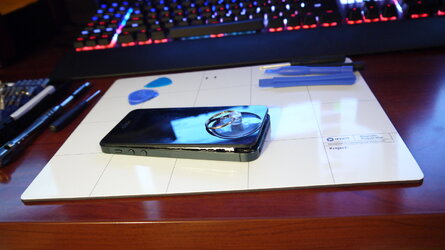
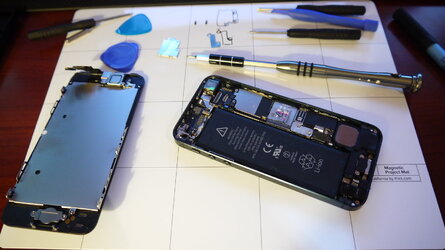
Time to open up the phone carefully.

30593205221_90e73ca306_h.jpg


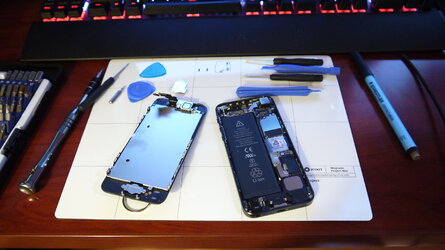
Here's the original Battery.

30380910060_77f5efbb16_h.jpg


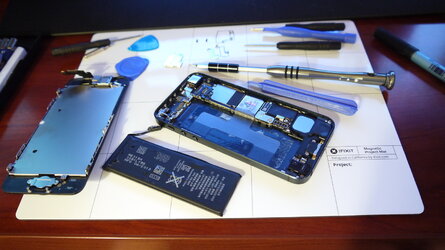
The original battery has been removed.

30593204931_55ce3e3308_h.jpg


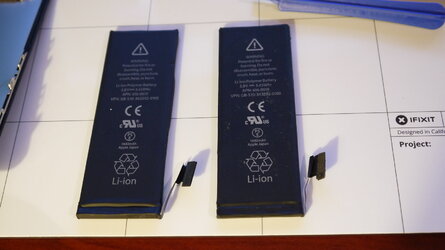
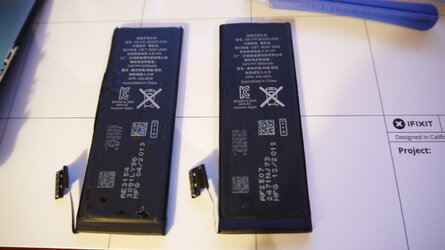
Here's a shot of both the original and replacement battery.

30380909460_c7c24ebbf6_h.jpg


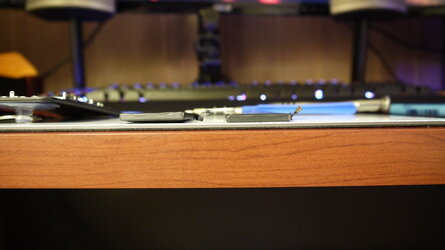
30593204471_6da176c8ef_h.jpg


Can you guess between the two, which one is which?

30380908700_31e499314c_h.jpg


Carefully installed the new replacement battery.

30593203831_fb186d8f81_h.jpg


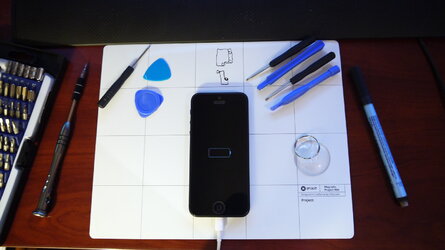
Phone needed to be left alone for a full charge.

30380907780_64ef4df356_h.jpg
 
Last edited:
Very nice. :)

Was there any adhesive, or just screws & pull it up? Adhesive is what worries me most about these kind of battery replacements on newer phones. I have no problems thinking I could get the phones apart, but getting them back together without replacement adhesive strikes me as the hard part!

Thanks Hokie. :salute:

To answer your question, both. I had to first get some screws out before I was able to get the battery out. I had to pry the battery away from the body carefully as it took a bit of time. Luckily the adhesive stayed in place and so I didn't have problems in that end. There were three designated areas where I used the opening tools on otherwise from what I've read, you could risk damaging the phone.

From what I experienced, this replacement for me was fairly easy, passing the nerve racking phase in the beginning since its my first time doing surgery to a smart phone. For newer iPhones, I've seen tutorials where it can get a bit more complex. I wish they made it simple on all smart phones for battery replacements but it seems to get more complicating as things get smaller. I couldn't tell you how small the screws were. I don't think I've ever experienced anything like that. The iFixit magnetic mat is a great investments as well as all of their other products for projects like these.
 
Thank you for the guide, my elder kid has a iPhone 5S that the battery is starting to complain, might just do the replacement myself. How long did it take ?
 
Thank you for the guide, my elder kid has a iPhone 5S that the battery is starting to complain, might just do the replacement myself. How long did it take ?

Without taking the time to document this process, no more than 15 mins.
 
Very nice. My success rate on these types of repairs is slightly better than 50/50. I was looking to repair phones for extra cash but decieded against it fairly quickly. I'll repair my own or a firend if they beg me but not for a client.
 
Back