Timmysj13
New Member
- Joined
- Dec 1, 2016
OK, so I'm pretty new here. I've seen some beautiful work and was encouraged to post mine by philipgilliam who is working on Maquina de los Muertos https://www.overclockers.com/forums...ay-of-the-Dead-themed-Bitfenix-Phenom-M-Build
I told him I'm a bit far along and don't have many progress pictures, but I just bought a new case and am starting somewhat from scratch.
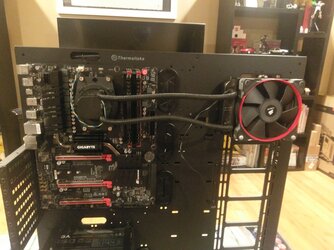
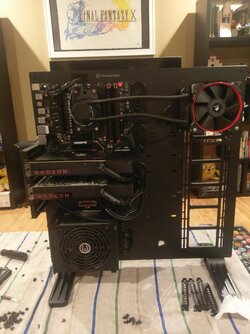
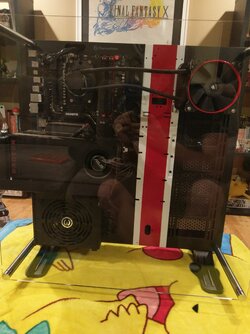
For starters, here's what my old build looked like. Please excuse the poor quality of pictures; I only used my phone to take them.

The window on the side was the first hard mod I ever attempted. I got the wrong kind of dremel wheel and it made the hole process (more puns inbound) much harder than it needed to be. I originally had it held in with the self tapping fan screws, but i decided silicone glue was a better idea.

My second hard mod, if you can call it that, was taking out my hard drive cage. I use SSD anyways, and I attached them to the back of the mobo tray to hide them as you'll see in the next pic. It also gives a little more airflow since my intake fans are on the front.

I don't think enough people show their cable management from the back. It looks disgusting, I know, but it looks good from the front and everything gets power.


I did the sleeving myself. The PSU is non-modular, and I didn't want to take its top off since I was planning on making the shroud for it to cover the extra cables. So I sleeved them far enough back that I could hide the non colored parts behind the mobo tray. The end of each sleeve got attached with electrical tape. I think modular PSU are overrated. If you can hide the extra cables without hurting airflow, why add an extra point of failure (albeit an unlikely to fail one)?


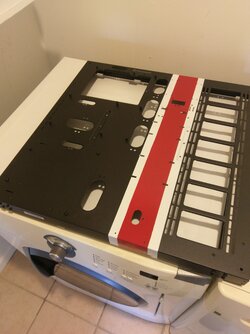
The shroud is some clear acrylic with adhesive vinyl sheets attached for the pattern. I hit it with a textured clear coat so it would match the powder coat on my case.
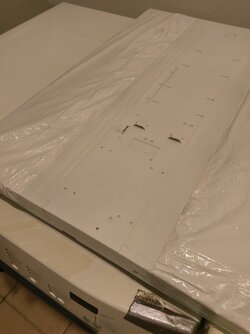
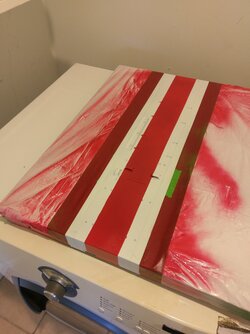
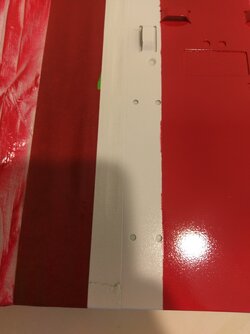
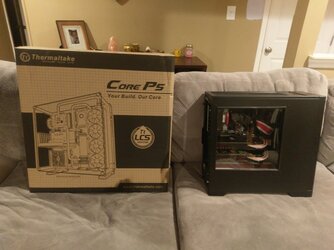
That's pretty much it for my old case. My next post will be the true start of my build log in my new case which I will tease below.

I told him I'm a bit far along and don't have many progress pictures, but I just bought a new case and am starting somewhat from scratch.
For starters, here's what my old build looked like. Please excuse the poor quality of pictures; I only used my phone to take them.
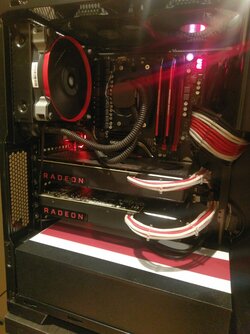
The window on the side was the first hard mod I ever attempted. I got the wrong kind of dremel wheel and it made the hole process (more puns inbound) much harder than it needed to be. I originally had it held in with the self tapping fan screws, but i decided silicone glue was a better idea.
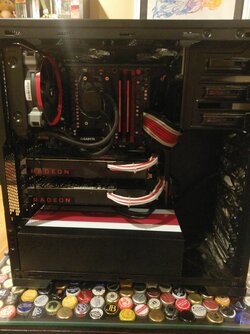
My second hard mod, if you can call it that, was taking out my hard drive cage. I use SSD anyways, and I attached them to the back of the mobo tray to hide them as you'll see in the next pic. It also gives a little more airflow since my intake fans are on the front.
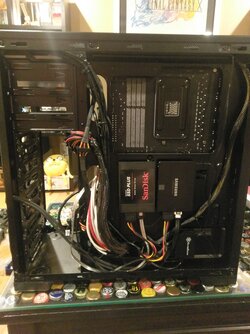
I don't think enough people show their cable management from the back. It looks disgusting, I know, but it looks good from the front and everything gets power.
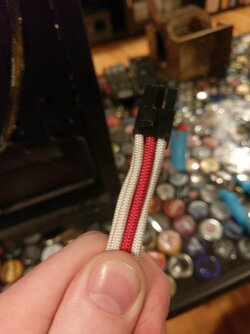
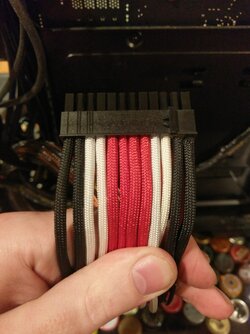
I did the sleeving myself. The PSU is non-modular, and I didn't want to take its top off since I was planning on making the shroud for it to cover the extra cables. So I sleeved them far enough back that I could hide the non colored parts behind the mobo tray. The end of each sleeve got attached with electrical tape. I think modular PSU are overrated. If you can hide the extra cables without hurting airflow, why add an extra point of failure (albeit an unlikely to fail one)?
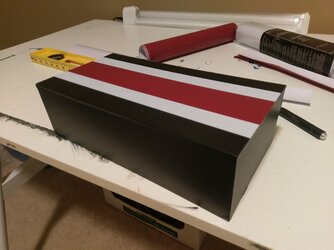
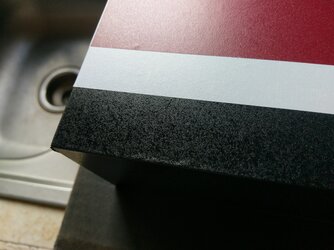
The shroud is some clear acrylic with adhesive vinyl sheets attached for the pattern. I hit it with a textured clear coat so it would match the powder coat on my case.
That's pretty much it for my old case. My next post will be the true start of my build log in my new case which I will tease below.
Last edited:
