• Welcome to Overclockers Forums! Join us to reply in threads, receive reduced ads, and to customize your site experience!

PROJECT LOG Svelte Cube Project

Overclockers is supported by our readers. When you click a link to make a purchase, we may earn a commission. Learn More.

bob4933

Member
Joined
Jan 3, 2014
Not entirely satisfied.. so here goes.

Specs ->

14" x 14" x 14" cube shape
3/4" plywood bottom and sides, 1/2" plywood top, back and front
Tolex leather covering
3x120mm inlet fans
3x120mm top exhaust fans
2x140mm inlet side fans
subtle blue led lighting
PWM fan controller
1/2" rubber standoffs
brushed stainless steel side handles
brushed stainless fan grills (note, I just used a simple wire mesh look for the image)

Will probably use some sort of conduit system for wire management, thinking black PVC or something of that nature.

2 tier system, PSU and Hard drive cage on bottom, MOBO on top.
MOBO will be on a slide out tray for accessibility reasons

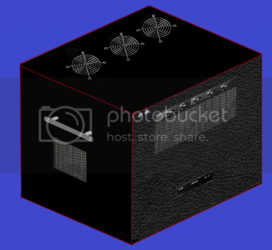
So, I don't feel like going balls out on a rendering, so heres some simple MS Paint action for ya.

casesimple_zpsf8c327cf.png


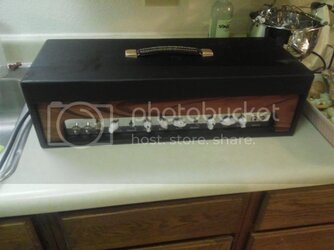
Yeah, looks tacky here. But its going to come out very similarly to the last amplifier I made, which came out very well.

qbc2_zps16ece77e.jpg


Will go slow, will get the wood bits this week, and start putting together that. When Im satisfied with that, I will purchase the electronic bits.
 
Holy crap, I hit the back button...


Anywho. Got some work done today. My process was ->

1) cut out a perfect 15x15 square. Spent a lot of time and effort to getting it perfectly square, and sanding it to make sure the lines were there
2) I then rough cut the other 3 blanks and screwed the "master" to them.
3) I ran them on my table router with a flush trim bit.

What this does is allow me to get EXACTLY the same size peices every time without worrying about 1/10th of an inch or blade wandering... Theres no error, and in my opinion, the only way to get better is with a CNC machine.


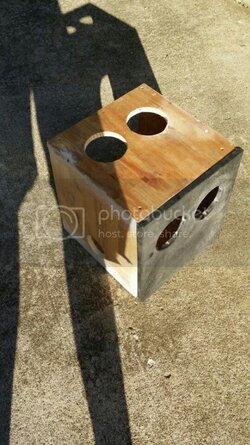
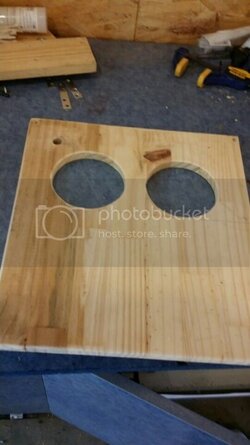
Following that, I found myself wondering how to cut the holes for the 120mm fan slots. Turns out DVD's are perfectly 120mm! I carefully measured out the locations and used a 100mm hole saw to take out the meat and potatoes.... I then HAND routed (scary!) to the lines, but it came out pretty well in my opinion. I then used the front to use as a template and cutting the top holes was ezpz 30 seconds of routing.


There were some seam gaps, so I took some bondo and filled all the gaps on the main box. Had some knots in the wood too, so I filled those as well. Its all getting covered, but this stuff is NOT friendly.

Got the front done, and all the holes drilled properly. Tomorrow I'll finish tolex'ing the body.


"pics or gtfo!" yeah yeah


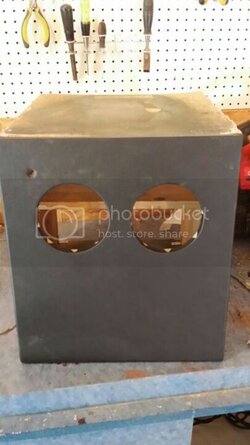
Heres the front
1405041034008_resized_zps8e1d9d6e.jpeg

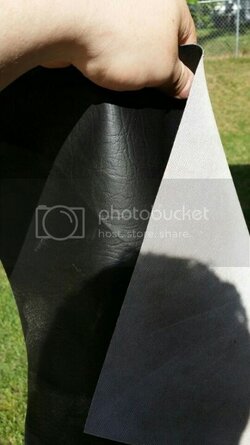
Heres the material
1405041006332_resized_zpscfbe9938.jpeg


Some careful spray glue :D I also installed hinges for the front, for ease of access if I need it.

1405041010578_resized_zpse07662ca.jpeg

this is the gap I was discussing. Filled it with bondo and sanded it flush.

1405041017448_resized_zps85c93d82.jpeg


And here's a kinda "over view". Use your imagination for now.

1405040958832_resized_zpsfdad8b67.jpeg
 
Thanks boss.


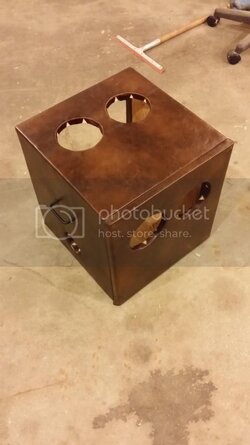
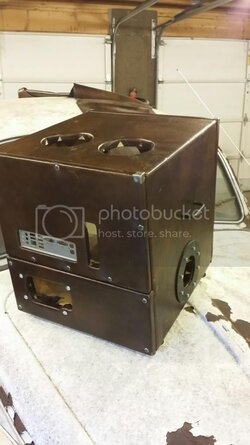
Ran out of the black... store ran out of the black... said screw it and got the more expensive stuff. Installed handles, got the stuff installed. Going to install feet this weekend.

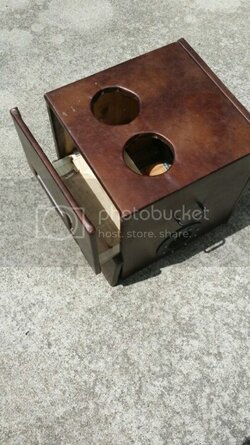
Here's how she sits now

20140711_220624_zps9763eea1.jpg
 
IMO I would just go for the CM fans. I currently run 6 Linkworld 120mm LED fans and there pretty quite without any clicking or buzzing issues.
http://www.newegg.com/Product/Product.aspx?Item=N82E16835164003

Only thought I have on the HDD cage is would it match the interior design aesthetics of your build. Cage comes with fan and grill which runs about $10 so the cage in reality is just around $30, I don't think that is too bad. its full metal.

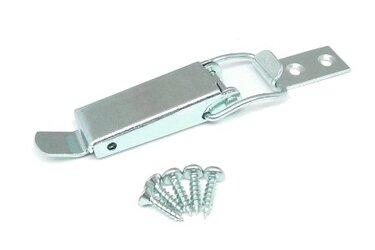
any plans of an acrylic window to show off the work? I had an idea if you used a tool box toggle type of clip, such as shown in the image below or whatever you find that would work for your build.

FC1040-Large-Toggle-Catch-1off-1.jpg

just throwing some ideas your way, no pressure. 8 fans can cool better then a fancy $25-30 single :thup:
 
Wow Bob should be a nice build.

Those CM fans are a pretty good buy with the two rebates.
 
Wow almost bought those not on sale hahaha.


4$ for 4 fans... Thats almost too good to pass up
 
Yeah, I almost pulled the trigger last night but I have way too many fans lying around as is.
 
First off... NEW TOYS!

1405299240148_resized_zpsfca45e1a.jpeg


I love the look, but im not really interested in spending 40$ a fan grill ... so Im making my own. edit : http://mnpctech.com/pc-computer-coo...kit/120mm-billet-fan-grill-blow-hole-kit.html

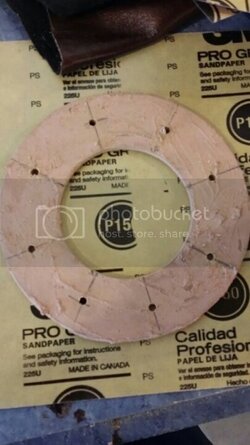
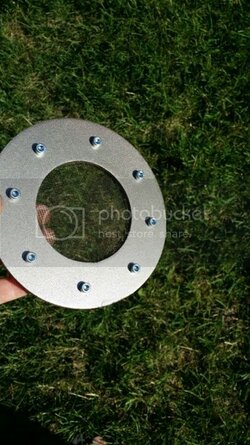
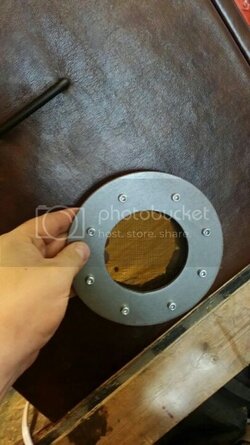
heres the progression. Cut out circles out of HDF, bondoed them, drilled, sanded, painted... gonna do clear coats at a later time when its not so humid. Using socket cap screws for aesthetic reasons

1405299233678_resized_zpsc67098a4.jpeg

1405299215308_resized_zps913eaf35.jpeg

1405299203068_resized_zps98a871d9.jpeg


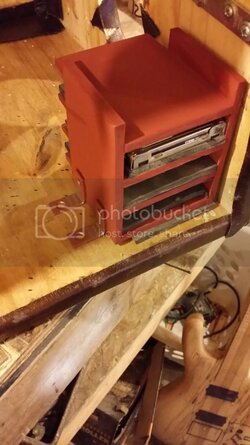
And working on ideas for a hard drive cage. Rough draft I guess. Foam padded all around for silencing, mount directly into the case.

20140713_204358_resized_zpse65f32dd.jpg
 
Nice work! Leaving room on those drive bay brackets for wing-nuts? Screws work great, but get tiresome in a system that gets played with a lot.

I see your guitar project got sidelined too....that's about how my computer projects go! :)
 
Nice work! Leaving room on those drive bay brackets for wing-nuts? Screws work great, but get tiresome in a system that gets played with a lot.

I see your guitar project got sidelined too....that's about how my computer projects go! :)


haha thanks. Im really just kinda slapping things together at the moment. Im going to put drawer pulls for the motherboard tray, and Im debating on things for the hard drive bays. I'd really love to find something to make them hot swappable. I think when I finish my prototype, I'll make something out of acrylic.

As for the g uitar, that things been on the sideline for about a year now haha.
 
Nice work on the blowhole bob, that's thinking out of the box :thup:

I noticed you mentioned a hot swap type of setup for your HDD's. Bringing to mind the Corsair air 540's hot swap option they went with. food for thought maybe?

really love the idea of going with wood and creating something unique.

O.O I have no idea what you're talking about. Im off to explore options :attn:

edit: thanks as well!

FWIW, Im incredibly open to feedback and criticism. All I ask is you don't be like "your obviously half finished part doesn't look very good" type of comments xD. I know the hard drive cage looks like crap at the moment, for example.
 
Ah I see. Thats pretty much something I would like to have if possible.

the problem, I have a mandatory minimum of 3 hard drives that must be connected. I have a total of 6 hard drives I would like to install if possible. 3x3 hard drive cage would be the ideal solution for me I feel, however, the 5 and 6 HDD cages are too tall for my build.
 
hmmm brainstorming on the 3x3.

I'm only displaying pictures and placing out ideas I can't really call it feedback as it is more to get ideas jumbling to try and get the best out of your project.

The project is unique to me as do I enjoy seeing where its going.
I like to try to contribute if I can being that you did give us a rough draft drawing of what you want the exterior to look like and felt there is room for some ideas along with your current goal.

I've noticed already some things are changing as to the fan grill you came up with and I also agree $40 bucks.... yeah nope..

You're absolutely correct.

Even with my guitars, I always know the "end product", but the road to getting there can be different than what I imagine.

all ideas are extremely welcome. No "infringement" on myself here :D Shoot me some ideas if you have them
 
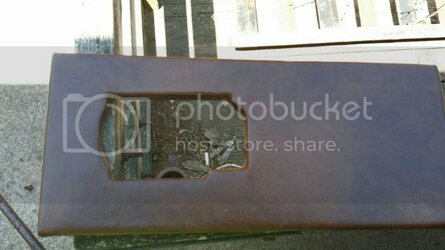
Well made some saw dust today... Made back panels, slide out motherboard tray, made psu back cover, installed feet... and repainted the side fan covers to a metallic silver epoxy paint I have layin around, and installed corner guards.

PSU cover plate, lower back side
1405564304316_resized_zps6043e6b0.jpeg


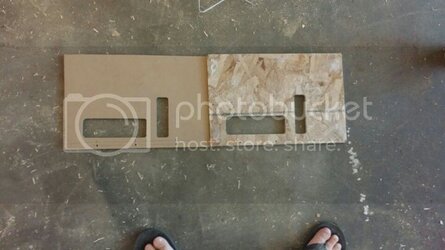
And I ran out of my laminate board :( ... but I have a ton of OSB, so I just figured I'd use that. I started with an HDF template I made, then used that to route the channels and size perfectly.

1405564297013_resized_zps38080753.jpeg

"OSB? BOB THAT LOOKS LIKE CRAP!"

Well... cant see it anyway. Please note, the bottom panel isn't attached and is leaning on the bottom, thats why it looks "off".

1405564292454_resized_zpscfde9357.jpeg


So heres the point to having the back split like that ->
1405564288025_resized_zps16b7fee7.jpeg


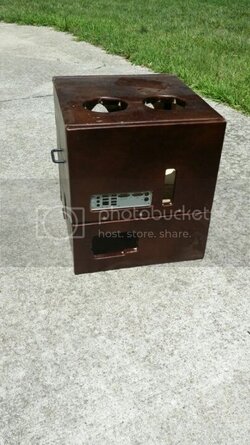
And here she is all zipped up. Not the most glamorous picture, but I have a ton of work to do still.


20140716_210238_resized1_zpsa3d19d84.jpg
 
Back