- Joined
- Nov 9, 2010
- Location
- Noonu Atoll
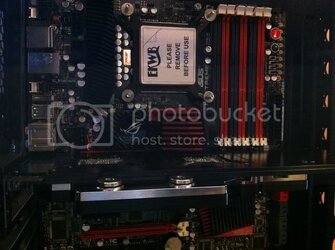
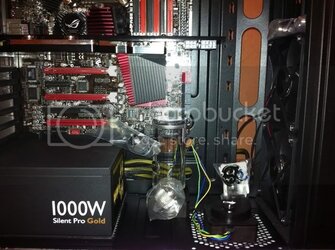
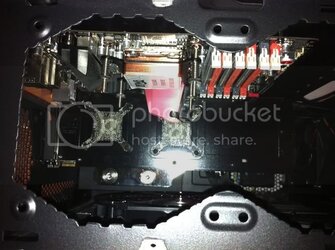
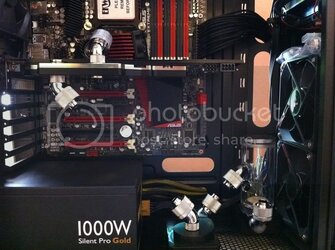
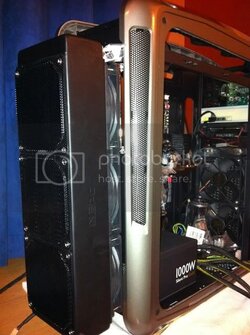
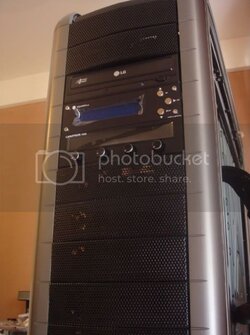
''COSMOS GTR'' Black Edition Avalanche Mod 8 Rads - 6 Cores - 4 GPUs
In the pipeline coming in March/April
- OCZ SSD Revo 2 240GB on PCI-E (to be delivered 28.2.)
- Corsair Airflow (Ram Cooling) (to be delivered 28.2.)
- XFX HD5970 replacement card (to be delivered 28.2.)
- External ASUS DVD Drive (to be delivered 28.2.)
- External USB 7 Port Hub (to be delivered 28.2.)
- External Samsung My Passport USB 3.0 (to be delivered 28.2.)
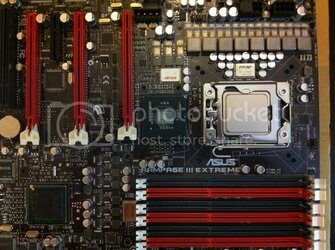
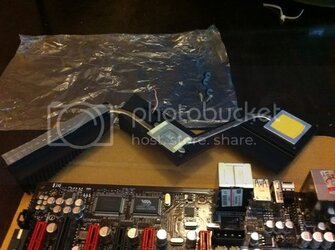
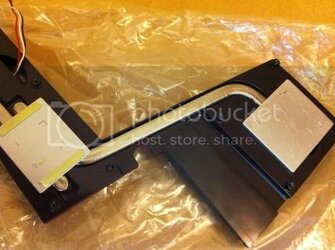
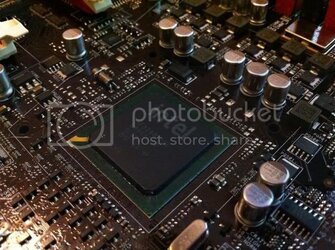
- Koolance ASUS RIIIE chipset cooling kit (to be ordered)
- Koolance new Bay Res for two laying DDC pumps aka MCP35X (to be ordered)
Hi community,
I'm Stephan (Swiss Exile) and live in South East Asia, I'm browsing the forum for sometimes and decided to build a new rig.
Any advice or recommendations, please feel free to post a reply, thanks!!
It has been 7 years since i did my first modding on a PC with a watercooling, that was with an Eheim pump and an oversized innovatek rad the size of a full tower case, so bear with me ;-)
About 4 months ago I was excited about the idea of upgrading to watercooling. I was searching a lot, reading a lot and got help from the forum members, which is great!
I finally placed (several) orders at Sidewindercomputers which has been great in terms of price and especially support service, highly recommended!
Since powder coating is not available where I'm currently living, I had the idea of painting the inside of the case myself, at our workshop and i ordered the paint needed from AUS.
Info - The following sites have helped me a lot to calculate and evaluate parts and wc stuff (besides the members of course):
All the great stickies of fellow experienced members with all the tips and trimmings &
&
http://www.bit-tech.net/hardware/cooling/2007/08/22/watercooling_101/1
http://forums.extremeoverclocking.com/showthread.php?t=282232
http://www.overclockers.com/guide-deltat-water-cooling/
http://www.coolingconfigurator.com/...ine?height=260&width=530&inline_id=comp_table
http://martinsliquidlab.i4memory.com/
http://martinsliquidlab.i4memory.com/MartinsFlowRateEstimator.html
http://extreme.outervision.com/psucalculator.jsp
http://extreme.outervision.com/flowdesigner.jsp
http://skinneelabs.com/
My goals I had in mind was: 1. noise vs good performance, 2. to reach 4.0GHz, 3. decent graphics 4. Black Matte Red Theme 5.Sleek, contemporary colors, no fancy stuff and colors without much interior and exterior changes. This is obviously not an extreme build but a bit of modding and tuning to make it a 'black beauty'. With all the fittings and tubing I could on a later stage change the side panel with the fan and a window which will be probably happening on a later stage!
Hardware
CM Cosmos S
i7-980X
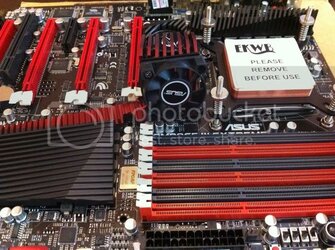
ASUS RIIIE
6x2GB G-Skill F3-16000CL9-2GBRH DDR3-1333
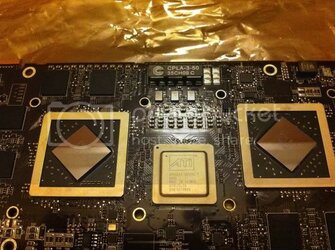
HIS ATI HD5970
CM Silent Pro Gold 1000W Modular
WD 500GB Blue Edition
2x ASUS VW266H 26'' (98LMTF181002)
BOSE Companion 5 USB
Win7 Pro 64 6.1.7600 (Win7 RTM), BIOS: 1005 (08/26/10)
Water cooling Parts
10x Scythe SFF21G 75 CFM, SFF21G, S-FLEX
2x Scythe SlipStream SY1225SL12H - 88 CFM
2x Scythe SFF21F 63 CFM, SFF21F, S-FLEX
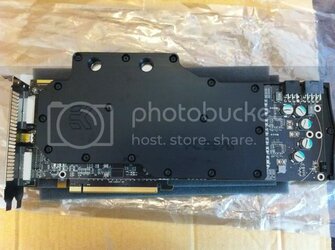
1x EK-FC5970 Acetal+Nickel
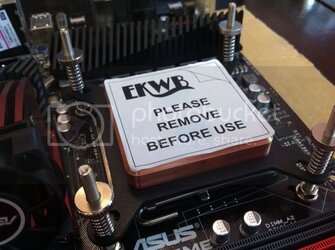
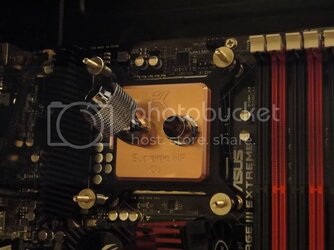
1x EK Waterblock EK-Supreme HF - Full Copper - Rev 2
5x Feser TFC Xtender Radiator Shroud 120 - RED LED
15 Feet Tygon R3400 1/2in.ID 3/4in. OD Laboratory Tubing
1x Akasa PaxMate II Noise Reduction Kit
1x Swiftech MCR320 QP
1x XSPC RX320 Rev.2 (wrongly ordered, 60mm is to thick to top mount which I discovered too late, ohh)
1x XSPC RX240 Rev.2
1x XSPC RX120 Rev.2
1x Petra'sTech PT_Nuke -PHN Concentrated Biocide
1x UN Designs Rad Bracket
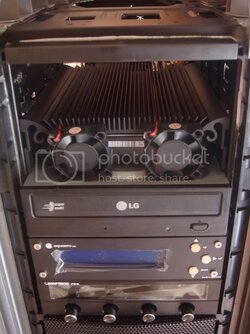
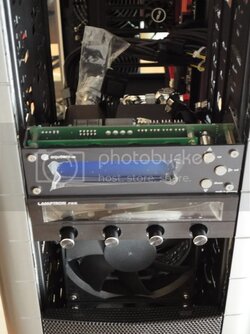
1x Lamptron FC-5 Black Fan Controller with VFD
1x Aquaero 4.00 USB Pump/Fan Controller White/Blue - LCD with black alu Frontplate, Inline Temperature Sensor for aquaero
2x Swiftech MCP35X 12 VDC Pump
2x Swiftech Reservoir for MCP35X
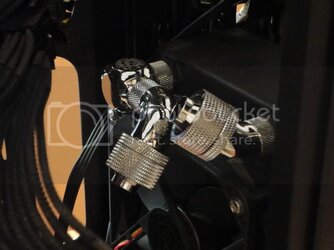
- Compression Fittings, Fill Port, , Nylon Hose, Breeze Miniature Hose, Fan Guard
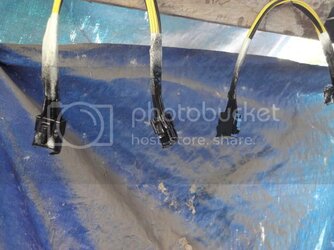
- EK LEDs, Cathode Lights, Radial Beam LED, Black Sleeving, Black sleeved Single Braid molex/pin/sata/atx cables, Heat shrink tubing, non-fry sleeving
- Artic Cooling MX-4 TIM
Configuration
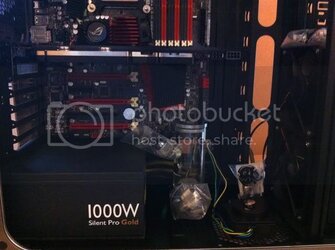
Single Loop, Two Pumps in series: Res/Pump, Pump, XSPC240, Swiftech MCR320, CPU, XSPC120, GPU
Details
My ambient temp is 27 C
HF Supreme Backplate 1
Distilled Water w/ PT Nuke only, no dye!
Water Out/In T-Delta aspiring ca. 6.5C - 7C
C/W Rating 0.0893
Output Wattage (CPU&GPU) Stock 427W / OC'ed 452W (4000/1.42)
Fan Speed: 1,350rpm
Fan Config: 15 Fans at current. 6 Push/6 Pull (P/P 18% gain), 2 TFC Shrouds (6% gain)
Rad Orientation: Vertical In/Out on top - OK / Horizontal In/Out down - OK
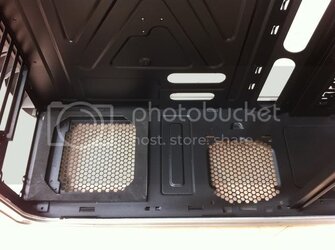
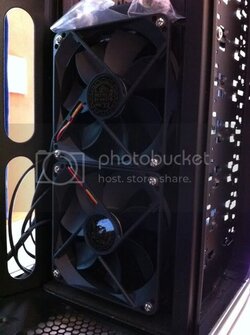
Air-Flow: Front (Intake), Top (Outtake), Back (Outtake), Side (Intake), Bottom sealed - no fan used, probably good since it would 'alter' the flow?
To the case
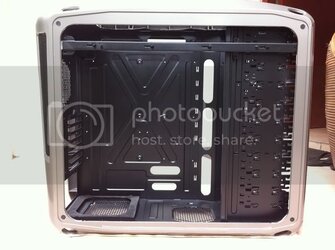
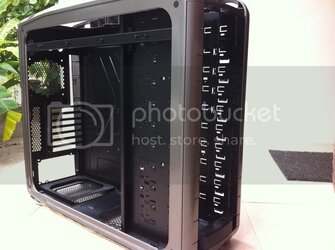
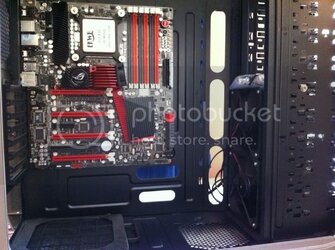
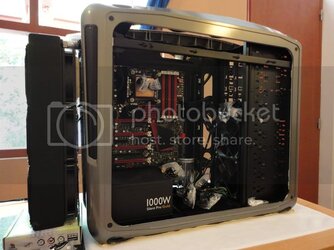
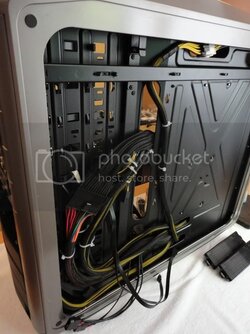
I ordered this case since i had CM in the past and they worked well with air flow and design, the S version being catchy on the looks (if you like it) and i liked the idea with the 200cm side fan as an intake. Unfortunately the inside is left in an ugly alu which I thought is not matching with the case exterior design and colour, that's why people i guess go for a descent powder coat. Also would have been great would be the Corsair 800D being the mark in Towers in terms of functionality and looks for me, but I realized it to late and i had already ordered the Cosmos S, I still admire it...
Last weekend
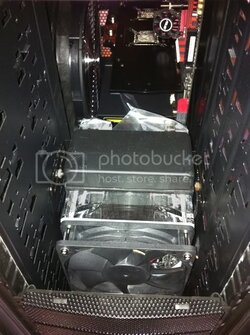
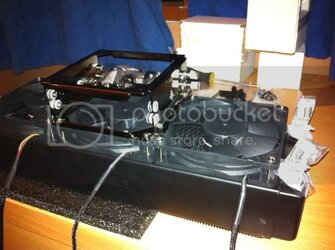
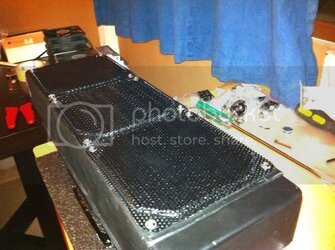
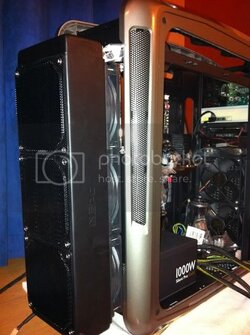
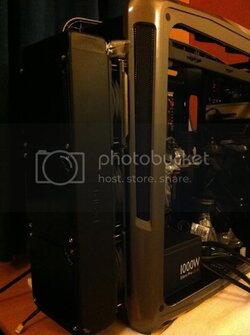
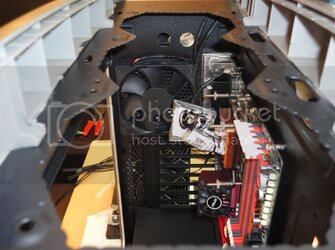
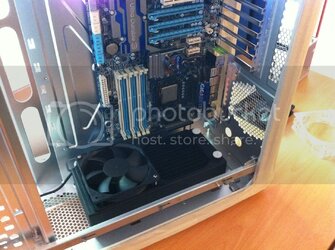
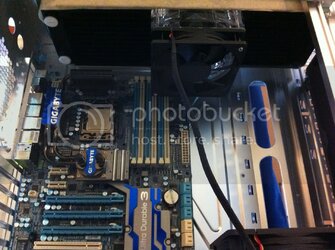
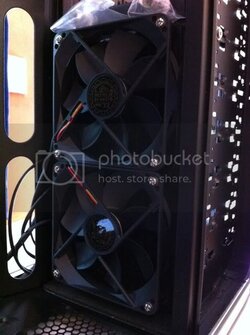
the second shipment from 'sidewinder' had arrived and I figured out the best rad/pump placement and discovered that the triple rad won't fit on the top because the 60mm with fan would interfere with the mobo's ram, therefore, i re-ordered a Swiftech triple with 34mm slim form factor size


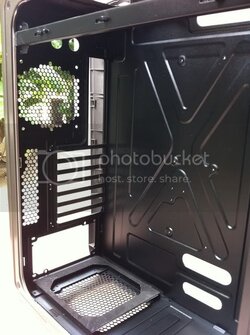
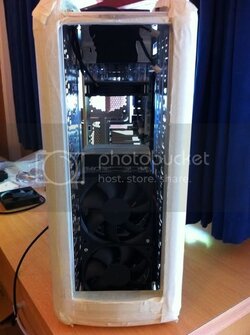
Taped and Masked for Painting


Paint Job
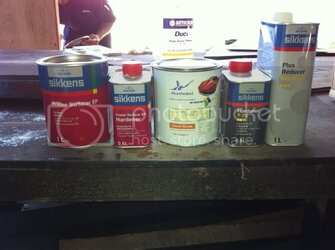
I'm using the following for priming and automotive paint:
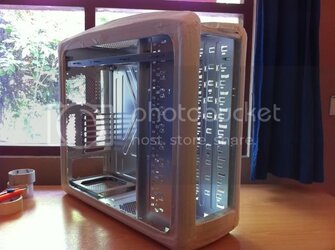
EP Primer, EP Hardener, Hardener P25, Black Colour 358G5, Reducer (the base matte black colour), AClear Mat (the finish) Reducer. We have a workshop here so i will be using a spray gun with compressor which should get a better result in general. I have not used any sanding before applying the primer since its just the inside of the case and brushed alu, I thought it might be sufficient, let's see the result.
Paint Line-Up

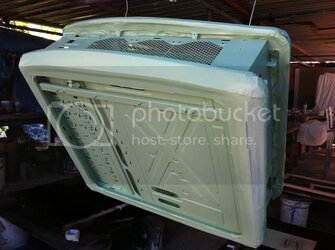
1st Primer Coat, dry time 45 min by 32 C ambient
2nd Primer Coat, dry time 60 min by 32 C ambient

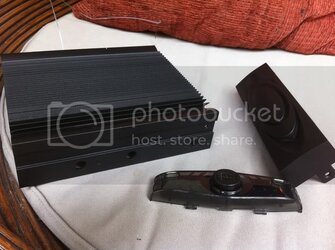
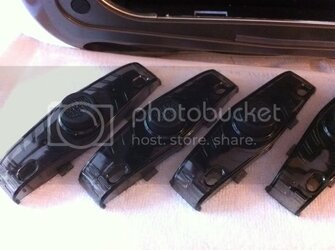
Don't use hardener with paint for acrylic/perspex/plastic material. 2 thin layers of paint is sufficient.
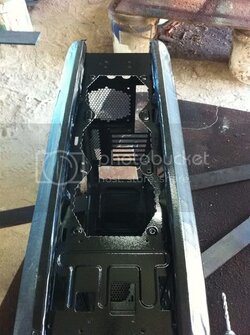
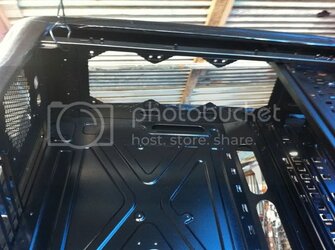
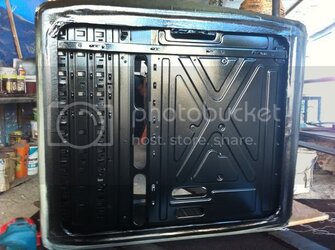
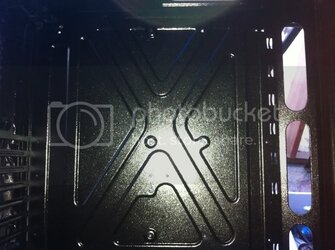
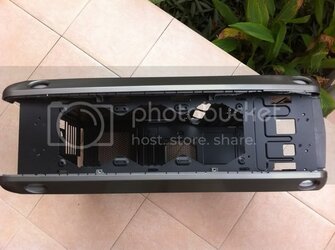
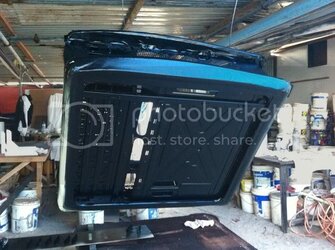
1st Black Coat, dry time 2 days at 25-43 C ambient

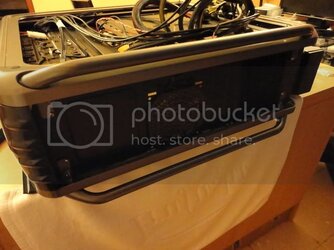
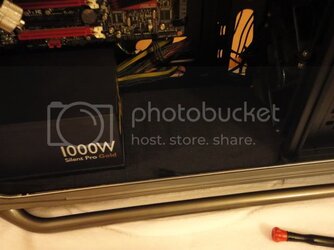
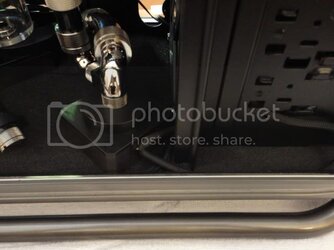
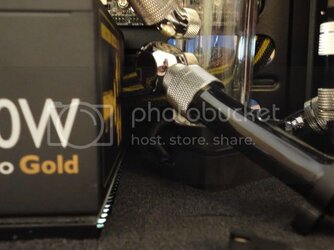
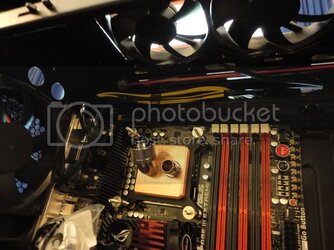
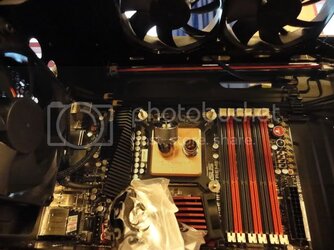
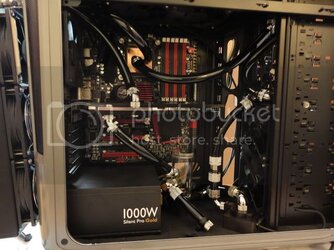
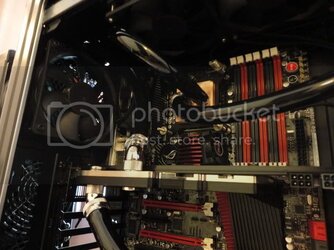
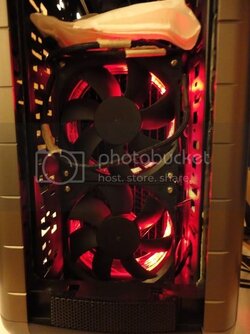
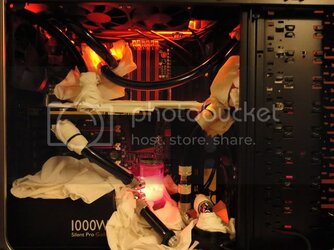
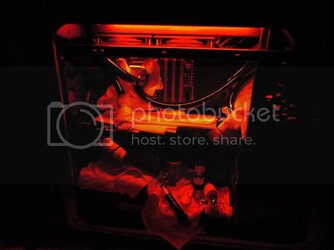
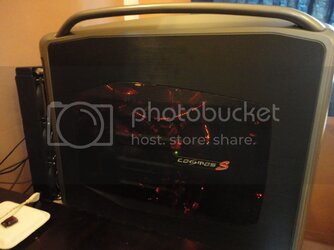
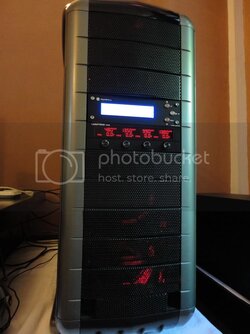
''COSMOS GTR'' Black Edition Mod
My Concorde Moment - 8 Rads - 6 Cores - 4 GPUs

Current Setup 22.02.11


My Concorde Moment - 8 Rads - 6 Cores - 4 GPUs

Current Setup 22.02.11
In the pipeline coming in March/April
- OCZ SSD Revo 2 240GB on PCI-E (to be delivered 28.2.)
- Corsair Airflow (Ram Cooling) (to be delivered 28.2.)
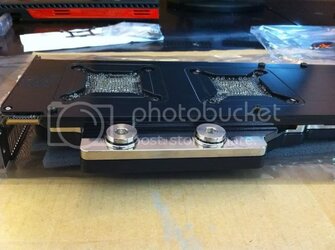
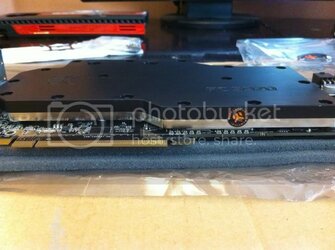
- XFX HD5970 replacement card (to be delivered 28.2.)
- External ASUS DVD Drive (to be delivered 28.2.)
- External USB 7 Port Hub (to be delivered 28.2.)
- External Samsung My Passport USB 3.0 (to be delivered 28.2.)
- Koolance ASUS RIIIE chipset cooling kit (to be ordered)
- Koolance new Bay Res for two laying DDC pumps aka MCP35X (to be ordered)
Hi community,
I'm Stephan (Swiss Exile) and live in South East Asia, I'm browsing the forum for sometimes and decided to build a new rig.
Any advice or recommendations, please feel free to post a reply, thanks!!
It has been 7 years since i did my first modding on a PC with a watercooling, that was with an Eheim pump and an oversized innovatek rad the size of a full tower case, so bear with me ;-)
About 4 months ago I was excited about the idea of upgrading to watercooling. I was searching a lot, reading a lot and got help from the forum members, which is great!
I finally placed (several) orders at Sidewindercomputers which has been great in terms of price and especially support service, highly recommended!
Since powder coating is not available where I'm currently living, I had the idea of painting the inside of the case myself, at our workshop and i ordered the paint needed from AUS.
Info - The following sites have helped me a lot to calculate and evaluate parts and wc stuff (besides the members of course):
All the great stickies of fellow experienced members with all the tips and trimmings
http://www.bit-tech.net/hardware/cooling/2007/08/22/watercooling_101/1
http://forums.extremeoverclocking.com/showthread.php?t=282232
http://www.overclockers.com/guide-deltat-water-cooling/
http://www.coolingconfigurator.com/...ine?height=260&width=530&inline_id=comp_table
http://martinsliquidlab.i4memory.com/
http://martinsliquidlab.i4memory.com/MartinsFlowRateEstimator.html
http://extreme.outervision.com/psucalculator.jsp
http://extreme.outervision.com/flowdesigner.jsp
http://skinneelabs.com/
My goals I had in mind was: 1. noise vs good performance, 2. to reach 4.0GHz, 3. decent graphics 4. Black Matte Red Theme 5.Sleek, contemporary colors, no fancy stuff and colors without much interior and exterior changes. This is obviously not an extreme build but a bit of modding and tuning to make it a 'black beauty'. With all the fittings and tubing I could on a later stage change the side panel with the fan and a window which will be probably happening on a later stage!
Hardware
CM Cosmos S
i7-980X
ASUS RIIIE
6x2GB G-Skill F3-16000CL9-2GBRH DDR3-1333
HIS ATI HD5970
CM Silent Pro Gold 1000W Modular
WD 500GB Blue Edition
2x ASUS VW266H 26'' (98LMTF181002)
BOSE Companion 5 USB
Win7 Pro 64 6.1.7600 (Win7 RTM), BIOS: 1005 (08/26/10)
Water cooling Parts
10x Scythe SFF21G 75 CFM, SFF21G, S-FLEX
2x Scythe SlipStream SY1225SL12H - 88 CFM
2x Scythe SFF21F 63 CFM, SFF21F, S-FLEX
1x EK-FC5970 Acetal+Nickel
1x EK Waterblock EK-Supreme HF - Full Copper - Rev 2
5x Feser TFC Xtender Radiator Shroud 120 - RED LED
15 Feet Tygon R3400 1/2in.ID 3/4in. OD Laboratory Tubing
1x Akasa PaxMate II Noise Reduction Kit
1x Swiftech MCR320 QP
1x XSPC RX320 Rev.2 (wrongly ordered, 60mm is to thick to top mount which I discovered too late, ohh)
1x XSPC RX240 Rev.2
1x XSPC RX120 Rev.2
1x Petra'sTech PT_Nuke -PHN Concentrated Biocide
1x UN Designs Rad Bracket
1x Lamptron FC-5 Black Fan Controller with VFD
1x Aquaero 4.00 USB Pump/Fan Controller White/Blue - LCD with black alu Frontplate, Inline Temperature Sensor for aquaero
2x Swiftech MCP35X 12 VDC Pump
2x Swiftech Reservoir for MCP35X
- Compression Fittings, Fill Port, , Nylon Hose, Breeze Miniature Hose, Fan Guard
- EK LEDs, Cathode Lights, Radial Beam LED, Black Sleeving, Black sleeved Single Braid molex/pin/sata/atx cables, Heat shrink tubing, non-fry sleeving
- Artic Cooling MX-4 TIM
Configuration
Single Loop, Two Pumps in series: Res/Pump, Pump, XSPC240, Swiftech MCR320, CPU, XSPC120, GPU
Details
My ambient temp is 27 C
HF Supreme Backplate 1
Distilled Water w/ PT Nuke only, no dye!
Water Out/In T-Delta aspiring ca. 6.5C - 7C
C/W Rating 0.0893
Output Wattage (CPU&GPU) Stock 427W / OC'ed 452W (4000/1.42)
Fan Speed: 1,350rpm
Fan Config: 15 Fans at current. 6 Push/6 Pull (P/P 18% gain), 2 TFC Shrouds (6% gain)
Rad Orientation: Vertical In/Out on top - OK / Horizontal In/Out down - OK
Air-Flow: Front (Intake), Top (Outtake), Back (Outtake), Side (Intake), Bottom sealed - no fan used, probably good since it would 'alter' the flow?
To the case
I ordered this case since i had CM in the past and they worked well with air flow and design, the S version being catchy on the looks (if you like it) and i liked the idea with the 200cm side fan as an intake. Unfortunately the inside is left in an ugly alu which I thought is not matching with the case exterior design and colour, that's why people i guess go for a descent powder coat. Also would have been great would be the Corsair 800D being the mark in Towers in terms of functionality and looks for me, but I realized it to late and i had already ordered the Cosmos S, I still admire it...
Last weekend
the second shipment from 'sidewinder' had arrived and I figured out the best rad/pump placement and discovered that the triple rad won't fit on the top because the 60mm with fan would interfere with the mobo's ram, therefore, i re-ordered a Swiftech triple with 34mm slim form factor size
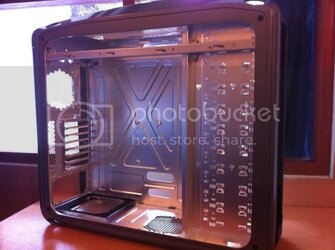
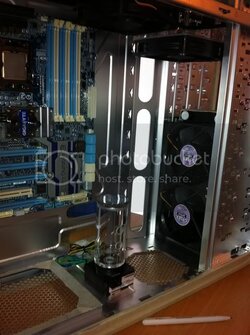
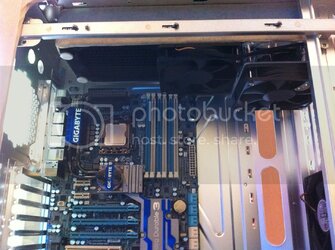
Taped and Masked for Painting
Paint Job
I'm using the following for priming and automotive paint:
EP Primer, EP Hardener, Hardener P25, Black Colour 358G5, Reducer (the base matte black colour), AClear Mat (the finish) Reducer. We have a workshop here so i will be using a spray gun with compressor which should get a better result in general. I have not used any sanding before applying the primer since its just the inside of the case and brushed alu, I thought it might be sufficient, let's see the result.
Paint Line-Up
1st Primer Coat, dry time 45 min by 32 C ambient
2nd Primer Coat, dry time 60 min by 32 C ambient
Don't use hardener with paint for acrylic/perspex/plastic material. 2 thin layers of paint is sufficient.
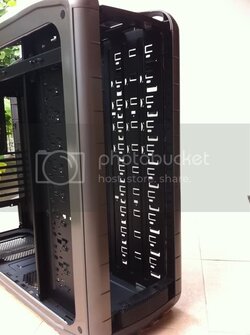
1st Black Coat, dry time 2 days at 25-43 C ambient
Last edited:
