• Welcome to Overclockers Forums! Join us to reply in threads, receive reduced ads, and to customize your site experience!

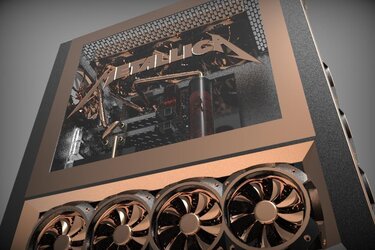
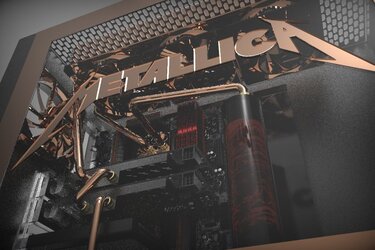
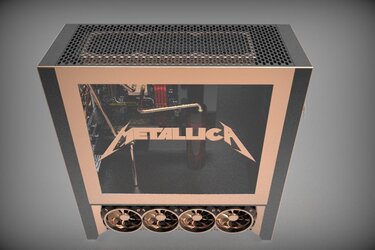
PROJECT LOG 900D Unforgiven - The Metalica Build

Overclockers is supported by our readers. When you click a link to make a purchase, we may earn a commission. Learn More.

onevoicewild

Registered
Joined
Sep 10, 2013
Hi everyone - I was ask if I would post this work log On Overclockers by GTXJackBauer.
This is an ongoing build that started about two months before the Corsair 900D was available.
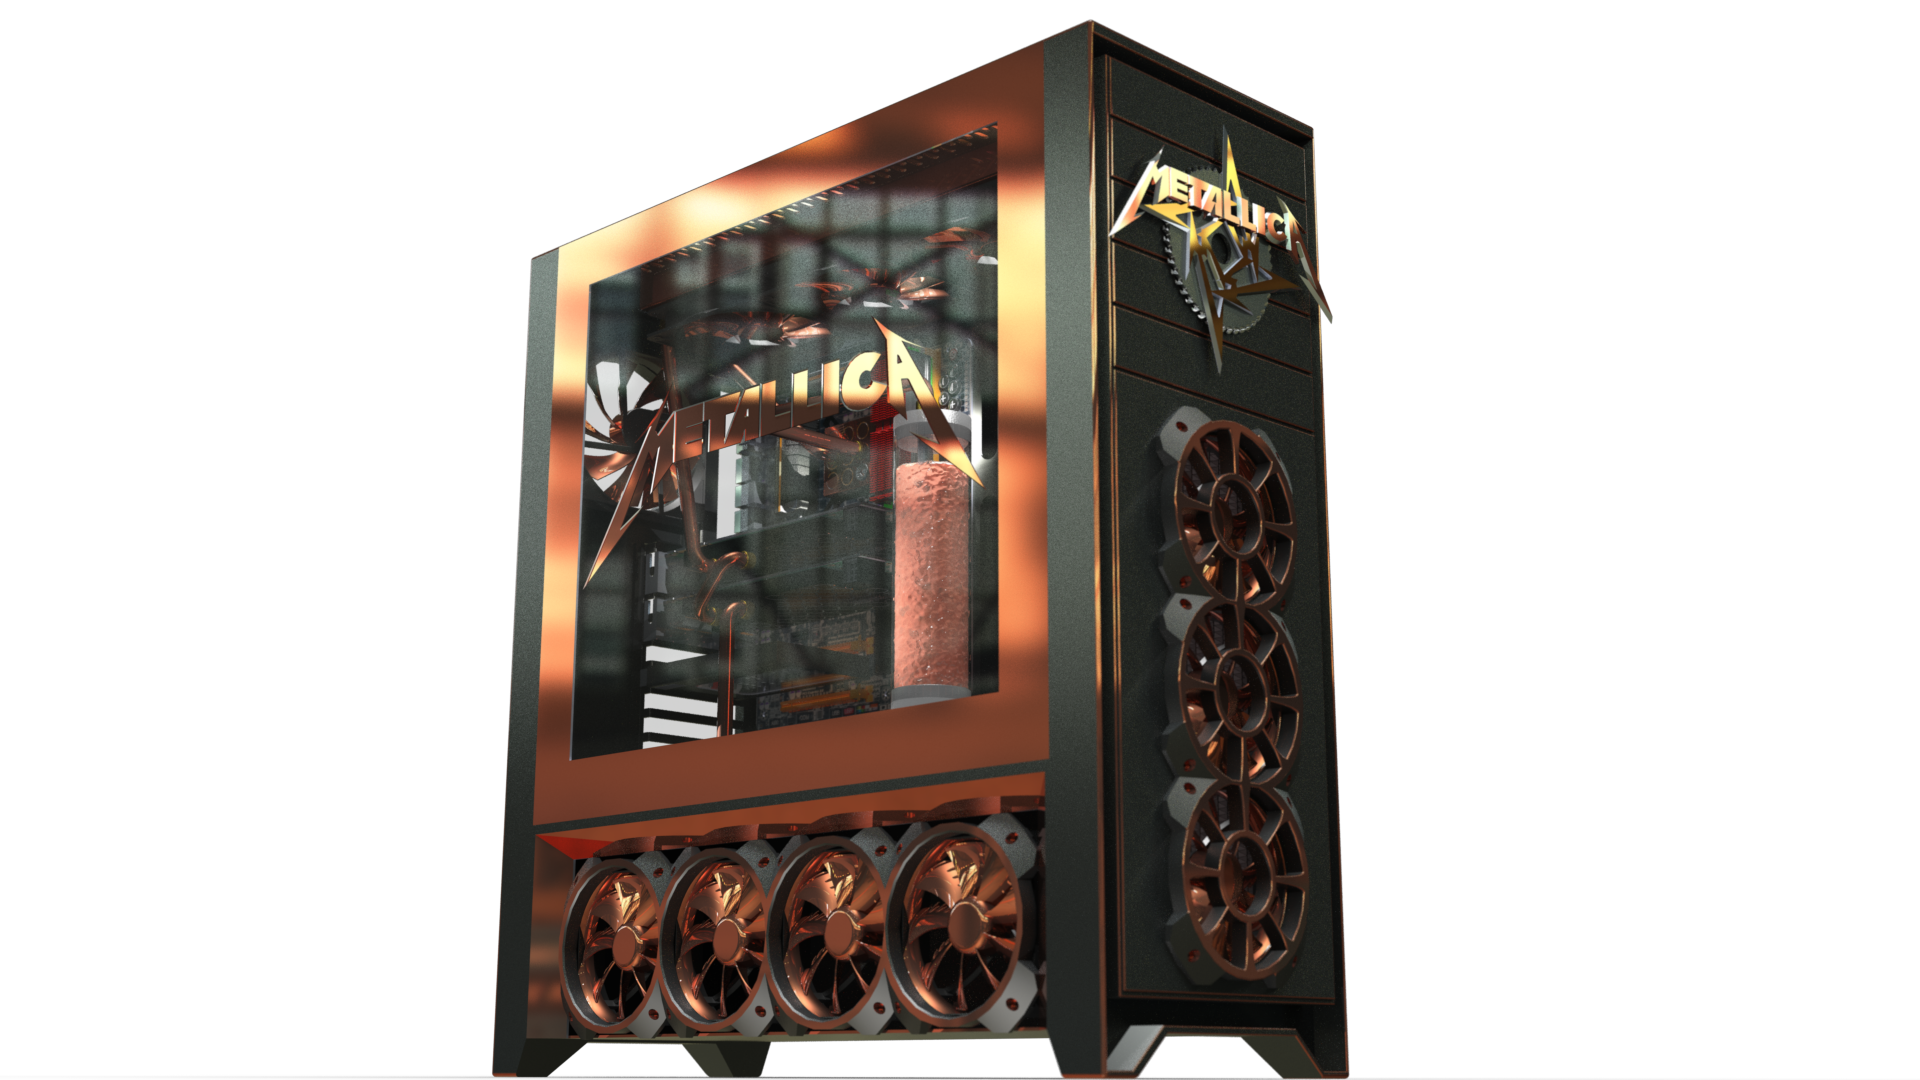
This is a tribute build to the band Metallica. I have come to find that they are a lightning rod. You either love them or hate them,
but above all this is a computer build and I hope you will let my work show my passion for our hobby.


89934keyshot20productsh.jpg


This Is corporative build. My name is Mike ( onevoicewild ) I am Building a Corsair 900D Case Mod, I live in the USA.
My Good friend Sam ( Do Until Loopy ) lives in London UK and he is doing all the renderings and developed the design based on my original Ideas.


Proudly Sponsored By :


corsairwallpaperbyobsid.jpg


91759ek20logo.png.jpg


15yn.jpg


mayhemslogo.png


This was my Original Inspiration for the theme, I like the way it looks and a lot of people
are doing game themes so I wanted to try something a little different.


metallicametallicalogo1.gif


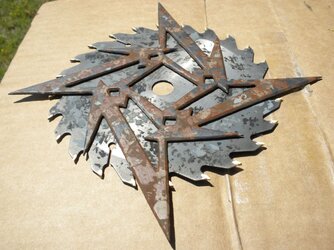
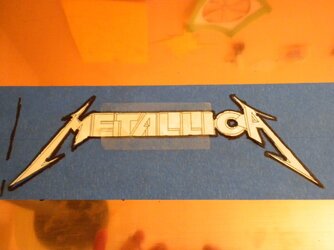
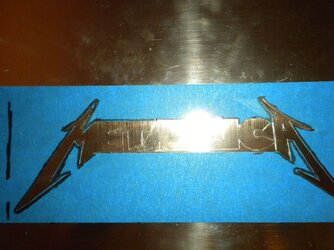
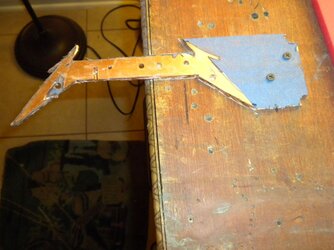
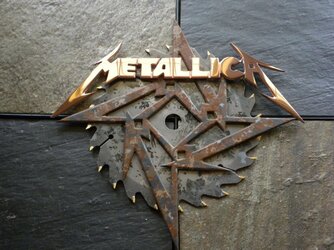
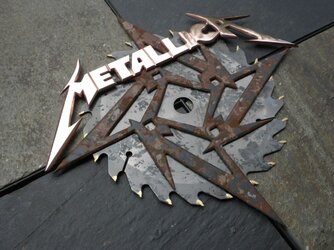
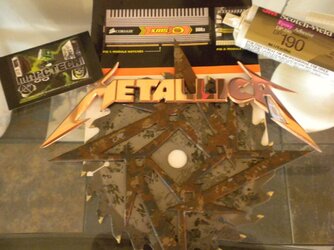
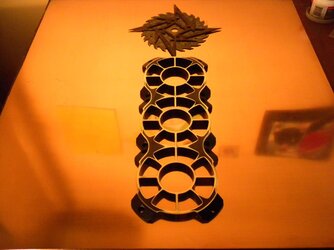
I started working on the front emblem for the case. This came to be known as the spiky thing.
I think it drew enough blood from me to earn it's name. I have Made most of the pieces by hand,
out of necessity to keep costs down.


dscn9412j.jpg


dscn9436w.jpg


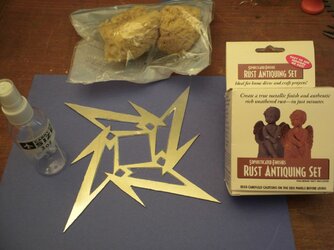
I used rusting techniques and paint splotching to get the colors I was looking for.

dscn9440q.jpg


dscn9550.jpg


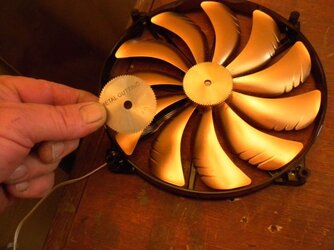
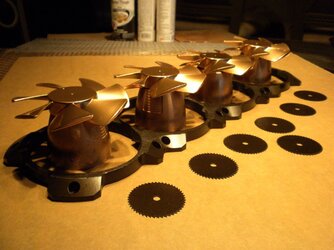
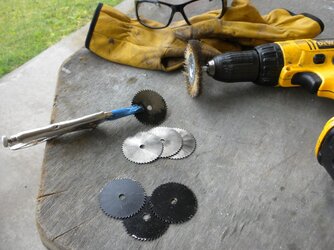
I was very happy with the way It came out. I went through several saw blades trying to find one that was acceptable,
Most blades these days look like something out of alien and not the traditional look I needed.


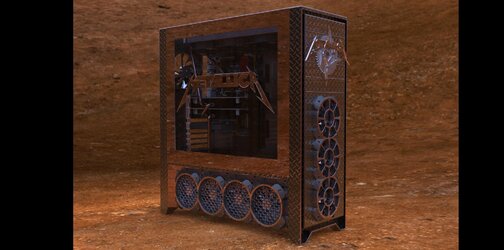
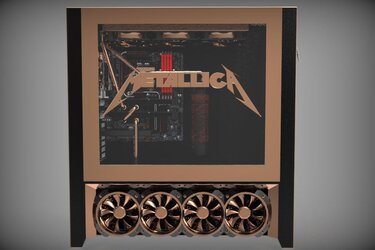
We have multiple versions of the case that we were considering for the final finish.


The standard version.


This is the Heavy Metal version, which seems to be the favored look.


99629910finalheavymetal.png.jpg


I was fortunate to have a heavy sheet of Copper about 26" x 27" 3mm thick and about 27 pounds.
The current cost of a sheet like this would be $$$$ It had an acid etching on the other side
but I decided it had to be sacrificed to the Modding gods. The down side is that I'm using the back side that had
a lot of deep scratches that continue to plague me continually. Lets just say my upper body strength is increasing daily.


dscn9619c.jpg


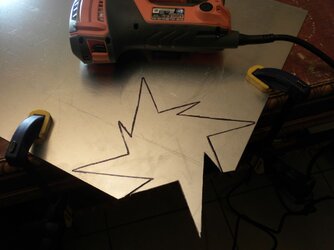
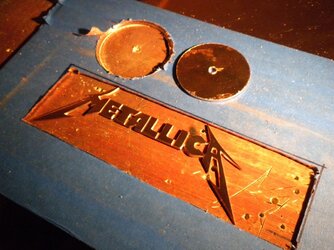
Next on the agenda it to craft the Metallica emblem.


dscn9629.jpg


dscn9640.jpg


Well every thing has to start somewhere. Ruff, Ruff my kingdom for a CNC machine. ha ha


dscn9645f.jpg


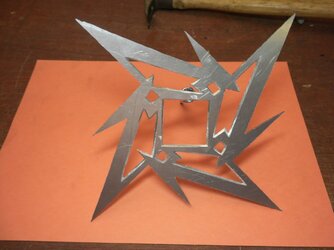
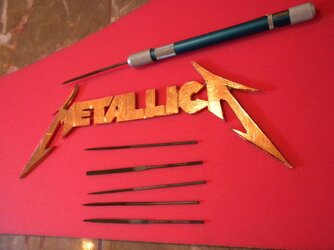
Fortunately one of my personal traits is extreme stubbornness ! This took a full week of 2 to 3 hours a night cutting,
filing and polishing. Big Pain, but there is truly a great satisfaction in being able to craft something with basic tools.
When your modding a case that isn't available you tend to have a little time on your hands. Oh my hands !


dscn9670.jpg


dscn9674o.jpg


I'm good with that ! It came out better than I hoped for. I have to say that Sam's whole world is exact precision
and having him looking over my shoulder has helped me bring up my game to a higher level. I had to Laugh,
after it was done he liked it but had to point out that the edge bevels were done at 45 degree angles and not the prescribed
30 degree angle. Ha Ha there are just some places you can't get needle files into, no matter how small they are !
But that kind of attitude pushes me to do a better job than I might without Sam pushing me for perfection.


dscn9686l.jpg


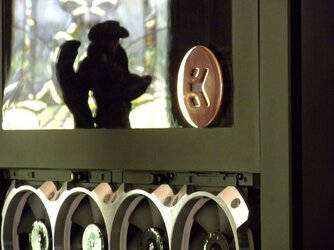
I love how moody this polished Copper is, depending on how the light hits it.

dscn9716k.jpg


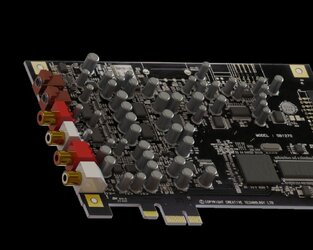
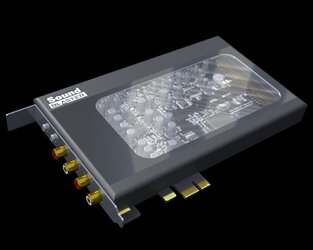
One of the programs Sam uses for his renderings Is solidworks.
One cool thing about it is you build components separately and
then you can plug them into anything.


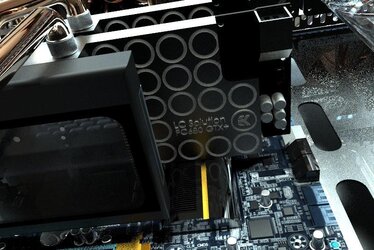
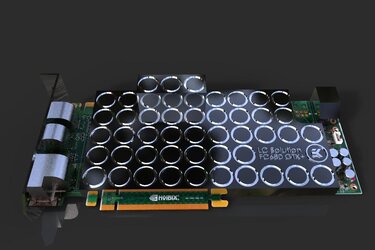
Here is his render of my sound card.

soundcardtbare.png.jpg


soundcardcompleted.png.jpg


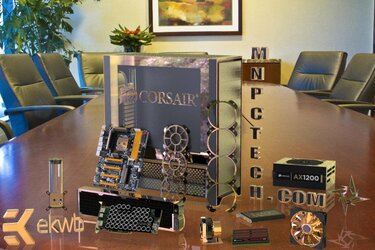
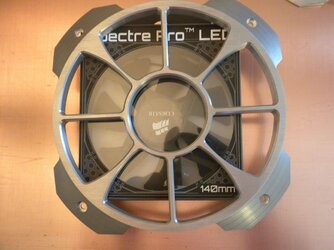
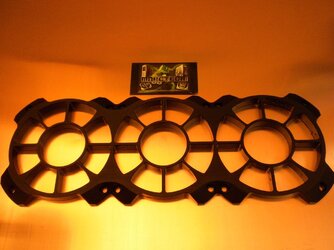
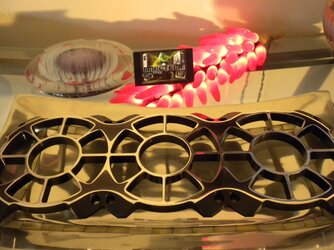
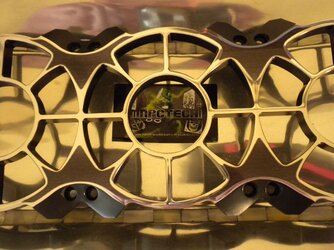
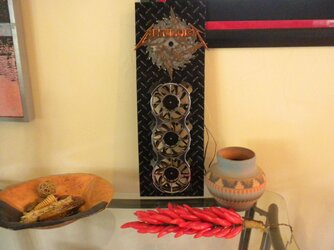
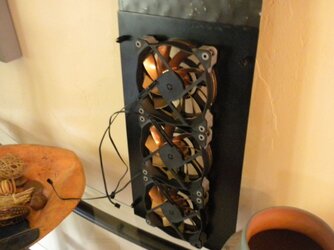
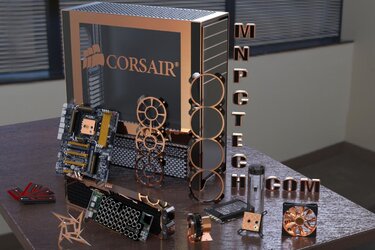
Bill Owen at MNPCTECH made me some very special grills for The Metallica Build.
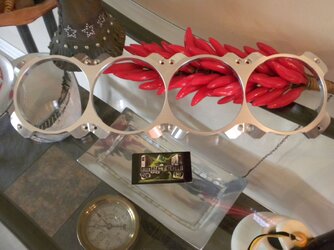
He made two 200mm Nautilus grills and a quad ring OverKill grill. These beautiful grills
are key to the overall look of the case.

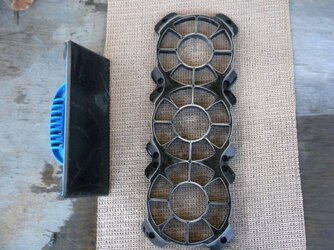
Just to give you an Idea of how large these grills are, that is an 140mm fan behind it.


dscn9461d.jpg


dscn9522.JPG


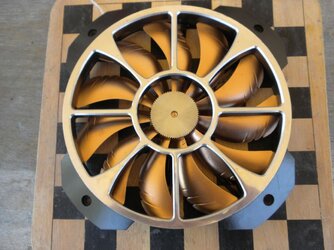
I hate people getting finger prints on my fan blades so I wanted to add some deterrents to go along with the theme.


dscn9542.jpg


The crazy thing is that I may not even be using these 200mm fans on this build.
People had been pushing me to use a 360 Nautilus grill on the front instead of the two 200mm.
I had that grill on my 800D so I temporarily robbed it to see what kind of a finish I could get on it.
Once I was done I swung over to the 360 camp.


The red headed step child. My 800D


dscn9603s.jpg


Bill Owen had ask me if I needed another 360 grill to replace the one I was robbing of the 800D. I told him oh no I won't need one.
My 800D said WHAT? Parts cost $ 0 Dollars Shipping cost $ 0 Dollars

Stealing parts from the rig your currently using - Priceless !


This is one of my prize toy's, when I first saw one of these I knew I had to have one!
So I have to ask myself the question ? why do I have a sanding block in my hand ?
As modders we want to make something unique. Manufactures can only stock the stuff that sells,
It's up to us to take it from there.


dscn9558g.jpg


dscn9562d.jpg


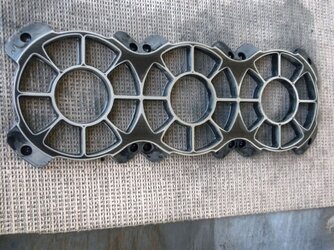
There is a reason that people Anodize things. It's very durable and in this case, very hard to sand off.
This actually turned out to be my saving grace. All I had was fairly fine sand cloth so it was going slowly.
The plan was to flat sand and polish the top like I did on the 200mm grills. I almost wish I had stopped
where I was at the picture below, but that wasn't the plan and I hadn't yet realized how interesting
the developing pattern was becoming.


dscn9565e.jpg


Once I pushed on I started to realize just how good it was looking so
I decided to see what I could do with it. I was very happy with the
outcome and that's why I decided to go with the 360 Grill on the front Bezel.


dscn9581i.jpg


dscn9575d.jpg


dscn9623k.jpg


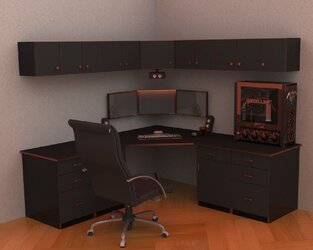
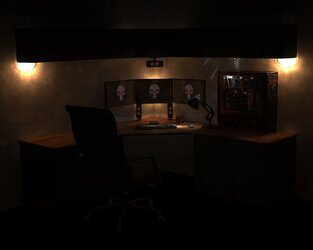
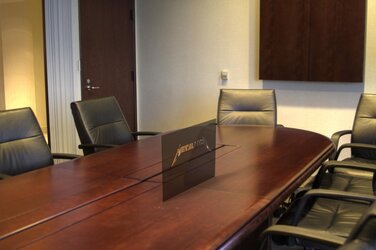
Sam wanted to do some renders in an office setting. Metallica has to have an office somewhere?
I don't imagine it being this clean, but hey maybe the groupies needed something to do between shows?


16828corner20office.png.jpg


Here Is a night shot to test the lighting. Solidworks is amazing, look at the shadows above the case,
it actually casts light the way it would be if the lights were in place.


cornerofficenight.png.jpg


Here Is an early Rad that was rendered, but once we got better products from EK
we will not be using it ! but I owe it to Sam for taking the time to do it.


I promise there is an actual case mod in this log, but up to this point no 900D's
were available so we were keeping busy. this turns out in our favor as I will show you.
 
Last edited:
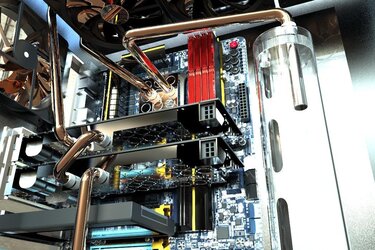
People ask me how I got sponsored??? It was the perfect combination of luck, timing. Sam's incredible renderings, good friends,
Bill Owen with Mnpctech, Ronaldo Buassali with Corsair Brasil. Some very Good companies that were willing to step up for our community
and an unknown modder. I've been playing catch up ever since to earn the privilege I have been given.


71441metallica35.jpg


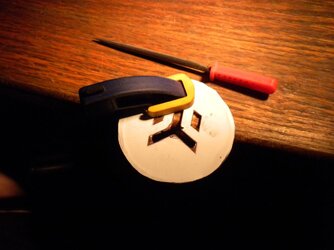
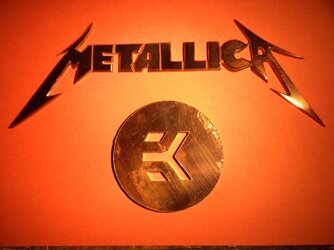
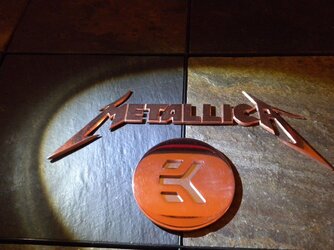
I wanted to hand make an EK emblem out of respect for there sponsorship. This actually turned out to be a little harder than I expected !
the problem I had was lining up all the duplicate angles and sizes. When your filing away metal if something isn't right you have to go back
and file out all the other areas to match. The size I decided to make was 3" diameter but the pilot drill on my hole hog was just a little bit to big to
keep from nicking the edge of my cut lines. File, File, File. I finally got it nice so I didn't have to start over. Some times I my worst enemy,
but I'm out here paying my dues and learning as I go.


dscn9753a.jpg


dscn9768k.jpg


dscn9780u.jpg


dscn9776m.jpg


dscn9815a.jpg


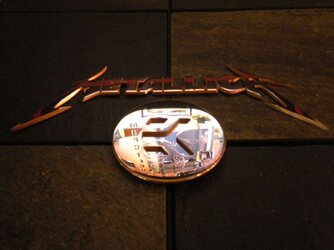
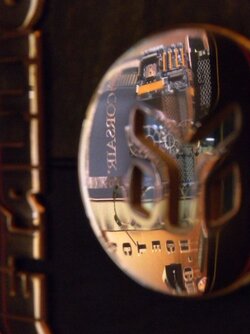
I put a polished aluminum disk in behind the Copper to get some contrast.


dscn9798b.jpg


dscn9802c.jpg


Because I will have so much shiny stuff on this build, I have learned to love the reflections they throw off.


dscn9786.jpg


55429metallica33.jpg


I had been talking to Michael Wood with Mayhems Dyes and water cooling fluids about a fluid they had in development, called Liquid Metal.
It would be absolutely perfect for The Metallica Build! we hope it's mysteries can be solved before we finish the build. As I said it Is still in development
so don't go asking for it ! I'll let you know If it is ready. They have many other great products that are available now.
I did want to show you the liquid metal though it is very cool looking.


Oh yes there is a god. I think this was sitting in the office for two days that I was sick.
I might have had a sudden recovery if I had know that it was delivered. Everyone is
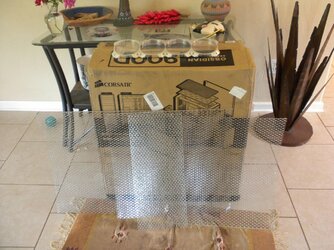
showing pictures of the stupid box ! that's not what I want you to see in this picture.
On top of the box is a one of a kind OverKill ring grill made just for this build
Also there is some very special mesh that I will incorporate inside the case.


dscn9842j.jpg


dscn9845v.jpg


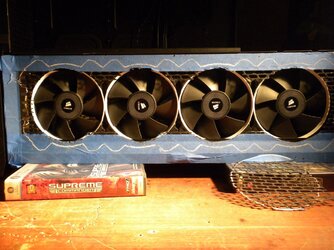
I did a test fit on the grill so I could see what it looked like and get some pictures.
I was so excited I actually mounted the fans on the wrong side of the bracket.
I figure things out eventually he he he


dscn9875b.jpg


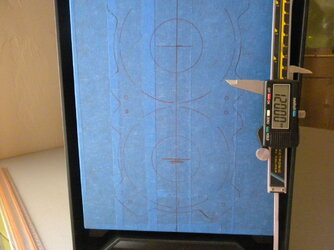
The Biggest Rush In Modding is taking a perfectly beautiful case just as it is and committing to cut some big ole holes in it.
Better not mess up now ! Because there are no replacement parts for this case yet I measured and cut very carefully.


dscn9943z.jpg


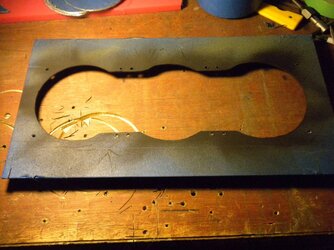
It came out well, This is not the final surface so I did have a little room for error. it did require a lot of hand filing,
I drilled the holes with a 4 1/2 " hole hog bit which is just a little smaller than an 120mm opening.
I miss my drill press that I lost in the divorce ? Got the girl back but not the drill press. Ripped off again ! ha ha don't ask
hand to forehead. I actually had smoke come out of my hand drill twice, don't fail me now !

dscn9936t.jpg


Painted the edges of the cuts so they don't show up at steep angles.


dscn9976.JPG


dscn9978wv.jpg


Right where it was supposed to be. whoo


dscn0031j.jpg


Starting to look better. It's still an empty suit while I am waiting for parts to come in.
I have plenty to do before that anyway so I'm not in a hurry.


dscn0008t.jpg


dscn0025cb.jpg


60716metallica19.jpg
 
Phenomenal crafstmanship, but equally impressive are the rendering skills! I'll be honest, at first glance, I couldn't tell what was rendered and what wasn't on some of those.
 
Thanks a lot guys. Sam does some incredible rendering and his ideas have really helped to make this happen. I'm putting this up bit by bit and have a lot of stuff to show you! thanks for checking it out!
 
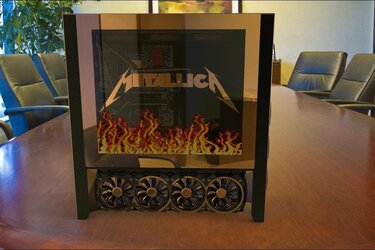
Ok I said Sam was from London. Well I think he was heavily Into the Guinness the night
he did these and from the results I think I'll be buying him more in the future !


flamewindow900d.jpg


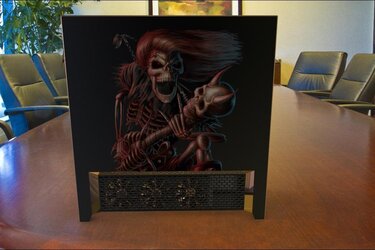
I think I just found a guy that can do the Air Brush Art for this Skelly, I really like it for the off side of the case.


handaroundthedevilsneck.jpg


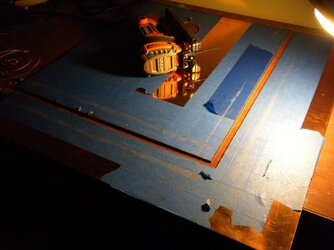
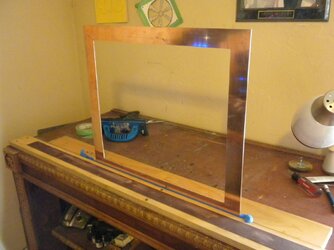
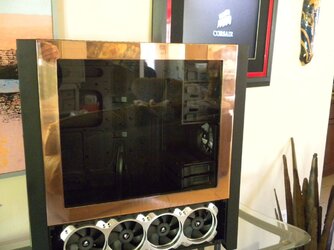
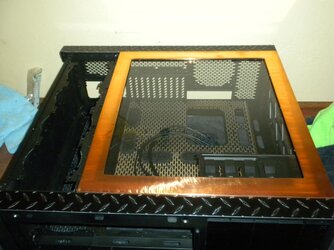
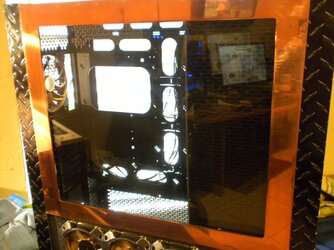
Next on my agenda was to do the thick Copper window frame. This was a one time shot at getting this right because it takes up most of the sheet of
Copper, so I cut it very carefully. I picked up a trick from Cheapskate to square up long straight sections of material and it worked perfectly.
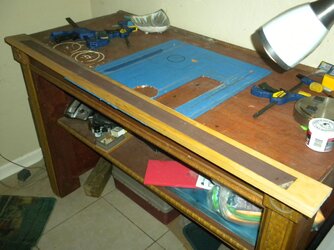
What I did was buy two belts for a belt sander and glued them to each side of a straight board, Screwed that to my work bench and ran it up and down
the length, paying special attention to keeping it square. These Master Builders Like Cheaps have tons of tricks to deal with every situation.


dscn0126up.jpg


dscn0094go.jpg


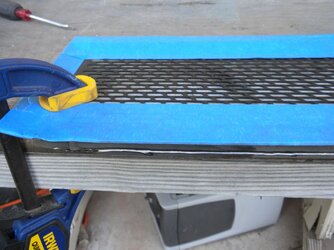
I had to square up the inside also so I screwed in a second board that held the piece in place so I could sand it also.


dscn0143h.jpg


Little did I know but I was just about to get into a week of work trying to polish the frame to an acceptable level.
Back to those deep scratches I mentioned. I had already done a ton of sanding on the sheet before I made the first cut
and I decided to finish smoothing the actual pieces when I got to that point. well here I am and there are still some scratches
so I started with a ruff grit to remove more material. The problem is you create new hopefully smaller scratches and you have
to progress to finer and finer cloth only to realize that there were still some left. Grrrr after multiple cycles of this
I finally got what I was looking for.


dscn0195w.jpg


dscn0197up.jpg


dscn0175b.jpg


dscn0247ux.jpg


This was a lot of work ! but it was well worth it to get the kind of finish that I wanted


dscn0225v.jpg


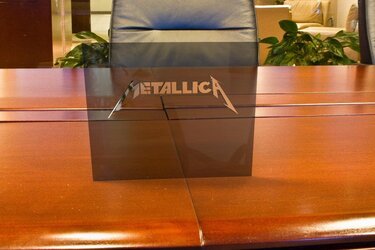
Some of the people that have purchased Corsair 900D cases have been asking for Corsair to offer a clear window,because the
smoked glass Is highly reflective. Luckily I like to mess with things so I ordered in a precut sheet of 3/16" clear cast Acrylic
to see what it looked like. Here we go again ! the factory window sets over 12 male stubs that stick up from the window frame.
The problem is that this required me to drill so close to the edge of the glass that I'd already consigned myself to the fact that
I was going to crack it. Thanks to Good quality cast Acrylic, Brad point bits and some very careful drilling I was able to do it
without any Issues. I graduated trough three drill sizes to get up to the size I needed.


dscn0233g.jpg


I do truly have to laugh. Corsair makes cases with clear windows and the people cry for colored windows.
So they make a case with a beautiful smoked black window and the people want clear windows.
This falls under the category of you just can't win. I have one other sheet In a lite bronze color that I may try?
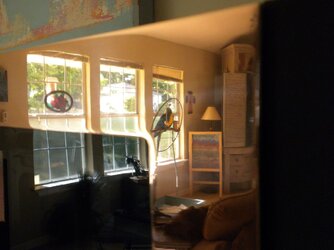
As you will see in the pictures the clear glass also has a big reflection to it. I actually like the factory glass and
I'm not sure which I will use until I get some Hardware In the case. I just wanted something to do that didn't
involve sanding or polishing for a few days he he he.


dscn0253fn.jpg


dscn0253fn.jpg


dscn0250m.jpg


The clear looks pretty reflective too. It just depends on the light in the room your in.


dscn0246jk.jpg


dscn0220i.jpg


Apparently Sam likes to play with reflections too. I think he just get's bored waiting for me to get things done in real time.
He can render faster than I can build, that's for sure!

heavymetal900d.png.jpg


This is where our current progress is. I'm trying to find an acceptable diamond plate and waiting for parts.
Thanks to every one for checking out our build and don't forget the great companies that support our community because
some of the builds out there that we get to enjoy are only possible with the support of these great companies!


dscn0227qr.jpg


12891815.jpg


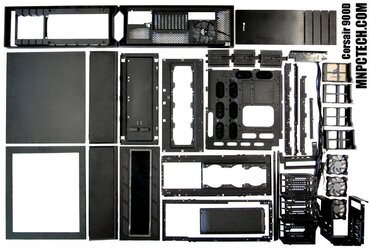
This is a 900D torn down for paint by Bill Owen with MnpcTech. It took him close to an hour and he has a lot of experience in these things.
There are a lot of parts in this case.


corsair900dpartsdismant.jpg
 
I don't think anyone Is ready to offer us a set of titans so when we first planned this I tried to keep it somewhat realistic on the hardware.
2 water cooled GTX 680's and an extended ATX mother board, because this case is so big you really have to use some of that real estate.
Nothing is final on this but the board that was rendered is a Gigabyte Z77X-Up7 with a 3770K processor. Yes this stuff is a little dated,
But we have forgotten just how powerful the hardware is these days. If your a fan boy for another brand, get them to send me
some stuff ha ha. There are many good products available and I'm leaving my options open until I get to that point.


96341nvidiagtx680gigaby.png.jpg


71753metallica20gtx6803.jpg


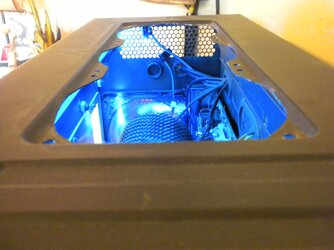
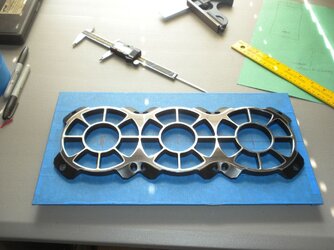
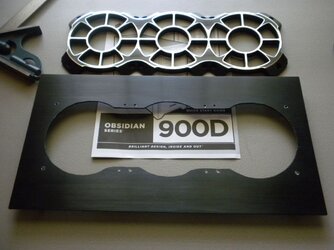
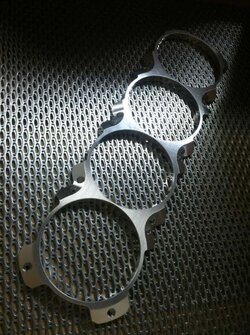
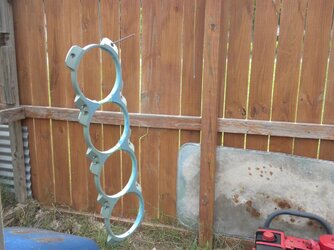
It's time to make the awesome quad ring grill that MnpcTech made especially for The Metallica Build work on the 900D.
The problem that I have is that the factory grill cover that comes with the unit overlaps the top of the fans
and has an angled section to it, so the quad grill won't lay flat.


110755corsair900d3.jpg


You can see how much the grill over laps the fans. My hopeful solution is to flip the grill upside down. The angled section will still be in the way,
but not as much. It will be necessary to start grinding on my case now. Nothing like cutting holes in $350.00 Dollar cases that doesn't
have any parts available yet. No pressure !


dscn0254r.jpg


dscn0260zb.jpg


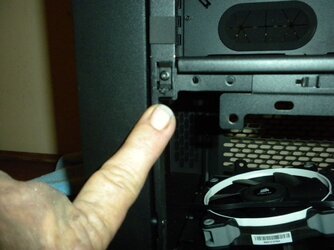
This bracket is getting in the way of the panel sitting flush, so I had to cut out just a bit and it worked perfectly.


dscn0257gp.jpg


Preliminary fitting of flipped factory grill. There Is very little room between the inside and outside of the OverKill grill
so I didn't want to take off to much at one time.


dscn0271og.jpg


I still need to deal with the angle, which is at the bottom now,
I think I have a solution but it's going to involve a very expensive risk.
I'll show you the rest of this after I'm released from the insane asylum.


freshquadgrill.jpg


Hey People ! It's time for us weekend warriors to get our major work done! It came to me that I would have to take some material off the bottom
of the grill to get it to line up with the angle of the door. This is where the risk comes in. This grill costs more money than 3/4 of the cases in the world cost!
for me It is worth every penny! because of how it makes the build look. The commitment to start grinding on this does have a high pucker factor though.


dscn0291n.jpg


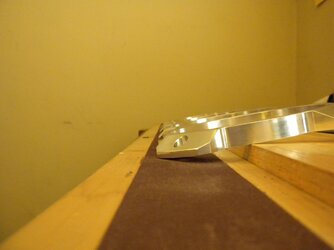
I went back to my sanding strip so I could put a matching angle on the bottom of the grill.
These grills are made from a fairly hard Aluminum alloy so sanding away the material is slow,
but that is a good thing so I don't go to far. I screwed down a second board to set my angle for the matchup.


dscn0289i.jpg


Fortunately my plan worked out and this trimmed in the side perfectly. I'm very happy with how it came out!
Now I can start painting the fans and add the Saw blades to them and It will start looking more like our plan.


dscn0297t.jpg


I added a small brass strip to cover some square holes that just didn't fit. I wasn't sure how I would bolt down the factory grill after I flipped it?
It turns out that it is sandwiched in between everything and any further mounting bolts were unnecessary.


dscn0300r.jpg


3207keyshot20metallica2.jpg


11010keyshot20metallica.jpg


I have some Black Anodized diamond plate being shipped in, so maybe I can start modifying it next weekend.
Thanks everyone for following our build.
 
Sam made a very short Video to give a 360 view of the case.


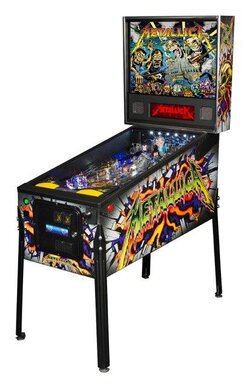
I would really love to have one of these Pinball machines! when I was a kid
the first time I played one I started winning free games and it's been a life
long addiction ever since.

pinballk.jpg


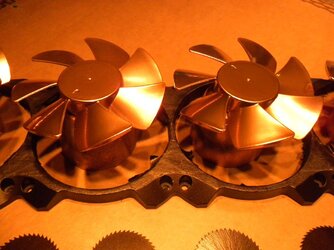
Working on a ton of stuff at the same time. I had a little trouble getting the paint on the quad grill fans,
but I soldiered thru and finally got them like I wanted. My problem was spraying multiple parts right next to
each other and the over spray was growing fur on them. Lesson learned. Once I started painting one part at a time
and the covering them up to keep stuff from settling on them I got the desired effect.


ague.jpg


Welcome to my wind farm.


66b.JPG


Learning how to get the factory paint off the saw blades faster.


9mkt.jpg


The SEM self etching primer I use is heavy on the toxic fumes so I had to primer
the Aluminum grills outside between rain storms with the cotton wood flying.


ap0v.jpg


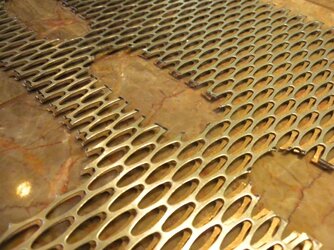
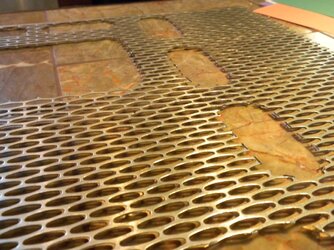
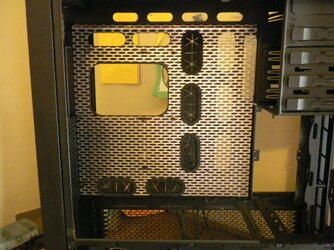
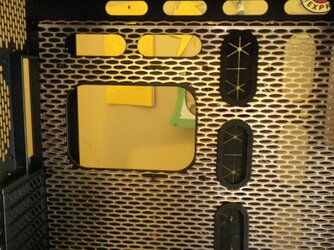
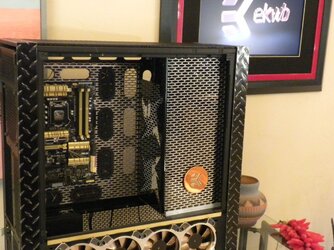
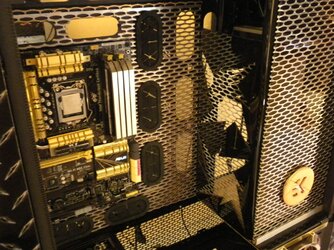
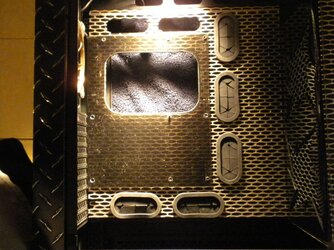
I will be using the slotted mesh in various places inside the case. I still need to polish the top layer which sits on a layer painted gold
on the black case background. I had to trim the grommets to fit back in the holes because of the extra width. I will have to take care that
I don't short out the mother board.


hhkg.jpg


8wcs.jpg


z60y.jpg


00f8.jpg


zdia.jpg
 
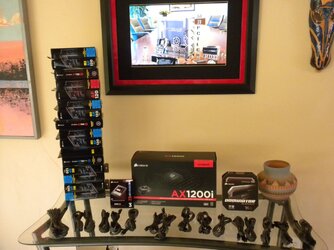
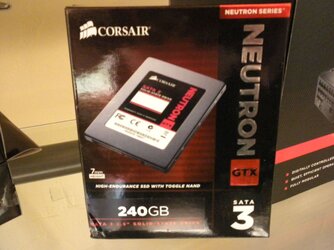
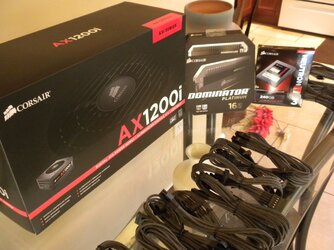
Did you ever feel like it was the best day of your life? When the big brown truck pulled up and dropped off three boxes,
there was no way I was going to wait to get home to see just what was inside? I really didn't know for sure.
I can't remember being this excited in a long, long time!


niy4.jpg


Corsair - Thank you !


When Corsair offered to sponsor The Metallic build they ask what other parts we might need to assist with the build?
I was overwhelmed at even getting sponsored and didn't want to be greedy, so I asked for the basics that we needed.
I offered some possible options of parts we could use and without exception they supplied us with the best possible Hardware from the list.
I'm blown away at how much they stepped up for us!


g7ex.jpg


yvpm.jpg


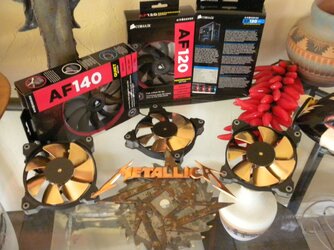
It's a good thing I'm a little hard of hearing, because this many fans might make a bit of noise! It's funny but
I'm the rare bird that doesn't mind fan noise. The gentle drone of a server room gives me a warm and fussy feeling.


kto8.jpg


9xl0.jpg


rtb9.jpg


This is really a dream come true for me. I was already a Corsair fan before I ever thought about building this computer.
Come on ! Corsair has always made the best Ram that you can buy and when they expanded their product line
into other areas they maintained the same high level of quality and innovation. Sound like a commercial? Dang right !
The thing is that's exactly how I feel. I've lusted after every single Item they provided with the exception of the fans.
I'll have to get deeper into water cooling before I start lusting over fans! Ha ha


spp5.jpg


They even threw in a full set of single braided cables and the power supply
already comes with a full set. I think I'm set for life


jbnk.jpg


I want to thank everyone that made this happen! Corsair George, Sam - Do Until Loopy, Bill Owen, Ronaldo Buassali from Corsair Brasil
and all the people how have shown their enthusiasm for our project! This Build would never have been possible without each and everyone of you!
 
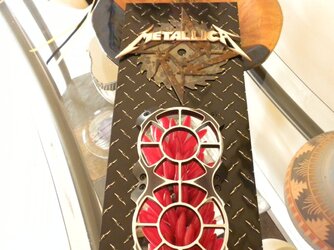
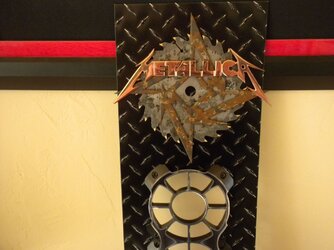
Hello to everyone at Overclockers. The signature Metallica emblem needed to be mounted on the upper bezel of the case.
I wasn't sure just how I was going to deal with the external drive bays. As always I committed to this plan and hoped I
could find a solution or in the worst case, I just wouldn't be able to use the external bays.


mxrw.jpg


What I decided to try was attaching the diamond plate and the 360 Nautilus OverKill grill to the removable factory fan cover.
This lines up the whole diamond plate in front of and covers the drive bays. Now I will be able to use the drive bays when
needed by temporarily removing the front panel, which is very easy to do.


vgjz.jpg


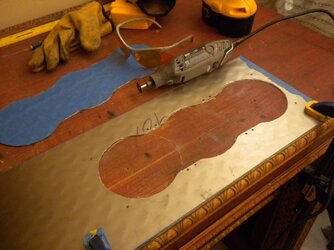
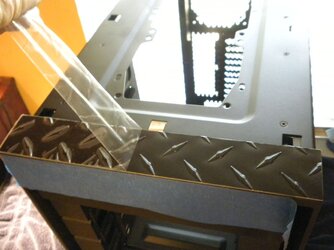
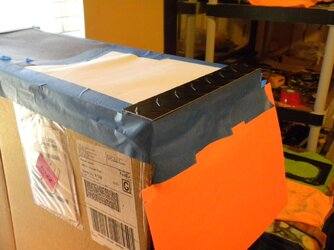
This plate was fairly thin anodized aluminum so I just cut it out with a Dremel.
I had a very hard time finding an acceptable diamond plate.
Most of the ones you see online are only renderings and don't exist in the real world.


q8fe.jpg


Because I had to settle for a pattern that was different than we would have liked, I would have to come up with a special finish to keep it from being just another Diamond plate case.
What I planned to do was flat sand the peeks on the plate and then polish them. I was sanding away and the aluminum underneath was starting to come through.
Then a voice came into my ear from the master ! ( Cheapskate ) STOP NOW ! I had wished I hadn't gone quite so far on the 360 grill, even though
it came out great, I thought I would listen this time. YES MASTER Ha ha I really like how it came out! something unique and it fits the build look nicely.


sn1d.jpg


uxzh.jpg


npdd.jpg


1gcu.jpg


w4nh.jpg


If I don't get to many distraction I should get the rest of the plate finished by the weekend. I have to do some magic on the front fans,
because they sit to far back for what I'm doing. The Mother Board and processor should be in my hands tomorrow!!
Great more parts that I can only look at. DX
 
Good luck has followed me hand in hand throughout this build and I couldn't duplicate it
with a crystal ball. Still got quite a ways to go, But the ride is 3/4 of the fun.

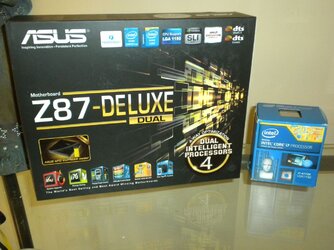
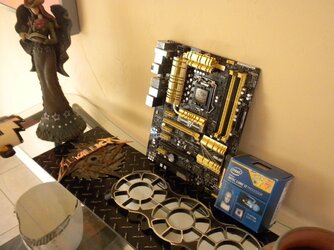
I got a Mother board and a processor today! No matter what you pick someone will tell you that you should have got this one or that one.
When Me and Sam originally started planning this, I had picked a gigabyte ud7 EX ATX board with the Z77 chip set and a 3770K processor.
I chose this because I thought it was the best bang for the buck. It was fortunate that we never really set much of the hardware in stone
and Sam helped pick some parts like water blocks that didn't leave us trapped. Fortunately the pricing is close on the new Z87 and 4770K
I'll be glad to be using the new chipset. When I say using, I mean looking at it sitting on a shelf. Ha ha ha


oct5.jpg


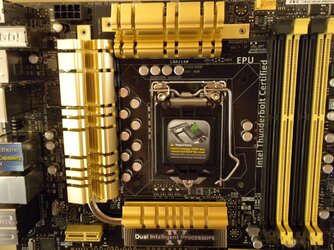
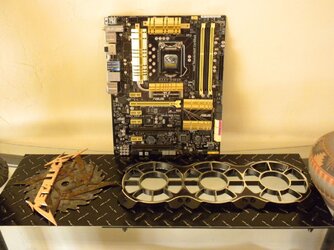
The main features of this Board - It's Freakin Gold !!


siuw.jpg


Actually This board is heavy on connectivity options. PWM on all fan headers, Thunder bolt, some Wi Fi thing
that connects to smart phones. Bla, Bla, Bla Did I mention It's Freakin Gold ha ha ha


8eax.jpg


j7ym.jpg


This has been quite the deal. First we had a build log without a case. Then we had a case without any parts, but piece by piece this thing is coming together.
 
The parts just keep coming this week. Little stuff here.


sbnw.jpg


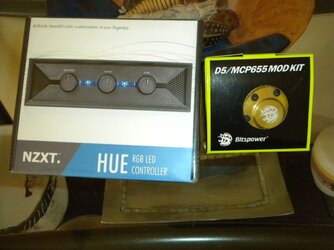
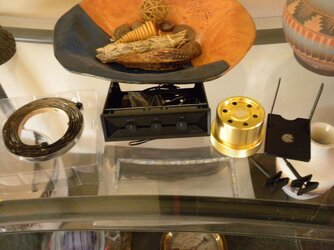
The Hue RGB light controller is actually a pretty good deal for around $34.00 I was looking at some LED strings and they cost
as much or more with out the controller. Now you people that buy 500' rolls are getting a much better deal,
but I like to be lazy every now and then. I have a special use for these but I'll keep that a secret until it's done.


49em.jpg

It easy to pull out the mesh and paint it what ever shade of Gold that you like. Dx


7qgt.jpg
 
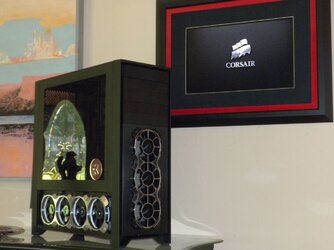
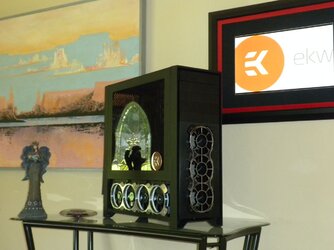
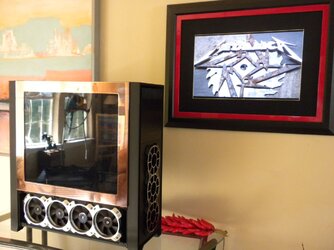
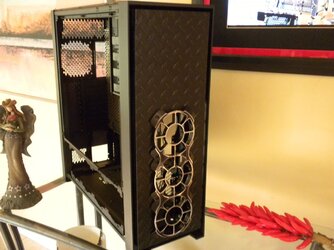
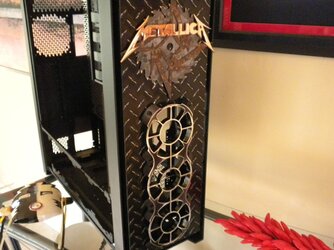
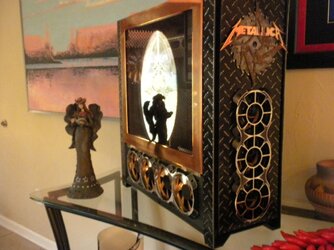
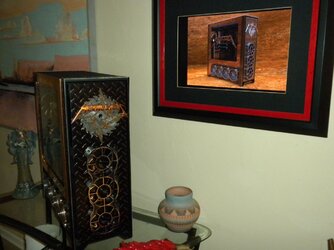
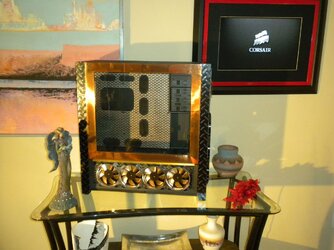
I made some great progress over the weekend, getting finished up with about 90% of the case exterior Mods.


vzov.jpg


kdfl.jpg


I am extremely happy with how close the case is to the original renderings. That is no easy feat, because Sam can change colors
and patterns on the computer but it's not quite as easy in the real world. It does really help to have something to shoot for and
Sam's perfectionist attitude helped me to do the best I could do at all times.


f897.jpg


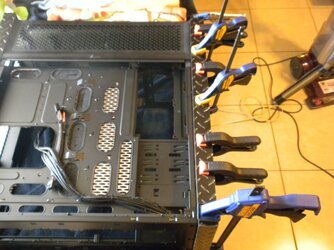
I need to remind myself not to mod early in the morning! I had a couple of mental lapses. I was epoxying the diamond plate
and I forgot to do the weathering on it before I permanently attached it to the case. Grrrr - Not that big of a deal, but I had to
mask up and protect the case from dust and debris before I fixed it. why did they make mornings anyway?


3kno.jpg


9n6e.jpg


2mid.jpg


The other thing that happened. I was using thin lines of epoxy so I wasn't having any trouble with it oozing out. I got a little to much on a top piece
and it bridged over to the factory top grill. I went in panic mode trying to get the grill off to clean it up, before it started setting up. Well lets just say that
this grill is extremely hard to get off, even if you have done it before. While I was fighting to get it off, a joke came into my head that someone made
about Lauren from Tasty Pc taking the grill off herself - not! Oh God I'm weaker than Lauren! I finally got it off and cleaned up my mess before It caused any damage.


a1s.JPG


afv7.jpg


kipe.jpg


6u6m.jpg


I still have a long way to go on this. I'm still looking for 2 GPU's for the case and hopefully the water cooling gear will arrive soon.
I want to make this a memorable case, so time is less important than the quality of work I do for the finished system.
 
Absolutely ridiculous; the amount you are getting from sponsorships, the renderings, or the actual workmanship and execution, can't decide which. There's a lot of effort you put in for being a "weekend warrior" and it shows! :thup: :thup:
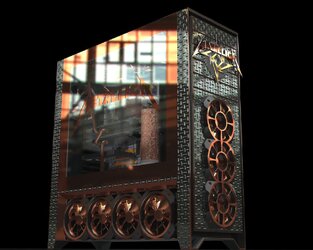
 
Thanks a lot Mate, I've been very lucky with all that's happened so far. trying my hardest to hold up my end. You never know? this could be a once in a life time experience so I'm enjoying the ride!
 
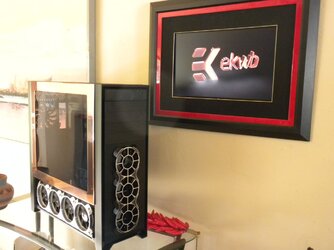
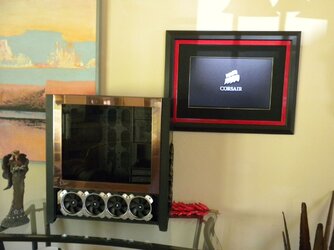
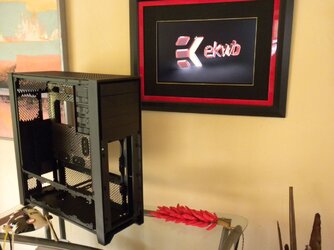
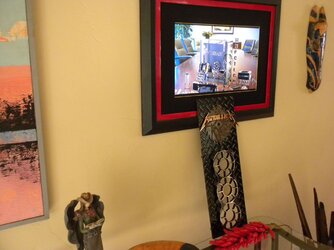
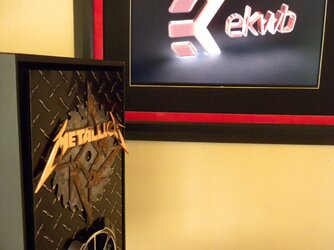
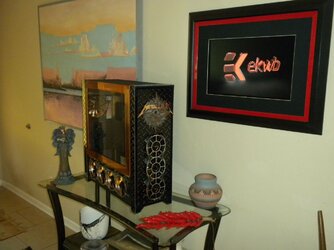
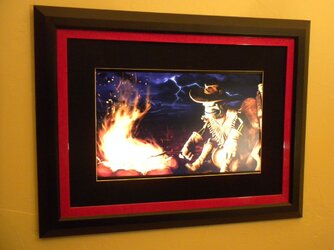
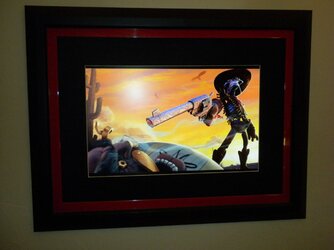
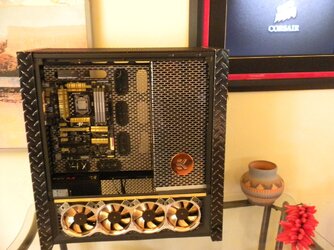
Some people had been asking about my wall monitor?
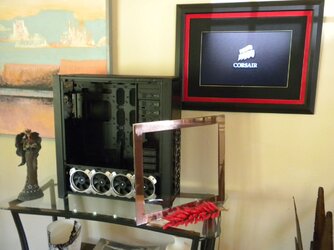
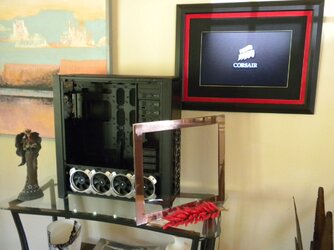
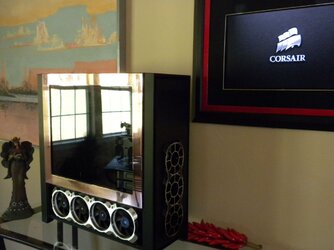
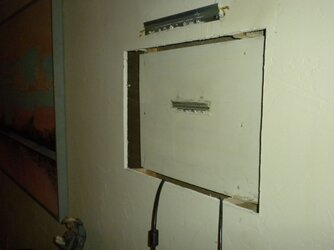
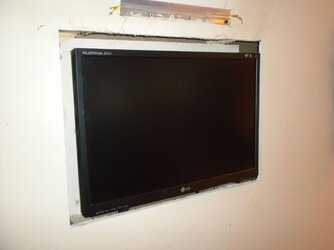
It is actually not hanging on the wall, but mounted in the wall.


032kyn.jpg


008ufa.jpg


The hangers make this easy to mount the monitor and the picture frame.
There is a reverse hanger bar that just slides in behind the ones you see on the wall.
I used some thick twine to make a slight height adjustment on the upper bar.


pictureframe277.jpg


I had a custom picture frame made for it for around $ 200.00 My computer room is in the
room behind the monitor so an extended monitor cable was all that was necessary to hook it up.


010ds.jpg


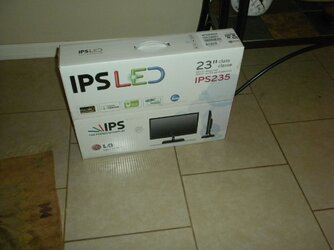
I wore out the original 22" flat screen Monitor after 4 years. Hopefully this LED will last longer,
because the old flat screen did put of some heat and didn't have much area to dissipate it.


026sgg.jpg


I normally play slide shows on it. It becomes an ever changing painting. I love this thing! electronic Art.
 
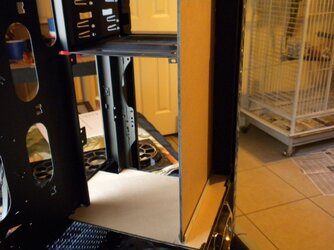
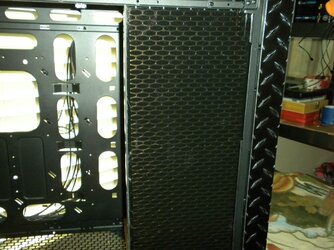
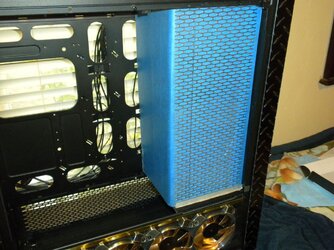
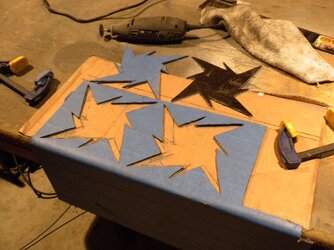
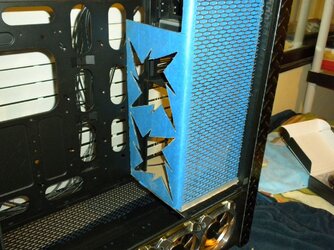
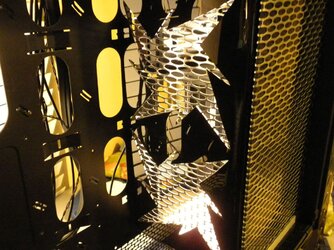
I ran myself around in circles trying to find something to cover the side of the drive bays. I made a light box with polished mesh in the back
and covered by a lite Bronze acrylic. I needed it to be removable and there just wasn't a great way to mount the lighting and still be able to
remove it. I didn't really like how it looked with the lights off. So on to plan B


rjji.jpg


y1dy.jpg


Ok this is what happened to get there.

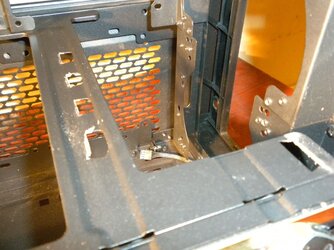
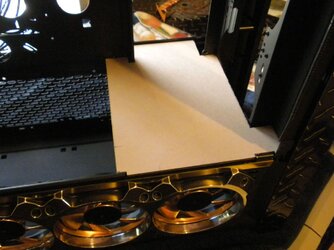
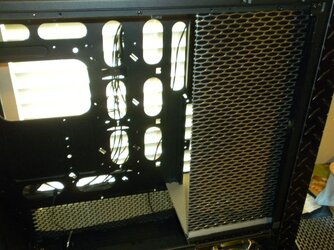
I Wanted a partial mid plate to give me something to mount stuff on Including the Bay cover. Naturally they put stuff in the way of where
I want to put stuff. At least that's the excuse I use just before I grab my Dremel.


hla.jpg


9rnw.jpg


0r6v.jpg


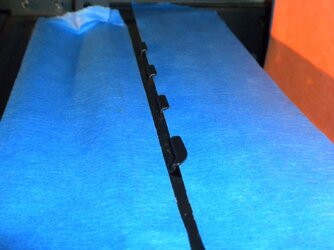
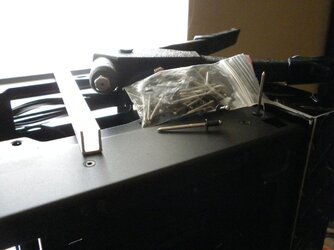
I put in U channel tracks on the mid plate and all the way across the top of the case so I could slide things in and out.
Used pretty black MnpcTech rivets for the top. I knew I'd use those somewhere!


o4vc.jpg


ntqm.jpg


dvtg.jpg


pt6o.jpg


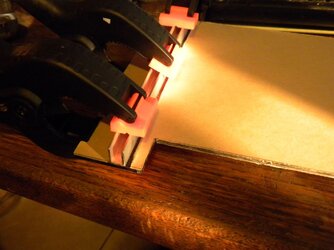
Acrylic cement has no actual adhesive properties! Then why is my piece stuck to my wooden work bench?
Apparently melted plastic does have adhesive properties. If a little bit is good then more should be better Right ?
Ha ha Modding Is not about careful contemplation of your plan, It's about laughing your *** off over the last
stupid thing you did! Ya I think I got a good bond on it! were is my Chisel ?


qhfl.jpg


9e0p.jpg


The failed light box, Ya I know there is no lights in it. I put a few strings in it and didn't like it.
It seemed so much better in my mind. Did I mention I have dementia?


2loo.jpg


bxvw.jpg


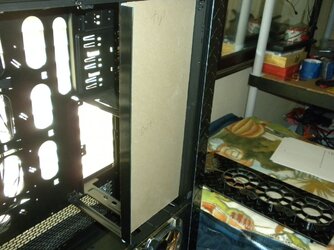
Plan B


m244.jpg


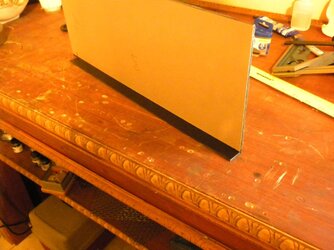
I decided to make this in two pieces instead of just use the piece that I had bent.
Damn if I remember why? But I assure you there was a good reason?


l3bn.jpg


9sz9.jpg


kwt7.jpg


This does not photograph well! it's hard to tell the reflections from the cutouts.
I'm pretty sure I'm going to have to dull this down a bit.


ohvd.jpg


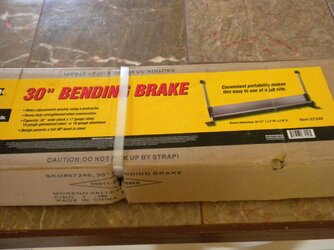
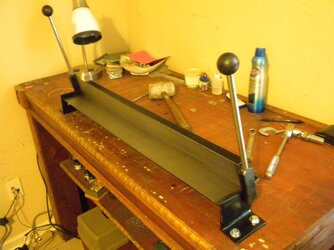
Some where during all this I decided I needed a Bending break. Ya right! that's the story we tell our wives. Ok I wanted one.
I haven't bent much yet, but damn it some stuffs gonna get bent around here. This Is ZoPHaR's fault! he showed us a nice little
18" bender for $35.00 and I was just about to buy it and then I remembered I was working on Godzilla. I needed to bend
18 3/4" min $65.00 By, By money. I needed it Babe! ha ha ha


pzic.jpg


jlba.jpg


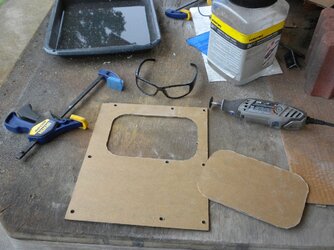
I needed to make an Acrylic plate for the mother board tray so the mesh doesn't short out the board. That would be BAD!


his8.jpg


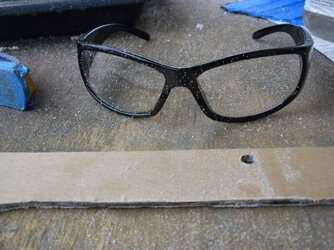
I've got a great Jig saw, but I guess I like the feeling of hot plastic hitting
me in the face. This is why we wear safety glasses!


3iew.jpg


3xep.jpg


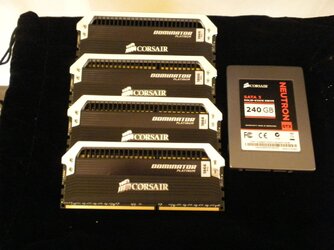
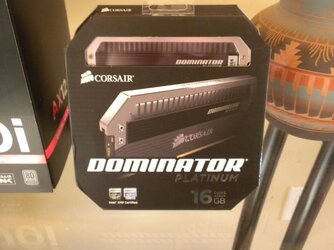
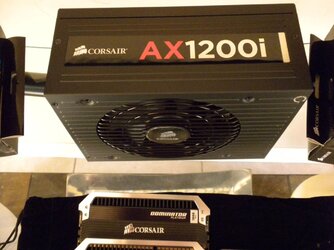
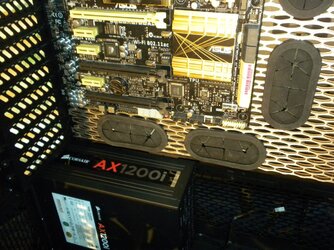
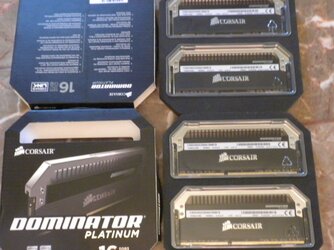
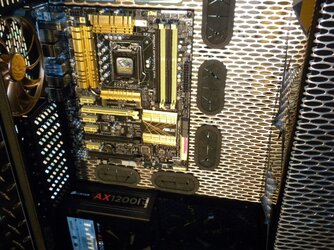
I was getting into actually putting some parts in the case. I put In a Corsair 1200AXi and filled the 4 Ram slots with Dominator Platinum.
Man these Parts are so nice! I've looked at this stuff for ever in pictures and wished. When you have Awesome parts in your hand
your living your dream. YA don't go there!


xnxu.jpg


03ix.jpg


There you go little mother board, we made a nice home for you.


b5jc.jpg


u5rr.jpg


There will be some other stuff added above the EK emblem, but I need to get the
Metallica emblem for the window done first so I can see where everything lines up.


wdon.jpg


1tah.jpg


15yn.jpg


I'll get some better pictures when the sun starts shinning again.
It's hard to get good pictures in my house without natural light.


5wfh.jpg
 
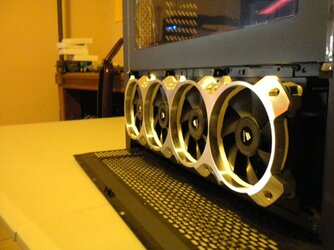
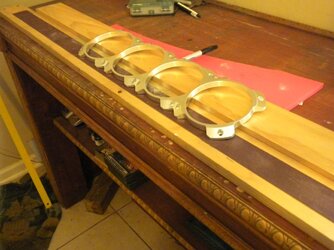
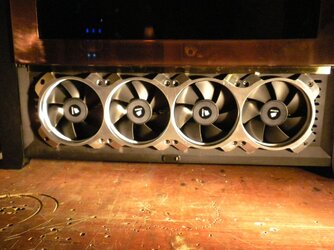
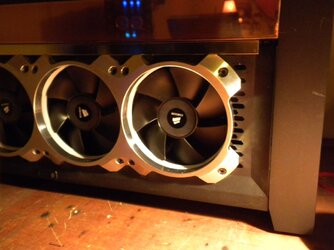
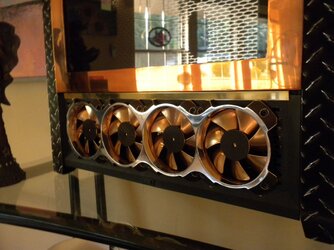
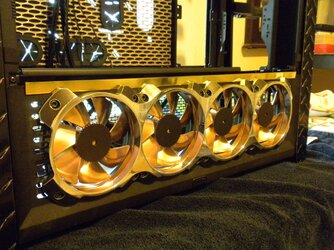
I needed to move the front fans up to the grill so they looked right. I wanted to attach them to the case, But I wouldn't have been able to get
them tight up to the grill and it would have been a convoluted affair so I just attached them directly to the grill. Easy after I got the right bolts
and tapped the fans to fit them. The down side is more weight on the grill. Bill Owen was already questioning the attachment system,
and I've added a lot of weight to it and it feels solid. If I get nervous I can put in a couple of bolts from the back for security.


xzow.jpg


bl0w.jpg


ncbp.jpg


pmxv.jpg


In the long run, this really was the best way to go! when I pull the front off I can get open access to a lot of things.
The only down side at all is keeping the wiring clean. The 900D has separate little cut out slots for the fan wires to run through,
so it probably won't be a problem at all.


88290keyshot20metallica.jpg


54882274.jpg


corsairmnpctechpromo1.jpg
 
Back