- Joined
- Aug 29, 2007
Gaming in tight spaces - MAX11Lv3 ***COMPLETE! (11/11/11)***
[Blog] Gaming in Tight Spaces…..mini-ITX (featuring Gigabyte, Silverstone, and Prolimatech)
About a year ago, I started a project I dubbed "Gaming in Tight Spaces", where I set about building a powerful gaming rig on a minimal budget based on the mini-ITX platform. The system was a huge success, and the feedback I recived was very positive, apparently lots of users were interested in downsizing their system's physical footprint, without sacrificing power.
Gaming in Tight Spaces v2.0 – MAX11L (featuring Corsair and Gigabyte)
A few months later, I found that the first version, while nice, wasn't extreme enough to satisfiy my developing vision for the project. So I started a major rebuild, where I really pushed the system to a new level of performance with a quad core CPU and GTX 480 graphics card with MAX11L.
The term MAX11L refers to my goal of cramming as much stuff as possible into 11 liters in volume. The SG05 case used in the projects is 10.78L. But I ran into a major hurdle with the 2nd version, the GTX 480 needed too much power, and the Silverstone ST450SF 450W PSU was not up to the task (which many of you warned me about). Not only that, but I found the 300W stock PSU was a better quality unit, capable of driving the system even better with the HD 5870 graphics card installed. However, without a full size PSU, it didn't seem there was a way to effectively run a power hungery card like the 480.
But the wheels didn't stop turning, and I've retained my desire to push the concept to the real extremes, which brings us to today.
I really wanted to get two things done in the same space as before, I wanted to be able to use a high power graphics card, and I wanted to water cool the CPU & GPU. This means that the most difficult part of this build will be making everything fit, and it will require a lot of modding/fabrication.
However, I did not have the funding availible to complete the project, and if this was going to happen, I needed assistance.
So, I'm very pleased to announce that Silverstone liked my work on round 1 and 2, and have agreed to supply another case for the project, thanks Silverstone
But, that wasn't enough. So when a friend of mine asked if I would build him a small gaming machine, I asked if he would be interested in sponsoring this build which would be his when we finish. He agreed with one condition...that he be involved in the build process. How could I refuse? Besides building modding, and overclocking, I also really enjoy sharing my passion for computers with others. So Norbert and I will be working on this project together.
Here is the parts list:
Water cooling parts:
And here is a gallery of the components before we get started.
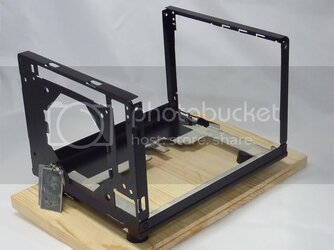
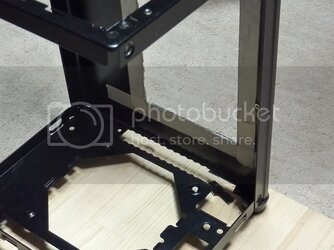
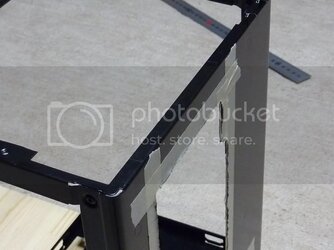
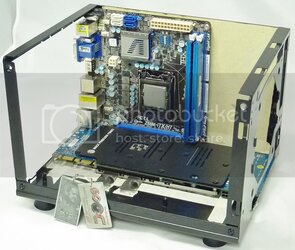
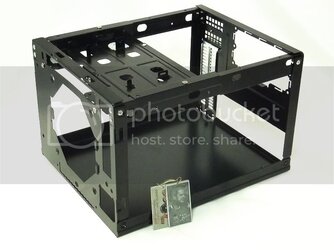
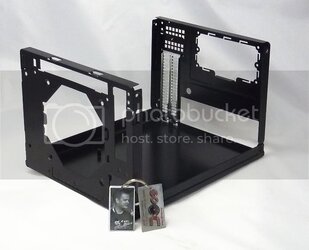
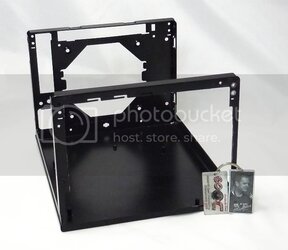
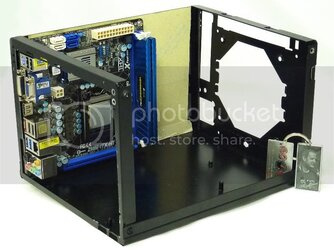
The SG06 broken down.


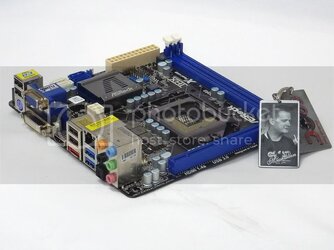
The ASRock Z68 motherboard.

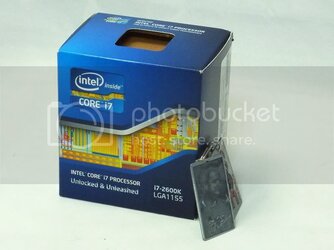
The Intel Core i7 CPU

Corsair Vengence LP memory.

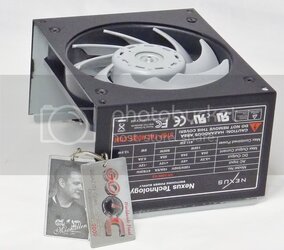
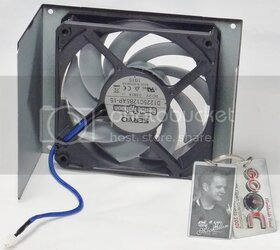
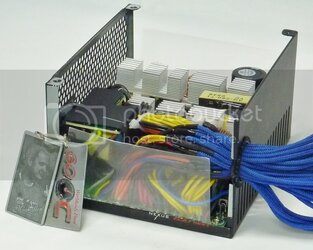
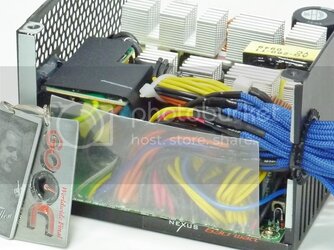
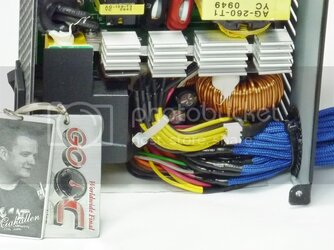
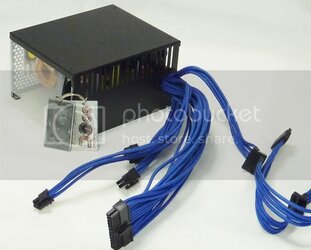
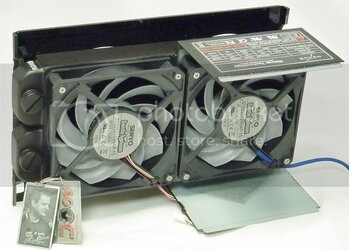
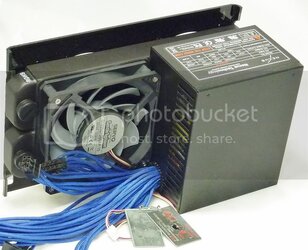
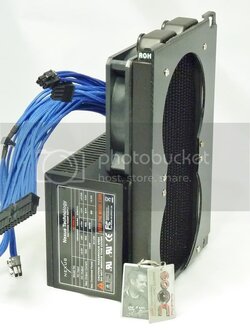
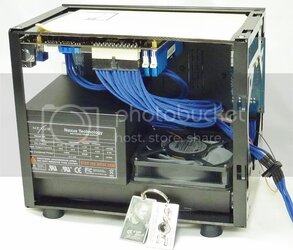
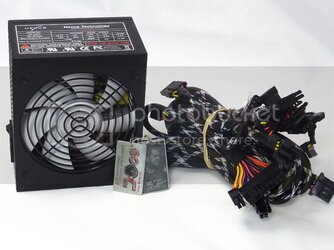
The Nexus NX-6000 PSU, this PSU was selected due to its non-standard 125mm depth. Most ATX PSUs at 150mm or longer.

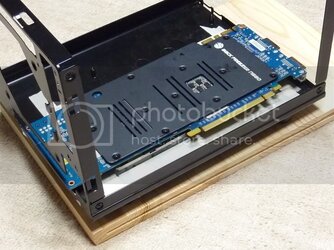
The PNY GTX 580.

The Intel 160GB X25M SSD.

The LITE-ON optical drive.

The Scythe fans.

The Bitfenix sleeved cables.

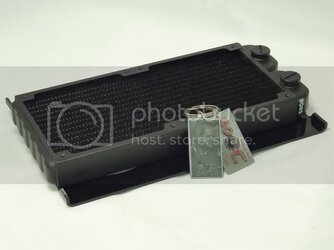
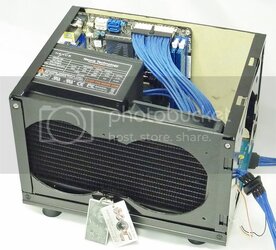
The Magicool Pro Slim radiator.

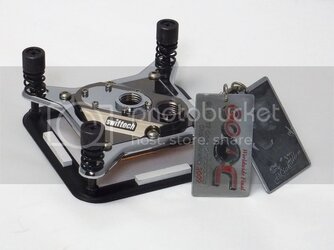
The Swiftech CPU water block.

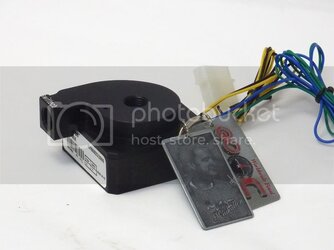
The Swiftech pump.

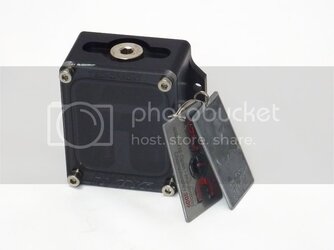
The Tecnofront Nano reservior.

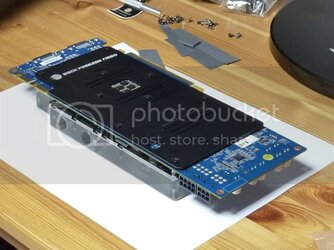
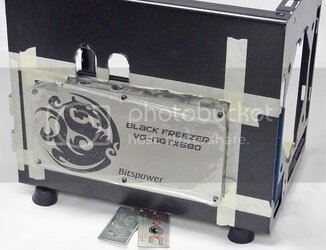
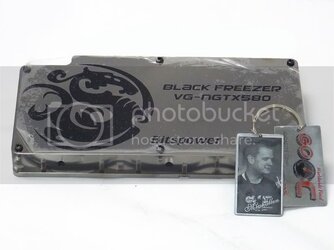
The Bitspower GPU waterblock.

The Bitspower fittings, CoolIT tubing, and Koolance clamps.

*** Pictures of the completed system here ***
[Blog] Gaming in Tight Spaces…..mini-ITX (featuring Gigabyte, Silverstone, and Prolimatech)
About a year ago, I started a project I dubbed "Gaming in Tight Spaces", where I set about building a powerful gaming rig on a minimal budget based on the mini-ITX platform. The system was a huge success, and the feedback I recived was very positive, apparently lots of users were interested in downsizing their system's physical footprint, without sacrificing power.
Gaming in Tight Spaces v2.0 – MAX11L (featuring Corsair and Gigabyte)
A few months later, I found that the first version, while nice, wasn't extreme enough to satisfiy my developing vision for the project. So I started a major rebuild, where I really pushed the system to a new level of performance with a quad core CPU and GTX 480 graphics card with MAX11L.
The term MAX11L refers to my goal of cramming as much stuff as possible into 11 liters in volume. The SG05 case used in the projects is 10.78L. But I ran into a major hurdle with the 2nd version, the GTX 480 needed too much power, and the Silverstone ST450SF 450W PSU was not up to the task (which many of you warned me about). Not only that, but I found the 300W stock PSU was a better quality unit, capable of driving the system even better with the HD 5870 graphics card installed. However, without a full size PSU, it didn't seem there was a way to effectively run a power hungery card like the 480.
But the wheels didn't stop turning, and I've retained my desire to push the concept to the real extremes, which brings us to today.
MAX11Lv3
I really wanted to get two things done in the same space as before, I wanted to be able to use a high power graphics card, and I wanted to water cool the CPU & GPU. This means that the most difficult part of this build will be making everything fit, and it will require a lot of modding/fabrication.
However, I did not have the funding availible to complete the project, and if this was going to happen, I needed assistance.
So, I'm very pleased to announce that Silverstone liked my work on round 1 and 2, and have agreed to supply another case for the project, thanks Silverstone
But, that wasn't enough. So when a friend of mine asked if I would build him a small gaming machine, I asked if he would be interested in sponsoring this build which would be his when we finish. He agreed with one condition...that he be involved in the build process. How could I refuse? Besides building modding, and overclocking, I also really enjoy sharing my passion for computers with others. So Norbert and I will be working on this project together.
Here is the parts list:
- Silverstone SG06
- ASRock Z68M-ITX/HT
- Intel Core i7 2600K
- Corsair Vengence LP DDR3-1600
- PNY GTX 580
- Nexus NX-6000 Rev.3 630W PSU
- Intel 160GB X25M G2
- 300GB Western Digital Velociraptor (without the "Ice Pack")
- LITE-ON slim slot load DVD-R/RW
- Scythe Gental Typhoon "AP-15" fans
- Bitfenix multi-sleeved cables
Water cooling parts:
- Magicool Pro Slim 2x120mm radiator
- Swiftech Apogee XT REV 2
- Swiftech MCP35X pump
- Tecnofront Nano reservior
- Bitspower Black Freezer GTX 580 waterblock
- Bitspower fittings
- 1/4" Coolit Norprene tubing with Koolance hose clamps
- Distilled water & PT Nuke
And here is a gallery of the components before we get started.
The SG06 broken down.

The ASRock Z68 motherboard.
The Intel Core i7 CPU
Corsair Vengence LP memory.

The Nexus NX-6000 PSU, this PSU was selected due to its non-standard 125mm depth. Most ATX PSUs at 150mm or longer.
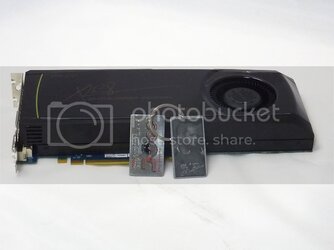
The PNY GTX 580.
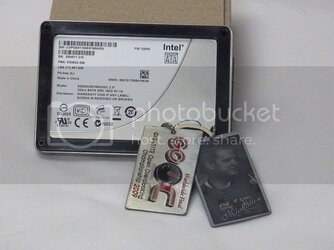
The Intel 160GB X25M SSD.
The LITE-ON optical drive.

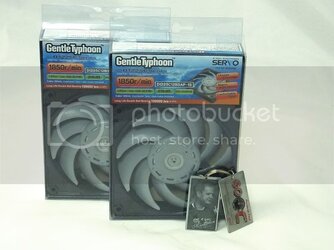
The Scythe fans.
The Bitfenix sleeved cables.

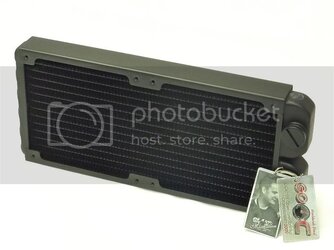
The Magicool Pro Slim radiator.
The Swiftech CPU water block.
The Swiftech pump.
The Tecnofront Nano reservior.
The Bitspower GPU waterblock.
The Bitspower fittings, CoolIT tubing, and Koolance clamps.

Last edited:



 to OCForums, enjoy your stay