- Joined
- Mar 27, 2005
- Location
- Fresno, CA
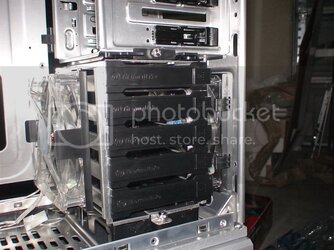
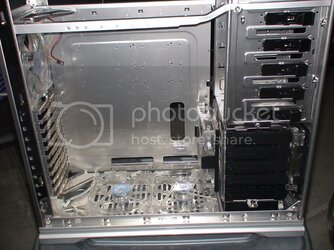
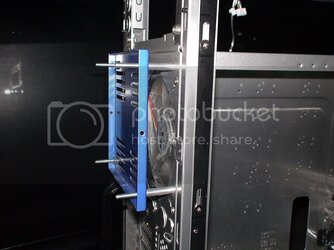
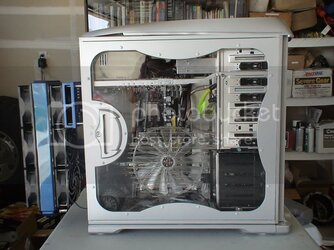
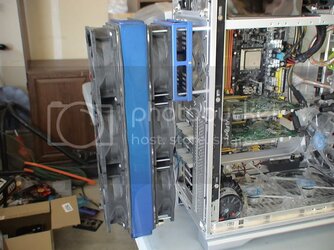
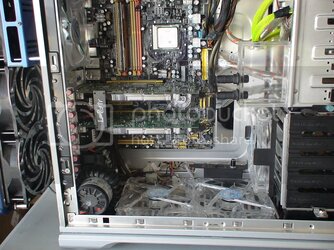
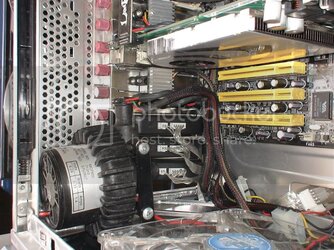
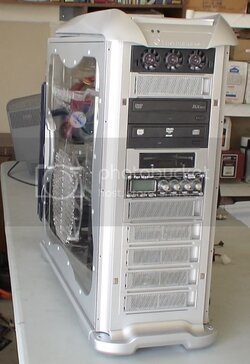
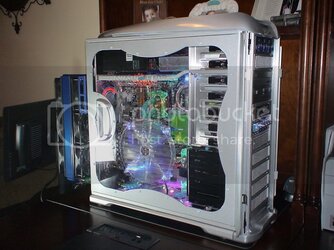
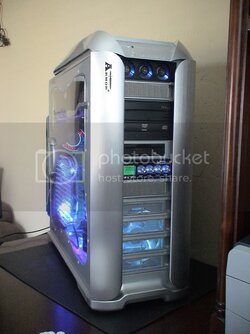
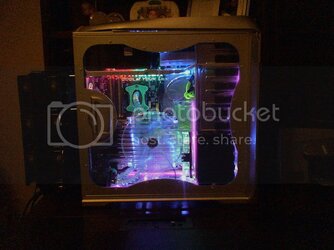
I decided to start up a new thread to discuss my progress so far setting up the new Thermaltake Armor+ case. So far I have found the case to be awesome! There's lots of space, 10 PCI slots, active cooled HDD mounting, accomodation for five 140mm fans, and overall a very steardy and well crafted design. . . .
But, like with most cases, there was plenty of modding, cutting, and custom tinkering that needed to be done to get this case extactly how I like it. . . .
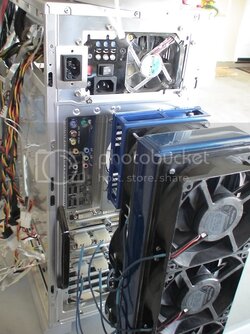
First of course was cutting off the front and rear fan grills . . . The rear grill just required removing the plastic fan mount and hitting it with a dremel. (Actually, first I tin snipped it, then I hit it with a grinder to make it as circular as possible, then I hit it with the dremel to smooth it out. . . .

After that was the front grill. This required removing the front paneling which required removing the bottom base and the top plastic cover. Again, I used the tin snips, grinder, and dremel. . . .

I also cut out the plastic center section on the fan mounts. They do nothing useful that I can see. They just obstruct air flow and probably make the case noisier. So off they went . . . .

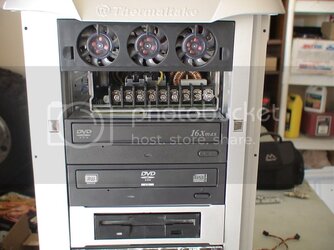
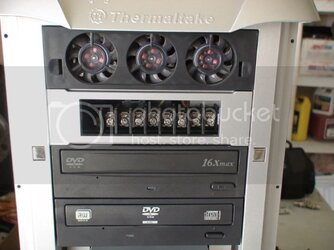
I also removed the little dust shield strips in the front plastic paneling. Again, I see nothing but air constriction. To me, there’s nothing like having your fans free to move the maximum amount of air. Plus, without those there the LED lights will shine brighter through the plastic cover! . . .

I know I probably seem like a freak about removing air constriction, but I just like to have the absolute least air resistance possible. The more unhindered volume of air passing through the case, the better. I know my case is going to get dusty and I’ll have to blow it out on a regular basis anyways so I might as well get the best air flow possible.
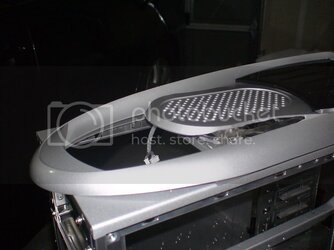
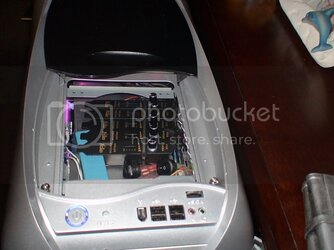
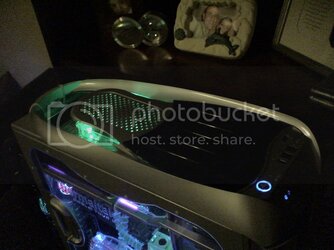
Next, I went to mount the top “chimney” fan. Here is where I unfortunately saw what I think is a design flaw. Thermaltake set it up so that you mount the fan underneath the top of the case rather than above it. The problem is that it allows practically no breather space for the fan. When I measured the length of my PCPnC power supply, I found that it would cover the fan almost completely with less than ½ an inch between the fan and the PSU. So I decided to mount the fan above the top of the case instead which would make for a nice 2 to 2.5 inch gap instead. . . .


The problem I ran into is that the top plastic piece can’t fit back on case with the fan mounted up there. I completely removed the honeycomb piece that runs along the top. Then I found that the plastic grill at the very top can’t fit over the fan.


So I started cutting and shaving with the grinder and the dremel. Finally I ended up with a result that I am satisfied with. The only gripe would be that the plastic grill sticks up a little bit because of the fan, but that doesn’t bother me too much. At least I got my 140mm fan mounted up there the way I wanted . . .

But, like with most cases, there was plenty of modding, cutting, and custom tinkering that needed to be done to get this case extactly how I like it. . . .
First of course was cutting off the front and rear fan grills . . . The rear grill just required removing the plastic fan mount and hitting it with a dremel. (Actually, first I tin snipped it, then I hit it with a grinder to make it as circular as possible, then I hit it with the dremel to smooth it out. . . .
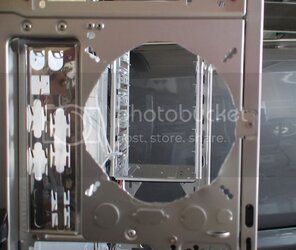
After that was the front grill. This required removing the front paneling which required removing the bottom base and the top plastic cover. Again, I used the tin snips, grinder, and dremel. . . .
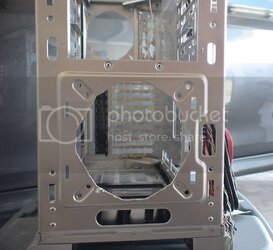
I also cut out the plastic center section on the fan mounts. They do nothing useful that I can see. They just obstruct air flow and probably make the case noisier. So off they went . . . .
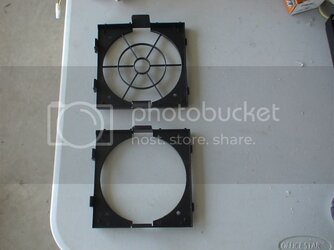
I also removed the little dust shield strips in the front plastic paneling. Again, I see nothing but air constriction. To me, there’s nothing like having your fans free to move the maximum amount of air. Plus, without those there the LED lights will shine brighter through the plastic cover! . . .
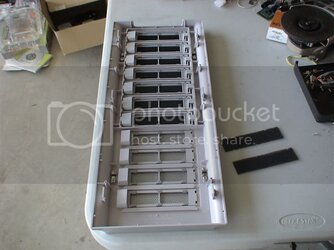
I know I probably seem like a freak about removing air constriction, but I just like to have the absolute least air resistance possible. The more unhindered volume of air passing through the case, the better. I know my case is going to get dusty and I’ll have to blow it out on a regular basis anyways so I might as well get the best air flow possible.
Next, I went to mount the top “chimney” fan. Here is where I unfortunately saw what I think is a design flaw. Thermaltake set it up so that you mount the fan underneath the top of the case rather than above it. The problem is that it allows practically no breather space for the fan. When I measured the length of my PCPnC power supply, I found that it would cover the fan almost completely with less than ½ an inch between the fan and the PSU. So I decided to mount the fan above the top of the case instead which would make for a nice 2 to 2.5 inch gap instead. . . .
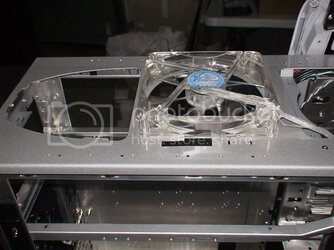
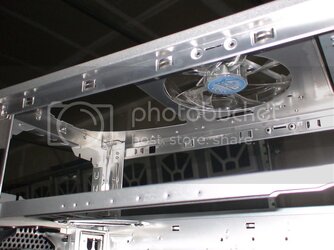
The problem I ran into is that the top plastic piece can’t fit back on case with the fan mounted up there. I completely removed the honeycomb piece that runs along the top. Then I found that the plastic grill at the very top can’t fit over the fan.
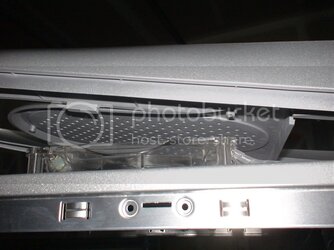
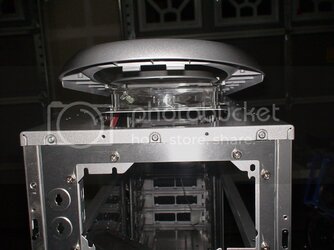
So I started cutting and shaving with the grinder and the dremel. Finally I ended up with a result that I am satisfied with. The only gripe would be that the plastic grill sticks up a little bit because of the fan, but that doesn’t bother me too much. At least I got my 140mm fan mounted up there the way I wanted . . .
