- Joined
- Jul 3, 2012
- Location
- Ohio
Unholy Lotus
Ok, so a bit of background. Every year I do a system update, usually to the tune of new ram and a video card one year, and a new Motherboard and processor the next.
This time I decided that my current system is still adequate and not in need of an upgrade, but I wanted it to become a new virtual host. I couldn't take my current game system and try to play virtually, so I decided it was time for a full new system.
Now on to the show:
Parts for this build:
CORSAIR Hydro Series H100i
Western Digital Black 1TB drive
SAMSUNG 840 120GB Drive
BitFenix USB3.0 Front-panel
ASUS Rampage IV Extreme
2x GIGABYTE Radeon HD7970
Intel Core i7-3930K
SeaSonic Platinum-1000
G.SKILL Ripjaws Z Series 32GB quad channel kit
MountainMods U2UFO
Lamptron FCT Touch Fan Controller
9 yateloon highspeed fans
UV Cathodes
BitFenix Red LED Strips
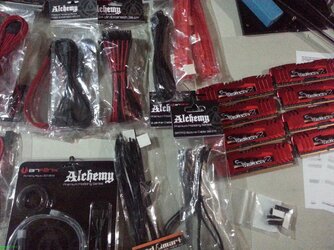
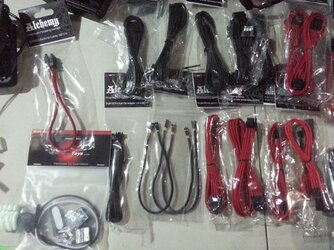
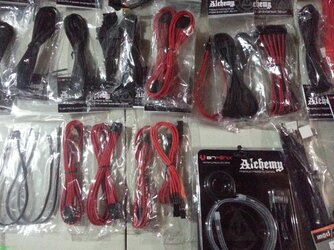
and some Red/Black extension cables to help with cable management and color scheme.
So here are some pictures of (what I thought was an almost done build, haha silly me ended up RMAing the Mother Board and am awaiting it's replacement)
Parts for Photo's.


Motherboard set on removeable tray from U2UFO case .

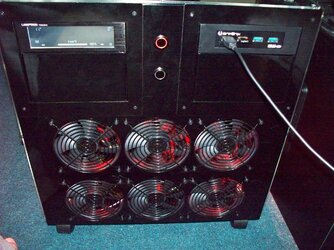
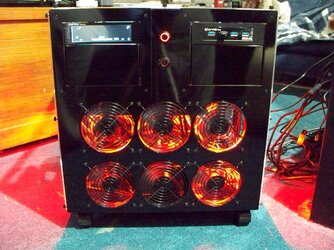
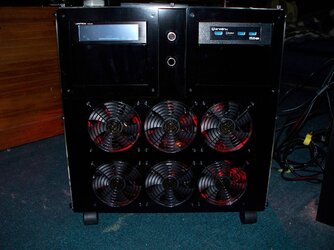
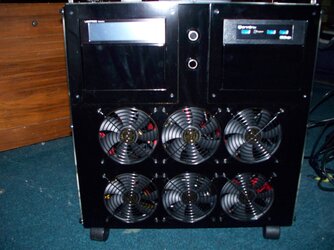
Case put together with Lamptron fan controller in place.

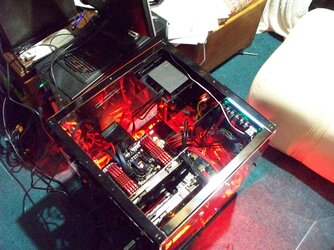
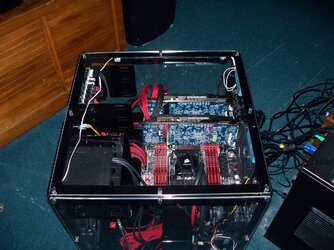
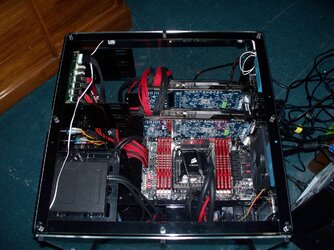
Side shot with acrylic panel off, prior to mounting the fans.


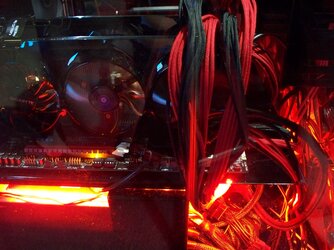
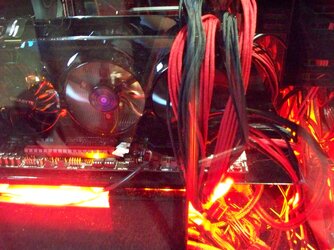
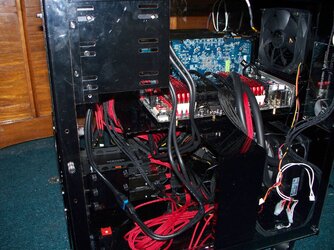
Rear shot with tray out.

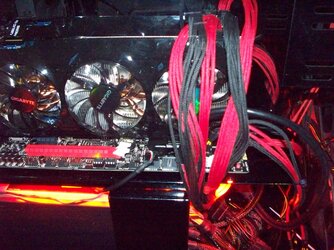
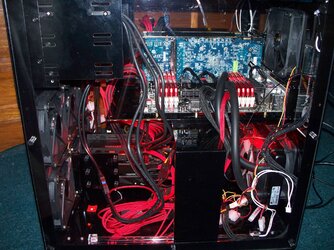
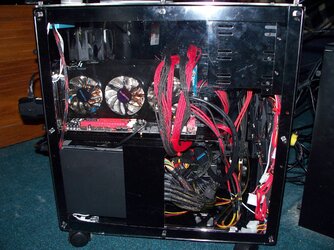
Rear shot with tray in.

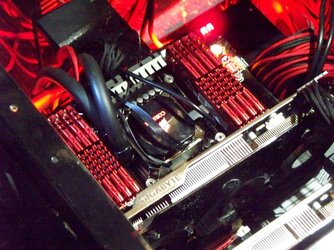
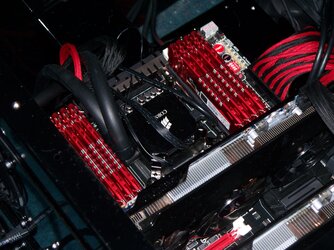
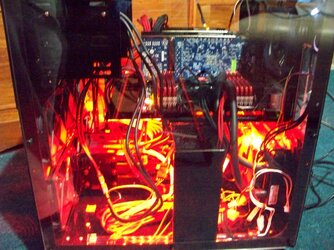
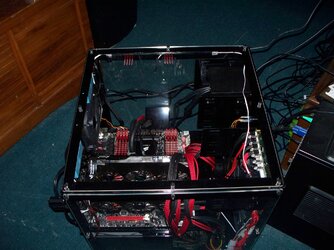
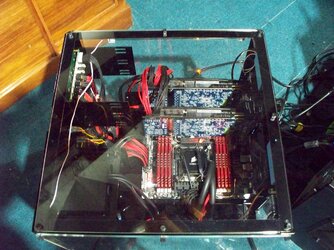
Side shot with Tray in.


It was about this point I power tested the board, fans started up like champs, board almost got to POST, and then... nothing.
Boo .
.
So RMA'd it, and decided to tear down the case to wire manage. I should have sleeved cables (because I have never done them before) and zip ties coming to help with that, should be here tomorrow.

So now a look at the now empty case.
PSU out and a crappy included zip-tie holding some cables together.

Parts strewn about, cleaned the TIM on the H100i.

Empty MB tray.

And for now that is all, more to come, this should be a long build with me eventually building a custom waterloop, and learning how to sleeve cables myself.
Finally, any thoughts on a name for the project are welcome, and any directions or insight are also welcome.
Ok, so a bit of background. Every year I do a system update, usually to the tune of new ram and a video card one year, and a new Motherboard and processor the next.
This time I decided that my current system is still adequate and not in need of an upgrade, but I wanted it to become a new virtual host. I couldn't take my current game system and try to play virtually, so I decided it was time for a full new system.
Now on to the show:
Parts for this build:
CORSAIR Hydro Series H100i
Western Digital Black 1TB drive
SAMSUNG 840 120GB Drive
BitFenix USB3.0 Front-panel
ASUS Rampage IV Extreme
2x GIGABYTE Radeon HD7970
Intel Core i7-3930K
SeaSonic Platinum-1000
G.SKILL Ripjaws Z Series 32GB quad channel kit
MountainMods U2UFO
Lamptron FCT Touch Fan Controller
9 yateloon highspeed fans
UV Cathodes
BitFenix Red LED Strips
and some Red/Black extension cables to help with cable management and color scheme.
So here are some pictures of (what I thought was an almost done build, haha silly me ended up RMAing the Mother Board and am awaiting it's replacement)
Parts for Photo's.
Motherboard set on removeable tray from U2UFO case .
Case put together with Lamptron fan controller in place.
Side shot with acrylic panel off, prior to mounting the fans.
Rear shot with tray out.
Rear shot with tray in.
Side shot with Tray in.
It was about this point I power tested the board, fans started up like champs, board almost got to POST, and then... nothing.
Boo
 .
. So RMA'd it, and decided to tear down the case to wire manage. I should have sleeved cables (because I have never done them before) and zip ties coming to help with that, should be here tomorrow.
So now a look at the now empty case.
PSU out and a crappy included zip-tie holding some cables together.
Parts strewn about, cleaned the TIM on the H100i.
Empty MB tray.
And for now that is all, more to come, this should be a long build with me eventually building a custom waterloop, and learning how to sleeve cables myself.
Finally, any thoughts on a name for the project are welcome, and any directions or insight are also welcome.
Last edited:
 .
. 