• Welcome to Overclockers Forums! Join us to reply in threads, receive reduced ads, and to customize your site experience!

Silverstone SG02-F Review

Overclockers is supported by our readers. When you click a link to make a purchase, we may earn a commission. Learn More.

zbo

Member
Joined
May 14, 2008
Sections
Introduction
Specification
Outside
Size Comparison
Inside 2
Build 2
Conclusion

Introduction
Hello all, this will be my first of hopefully many case reviews. By case review I just mean I'm going to take a lot of photos and call it a review. :D

Anyway the SG02 is designed to allow the user to have a powerful system in a small size. It can take a full size PSU along with 2 full length GPUs.

Specification
Motherboard: mATX
External Bays: 2x 5.25" or 1x 5.25" + 1x 3.5"
Internal Bays: 2x 3.5"
Front I/O: 2x USB, 1x Firewire, 1x Headphone, 1x Mic
Cooling: 3x 80mm fans (1 Included), 1x Optional cross-flow fan, The CPU cooler cannot be more then 82mm high.
PSU: Standard ATX
Expansion: 4x PCI up to 12"
Weight: 4.1kg (according to Silverstone)
Dimensions: 270 mm (W) x 212 mm (H) x 393 mm (D)
 
Last edited:
Outside
_MG_9040-Editcopy.jpg
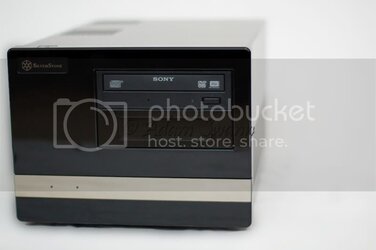
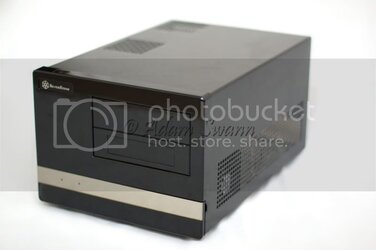
The SG02 comes in both black and white, they both have the mirror strip running along the front. The front is plastic while the rest of the case is steel. The plastic is a very shiny finger print loving kind of plastic but it does look good when it's kept nice and clean. The steel is powder coated matt black.

_MG_9036-Editcopy.jpg
The front is very clean. Just the drive bays, logo and status LEDs can be seen. However just flip down the front panel and you get access to the normal connections.

_MG_9042-Editcopy.jpg
The two status LEDs on the left can been seen when the flap is up because Silverstone have removed the mirror coating that would cover them. The reset button is in the 'middle', and it's really hard to press. I had to pull out a pen just click the damn thing. On the right is the USB, sound and firewire connections, no eSATA here though which is a shame.

_MG_9032-Editcopy.jpg
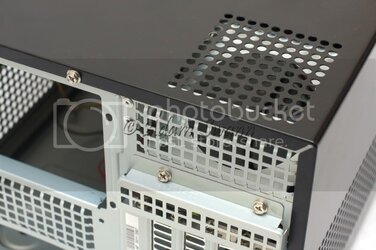
The eagle eyed among you will have noticed the lack of a power switch, which is located on the top. Thankfully this is easy to press! The rest of the top is blank other then 2x 80mm fan holes. The grills themselves are circular which will reduce airflow compared to a hex grill.

_MG_9033-Editcopy.jpg
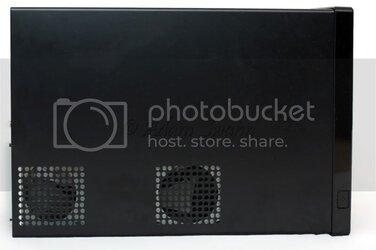
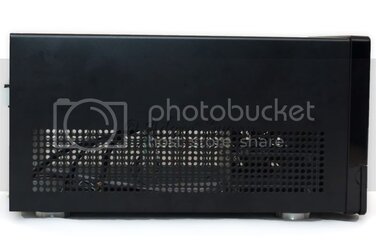
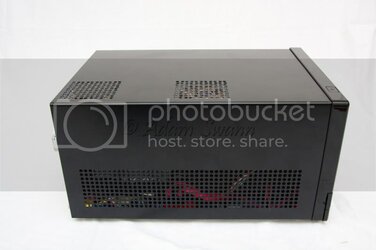
Both sides are identical. Just a long strip of ventilation. On the right side is the only intake provided with the case.

_MG_9035-Editcopy.jpg
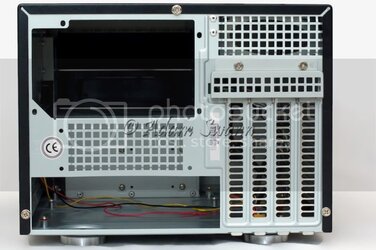
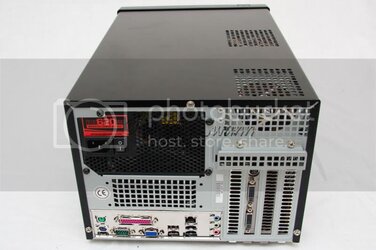
The rear of the case is just ventilation, ventilation and ventilation. The PCI slot covers are ventilated, the area between the motherboard backplate and the PSU is ventilated and above the PCI slots is ventilated. The air flow for this case is very much in at the sides and out the back.

_MG_9048-Editcopy.jpg
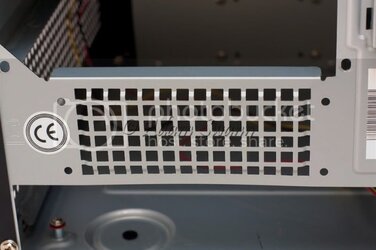
The area between the motherboard backplate and the PSU is designed to hold the optional 'cross-flow' fan. This is meant to provide additional cooling to the CPU area.

_MG_9046-Editcopy.jpg
The area above the PCI slots is half of the exhaust for the rear 80mm fan. This area is used in tandem with the top to allow the 80mm to remove the hot air above the graphic cards.

_MG_9049-Editcopy.jpg
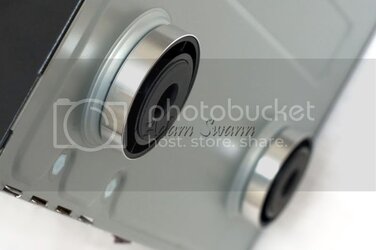
The bottom of the case just houses the 4 high quality aluminium feet. The feet have a rubber centre which should help lower case vibrations.
 
Last edited:
Size Comparison

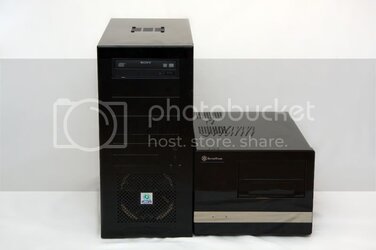
At 22.5L the case is defiantly small. The only problem I can is it's actual footprint is wider then a normal tower case. It is shorter and lower then a normal tower case so it looks a lot less imposing when placed on top of the desk, and it does make a great foot rest when under it.

Here it is compared with a Lian Li PC 07.

_MG_9087-Editcopy.jpg

_MG_9086-Editcopy.jpg
 
Last edited:
Inside

There are 3 screws between you and the inside of the case. They aren't thumbscrews either so you're going to have to break out the screwdriver if you want to do anything inside the case.

_MG_9051-Editcopy.jpg
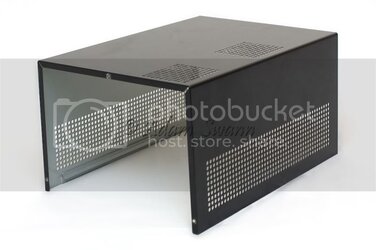
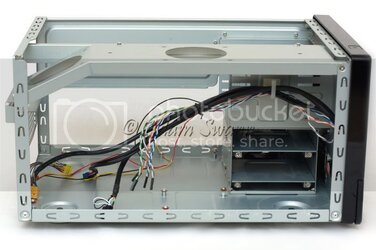
The 'side panel' for this case is a one piece U type, like on the old beige boxes. It sides of easily enough and then you're presented with the insides.

_MG_9052-Editcopy.jpg
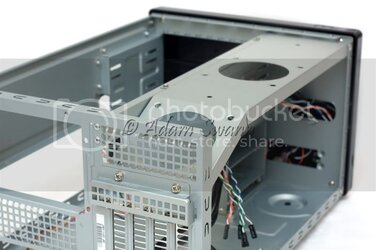
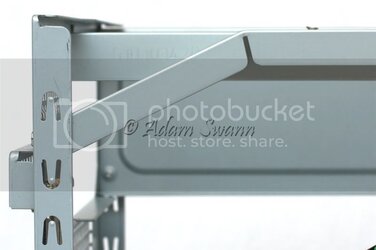
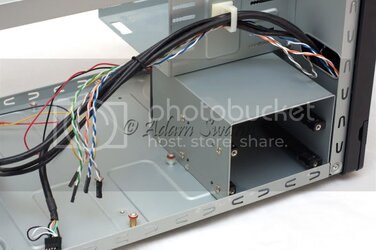
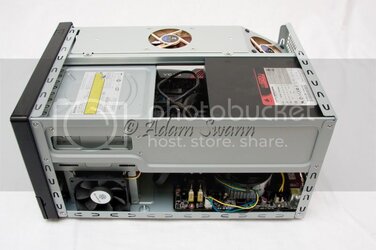
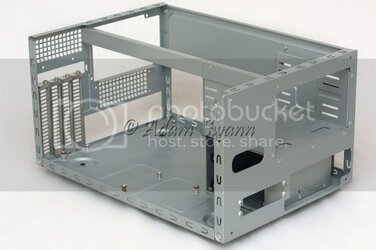
The first thing you'll notice is the giant bar running along the top of the case. This is there primarily to hold the two fans but it also provides some extra support to the case. The case doesn't have a removable motherboard tray.

_MG_9053-Editcopy.jpg
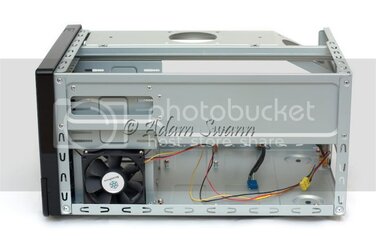
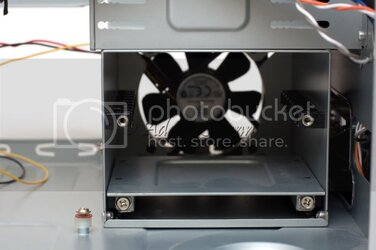
Here you can see the only induced fan which intakes and blows over the HDD area keeping them nice and cool.

_MG_9071-Editcopy.jpg
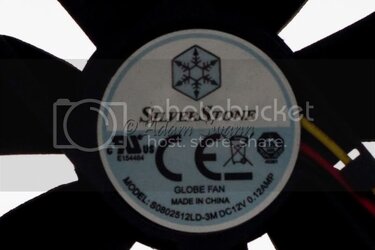
The fan wires are really long for the size of the case and they aren't sleeved at all which is a shame. When you consider that most motherboards are going to have a fan header in this area you've now got essentially 3 long cables that you need to hide away. When I put the model number into Google I couldn't find any information on it, and Silverstone haven't listed any dba ratings on their site for it either.

_MG_9059-Editcopy.jpg
There is a total of 5 screws that need to be removed before you can take the large bar out, and it's going to be pretty tough to put in any large GPUs with it there.

_MG_9060-Editcopy.jpg
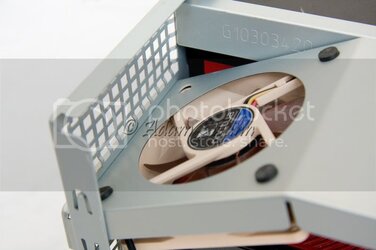
Here is a close up of the rear most fan hole, you can see it's angled but this should interfere with anything as this area is normal empty anyway. It might cause problems if you the kind of person that crams a 38mm thick fan above their GPUs but then I guess you're the kind of person that wouldn't want this case.

_MG_9054-Editcopy.jpg
The 5.25" area is nice and clean, no tool-less bays or anything just stand screw holes.

_MG_9073-Editcopy.jpg
The 5.25" covers themselves are nice and sturdy I'm not worried about the clips breaking anytime soon.

_MG_9056-Editcopy.jpg
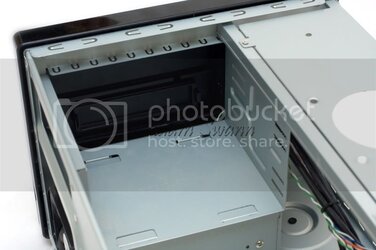
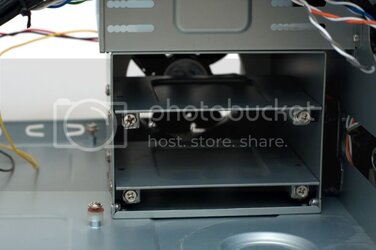
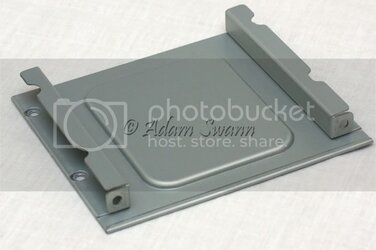
The HDD rack uses trays to hold the HDDs in place. This is only because it would be impossible to screw the HDDs in from the right, and stupidly difficult from the left, particularly when a motherboard is installed.

_MG_9066-Editcopy.jpg
It takes 2 screws to remove the tray.
 
Last edited:
_MG_9068-Edit-Editcopy.jpg
The tray has holes for 4 screws to attach the HDD with, thankfully Silverstone has made cut out so you can get a screwdriver in there. There is no provision made for installing 2.5" drives so I'll see what happens when I make the PC using one.

_MG_9069-Editcopy.jpg
Four screws on the bottom allow you to release the cage. This allows you to change the fan, but not remove the cage completely. The cage can accept 25mm, 15mm and 10mm width 80mm fans. In fact if you want to use a graphics card over 11 inches you have to either have no fan or a 10mm one installed.

_MG_9080-Editcopy.jpg
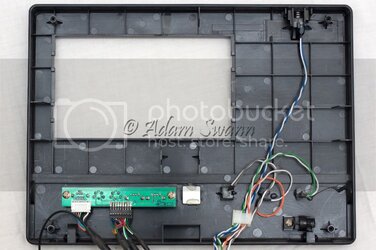
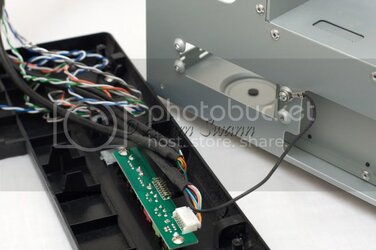
The front panel of the case can be removed with 4 screws. One of these screws require you to move the HDD cage to get access to it. The USB, Firewire and sound connections can be removed with s firm tug if you want to save some space inside the case.

_MG_9079-Editcopy.jpg
Nice to see that its grounded too.

_MG_9081-Editcopy.jpg
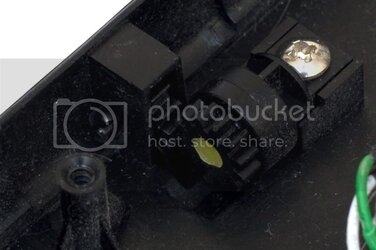
This is the power switch which you can see is sprung. It's a shame it's glued into place, some manufactures like Lian Li allow you to remove and replace these switches.

_MG_9082-Editcopy.jpg
This gear is what stops the front panel crashing down when you open it. It slows the panels descent and gives it a nice feel when closing it. It makes the case feel really well built too, a really nice feature.

_MG_9074-Editcopy.jpg
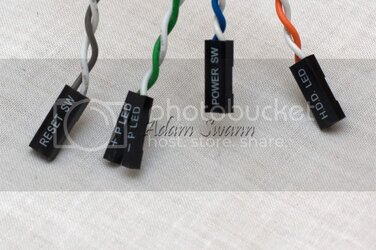
Here are the motherboard connections, nothing special about them. It's a shame that the power LED is split. It just means more fiddling around when installing the motherboard.

_MG_9084-Editcopy.jpg
Finally here is the case completely striped down. As you can see there is still a support bar, but I don't think this will get in the way when installing components.
 
Last edited:
Build

First things first, this isn't going to be the easiest build in the world. The case is small and it's going to get really cramped.

_MG_0090-Editcopy.jpg

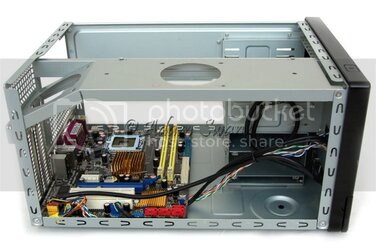
The motherboard is in. No hassle at all really just clever positioning of the screw driver. I was able to run the Switch, LED and USB cables under the motherboard but both the firewire and audio cables were too thick to fit.

_MG_0094copy.jpg

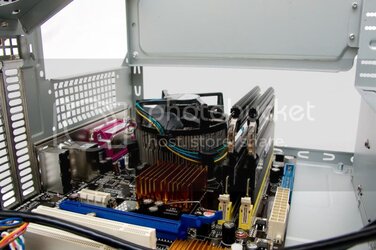
Next up is RAM, CPU and cooler. I don't actually have any low profile coolers so I'm having to use a stock Intel cooler. If you're going to be using a cooler that requires a back plate you're going to have to install that before you can put the motherboard in the case. This will make it a little harder to get the motherboard in but you should have to many troubles.

_MG_0101copy.jpg

Next I installed the GPU without realising that it was blocking off one of the HDD racks. So it's HDDs next then.

_MG_0109copy.jpg

It takes four screws to attach a 3.5" HDD into the tray, the cut outs making it no trouble at all.

_MG_0106copy.jpg

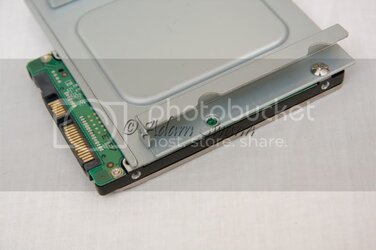
However if you think you're going to be putting 2.5" drive in think again. The tray will only allow you to get a single screw into place. I don't think this will be a problem for SSDs as there lightweight and have no moving parts, but I certainly wouldn't trust it to hold any of my mechanical HDDs.

_MG_0112copy.jpg

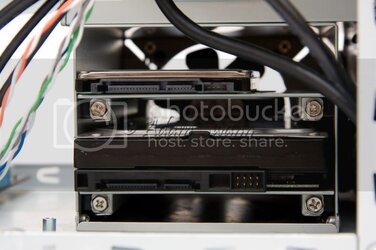
Both the HDDs fit perfectly fine into the rack, although with two full-sized 3.5" drives air flow is going to be pretty low.

_MG_0114-Editcopy.jpg

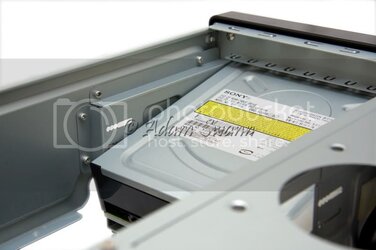
Next I tried to install the CD drive but because Silverstone haven't put in the little tabs you cannot just slide the drive in and install it. I had to physically hold the drive in place while screwing it in which might not have been so hard if I'd have owned a magnetic screwdriver. This also means you have to screw the drive in on both sides or it'll sag, which is something I'd never do normally.

_MG_0117copy.jpg

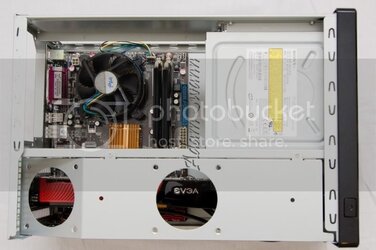
A quick shot for above so you can see how everything is fitting in.

_MG_0120copy.jpg

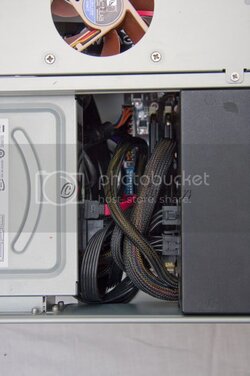
The last thing before installing the PSU is to get all the SATA cables ready. You can already see the rats nest starting, shorter cables would have helped here.

_MG_0125copy.jpg

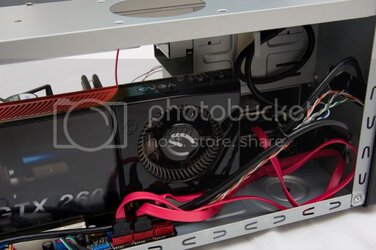
Installing the fans was interesting. The middle fan was easy enough, but this end fan gave me lot of issues. Firstly it's a standard 25mm fan and its physically pushing on the GPU so anything taller than a GTX 260 and you're going to get some problems. Also you can see it's missing a screw, what magical tool Silverstone has in mind for you to get to this is beyond me, I only managed to get the other bottom 'screw' in because I using rubber arrow head mounts.

Contiune
 
Last edited:
Nice

FYI, the last paragraph of post 5 is a repeat of the first paragraph, guessing copy/paste snafu

doh you edited while I was reading;)
 
Also thinking of adding a Modding ideas section. I'll have to see how it pans out.

Great review so far !

This would be perfect for a frontpage article.

You should contact Ben333 about this.

Cheers I will do.

Nice

FYI, the last paragraph of post 5 is a repeat of the first paragraph, guessing copy/paste snafu

doh you edited while I was reading;)

:sn:
 
_MG_0123copy.jpg

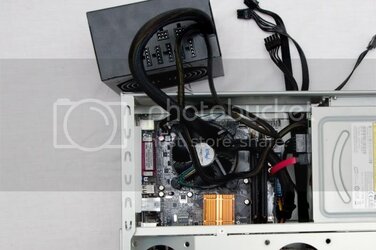
Now the PSU. In this picture you can see I've already go all the devices plugged in with modular cables and there just waiting to be plugged into the PSU, if I couldn't do this then it would have been a real nightmare. I also made sure to plug in the CPU power and ATX power before installing the PSU. Without a modular PSU this stage would be hell.


The build is almost finished now all that remains is to put the shell back on.

_MG_0126copy.jpg
_MG_0128copy.jpg

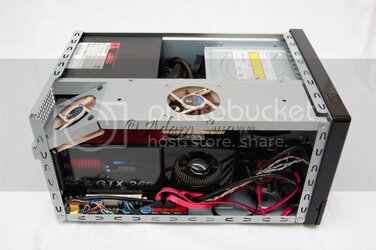
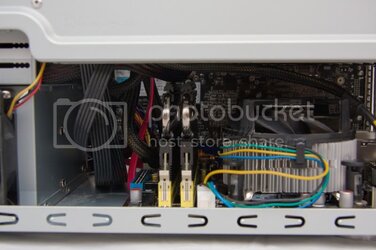
You can see what a rats nest this case is, and this is with a normal sized modular PSU, with a larger non modular PSU it's really going to be difficult.

_MG_0132copy.jpg

_MG_0130copy.jpg

Finally here are the photos of the finished computer.

_MG_0133copy.jpg
_MG_0134copy.jpg
_MG_0138-Editcopy.jpg

Conclusion

Over all the SG02 is a very nice case, it's well built expect for a few flaws (Bloody CD drive!) and looks very nice form the outside. Noise wise it's not too bad, but they are 80mm fans and it has holes all over the place so don't expect it to be a very quiet machine. It's defiantly a pain for upgrades so if you're looking for a LAN pc that you'll be upgrading all the time I'd look elsewhere. It's well suited for the kind of computer that you just build and use, for say the spare room or a HTPC.

Good Points:
- Cheap for a Silverstone
- Lots of hardware in a small space
- Good airflow for its small size
- Takes a ATX PSU
- Looks nice
- Well built
- Has lots of purpose built accessories

Bad Points:
- Gets very cramped even with a modular PSU
- Only takes 2 HDDs
- Design flaws like the fan screws and CD drive.

So thanks for reading my first review!
 
Last edited:
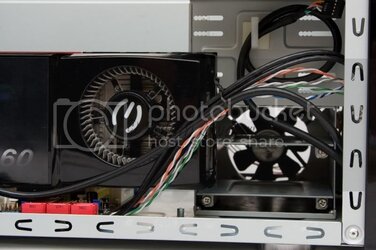
Good review of a great case, my only qualm, the fan screw that you mentioned is impossible to install is actually quite easy to put in. The bracket that holds the fans is removable via 5 screws. makes installing a gpu and everything else much easier and obviously gives you plenty of access to screw the 2 fans in.
 
THE SG02 can runnings for high ended games? but I notice the cpu cooler system under ATX PSU, there is not enough for cooling around.. Mmm
 
Back