RothFTP
New Member
- Joined
- Oct 1, 2017
Hello everyone,
THE SUCCESSFUL PART
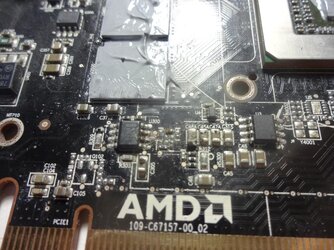
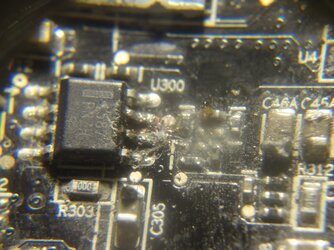
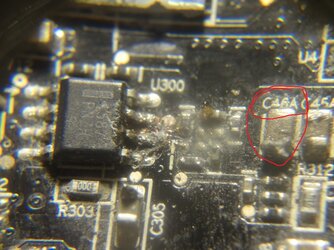
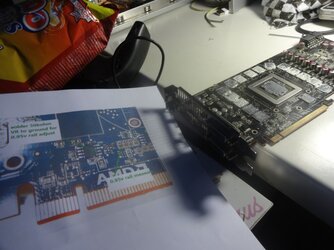
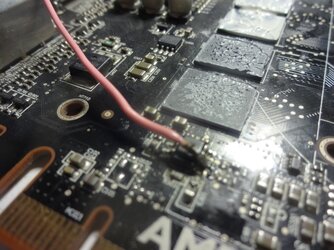
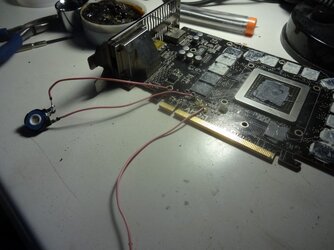
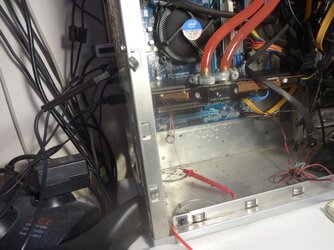
I attempted the notorious 0.95v rail mod on my Sapphire R9 290, which seemed to work ok, initially. The PC booted successfully, got into Windows, run some games and furmark for a while.
OVERCLOCK FAIL
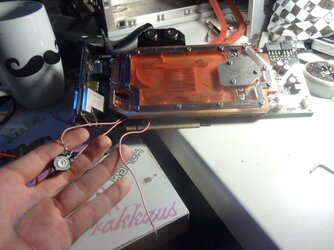
Attempted to overclock. In MSI Afterburner I maximized AUX voltage (+100) and Memory clock (1625) and raised the voltage to +200mv, raised the core to the point, where furmark froze. The rail measurement was being a steady 0.97v to that point. Then I tried adjusting the variable resistor which I soldered for the mod. After some adjustment I got a frozen screen, I restarted and since then I was getting frozen, blue, or black screens in windows and even distorted image in bios.
The rail measurements were fluctuating between 0.97v to 2v+, after starting Windows normally, steady 0.97v in safe mode. For as long as the measurement was lower than 1v it was ok, but when it was reaching 2v, blue/frozen/black screen.
UPDATE 1 - BLACK SCREEN ALWAYS
1) I disassembled the card and removed the soldered wires. No screen at all this time - all black, always. Windows do boot, though (typical startup sound effects of connecting devices play)
2) I resoldered the VR, tried adjusting it, still no screen.
UPDATE 2 - WORKED IN THE x4 PCI-E SLOT
1) I tried connecting the card to the other PCI Express slot (4x) and it worked normally. Run games, furmark everything ok, except of course for the lower performance, due to the slot bandwidth.
2) Tried connecting the card to the x16 slot again, got to windows, then got a black screen. Since then there is always black screen, even during post, windows boot.
NO ADAPTER FOUND
1) Tried adjusting the variable resistor - no effect, always black screen.
2) Used another card in the x16 PCI-E slot and the R9 290 in the x4 one. Atiflash -i now shows "no adapter found".
Any way of diagnosing what went wrong and a possible way to fix the issue?
Thank you in advance
Last edited:
