- Thread Starter
- #21
Phase 9 – Computer Component Installation


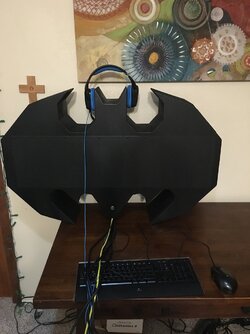
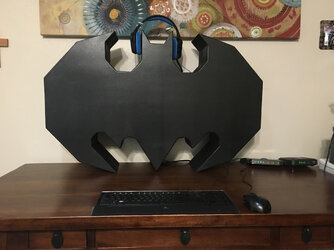
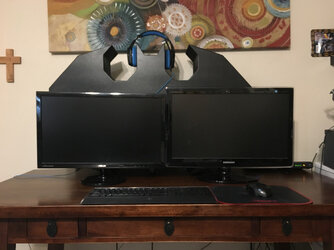
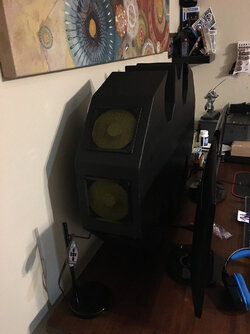
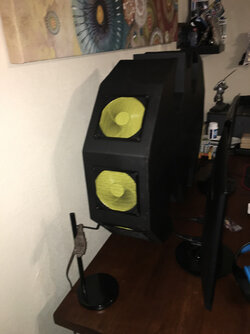
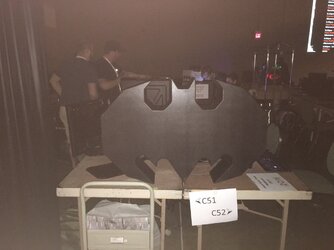
Time for the moment of truth right!? Time to install my current computer components into the new case and verify what I’ll need to finalize the case.
Knowing that this was going to be the toughest of the pieces to install, I started this process with my power supply in the upper corner. That being said, getting the back nut on the power supply’s elbow screw was the biggest pain in the *** so far to this case. Just contorting my hand and attempting several times to get that one nut screwed on took me an hour or so. Not to mention this whole time, my son was being ever so ‘helpful’ ^.^
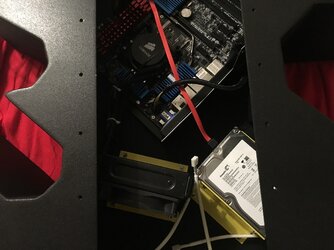
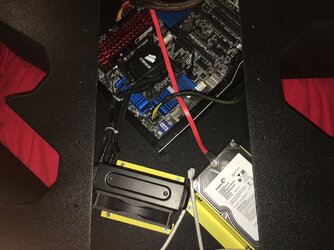
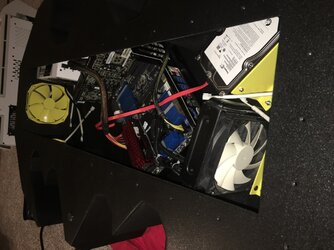
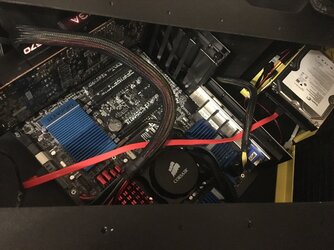
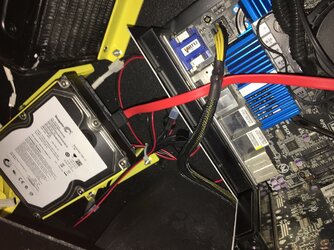
Enough of my bickering, let’s move on. Once I finally got the power supply in, I put in the motherboard (nice and easy), followed by the heatsink fan (not too difficult), and lastly the hard drive (piece of cake).
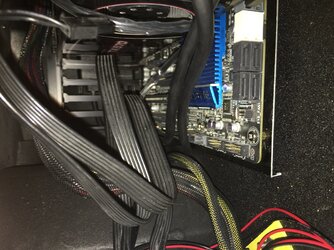
I started running the cables around the way I thought would make the most sense and not just be all cluttered in there in one place. I was then able to see what cables / cable adapters / cable extensions I needed to make sure everything would connect and work.
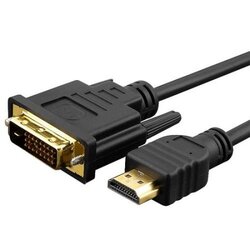
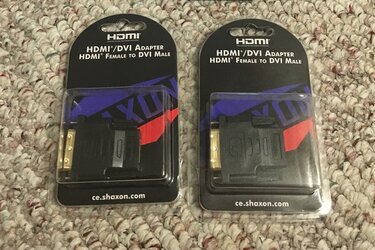
Remember in Phase 6 when I said I thought the power supply cable was the biggest cable that needed to go through the triangular hole? Yea, it turned out that my cable hole was too small for the DVI / monitor cable heads to fit through. I decided in order to get around that, I would get DVI to HDMI adapters and then use the HDMI cables to get through the hole. Only one of my two monitors though has a HDMI connector, so I had to use another adapter to convert it back from HDMI to DVI for that monitor.
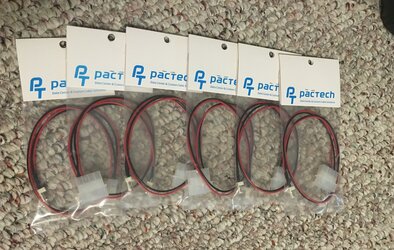
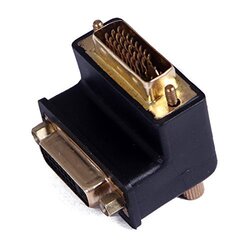
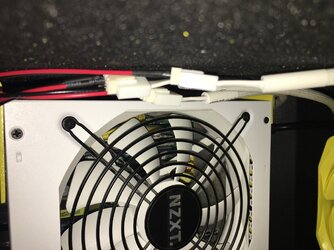
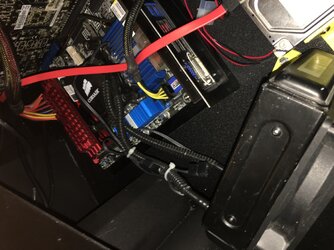
I got fan molex adapters/extension cables so that all the fans would be able to connect to the power supply. Also, since my graphics card runs extremely close to the top area, I bought right angle DVI adapters. There was a plastic lip bordering the connectors which made them too close together to get them to both plug into the graphics card at the same time, so I used a knife to slightly shave off a portion of this lipped area. This worked out perfectly allowing them both to connect easily to the graphics card and not rub up against the top of the case. This not only helped making it fit easier, it also helped with running the cables more cleanly.
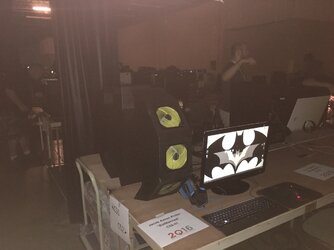
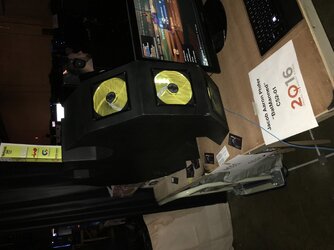
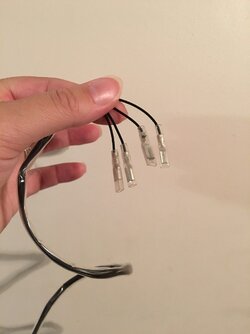
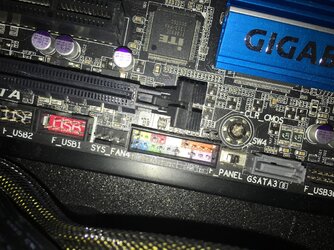
So I got everything wired and connected and started my first boot up. For some reason, none of my fans were working. Though that concerned me, the computer otherwise booted up just fine and seemed to be working beautifully. I double checked all my fan connections and plugs and everything looked to be in order. Since I wasn’t able to figure it out, I called my brother-in-law who knows more about this kind of thing. He came over and played with it for a while; then when he looked up the cable online, he noticed that the pins were wired incorrectly. Basically, there is a red and black wire; the black wire was originally in the first pin location and the red was originally in the second pin location. According to the picture online, that was backwards. I had to pull these pins out and reverse their locations. Once I did that and plugged it all back in, everything worked perfectly and the computer is up and running.
- Pics
Time for the moment of truth right!? Time to install my current computer components into the new case and verify what I’ll need to finalize the case.
Knowing that this was going to be the toughest of the pieces to install, I started this process with my power supply in the upper corner. That being said, getting the back nut on the power supply’s elbow screw was the biggest pain in the *** so far to this case. Just contorting my hand and attempting several times to get that one nut screwed on took me an hour or so. Not to mention this whole time, my son was being ever so ‘helpful’ ^.^
Enough of my bickering, let’s move on. Once I finally got the power supply in, I put in the motherboard (nice and easy), followed by the heatsink fan (not too difficult), and lastly the hard drive (piece of cake).
I started running the cables around the way I thought would make the most sense and not just be all cluttered in there in one place. I was then able to see what cables / cable adapters / cable extensions I needed to make sure everything would connect and work.
Remember in Phase 6 when I said I thought the power supply cable was the biggest cable that needed to go through the triangular hole? Yea, it turned out that my cable hole was too small for the DVI / monitor cable heads to fit through. I decided in order to get around that, I would get DVI to HDMI adapters and then use the HDMI cables to get through the hole. Only one of my two monitors though has a HDMI connector, so I had to use another adapter to convert it back from HDMI to DVI for that monitor.
I got fan molex adapters/extension cables so that all the fans would be able to connect to the power supply. Also, since my graphics card runs extremely close to the top area, I bought right angle DVI adapters. There was a plastic lip bordering the connectors which made them too close together to get them to both plug into the graphics card at the same time, so I used a knife to slightly shave off a portion of this lipped area. This worked out perfectly allowing them both to connect easily to the graphics card and not rub up against the top of the case. This not only helped making it fit easier, it also helped with running the cables more cleanly.
So I got everything wired and connected and started my first boot up. For some reason, none of my fans were working. Though that concerned me, the computer otherwise booted up just fine and seemed to be working beautifully. I double checked all my fan connections and plugs and everything looked to be in order. Since I wasn’t able to figure it out, I called my brother-in-law who knows more about this kind of thing. He came over and played with it for a while; then when he looked up the cable online, he noticed that the pins were wired incorrectly. Basically, there is a red and black wire; the black wire was originally in the first pin location and the red was originally in the second pin location. According to the picture online, that was backwards. I had to pull these pins out and reverse their locations. Once I did that and plugged it all back in, everything worked perfectly and the computer is up and running.
Last edited:
