• Welcome to Overclockers Forums! Join us to reply in threads, receive reduced ads, and to customize your site experience!

Lian-Li PC o11 Dynamic- MAXX WC Build

Overclockers is supported by our readers. When you click a link to make a purchase, we may earn a commission. Learn More.

bassnut

Premium Member
Joined
Aug 16, 2009
Ok …. The goal here is to max out my loop but keep in all in a case that doesn't need a forklift to move. I have been contemplating doing a scratch build and although I know I can bend and weld all the components I need while using some parts from old cases I have here to make things easier I just wasn't sure I could make something that I would find visually pleasing at the same time. I have seen a few builds with the Lian-Li PC 011 Dynamic and it peaked my curiosity but left me wondering if I can fit everything I want into it, I think so and we are about to see as UPS was here yesterday with a box for me though I think that I am finally pushing up on the limits of my wife's current acceptance of my hobby as I have spent a bit more recently (since RYZEN 3000 release) then even I have thought I would. I'm not big on bling though I might add some later, we'll see how that goes and this build will be mostly a case swap as I have been in the Corsair AIR 540 for about 6 years now and it has done me well I have just ran out of room for what I want in my case.

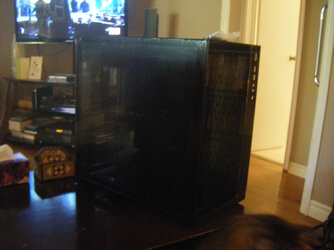
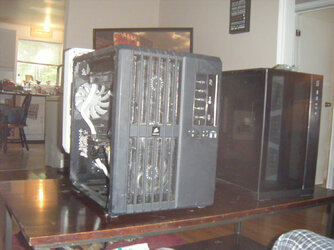
To start …. My first impression the Lian-Li PC011 Dynamic is smaller then I expected and is actually smaller then the AIR 540 is.

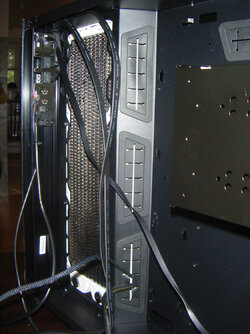
Pic1.JPG

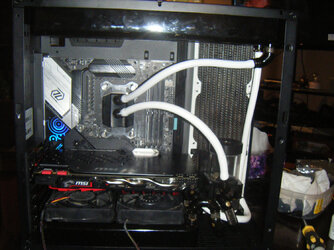
Pic2.JPG

The tear down begins I have allot of stuff to figure out where to put. There are 2 things I am not sure bout …… will my GF Card and waterblock fit, if my measurements are right just and fitting all my hard drives that I need fit. Maybe not but I can move them out eternally if I have too and you will probably see and additional NVMe drive added / drives added later for working drives.

Pic3.JPG

Pic4.JPG
 
OK …… So I did a quick mock up and as I was afraid of qwwwwwwwwwsreeeeeeeeeeeeeeeeeeeeeeeeee2. LOL ….. got to keep my cat off my laptop . Sorry.
 
Last edited:
OK Thunderstorm has passed where were we. Pictures are not always reliable for gauging room and dementions even with measurements on them as they don't always show the whole picture.

First issue I ran into …… neither of my rad's I have will fit in behind the middle position. My Black Ice GTX is too wide and buts up on the front panel wiring and my what I thought was a UT45 turned out to be a UT60 and was to Thick and too tall to fit in the back. Anyone thinking about using either of the Alfacool UT 45 / 60 rad's in the middle back position can forget about it. You have 50 mm room in behind for thickness and about 35 - 36 cm length but more importantly only 10mm room from the back of the Front panel connectors so when choosing a rad this is probably the most important.

Pic5.JPG

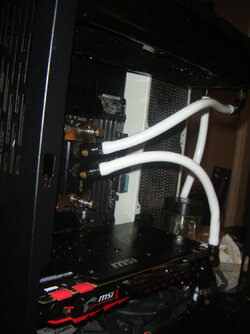
Front fit for the rad's you can get 3 360 rad's up front if they are thick you will run into some fitment issues or airflow concerns. Airflow for a GFX card if not water cooled, with my Black Ice GTX which is 57mm thick + 25mm for a fan leaves you only 25mm space between the rad and the GFX card fans. Speaking of GFX cards I am not sure where they take their measurement from stating 159mm I measured my block before ordering and I should have fir ….. NOT …. I was about 3 or 4 mm to wide so my GFX card is back to the stock cooler which fits nicely. I did a mock fitting with my loop ….. I like the 24 rad in the bottom (if I keep it in the loop) it lets me mount my pump res combo where I think it should be, in my opinion...... Let me know what you think. I am debating sending the case back though not sure on that yet

Pic6.JPG

Pic7.JPG

Pic8.JPG
 
Last edited:
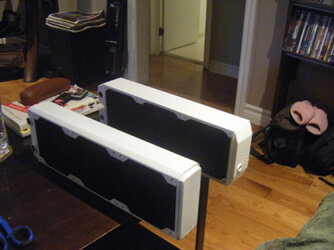
These rad's have been in and out of my cases a few time …… a new coat of paint was in order, gotta admit not my best paint job but it will do.

Pic9.JPG

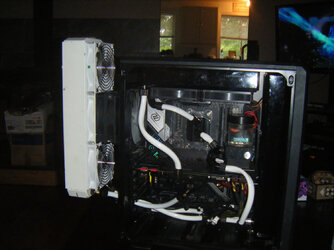
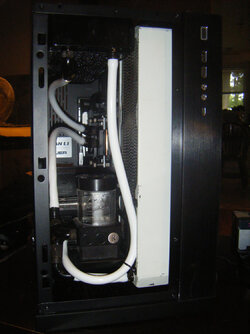
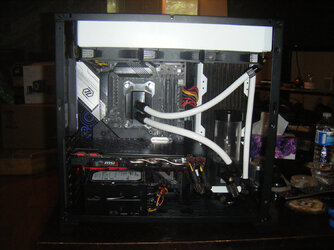
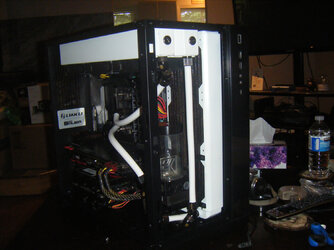
I decided to drop the 240 Rad from the bottom it just blocked too much of the motherboard and had the potential to mess with the airflow for my GFX Card. That did allow me to drop in a temporary solution for my hard drives, found an old cage in my box of goodies in the back of the closet and will do for now till I get and external drive box / raid box. Fittings are in and tubing, I think the white makes it stand out a bit.

Pic13.JPG

Pic14.JPG

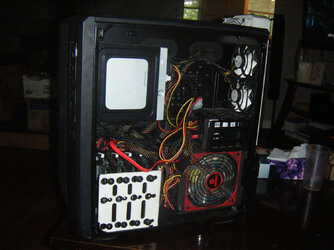
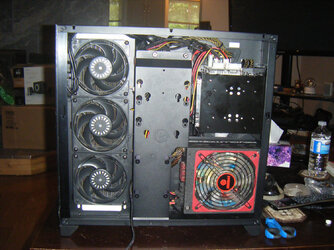
Wire management was pretty easy though could have used a little more room. On top of the wires there are 3 fans 2 …. 3 TB Spinners 2 SSD, power supply and fan hub in that 50mm of space. Lian-Li took advantage of all the space they could in the back that they could.

Pic 12.JPG

It's off for leak testing …..

All in all not a bad case to build in I got pretty much everything in I needed to except my BD Burner I have an external enclosure coming for that next week. Lian-Li could have done themselves a favour and made the case a bit bigger, another 2" in Hight and 2" - 3" width would have allowed for easier fit of radiators and would have decimated the Corsair AIR 540 as it stands its 50/50 in my opinion for ease of build and functionality though the glass probably puts it ahead for looks allowing you to display your build better. This case really screams to me Hard tube, if you want to spend some time bending tube you can have a nice rig to show off. We'll see how things work once I'm happy with the loop and no leaks how the temps are that will be a good indicator of airflow and how the case works overall. In the end not quite a MAXX WC Build but pretty close.

I will be keeping an eye out for a new GFX Card and block in the future probably one of the new Radeon 5700 or 5700XT that will be narrow enough to fit in this case I am not sure if that is possible but we'll see. I think also when I have time this winter I'll also try my hand at a scratch build case from the ground up. I'll update this thread with some finished pic's once I have the leak testing done and have had a chance to play with my rig a little.
 
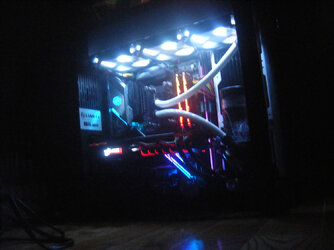
Up and Running

Up and Running.

EDIT:

A note worth mentioning even with the waterblock off the video card just fit when I put the glass side panel on the VGA plugs where pushing on the glass I was able to get it on but just you really need to pay attention to the width of your video card with this case.

Pic17.JPG
 
Last edited:
Thanks. I almost sent it back but Newegg's return policy was just exchange on this. This is the Third Lian-Li case I have had and all have fallen just short of what I had hoped for when buying.
 
I don't know what your budget is, and if you could absorb both the cost of an extremely expensive case and selling the O11 Dynamic at a loss, but I'll mention this anyway since it seems to be exactly what you want: http://www.lian-li.com/pc-o11d-rog/ I don't think it's really well available yet, but review samples are out.
 
Yes I found out about the PC 011D XL just early yesterday morning, expected availability is end of this month according to Newegg. For an extra $100 (Can) you get 2.5" (h) .5" (D) & 1.5" (L) + some RGB and a different layout ……. I don't know $300 (CAN) is allot of money for a case. I think over the winter I will build my own case from scratch.
 
Yeah it is a ton of money. That comes from the new tooling (the O11D re-used tooling that was already paid for) and aluminum panels. I know it's steep but I figured I'd mention it, even if it's was a day late and many dollars short.
 
There is still space on the bottom for a 3rd rad, who needs HDD :p ... but really I have the same case for my daily driver, but I have 2x M.2 SSD onboard and nothing else, 2 rads one on the top, one on the bottom. Pretty much the smallest case on the market with so much space for rads inside :)
I've decided on the Air version as it has additional space for a rad in front and it cost 30% less. In the end, I couldn't install a rad there, but still, all was cheaper than expected.

I found one photo with X299 ITX mobo :D ... now there is EVGA X299 Dark. Tubes are not really optimal but I like it this way as it's easier to move/remove components and I don't care how they look as long as they are not bent anywhere.
DSC_0234.JPG

I hate that der8auer/LianLi plate on the back and I'm not sure how to remove it without damaging the case. In most reviews it's pointed out as a dumb idea and looks bad. Also der8auer has as much to do with this product as to show his face on the banner. Full marketing as usual.
 
Nice build ...... Use a heat gun ..... you get that plate hot enough it will come off, a little acetone will get rid if the residue left behind.

I could of fit the rad in the bottom I just thought it was a bit to tight. I agree it is the smallest case for water cooling you can find I just wssnt going to buy new rads and the ones I have I was just hoping to tick in as much as I could.

I have some steel at home waiting for me I just need some spare time I'm going to make a little pedestal for the case, all I need for it is some modders mesh though I am thinking of trying to duplicate the stock venting first. If that works I won't need the mesh.
 
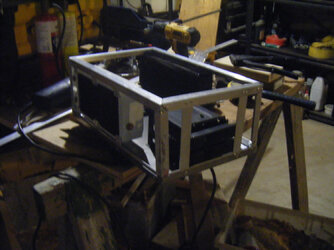
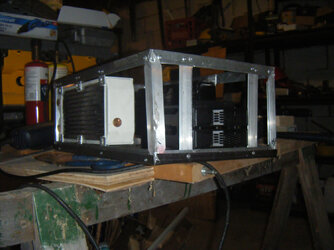
It's raining and I got bored …… Its a bit rough yet and I am trying to figure out how to skin it but here is a mock up for fit. It was a good exercise on building a case I made a couple mistakes and now that I have done this I can see where I could do things differently if I should decide to do a complete case later on. I overshot my height by a bit and overall it will add a bit of weight to the case. Should I decide to do this again I'll go aluminum.

Addition1.JPG

Addition2.JPG
 
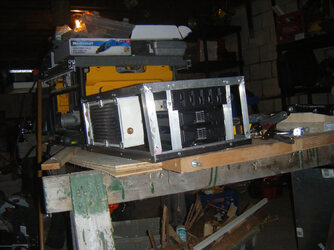
So I have worked a bit of this when I got up this AM added in a fan controller and fiddled with the removable drive bays ….. Thr top and front skin is bent though I ran out of good cutoff disks for my Dremel tool so a trip to Canadian Tire is in order this week some time.

Addition3.jpg
 
Back