- Joined
- Jul 28, 2002
- Location
- Boise Idaho
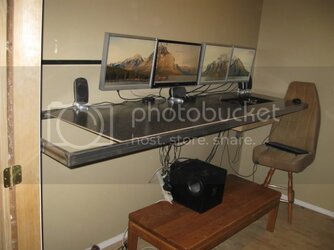
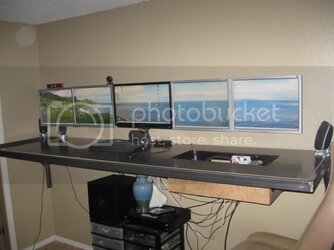
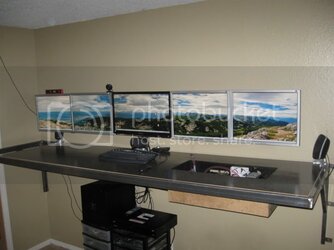
Hello folks! This is my next project appropriately named "Project Work Space." The goal here is to give myself some additional work space to work on various electronic projects, as well as some study space when I start school again in a year or so. The rough idea was inspired by this man's project - http://translate.google.com/transla...ring.tweakers.net/forum/list_messages/1420280. What I would eventually like to have is a nice, large, heavy duty desk with the PC integrated for space saving and noise reduction. It's also a nice way to practice up on my welding.
I will say that I'm not a huge fan of all the "bling" he has, but I really like the concept. I also have a pretty limited budget, so the hardware isn't going to be incredible. Now with that said here is the project so far.
The first thing I decided was that I wanted to have this be a standing height desk. After having used one at one of my client's offices I fell in love. The standing height really seems to help my posture and keep me more awake. I decided I wanted it all the same height and I can build a new chair for the height if need be.
Now I needed to figure out how big it needs to be. I finally settled with a standard desk depth of 30". The space I wanted to put the desk in is almost exactly 10' but I wanted to leave some space for a tall and narrow book shelf so I figured 110" with mounting tabs extending out to 112" this makes it exactly 7' long with 16" on-center studs. I would have loved to use the giant aluminum square tube the other guy used for his but my budget simply won't allow it. I also don't have the equipment or ability to weld aluminum yet . For mine I used 1"x2" .120 wall rectangular steel tube. This is going to get heavy
  .
.
Steel stacked in the garage:

Total cost of steel was around $100 for 44 feet.
The desk will have a rectangular frame with a wood insert that sits flush with the steel frame and will be support by some gussets and legs with mounting tabs. Unlike my previous welding project I wanted to try making a some more difficult welds than just 90 degree butt joints. I don't have a hot saw so making the cuts takes some patience with a Sawz-All and some cleaning up with grinder. It can be done though!
Cut:

Only the "front" corners will be mated 45 degree cuts. Where the support legs tie I used a 90 butt joint because the weld will never be seen and this is just a bit easier.

Here the support leg has been welded and ground already but the gusset now need to be attached. I used some strong magnets to help hold the gusset in place while I welded it in.

Here we have 2 identical end legs. The ends pointed down have been cut at 45 degrees to match the front bar.

With the back crossmember in:

One side of the front crossmember in: may not look like it but welds are mush improved over my previous projects. They will still need to be touched up with the grinder but it won't take much.

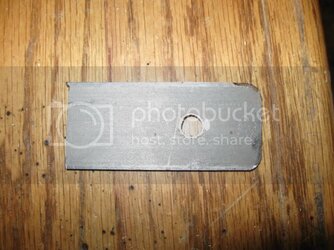
I needed to get the mounting tabs made so I cut 6 tabs 2.5"x1" from some 3/16" plate, cleaned up the edges a bit and drilled mounting holes. These are welded to the support legs and are lag bolted to the studs in the wall.

Here is the whole thing fabbed up and ready to hang:

In this form it weighs almost 90 pounds!
This is the space it will be going in. The hanging shelf is too low and will have to go:

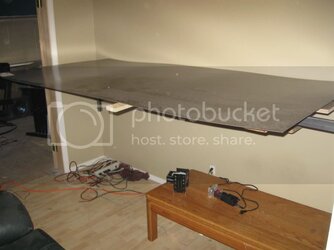
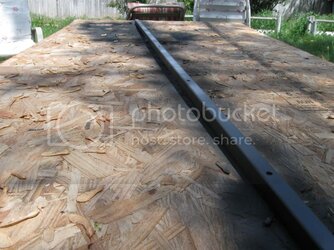
I had to get my neighbor to come over and help lift it up and hold it in place while I bolted it in. You can see the aluminum angle I cut and screwed the the insdie rail to support the wood top. The angle aluminum is 1"x1" and held with metal screws. They around mounted every 12" along each rail 3/4" from the top edge to allow for the 3/4 particle board that will be the desktop:


Shortly after this picture disaster struck. One of the lags bolts sheared off so half the desk crashed to the ground leaving some nice scratches and tweaking the mounts. I've gotten it pretty straightened out now but I had to mount the desk 2 inches lower to avoid the broken half of the bolt still in the wall. It now sits at 46" high which I still find to be quite comfortable.
I still need to build the recess in the top for the PC but I'll need something to mount the motherboard, cards, and power supply. I decided to hack up an old empty PC case I had lying around. It was all scratched up anyway.

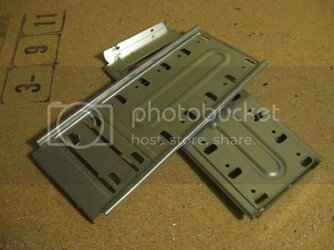
After drilling out all the rivets and removing a screws I am left with this:

After some cutting and cleaning with the grinder and file I am left with this:

this:

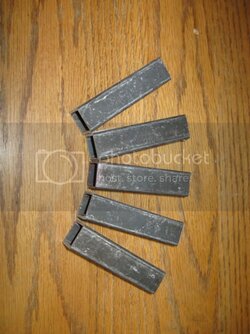
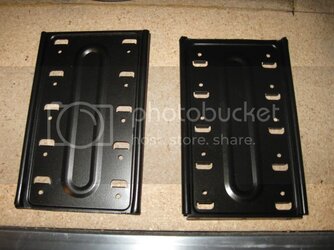
And these:

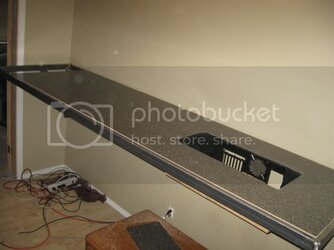
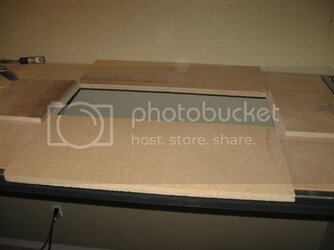
Now I need to cut the hole in the top for the recess. Here it is with the cut pieces ready for install. The opening is 25"x11.375" and is 8.5" deep. All the side pieces of the recess are 5/8" particle board. The bottom is 3/4" recycled from the piece cut from the opening:

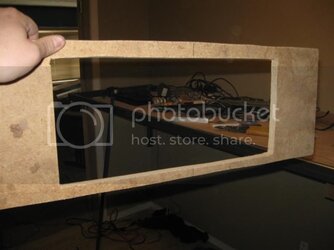
Here is the back plate opening and the plate attached.


The sides are attached with wood glue and 2" brad nails.
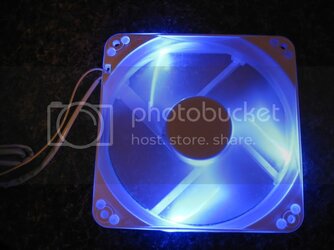
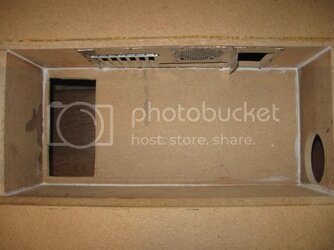
Here are the sides put together with the bottom in and the seams sealed up. You can see the opening for the radiator to the left and an opening for a fan on the right. I may end up putting 2 fans on the side but with the back exhaust fan already in there I'd have negative pressure with the 2 rad fans pulling in. I'll see how it holds temps with the 1 and go from there.:

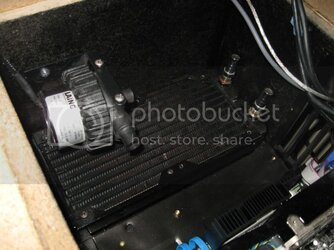
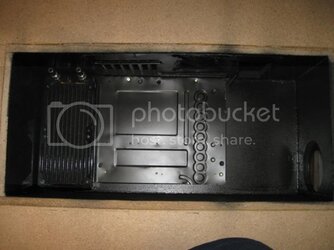
After a couple coats of metallic black and with the motherboard plate and radiator in:


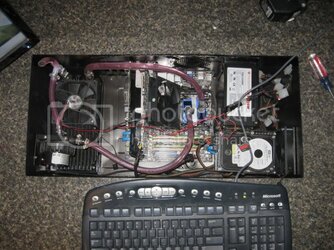
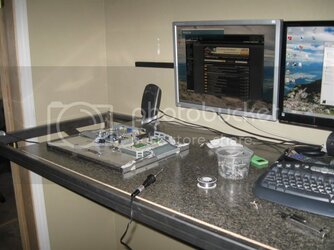
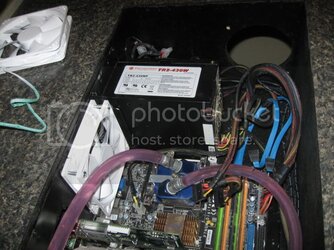
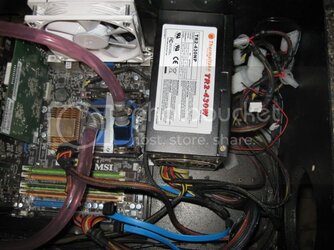
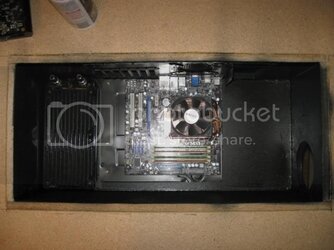
Motherboard installed - MSI P7NGM - Digital, Q6600 G0 @ 2.9Ghz and 6GB of PC5300:

My trusty GTS 250 @ stock for now. Once this project is done I'll start playing with it a bit . You can also see the SATA cables running back under the motherboard towards the drive cage area.

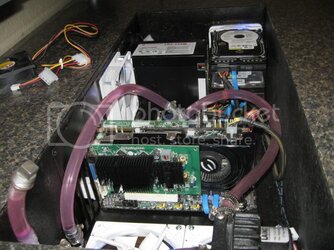
This is with the "new" 8400GS I just acquired and the WinTV HVR-1800 that I scavenged from a dead HP media center. Not much room there...


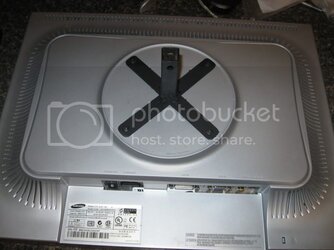
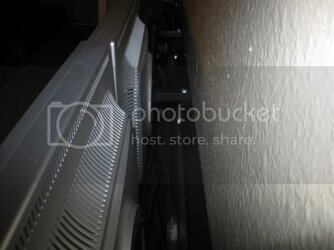
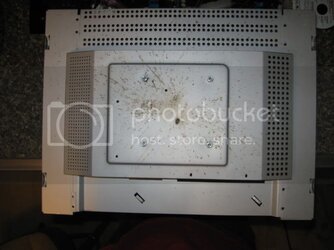
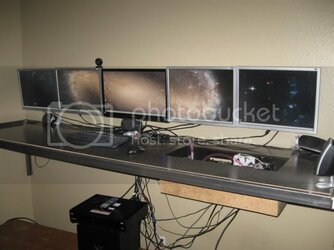
You probably have noticed that I have a total of 3 video cards here. This is for a reason . I happened upon some Samsung 214T 21" 4:3 LCDs that didn't work. The owner said I can just have them so she does not have to worry about throwing them away. Well, I got lucky and found out they have a common capacitor problem that fixes them most of the time. After replacing the 6 caps on the first one and making sure it worked correctly, I picked the parts to fix another 3 but they only had enough for 2. Once those other caps come in I can add a 4th one for a total of 5. This gives me a massive work space to layout schematics, have articles open, play media, watch TV, and I have the Samsung 2494 widescreen I already had to play games on.
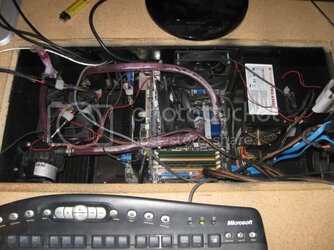
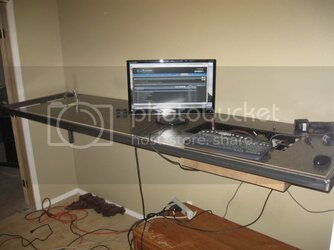
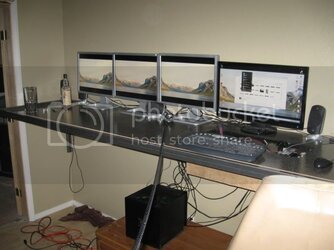
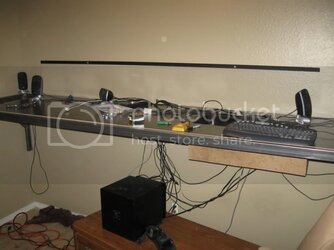
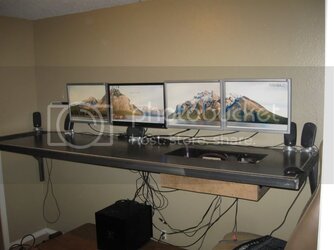
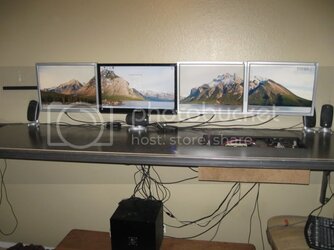
Here is a snapshot of the set up so far.

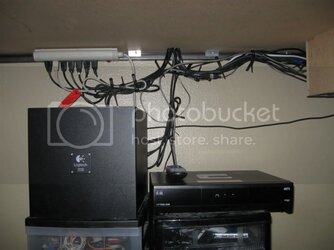
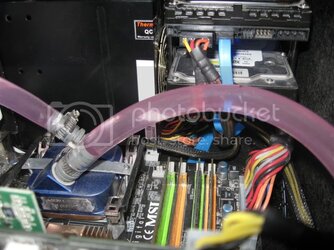
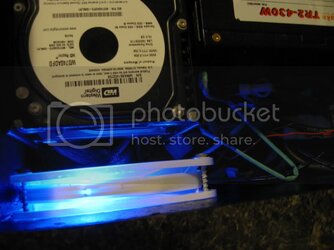
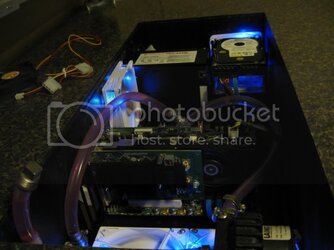
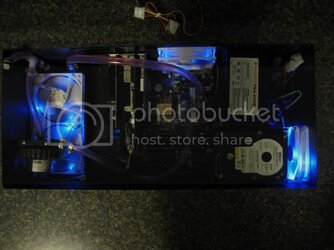
You can see the power supply cables and hard drives laying on the desk. This is still very much a work in progress so stay tuned. In the next couple days I should be able to get the other LCD fixed, the water cooling installed (Thanks Ifmu!), and cables cleaned up. I also need to modify the hard drive brackets and get a few fans as well as get the LCDs mounted on the wall.
I will say that I'm not a huge fan of all the "bling" he has, but I really like the concept. I also have a pretty limited budget, so the hardware isn't going to be incredible. Now with that said here is the project so far.
The first thing I decided was that I wanted to have this be a standing height desk. After having used one at one of my client's offices I fell in love. The standing height really seems to help my posture and keep me more awake. I decided I wanted it all the same height and I can build a new chair for the height if need be.
Now I needed to figure out how big it needs to be. I finally settled with a standard desk depth of 30". The space I wanted to put the desk in is almost exactly 10' but I wanted to leave some space for a tall and narrow book shelf so I figured 110" with mounting tabs extending out to 112" this makes it exactly 7' long with 16" on-center studs. I would have loved to use the giant aluminum square tube the other guy used for his but my budget simply won't allow it. I also don't have the equipment or ability to weld aluminum yet
Steel stacked in the garage:
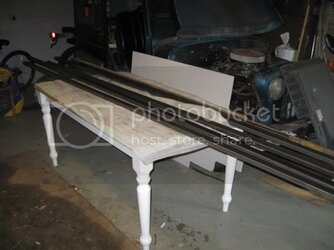
Total cost of steel was around $100 for 44 feet.
The desk will have a rectangular frame with a wood insert that sits flush with the steel frame and will be support by some gussets and legs with mounting tabs. Unlike my previous welding project I wanted to try making a some more difficult welds than just 90 degree butt joints. I don't have a hot saw so making the cuts takes some patience with a Sawz-All and some cleaning up with grinder. It can be done though!
Cut:
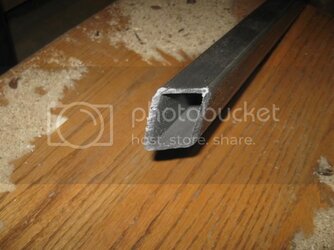
Only the "front" corners will be mated 45 degree cuts. Where the support legs tie I used a 90 butt joint because the weld will never be seen and this is just a bit easier.
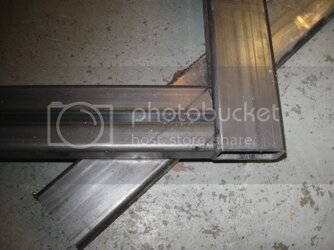
Here the support leg has been welded and ground already but the gusset now need to be attached. I used some strong magnets to help hold the gusset in place while I welded it in.
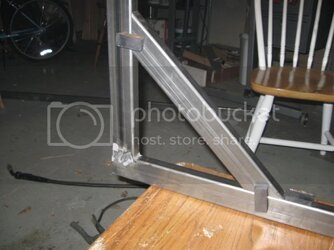
Here we have 2 identical end legs. The ends pointed down have been cut at 45 degrees to match the front bar.
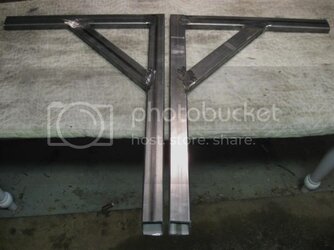
With the back crossmember in:
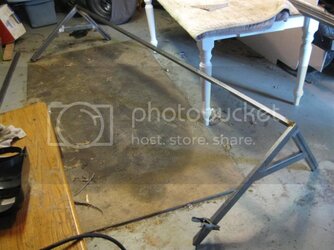
One side of the front crossmember in: may not look like it but welds are mush improved over my previous projects. They will still need to be touched up with the grinder but it won't take much.
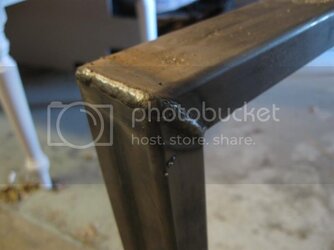
I needed to get the mounting tabs made so I cut 6 tabs 2.5"x1" from some 3/16" plate, cleaned up the edges a bit and drilled mounting holes. These are welded to the support legs and are lag bolted to the studs in the wall.
Here is the whole thing fabbed up and ready to hang:
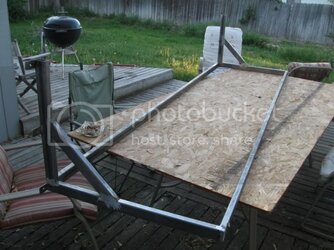
In this form it weighs almost 90 pounds!
This is the space it will be going in. The hanging shelf is too low and will have to go:
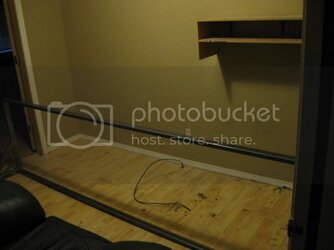
I had to get my neighbor to come over and help lift it up and hold it in place while I bolted it in. You can see the aluminum angle I cut and screwed the the insdie rail to support the wood top. The angle aluminum is 1"x1" and held with metal screws. They around mounted every 12" along each rail 3/4" from the top edge to allow for the 3/4 particle board that will be the desktop:
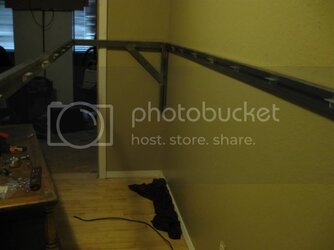
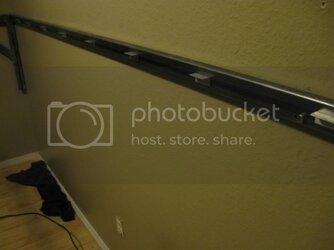
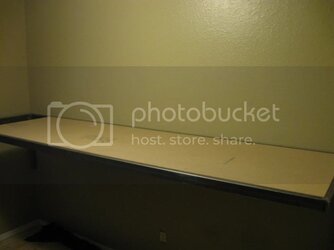
Shortly after this picture disaster struck. One of the lags bolts sheared off so half the desk crashed to the ground leaving some nice scratches and tweaking the mounts. I've gotten it pretty straightened out now but I had to mount the desk 2 inches lower to avoid the broken half of the bolt still in the wall. It now sits at 46" high which I still find to be quite comfortable.
I still need to build the recess in the top for the PC but I'll need something to mount the motherboard, cards, and power supply. I decided to hack up an old empty PC case I had lying around. It was all scratched up anyway.
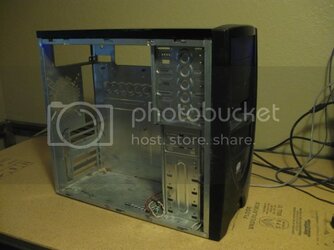
After drilling out all the rivets and removing a screws I am left with this:
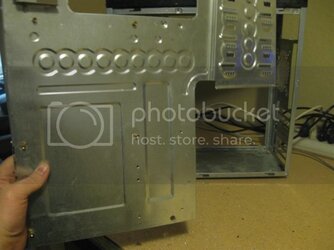
After some cutting and cleaning with the grinder and file I am left with this:
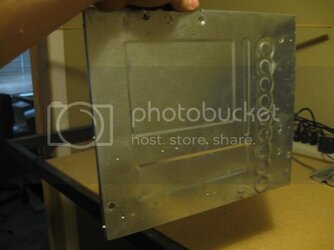
this:
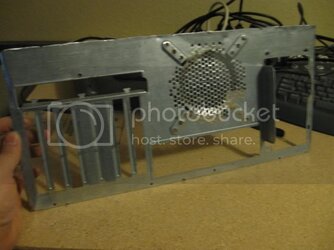
And these:
Now I need to cut the hole in the top for the recess. Here it is with the cut pieces ready for install. The opening is 25"x11.375" and is 8.5" deep. All the side pieces of the recess are 5/8" particle board. The bottom is 3/4" recycled from the piece cut from the opening:
Here is the back plate opening and the plate attached.
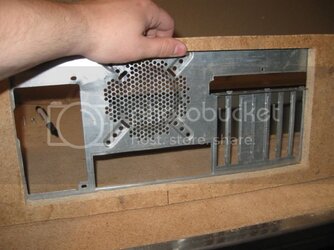
The sides are attached with wood glue and 2" brad nails.
Here are the sides put together with the bottom in and the seams sealed up. You can see the opening for the radiator to the left and an opening for a fan on the right. I may end up putting 2 fans on the side but with the back exhaust fan already in there I'd have negative pressure with the 2 rad fans pulling in. I'll see how it holds temps with the 1 and go from there.:
After a couple coats of metallic black and with the motherboard plate and radiator in:
Motherboard installed - MSI P7NGM - Digital, Q6600 G0 @ 2.9Ghz and 6GB of PC5300:
My trusty GTS 250 @ stock for now. Once this project is done I'll start playing with it a bit
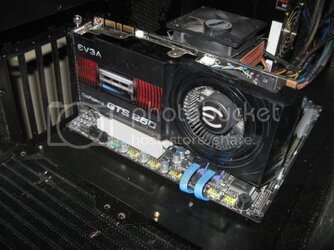
This is with the "new" 8400GS I just acquired and the WinTV HVR-1800 that I scavenged from a dead HP media center. Not much room there...
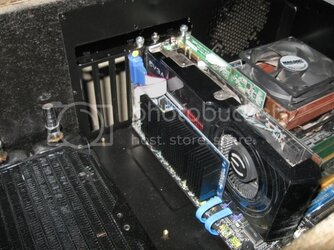
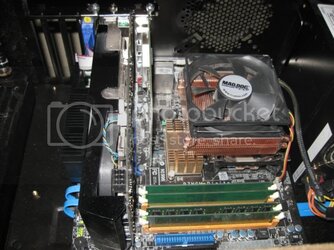
You probably have noticed that I have a total of 3 video cards here. This is for a reason
Here is a snapshot of the set up so far.
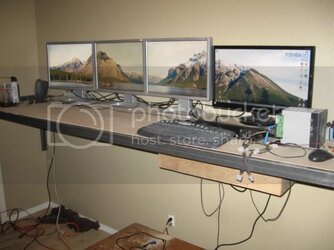
You can see the power supply cables and hard drives laying on the desk. This is still very much a work in progress so stay tuned. In the next couple days I should be able to get the other LCD fixed, the water cooling installed (Thanks Ifmu!), and cables cleaned up. I also need to modify the hard drive brackets and get a few fans as well as get the LCDs mounted on the wall.
Last edited:
