- Joined
- Jul 28, 2002
- Location
- Boise Idaho
- Thread Starter
- #21
After a busy Friday I got some minor progress done! My roommate helped me remove the top and remount the brackets that hold the main insert in. The edge is now flush with the outer rail. I also got a sweet deal on the glass insert finally. It was part of a remnant they had from another project. It's 1/4" thick with no fancy bevels. I supported it along the outside edged with some some 1/2" angle aluminum.

I cut the ends at 45 degrees to for a proper fit all the way around the edge. I then drilled 7/64" holes in them and the desk for some small 3/4" length screws.

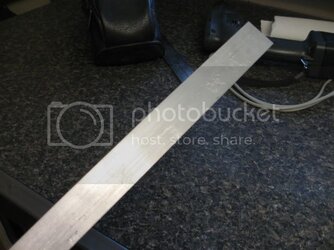
After cutting and finishing the edges I took a wire brush to the pieces to create a brushed aluminum look, which turned out great. Unfortunately the phone camera doesn't pick it up very well but it's there .
.
http://i32.photobucket.com/albums/d46/exilesanhusky/IMG_20111209_192849.jpg
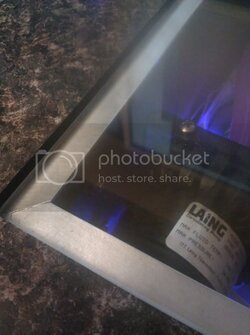
Here is one of the corners after the mounting and the glass in.

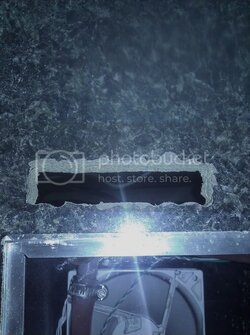
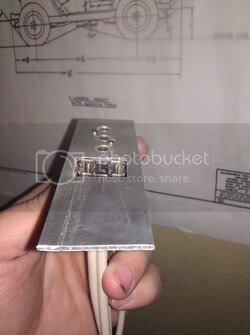
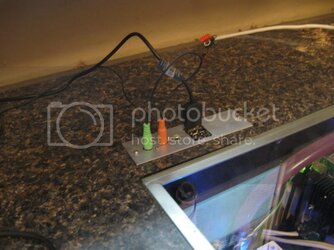
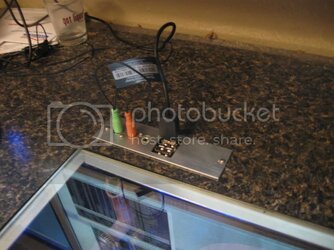
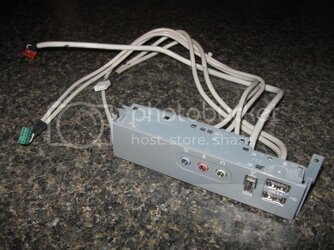
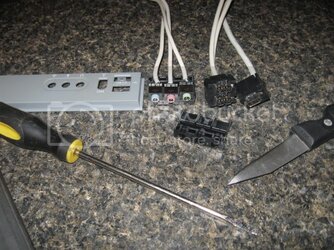
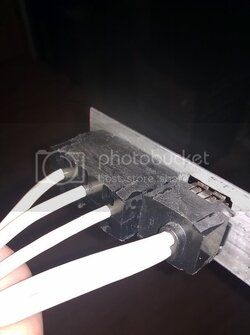
That's about all the progress for today. Tomorrow I think I can get the power button, USB, and mic ports in. We'll see what happens
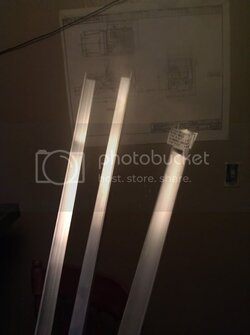
I cut the ends at 45 degrees to for a proper fit all the way around the edge. I then drilled 7/64" holes in them and the desk for some small 3/4" length screws.
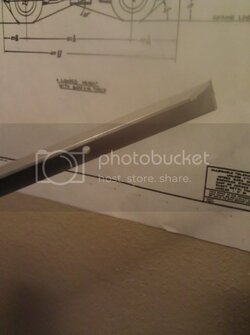
After cutting and finishing the edges I took a wire brush to the pieces to create a brushed aluminum look, which turned out great. Unfortunately the phone camera doesn't pick it up very well but it's there
http://i32.photobucket.com/albums/d46/exilesanhusky/IMG_20111209_192849.jpg
Here is one of the corners after the mounting and the glass in.
That's about all the progress for today. Tomorrow I think I can get the power button, USB, and mic ports in. We'll see what happens
