• Welcome to Overclockers Forums! Join us to reply in threads, receive reduced ads, and to customize your site experience!

Monster Gaming/Movie Watching 3x2 Monitor Array Build

Overclockers is supported by our readers. When you click a link to make a purchase, we may earn a commission. Learn More.

Sam__

Member
Joined
Mar 12, 2007
Location
UK
I've not being active here for a very long time but a few years ago I used to frequent this site. I thought I'd let you guys in on a project I'm having a go at.

Well I have had a wonderful idea. The perfect procrastination from revising for my university exams. Building a nice 3x2 monitor array.

This project is mostly because I want to see if this kind of array is usable for playing games and watching movies. Building the stand should be pretty fun as I'm a complete n00b at metal work. I barely know which way to hold a dremel. I am though a relatively practical person so I should be able to muddle my way through. Either way this should be a good learning experience.

The budget for this project is as little as possible. I have minimal funds so as much will be done on the cheap as possible.

I have 6 second hand 17" monitors on the way. All gathered from Ebay over the past few days. Total price £110(175 of your American dollars). I was surprised how cheap they were. I was expecting to pay £120+. They are a bunch of different manufacturers: 2x HP, Sony, Dell, Samsung, LG. This could create quite a challenge for colour calibration but we will cross that road when we have to. Hopefully they all use similar panels.

Each 17" monitor being 1280x1024 will give a final resolution of 3840x2048 and a viewing size in the region of 48". Not too shabby for the price. There is of course the downside of having multiple monitors showing an extended image. The bezels. I will be removing the cases and trying to minimize bezel size. It will be interesting to see how much they effect the viewing of any media. At the moment I think that it will be very noticeable at the start but the human eye is a very clever thing and it will hopefully get used to it very quickly and after a few episodes of House I'll not even realize they're there.

I have started designing and purchasing materials for the frame to hold them all together. Details will be posted shortly.
 
Can't wait to see your system when done; I was thinking of doing a similar thing but just did 3 monitors only (for now).

What video card(s) are you going to use?
 
Very cool project. Are you intending to make a flat panel array or a pitched panel?
The biggest trick here is going to be mounting up the GPU resources to power such a resolution. Technically a single 7970 could run the resolution but I really doubt that those monitors support display port and converters can get very expensive pretty fast. Maybe a crossfire pair of 7850s would have a better time of it.

Im interested to see how this works out. I have been considering ordering 3x of the panels in my laptop and making a 15:8 3600x1920 screen thats 33x16" with the sides on a 10* pitch.

Good luck!
 
If you want to play games on that setup, you're going to need a VERY expensive video card setup.

If you want to watch movies, you can throw in however many old video cards and just extend the desktop. xD

DP to VGA converters aren't that bad, AFAIK DP is analog and digital, like DVI, so no expensive converter needed.
 
As has been said some pretty beastly GPU power will be needed to game on it. This I do not have so that may have to be a later investment. I don't have to game at full resolution though and will try out using different numbers of screen to see which fits best for which games.

It may be a few years before I have the funds or graphics cards get cheap enough for me to game at full resolution.

The monitors will not be pitched at all, it will me completely flat. I think this is best for viewing media and I mostly play racing games so having angled monitors is not as important as if I were to play FPSs and want to have my face inches from the screen :).
 
Hopefully the pics wil end up an appropriate size. Apologies if they're not. Shout and I'll make them smaller.


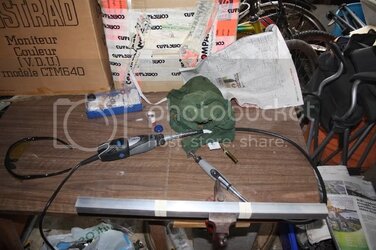
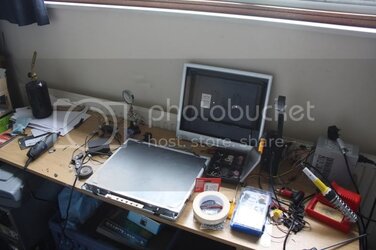
The work area:

IMG_4470.jpg

This monitor is an old broken one that I've been using for measurements.

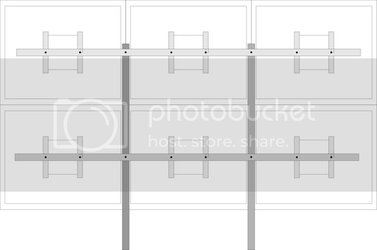
After some measurements were made I got my Illustrator on and mocked up some designs.

Light grey is aluminium. Darker is Steel. The only reasons for steel is it was a bit cheaper and will add some good weight to the stand. All aluminium would be a tad too light for my liking.

From the front.

MonitorStand_2_colour.jpg

From the side.

MonitorStand_2Side.jpg

The plan with the stand is to have a small amount of adjustability in the horizontal and vertical directions but nothing to do with viewing angle. This will mostly be used as a media viewing and gaming device so having the panels flat will be optimal and a lot easier to implement.

I'm also toying with the idea of a diagonal support beam across the middle to stop any tilt from happening although unlikely it would be nice to be safe.

I will admit I'm not the best at Illustrator and wish I was a wizz at 3D CAD but alas, I am not. Most of my designs are scribbles on bits of paper floating around my desks.
 
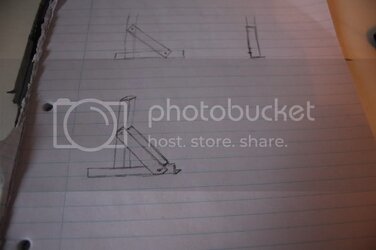
Here's a slight better design for the feet of the stand. Good old fashioned pen and pencil.

IM_089.jpg

I went to the shop yesterday to get materials after I was happy with the designs. Before going I had a look at prices on the web to see what they were like. Everything on the web was cheap per meter but the postage costs were around the £10 mark if not more. This was not great when I was only looking to spend about £25. Gardiners in town ended up being cheaper over all but more expensive per meter.

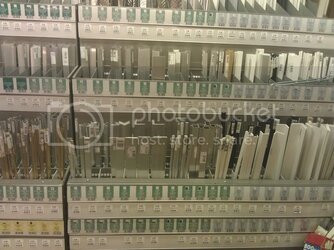
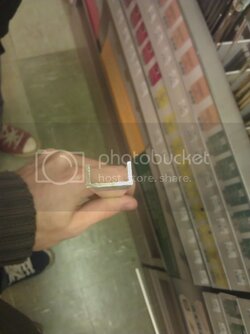
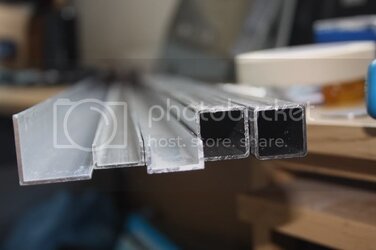
I was impressed with the range of options they had.

IMAG0314.jpg

There was more to the left. Steel and things.

I chose to get:
20mm x 20mm x 1.2mm Steel Tube - For the Uprights
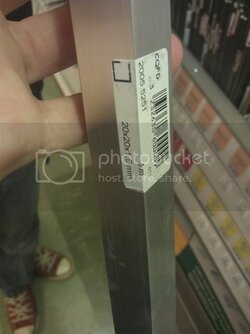
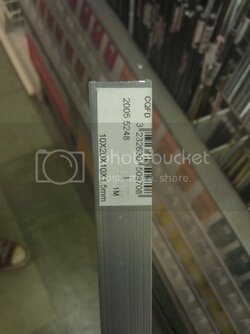
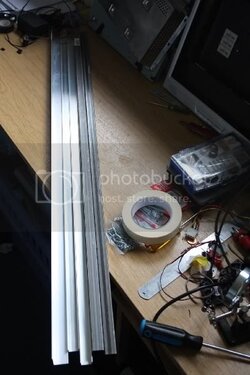
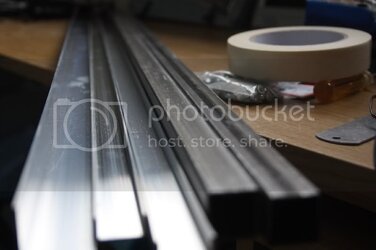
20mm x 10mm x 1.5mm Aluminuim U Bar - For the Horizontal
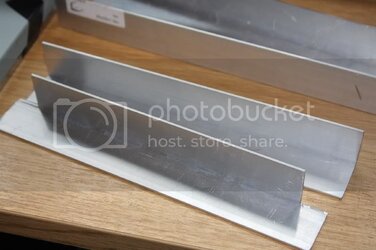
25mm x 1.5mm L - For the Feet
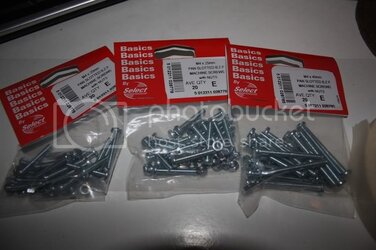
M4 Nuts and Bolts.

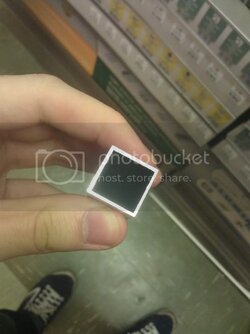
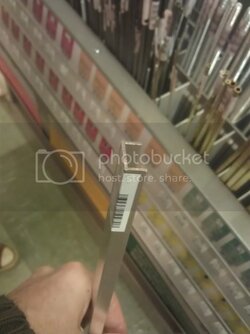
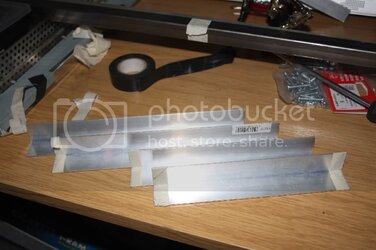
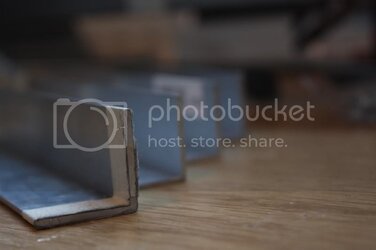
Some pics of the materials I chose.


This is the aluminium tube I was first tempted buy but then opted for the steel.
IMAG0323.jpg

IMAG0322.jpg

IMAG0321.jpg

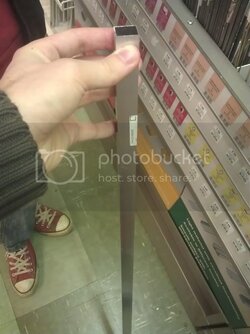
The U bar.
IMAG0320.jpg

IMAG0319.jpg

IMAG0318.jpg

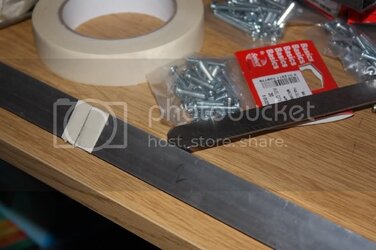
Nuts and bolts.
IMG_4571.jpg
 
The final set of ingredients. All important masking tape included.

IM_004.jpg

IM_007-Copy.jpg

IM_010-Copy.jpg

I am yet to figure out how to do the mounting for the monitors. I had a look at using aluminium plate but it seemed to flexible when I got my hands on it so I'm going to have to do some scribbling on paper to figure it out.
 
If you want to play games on that setup, you're going to need a VERY expensive video card setup.

If you want to watch movies, you can throw in however many old video cards and just extend the desktop. xD

DP to VGA converters aren't that bad, AFAIK DP is analog and digital, like DVI, so no expensive converter needed.

With adapters, I know some people spend $100 USD, just on one, but I bought this one, eBay link, for $12. Yes it took a month to come in, but now my eyefinity works. Playing all games on max. Granted my resolution is only 3072 x 768 on 3 1024x768 15" monitors... I am yet to see how far it can be pushed.
 
Monoprice.com is the holy grail of any cable/adapter needs. It's cheap, but the stuff you get from them is very good quality.

miniDP to VGA
DP to VGA
DVI to VGA

HDMI to VGA isn't so simple, since VGA is an analog only connection, and HDMI is a digital only connection. You need a DAC in between, which can get expensive.

Never seen the site before, thanks for the link as it is just a few $ more, but I feel a little more reliable with that (like it makes a difference, everything comes from China)...
 
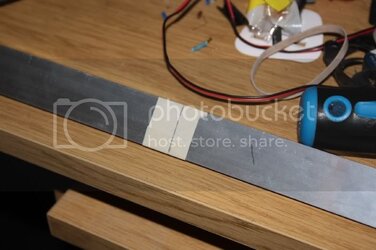
First to be made are the feet. This is the most I can really do at the moment before the monitors arrive.


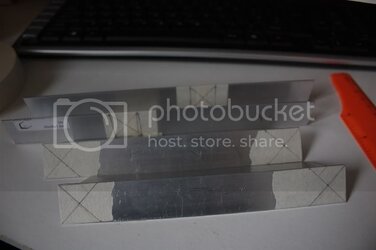
Marking up.
IM_015.jpg

IM_016.jpg

IM_019.jpg

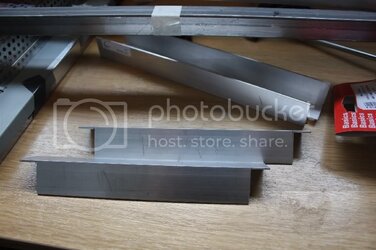
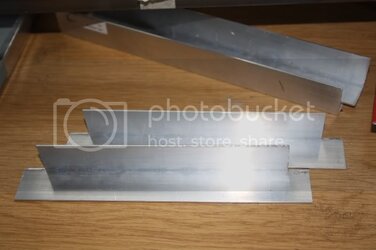
The first few cuts! Always a good feeling backed with slight nerves concerned if you've done the measurements correctly.
IM_031.jpg

IM_030.jpg

Not to shabby if I do say so myself.

IM_063.jpg
 
IM_065.jpg

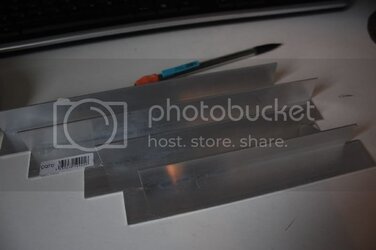
After cutting out the parts for the feet.

IM_066.jpg

IM_070.jpg

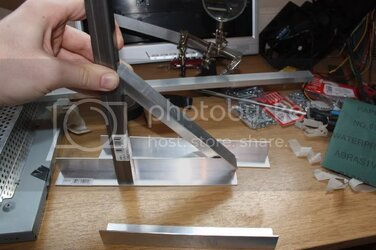
This is the basic idea with the feet in action.

IM_072.jpg

Marking up to make the final cut on the supports for the feet parts.

IM_075.jpg

IM_076.jpg

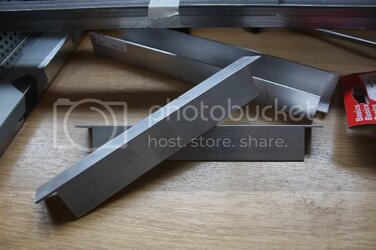
Cut supports.

IM_078.jpg

IM_079.jpg

IM_080.jpg

In their place.

IM_082.jpg
 
IM_083.jpg

A nice close up of my handywork.

IM_084-2.jpg

One down, one to go.

IM_087.jpg

Both done.

IM__004.jpg

IM__007.jpg

IM__008.jpg

IM__009.jpg

Ready for holes to be drilled

IM__013.jpg

Pilot hole.

IM__016.jpg

IM__019.jpg

IM__020.jpg
 
Drilling the steel was a little harder than the aluminium as expected. I actually used an old electric drill not the dremel to drill the holes.

IM__025.jpg

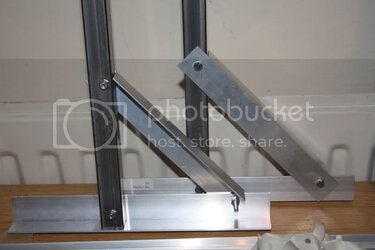
The base taking shape.

IM__028.jpg

IM__029.jpg

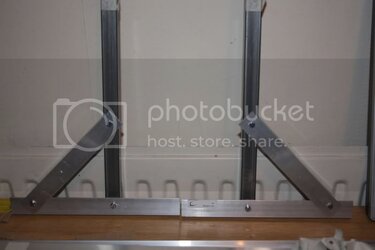
The final product.

IM__032.jpg

Just need to rinse repeat and I'll have another one. This one stands pretty straight, maybe only a degree or two off which I think I can deal with.
 
Last edited:
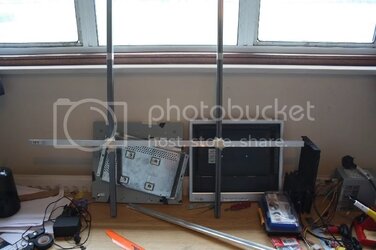
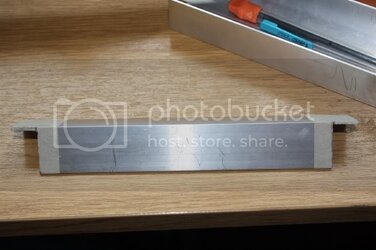
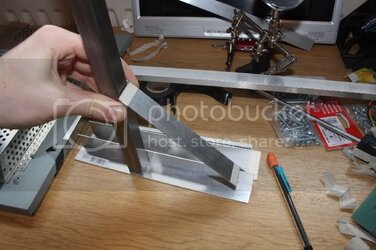
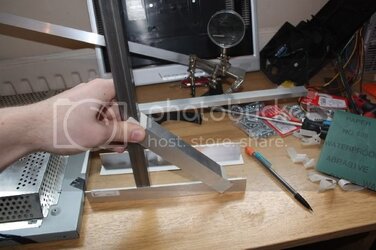
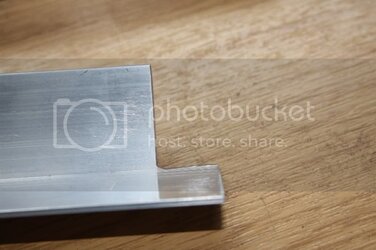
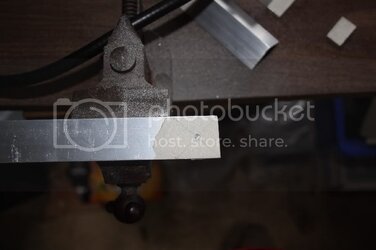
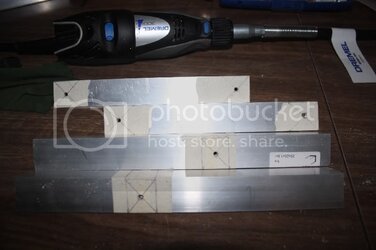
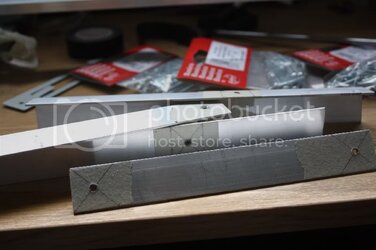
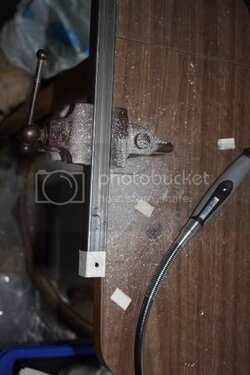
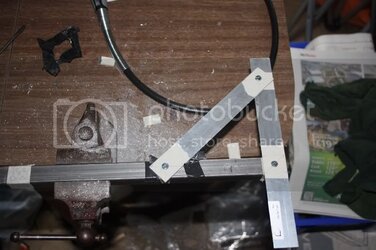
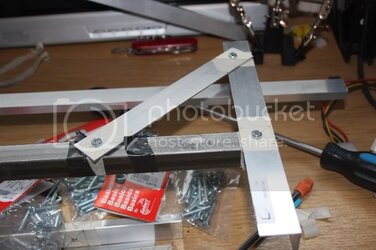
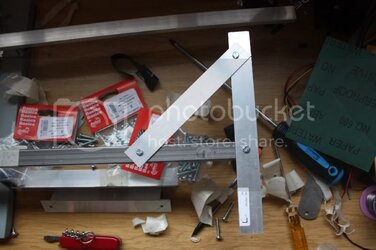
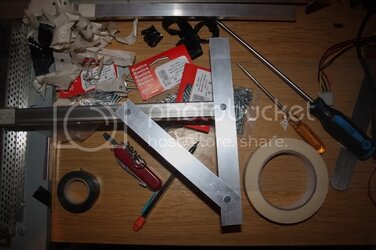
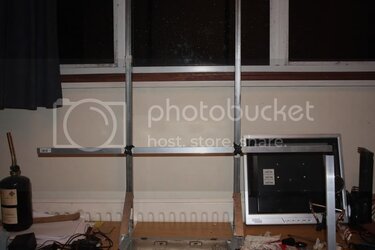
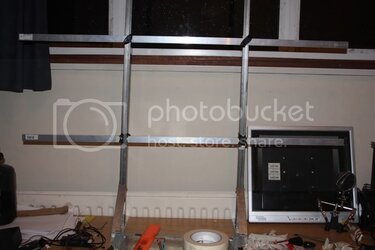
Just started drilling the Aluminium U tube. Drilled two holes to mount the backplace on as in the design. Bolted it onto the screen and it flexed. This is not good. It looks like I'm going to have to alter the design a bit. Thinking of using two horizontals for each row of monitors.

New designs on the way.
 
Back