- Joined
- Aug 6, 2013
- Location
- CA
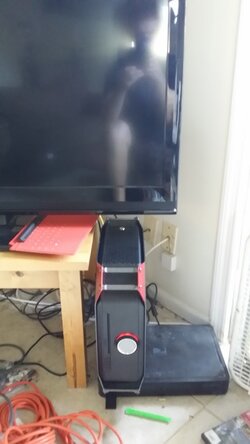
I have been looking at the asrock m8 case for a while now. From what I had read, the case is outstanding, you just have to understand it has thermal limits  I also didn't want to break the bank to0 bad. With that in mind here is my build:
$470 - Asrock M8 Mini-ITX bare bones PC
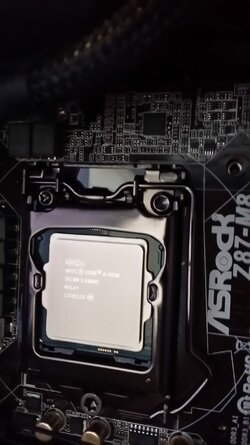
$140 - Intel Core i3-4330 Haswell 3.5GHz LGA 1150 54W Dual-Core
$40 - ZALMAN CNPS8900 Quiet 110mm Ultra Quiet Slim CPU Cooler
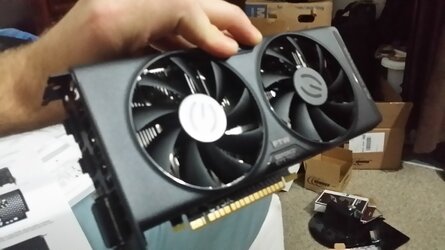
$160 - EVGA GeForce GTX 750 Ti 2GB FTW
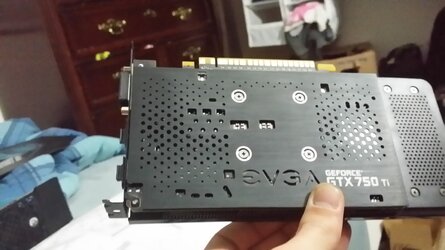
$14 - EVGA backplate
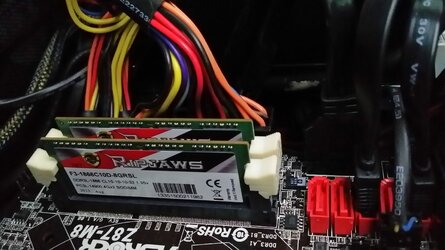
$85 - G.SKILL Ripjaws Series 8GB (2 x 4GB) DDR3 SO-DIMM 1866
$60 - SAMSUNG 830 Pro 128GB SSD (already owned)
$50 - SAMSUNG 500GB 5400 RPM
$100 - Microsoft Windows 8.1
Total = $1119
I see several use scenarios for this build. I already own a much beefer desktop, so this computer will most likley live in the living room most of the time. I will use it as HTPC, "steam box" (I mostly play BF4 go figure), traveling "LAN" rig (I don't really do LAN parties but when I go to my parents or GF's house for the weekend I'll probably bring along), and an efficient dogecoin miner.
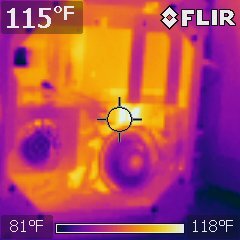
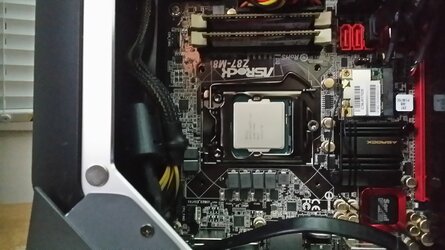
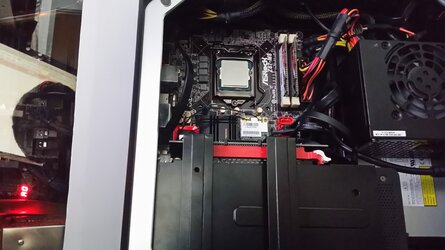
I have finally built up the computer and got it running after several nights of tinkering. Here are some challenges I faced when I was assembling.
-You must remove the motherboard to install aftermarket CPU coolers. When it comes all ready to go its funny to have to unplug everything.
-The CPU cooler barely fits. I actually only have 3 bolts on there right now. I tightened the two opposing ones the most, seems to be working great. I need to figure out how to pull the bottom fan panel off to get the last bolt on the CPU cooler.
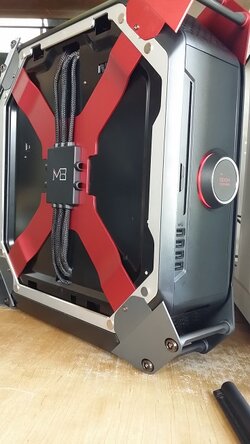
-Read the instructions on how to dissemble the case! It is not intuitive, but after taking is apart a few times now I have the hang of it.
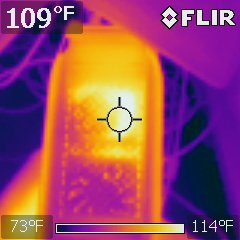
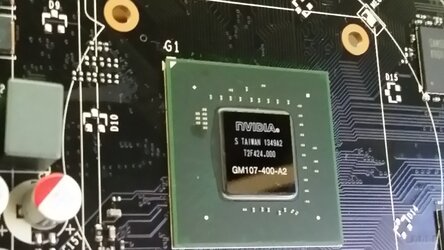
-My graphics card came with a RIDICULOUS amount of thermal paste. It covered the entire green portion of the PCB pictured below. Def a mistake on EVGA's part. Must be rushing these out the door. The card was idling at 60C until I reapplied some silver thermal compound I had only on the die itself. Temps cut in half after I reapplied grease. Mining dogecoin it hovers a tad over 70C.
Well here are some die pics ect. I'll post back with more glamour shots of the assembled rig tonight!!
I also didn't want to break the bank to0 bad. With that in mind here is my build:$470 - Asrock M8 Mini-ITX bare bones PC
$140 - Intel Core i3-4330 Haswell 3.5GHz LGA 1150 54W Dual-Core
$40 - ZALMAN CNPS8900 Quiet 110mm Ultra Quiet Slim CPU Cooler
$160 - EVGA GeForce GTX 750 Ti 2GB FTW
$14 - EVGA backplate
$85 - G.SKILL Ripjaws Series 8GB (2 x 4GB) DDR3 SO-DIMM 1866
$60 - SAMSUNG 830 Pro 128GB SSD (already owned)
$50 - SAMSUNG 500GB 5400 RPM
$100 - Microsoft Windows 8.1
Total = $1119
I see several use scenarios for this build. I already own a much beefer desktop, so this computer will most likley live in the living room most of the time. I will use it as HTPC, "steam box" (I mostly play BF4 go figure), traveling "LAN" rig (I don't really do LAN parties but when I go to my parents or GF's house for the weekend I'll probably bring along), and an efficient dogecoin miner.
I have finally built up the computer and got it running after several nights of tinkering. Here are some challenges I faced when I was assembling.
-You must remove the motherboard to install aftermarket CPU coolers. When it comes all ready to go its funny to have to unplug everything.
-The CPU cooler barely fits. I actually only have 3 bolts on there right now. I tightened the two opposing ones the most, seems to be working great. I need to figure out how to pull the bottom fan panel off to get the last bolt on the CPU cooler.
-Read the instructions on how to dissemble the case! It is not intuitive, but after taking is apart a few times now I have the hang of it.
-My graphics card came with a RIDICULOUS amount of thermal paste. It covered the entire green portion of the PCB pictured below. Def a mistake on EVGA's part. Must be rushing these out the door. The card was idling at 60C until I reapplied some silver thermal compound I had only on the die itself. Temps cut in half after I reapplied grease. Mining dogecoin it hovers a tad over 70C.
Well here are some die pics ect. I'll post back with more glamour shots of the assembled rig tonight!!
Attachments
Last edited: