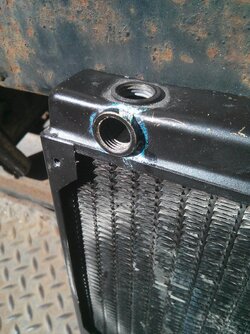
My motherboard died a few days ago. My new one is supposed to be here monday, so I thought I would tear everything down and start getting ready for new parts. I spotted a leak and decided to fix it. This is the area that is leaking. It was only a slow drip, but was away from any electronics, so it didn't cause any problems. The blue is from the biocide, I think. I used flux that is meant for plumbing copper pipe from home depot. The solder I used is regular electronic solder. It has lead and toxic metals, but it melts at lower temperature than the plumbing solder. i don't drink water from my pc radiator....

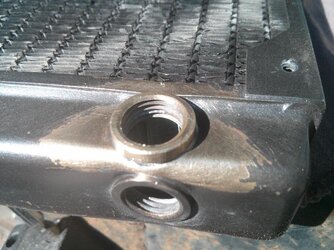
The leak is around the threaded area that the fitting screws into. It kind of looks like the end has been hit. I don't know if I did it or it was already like that. I bought this used.
First step is to use a wire brush and clean the area really good. I have a wire brush with stainless steel bristles that is about the size of a toothbrush.
The cleaner it is, the better the solder will work.

I have done some plumbing of copper pipe in my house, so I figured this wouldn't be much different. I followed basically the same methods, but this really took very little heat. Probably because it is so thin. Be careful -if you get things too hot, then solder at other places will start to melt and you will cause more problems than you fix.
Apply plumbing flux. Slowly warm up the area with a propane torch until solder melts into place. Solder will flow to the areas that are hot and clean.
Then let cool. Don't blow on it or use water, just let it cool slowly.
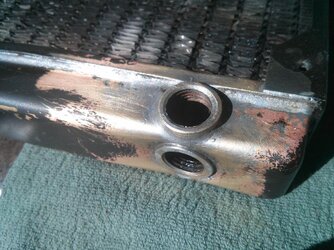
Use wire brush to clean up flux and residue.

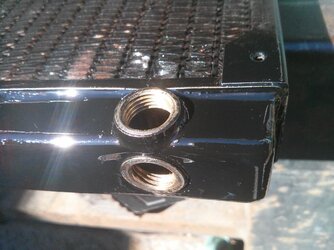
I threw on some paint that I had. I doesn't match well, but that is all I had.
Remember to thoroughly rinse radiator out when finished. You could probably put plugs in and fill and turn up side down to check for leaks or pressure it up slightly with air and use soap bubbles to check for leaks, but I don't think these are meant to hold very much pressure.


The leak is around the threaded area that the fitting screws into. It kind of looks like the end has been hit. I don't know if I did it or it was already like that. I bought this used.
First step is to use a wire brush and clean the area really good. I have a wire brush with stainless steel bristles that is about the size of a toothbrush.
The cleaner it is, the better the solder will work.

I have done some plumbing of copper pipe in my house, so I figured this wouldn't be much different. I followed basically the same methods, but this really took very little heat. Probably because it is so thin. Be careful -if you get things too hot, then solder at other places will start to melt and you will cause more problems than you fix.
Apply plumbing flux. Slowly warm up the area with a propane torch until solder melts into place. Solder will flow to the areas that are hot and clean.
Then let cool. Don't blow on it or use water, just let it cool slowly.
Use wire brush to clean up flux and residue.

I threw on some paint that I had. I doesn't match well, but that is all I had.
Remember to thoroughly rinse radiator out when finished. You could probably put plugs in and fill and turn up side down to check for leaks or pressure it up slightly with air and use soap bubbles to check for leaks, but I don't think these are meant to hold very much pressure.
