- Joined
- Jul 10, 2010
- Thread Starter
- #21
Update!
Day: Whatever.
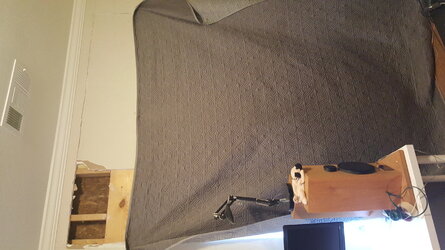
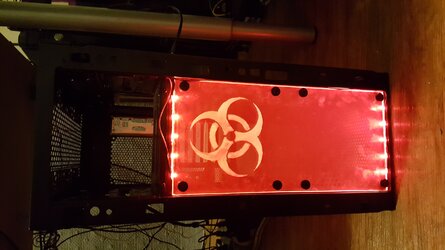
Some photos of the setup in the new apartment. It's still a bit messy as these were taken during the move in process. I had a come down with a cold, so my priorities weren't on tidying up loose boxes or wires yet.

I replaced the 5/4 aspect ratio monitor with 2x 1080p monitors I bought from a coworker for $50 each.

Because of the 3x monitor setup, my computer no longer fits on my desk (which is a great problem to have). Luckily, i have this wire shelf that just so happens to be the perfect size, with room for radiators and storage space below.

Now for the actual build updates. Since i haven't updated this log in so long there's a lot of stuff in here (i actually moved to my new apartment several months ago)

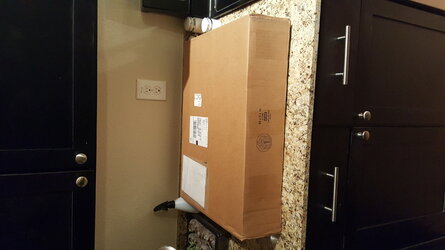
That's a big box.

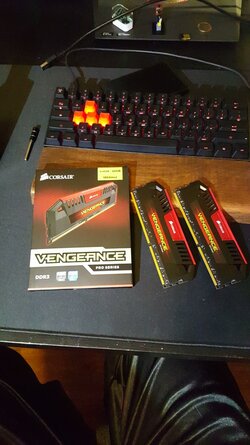
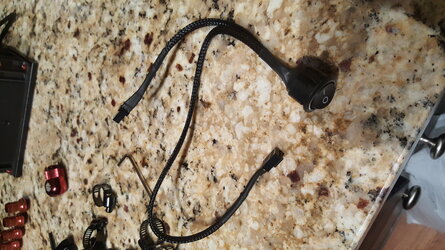
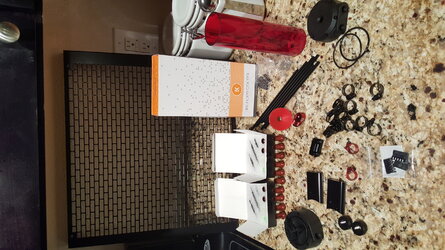
I was running low on tubing, so i decided to go ahead and pick up another box along with some other goodies


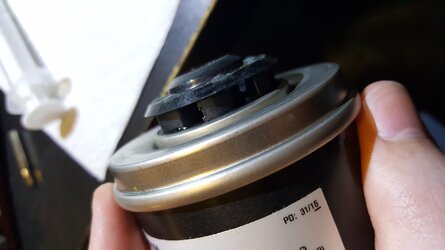
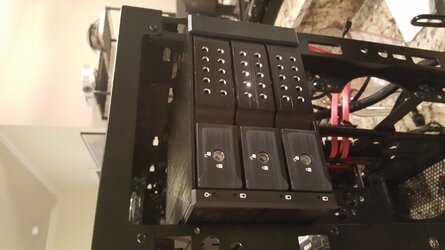
My old res/pump combo was pretty old and noisy, so i wanted to upgrade to something a bit nicer and i needed something to fill up my 5.25 bays.
and finally we have the long awaited centerpiece of this build

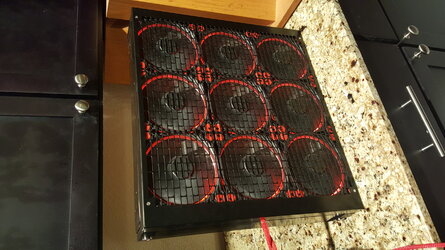
A 9x 140mm rad. I've always been a fan of rad overkill builds, so I've been wanting to buy something like this for quite some time. The initial plan was to get a 6x, or 2 4x rads to set inside a custom wood box that would sit below my monitors. This would have been really cool, but it also would have added a few hundred dollars to the project budget, and i don't currently have access to the woodworking tools i would need.
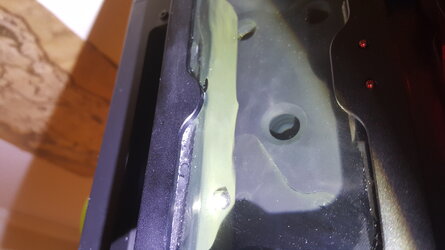
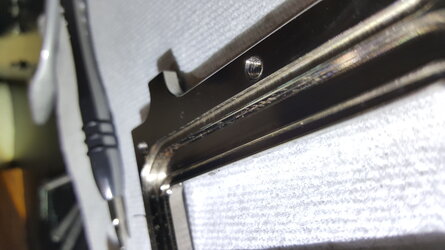
unfortunately the rad got damaged in shipping, popping 2 rivets from the casing


I was going to contact performancePc about a partial refund, as i didn't want to wait for an RMA, or deal with the shipping hassle of sending back a giant block of metal. I never got around to dealing with it, but i don't think it will effect the project enough to be a major headache.

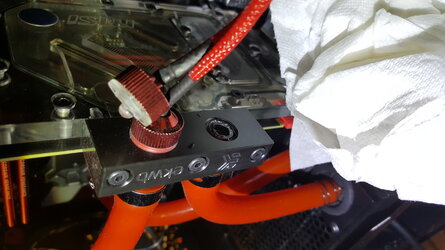
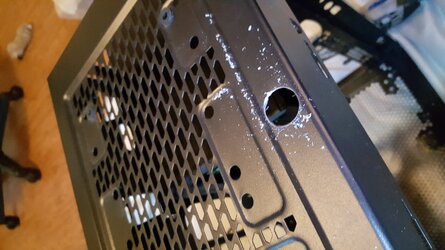
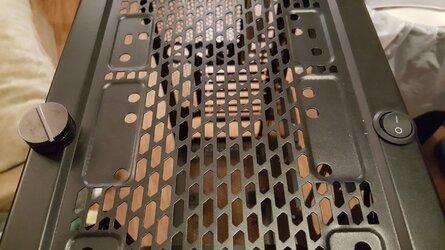
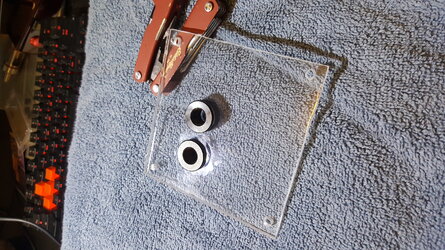
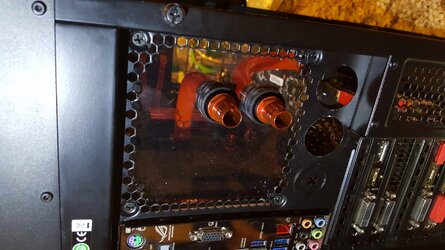
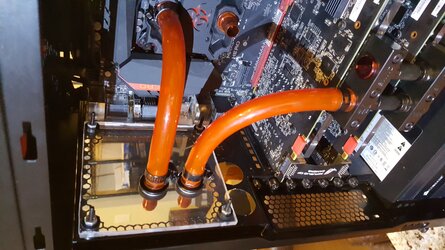
Leak testing the tower with an extra OEM psu. It took a while to attach the tubing to the fittings for the bay res, and i had to bend some metal to get it to fit properly, but everything went together without any leakage. The system has been running for over 2 months without any dip in water level

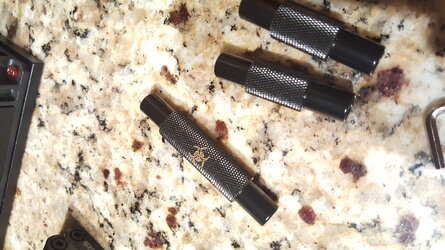
I ordered this 140mm AeroCool Fan to test for the res. Honestly would not recommend, I ended up sending it back after a month. The bearing started sounding funny, the fan itself wasn't very quiet, and all the rubber construction "features" to the fan blades were a gimmick.
Because the rad is so much overkill for the current system, i moved the 2 140mm case fans onto the rad, and left the rest open to leave myself time to save up for the massive amount of fans i would need. I did some temperature testing to compare the old radiator vs the new one. All tests were done with folding@home stressing the only the gpu for at least 15 minutes.
-- ld rad:--
1x fan low speed
CPU: 65-73
GPU: 54
Water:43.2
2x 100+ CFM fan max:
CPU: 50-53
GPU: 46
Water: 34.8
With the new rad, i can run 2 stock fans at a dead silent 30% power (minimum spinup speed) with lower temps than the old setup with 2x leafblower fans running at full speed. I found I could get away with running the new rad passively, but the temps aren't ideal, and the performance gains from even 1 fan running silently was exponentially better than no fans.
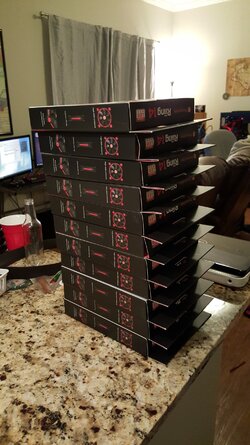
After another month or two, I bought and tested a Thermaltake Riing fan to replace the failed AeroCool fan. My past experiences with Thermaltake have been hit or miss, but i really like the look, and noise level of these fans. After reading some in dept reviews i decided to pull the trigger on getting another 11. Luckily someone on amazon was trying to clear their stock, so i was able to get them for 10$ each+free ship (normal retail value is $15-$18)


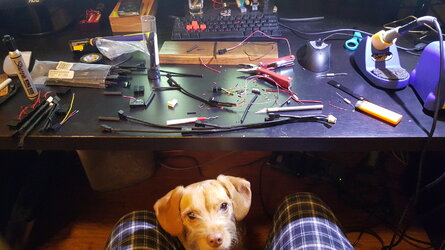
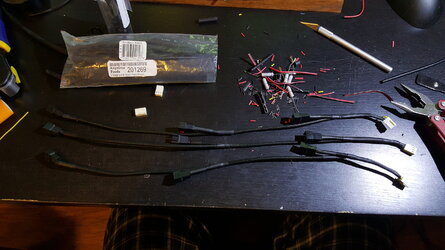
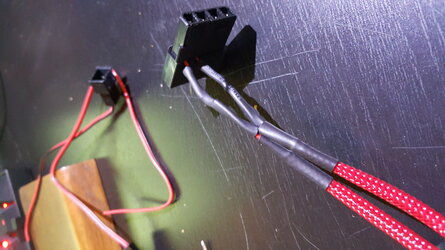
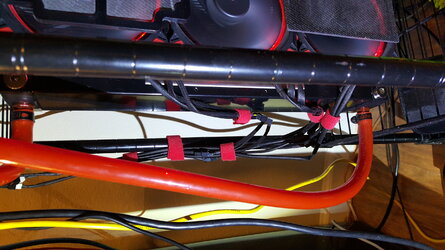
My old fan controller can't drive this entire radiator, as it caps out at 1 amp (as do my motherboard headers). I did my best with the spare parts i had onhand, but until i get a new controller i can't manage to wire up all 9 fans yet. I want to run all of these fans on one channel, which will take 2.7 amps (9x.3 amp). If anyone has any controller recommendations, I'm open to suggestions.

The Riings look really cool through the front panel, and match the res quite nicely.

As I mentioned earlier, i had accidentally purchased the wrong revision waterblock for my gpu. Through some intense classifieds scavenging i was able to find and purchase a rev 1.1 card. I traded my girlfriend the 1.1 card for her matching 1.3 card. (Which means i now have 3x 970's folding for team 32 ) I also snagged an Asus Swift PG278Q. I've been looking for a new main monitor above 1080p with a high refresh rate and larger screen size since it sits back so far on my desk. Ended up getting the Swift because it was on sale for several hundred dollars off on newegg, and i have no self control... (i regret nothing)

Worth it.
To do:
clean up radiator fan wiring, clean up case wiring
find and install suitable fan controller
Custom wire sleeving/management
Watercool 2nd GPU
run hardline for internal loop
Add dedicated fillport and drain port
find mounting point for water temp LCD screen
Dremel 5.25 drive bay to show off dual bay res.
Build radiator enclosure
Day: Whatever.
Some photos of the setup in the new apartment. It's still a bit messy as these were taken during the move in process. I had a come down with a cold, so my priorities weren't on tidying up loose boxes or wires yet.
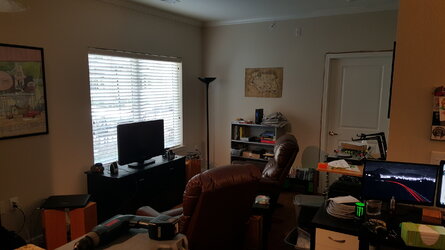
I replaced the 5/4 aspect ratio monitor with 2x 1080p monitors I bought from a coworker for $50 each.
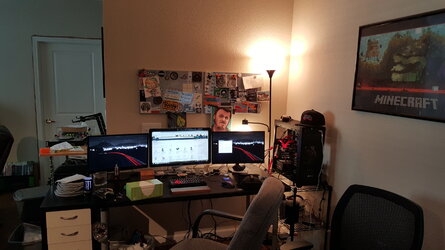
Because of the 3x monitor setup, my computer no longer fits on my desk (which is a great problem to have). Luckily, i have this wire shelf that just so happens to be the perfect size, with room for radiators and storage space below.
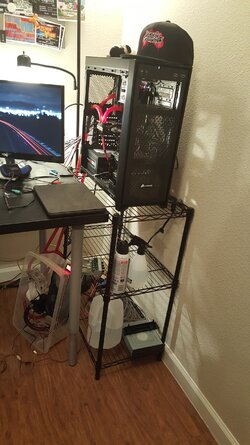
Now for the actual build updates. Since i haven't updated this log in so long there's a lot of stuff in here (i actually moved to my new apartment several months ago)
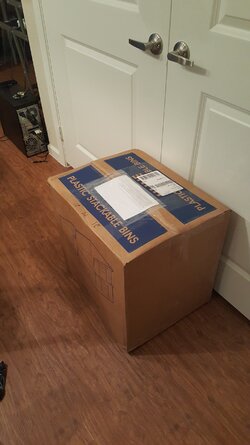
That's a big box.
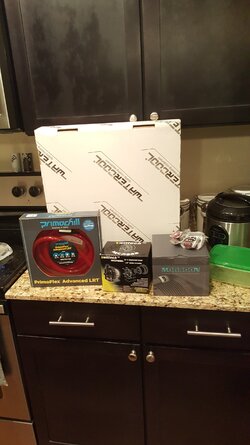
I was running low on tubing, so i decided to go ahead and pick up another box along with some other goodies
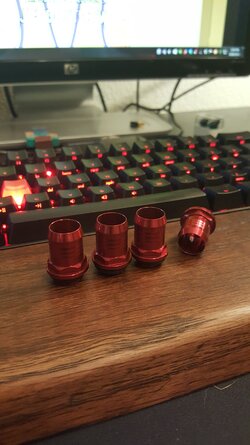

My old res/pump combo was pretty old and noisy, so i wanted to upgrade to something a bit nicer and i needed something to fill up my 5.25 bays.
and finally we have the long awaited centerpiece of this build
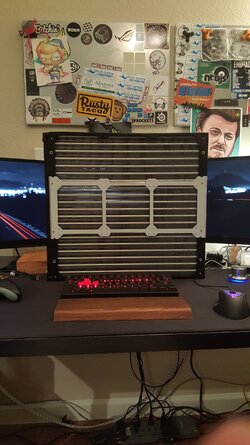
A 9x 140mm rad. I've always been a fan of rad overkill builds, so I've been wanting to buy something like this for quite some time. The initial plan was to get a 6x, or 2 4x rads to set inside a custom wood box that would sit below my monitors. This would have been really cool, but it also would have added a few hundred dollars to the project budget, and i don't currently have access to the woodworking tools i would need.
unfortunately the rad got damaged in shipping, popping 2 rivets from the casing
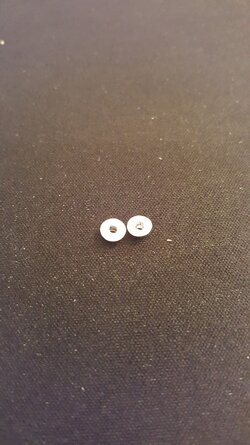
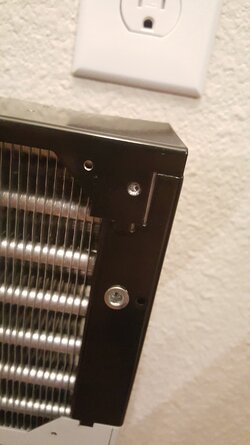
I was going to contact performancePc about a partial refund, as i didn't want to wait for an RMA, or deal with the shipping hassle of sending back a giant block of metal. I never got around to dealing with it, but i don't think it will effect the project enough to be a major headache.
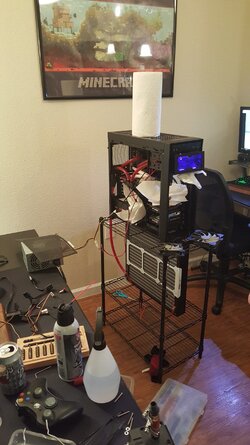
Leak testing the tower with an extra OEM psu. It took a while to attach the tubing to the fittings for the bay res, and i had to bend some metal to get it to fit properly, but everything went together without any leakage. The system has been running for over 2 months without any dip in water level

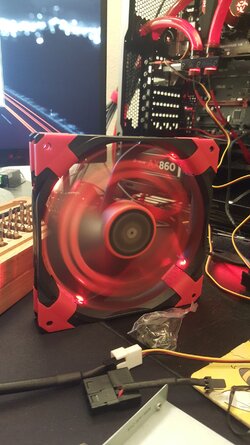
I ordered this 140mm AeroCool Fan to test for the res. Honestly would not recommend, I ended up sending it back after a month. The bearing started sounding funny, the fan itself wasn't very quiet, and all the rubber construction "features" to the fan blades were a gimmick.
Because the rad is so much overkill for the current system, i moved the 2 140mm case fans onto the rad, and left the rest open to leave myself time to save up for the massive amount of fans i would need. I did some temperature testing to compare the old radiator vs the new one. All tests were done with folding@home stressing the only the gpu for at least 15 minutes.
--
1x fan low speed
CPU: 65-73
GPU: 54
Water:43.2
2x 100+ CFM fan max:
CPU: 50-53
GPU: 46
Water: 34.8
With the new rad, i can run 2 stock fans at a dead silent 30% power (minimum spinup speed) with lower temps than the old setup with 2x leafblower fans running at full speed. I found I could get away with running the new rad passively, but the temps aren't ideal, and the performance gains from even 1 fan running silently was exponentially better than no fans.
After another month or two, I bought and tested a Thermaltake Riing fan to replace the failed AeroCool fan. My past experiences with Thermaltake have been hit or miss, but i really like the look, and noise level of these fans. After reading some in dept reviews i decided to pull the trigger on getting another 11. Luckily someone on amazon was trying to clear their stock, so i was able to get them for 10$ each+free ship (normal retail value is $15-$18)
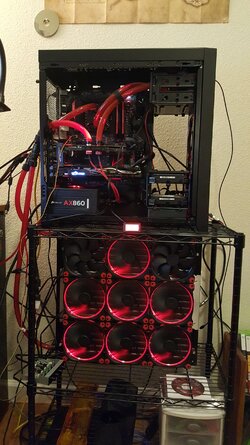
My old fan controller can't drive this entire radiator, as it caps out at 1 amp (as do my motherboard headers). I did my best with the spare parts i had onhand, but until i get a new controller i can't manage to wire up all 9 fans yet. I want to run all of these fans on one channel, which will take 2.7 amps (9x.3 amp). If anyone has any controller recommendations, I'm open to suggestions.
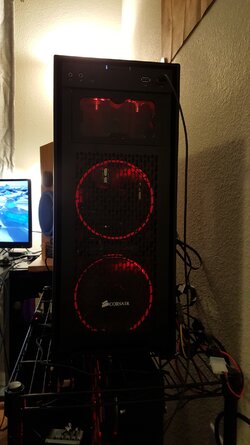
The Riings look really cool through the front panel, and match the res quite nicely.
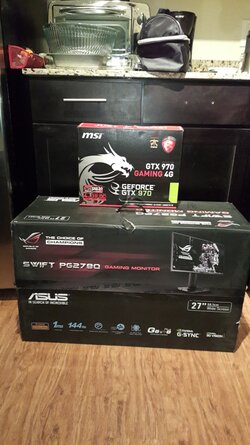
As I mentioned earlier, i had accidentally purchased the wrong revision waterblock for my gpu. Through some intense classifieds scavenging i was able to find and purchase a rev 1.1 card. I traded my girlfriend the 1.1 card for her matching 1.3 card. (Which means i now have 3x 970's folding for team 32
 ) I also snagged an Asus Swift PG278Q. I've been looking for a new main monitor above 1080p with a high refresh rate and larger screen size since it sits back so far on my desk. Ended up getting the Swift because it was on sale for several hundred dollars off on newegg, and i have no self control... (i regret nothing)
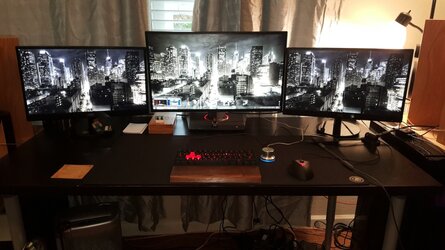
Worth it.
To do:
clean up radiator fan wiring, clean up case wiring
find and install suitable fan controller
Custom wire sleeving/management
Watercool 2nd GPU
run hardline for internal loop
Add dedicated fillport and drain port
find mounting point for water temp LCD screen
Dremel 5.25 drive bay to show off dual bay res.
Build radiator enclosure

