- Joined
- May 14, 2015
Hi everyone, I'm sure a few people saw my original Gnosis modding project that I posted here and else where on the web. Unfortunately due to some hardware and game compatibility issues Gnosis was dismantled, but it was not forgotten.(Actually I don't know if many people here on overclockers.com saw my original Gnosis build.)
This time around I am returning to building PCs and re-purposing my ideas and hardware utilized for Gnosis, and creatined
Gnosis Episode 2, my MMORPG and Video editing designed aircooled PC.
Based on the same principles of Gnosis's original design, Gnosis Episode 2 will retain some of its past influnces, but this time in a full fledged designed to spec desktop form factor.
Build name Origin
Gnosis in Greek is a feminine word meaning "Knowledge." Knowledge is what allows someone to design a PC specifically around the details that they wish to optimize for. Being a feminine word and I myself am female, the name is fitting for the project.
Gnosis Episode 2, is a reference back to Xenosaga Series, which held each installement in an Episodic designation. And as each game built upon what the last had made, and KOSMOS was revamped per episode, Episode 2 in reflection of where the name Gnosis was originally inspired in the first place, seemed rather fitting.
Gnosis is also the name of the Etheral like enemies of the Xenosaga series.
Paying homage to one of my favorite game series of all time.
Design Aspects
Gnosis Ep2 is designed around 2 core interests, Playing MMORPGs and effective Video editing.
A core i7 5820K, hexcore 12 threads provides a CPU designed fantastically for video editing applications.
It also provides access to great overclocking, which is advantageous for MMORPG players.
MMORPGs are heavily limited to non multicore utilizing single thread heavy game engines, and game behaviors that require very high single core performance.
A Haswell-E CPU overclocked provides both fantastic single core performance and plenty of threads for video editing.
R9 290X AMD GPU for Eyefinity and OpenCL workstation applications. Fantastic high resolution performance, and game compatibility.
5 drives, Tri-Drive Core, 2 dedicated Recording.
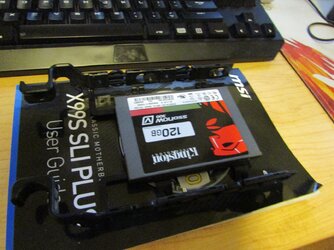
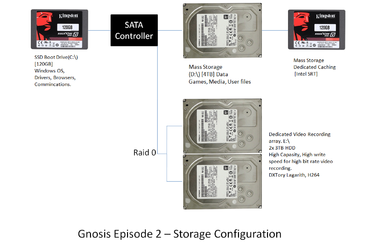
The Tri-Drive system I originally created for my laptop. This system involves 2 SSDs and 1 mass storage HDD.
1 SSD is dedicated purely to Windows Boot OS operations, The other SSD is a dedicated Caching drive via Intel Rapid Storage Technologies(Intel SRT). This design is cost effective at creating extremely high capacity, and high speed operation. A dedicated Boot drive keeps OS and general functions off the Caching, and allows the Data drive to be fully cached by Intel SRT. Frequently played games load at SSD speed, but the drive capacity is that of available hard drives.
This design makes it very easy to reinstall the OS if ever needed without ever having personal data altered or touched in anyway.
Adding to this design of Speed and high capacity is now 2 new drives, a pair of 3 TB drives in Raid 0.
These drives are dedicated recording devices.
Meant to allow higher write speeds beyond the limitations of a single mass storage device, and maintaining high capacity and cost effectiveness versus attempting to reach comparable capacity with SSDs.
Storage array diagram below.

Specs and Parts.
CPU: Intel Core i7 5820K, 6 Cores 12 Threads
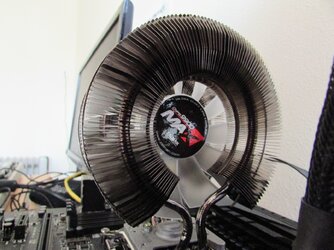
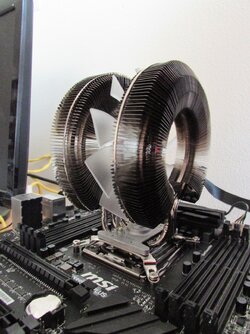
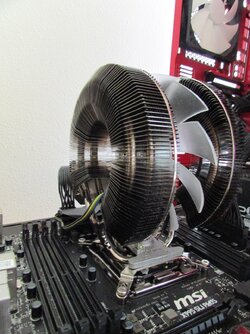
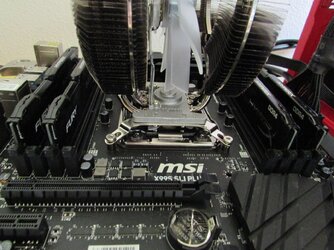
Heatsink/TIM: Zalman CNPS 9900MAX LGA2011 135mm Fan dual Tower, Arctic MX-4 Thermal Compound X spread method.
Motherboard: MSI X99S SLI Plus
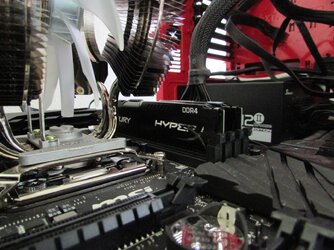
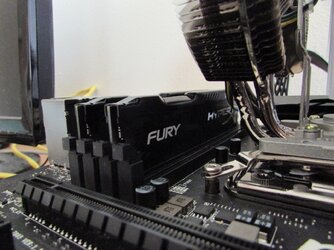
RAM: Kingston Hyper X FURY 16GB DDR4 2133mhz Quad Channel memory. DIMM 1 3 7 5 Quad Channel Slots.
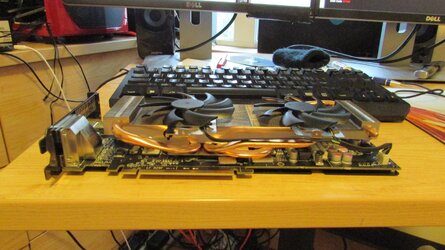
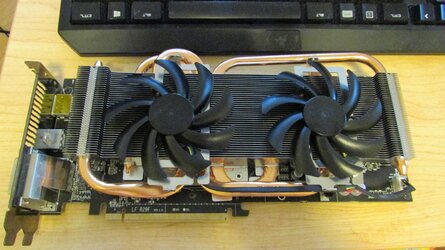
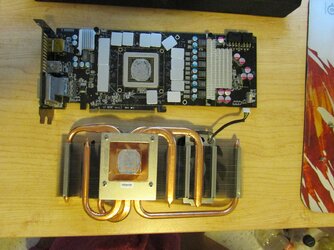
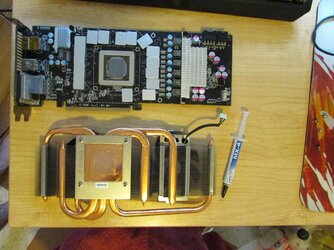
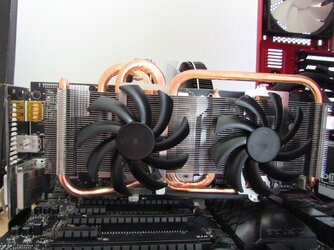
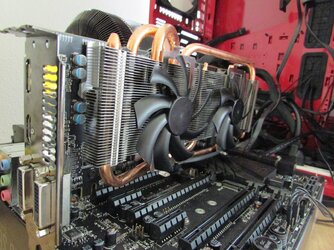
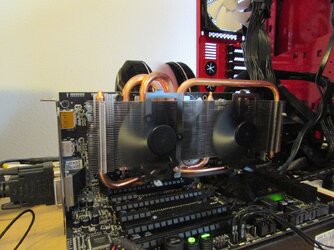
GPU: VisionTek AMD R9 290X 4GB DDR5, Dual Fan design. (Provided by Alienware.)
PSU: Seasonic M12 II EVO 750Watt Bronze Plus Modular.
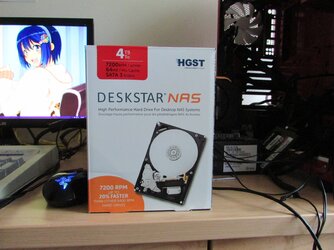
Storage Devices: 2x 120GB Kingston SSD Now V300, 1x 4TB 7200RPM Red HGST Hard Drive, 2x 3TB(To be determined). 1 OS Boot, 1 Mass Storage, 1 Caching, 2=1 Dedicated Raid 0 recording device.
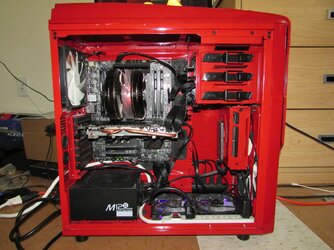
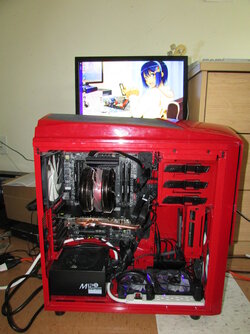
Case: NZXT Phantom 530, Modified.
OS: Windows 7 Ultimate
Shout out and thanks.
A big thank you to Alienware for the 290X. Alienware gave me a 290X for the previous Gnosis build for an exhibit of hardware expansion and possiblities.
Alienware has been a pretty fantastic company to me and I got to meat Frank Azor and other Alienware Staff at PAX Prime. After some chitchat, they decided to help me out. So a big thanks to Alienware for the graphics card, as it was the original push needed for me to start Gnosis Episode 2.
Thanks to my friend Jeremy whom works at Intel and got me a deal on an i7 5820K, got it at half the price.
A big thanks to my friend Zack for buying some of the parts for me as well!
Pictures and Build Progression
*Some images are from the original Gnosis design.*
The parts of Gnosis Episode 2

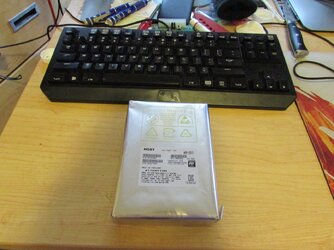
Hard drives weren't here for testing phase, but everything else needed was. Lets get this show on the road.
The Case

Drive Bay modification


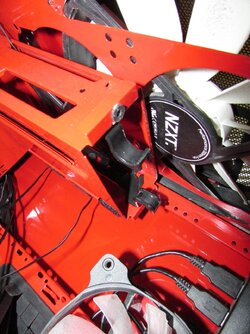
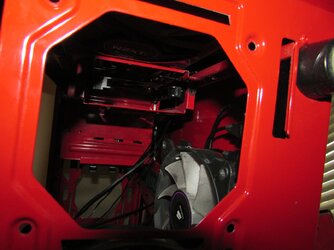
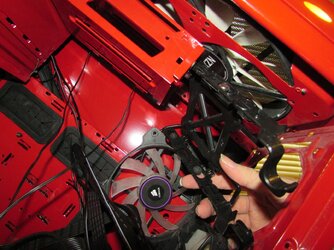
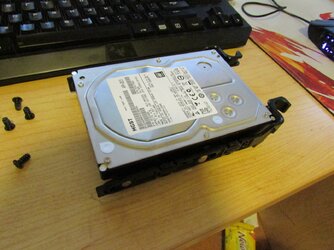
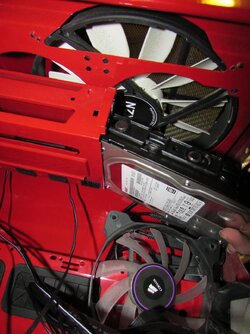
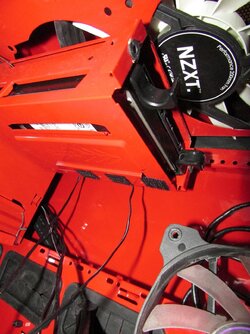
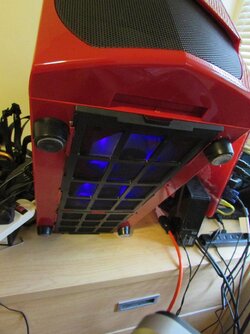
The drive bay movement was for efficiency of space reasons. Original Gnosis had it's expansion hard drive storage in the 5.25 bay. So taking after it's previous design and moving a 3 Drive cage into the 5.25 bay is a carry over design aspect for Gnosis Episode 2.
This design opens the case for air flow options and moves the hard drives into cooling air streams.
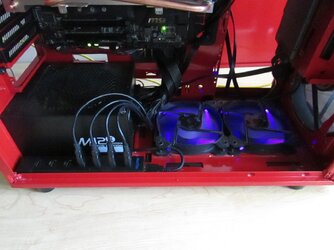
The 5.25 converted Bay has it's own dedicated 120mm fan, on it's own power for higher speed than the USB device can provide.
Fan Modification


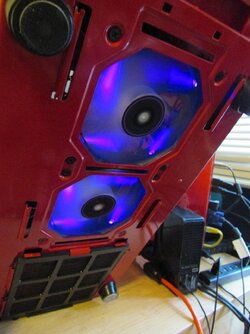
Eventually All of these fans will eventually be replaced by Noctua's new Aseries fans which are faster, quieter and better looking IMO. These are all mock up fans for now.
I will replace the Front 200mm Fan with a Noctua if they release a new a series 200mm Fan as well.
This USB Powered fan design is a carry over from the original Gnosis build. It has proven to move air at a respectable pace and maintain a quiet noise level. However there is a Fan hub in the case if this system proves to be less desirable in the future.
Installed the power supply and bench is cleared for Testing phase.

Boot test passed. All systems go.

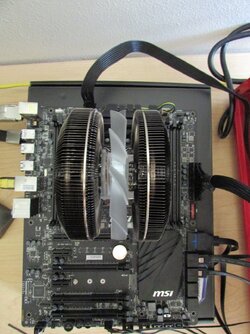
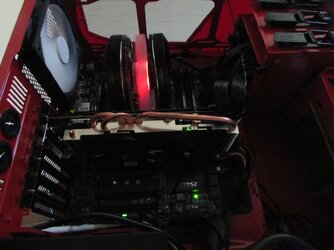
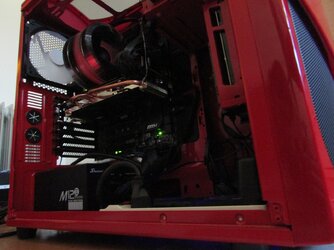
Overhead view of the parts installed.

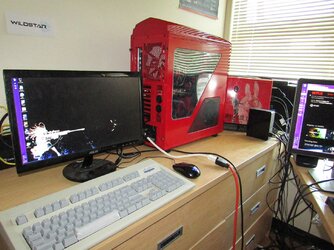
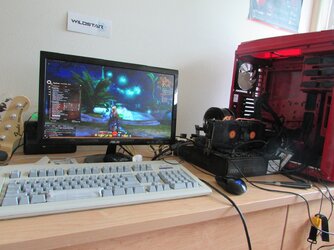
First Game testing, Guild Wars 2. My Norn looking pretty and showing off what this 290X and i7 can do.

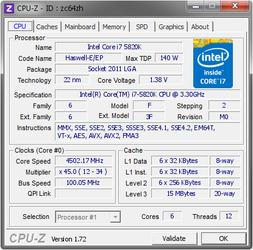
CPU Overclocking testing
http://valid.canardpc.com/zc64zh

4.5ghz gaming overclock.
Next phase Continues here
http://www.overclockers.com/forums/...-Workstation?p=7843812&viewfull=1#post7843812
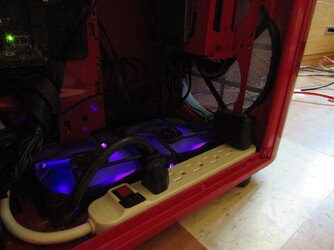
Powerstrip USB power change here
http://www.overclockers.com/forums/...-Workstation?p=7843921&viewfull=1#post7843921
Following Phase after that here
http://www.overclockers.com/forums/...-Workstation?p=7848614&viewfull=0#post7848614
This time around I am returning to building PCs and re-purposing my ideas and hardware utilized for Gnosis, and creatined
Gnosis Episode 2, my MMORPG and Video editing designed aircooled PC.
Based on the same principles of Gnosis's original design, Gnosis Episode 2 will retain some of its past influnces, but this time in a full fledged designed to spec desktop form factor.
Build name Origin
Gnosis in Greek is a feminine word meaning "Knowledge." Knowledge is what allows someone to design a PC specifically around the details that they wish to optimize for. Being a feminine word and I myself am female, the name is fitting for the project.
Gnosis Episode 2, is a reference back to Xenosaga Series, which held each installement in an Episodic designation. And as each game built upon what the last had made, and KOSMOS was revamped per episode, Episode 2 in reflection of where the name Gnosis was originally inspired in the first place, seemed rather fitting.
Gnosis is also the name of the Etheral like enemies of the Xenosaga series.
Paying homage to one of my favorite game series of all time.
Design Aspects
Gnosis Ep2 is designed around 2 core interests, Playing MMORPGs and effective Video editing.
A core i7 5820K, hexcore 12 threads provides a CPU designed fantastically for video editing applications.
It also provides access to great overclocking, which is advantageous for MMORPG players.
MMORPGs are heavily limited to non multicore utilizing single thread heavy game engines, and game behaviors that require very high single core performance.
A Haswell-E CPU overclocked provides both fantastic single core performance and plenty of threads for video editing.
R9 290X AMD GPU for Eyefinity and OpenCL workstation applications. Fantastic high resolution performance, and game compatibility.
5 drives, Tri-Drive Core, 2 dedicated Recording.
The Tri-Drive system I originally created for my laptop. This system involves 2 SSDs and 1 mass storage HDD.
1 SSD is dedicated purely to Windows Boot OS operations, The other SSD is a dedicated Caching drive via Intel Rapid Storage Technologies(Intel SRT). This design is cost effective at creating extremely high capacity, and high speed operation. A dedicated Boot drive keeps OS and general functions off the Caching, and allows the Data drive to be fully cached by Intel SRT. Frequently played games load at SSD speed, but the drive capacity is that of available hard drives.
This design makes it very easy to reinstall the OS if ever needed without ever having personal data altered or touched in anyway.
Adding to this design of Speed and high capacity is now 2 new drives, a pair of 3 TB drives in Raid 0.
These drives are dedicated recording devices.
Meant to allow higher write speeds beyond the limitations of a single mass storage device, and maintaining high capacity and cost effectiveness versus attempting to reach comparable capacity with SSDs.
Storage array diagram below.
Specs and Parts.
CPU: Intel Core i7 5820K, 6 Cores 12 Threads
Heatsink/TIM: Zalman CNPS 9900MAX LGA2011 135mm Fan dual Tower, Arctic MX-4 Thermal Compound X spread method.
Motherboard: MSI X99S SLI Plus
RAM: Kingston Hyper X FURY 16GB DDR4 2133mhz Quad Channel memory. DIMM 1 3 7 5 Quad Channel Slots.
GPU: VisionTek AMD R9 290X 4GB DDR5, Dual Fan design. (Provided by Alienware.)
PSU: Seasonic M12 II EVO 750Watt Bronze Plus Modular.
Storage Devices: 2x 120GB Kingston SSD Now V300, 1x 4TB 7200RPM Red HGST Hard Drive, 2x 3TB(To be determined). 1 OS Boot, 1 Mass Storage, 1 Caching, 2=1 Dedicated Raid 0 recording device.
Case: NZXT Phantom 530, Modified.
OS: Windows 7 Ultimate
Shout out and thanks.
A big thank you to Alienware for the 290X. Alienware gave me a 290X for the previous Gnosis build for an exhibit of hardware expansion and possiblities.
Alienware has been a pretty fantastic company to me and I got to meat Frank Azor and other Alienware Staff at PAX Prime. After some chitchat, they decided to help me out. So a big thanks to Alienware for the graphics card, as it was the original push needed for me to start Gnosis Episode 2.
Thanks to my friend Jeremy whom works at Intel and got me a deal on an i7 5820K, got it at half the price.
A big thanks to my friend Zack for buying some of the parts for me as well!
Pictures and Build Progression
*Some images are from the original Gnosis design.*
The parts of Gnosis Episode 2
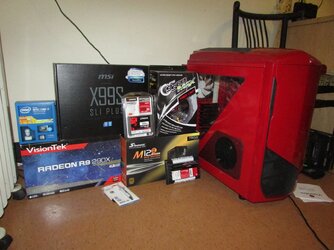
Hard drives weren't here for testing phase, but everything else needed was. Lets get this show on the road.
The Case
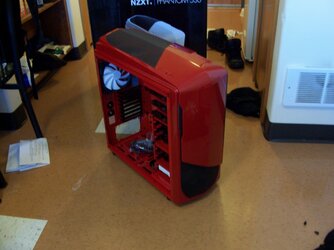
Drive Bay modification
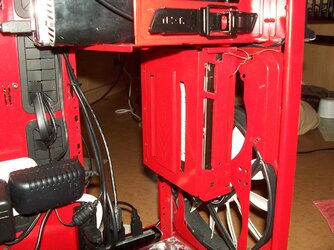
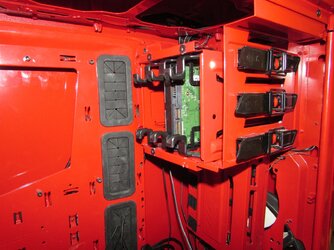
The drive bay movement was for efficiency of space reasons. Original Gnosis had it's expansion hard drive storage in the 5.25 bay. So taking after it's previous design and moving a 3 Drive cage into the 5.25 bay is a carry over design aspect for Gnosis Episode 2.
This design opens the case for air flow options and moves the hard drives into cooling air streams.
The 5.25 converted Bay has it's own dedicated 120mm fan, on it's own power for higher speed than the USB device can provide.
Fan Modification
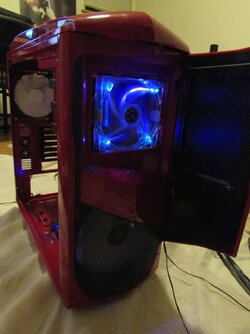
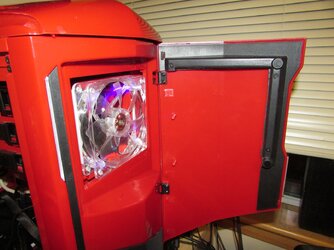
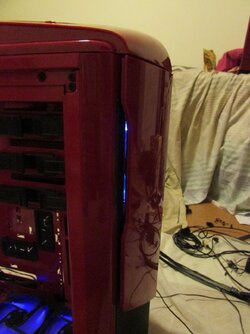
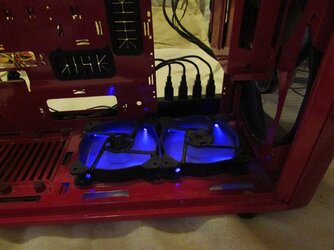
Eventually All of these fans will eventually be replaced by Noctua's new Aseries fans which are faster, quieter and better looking IMO. These are all mock up fans for now.
I will replace the Front 200mm Fan with a Noctua if they release a new a series 200mm Fan as well.
This USB Powered fan design is a carry over from the original Gnosis build. It has proven to move air at a respectable pace and maintain a quiet noise level. However there is a Fan hub in the case if this system proves to be less desirable in the future.
Installed the power supply and bench is cleared for Testing phase.
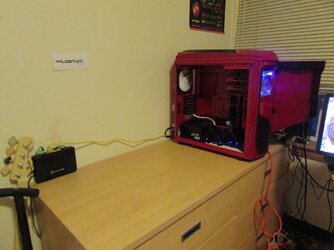
Boot test passed. All systems go.
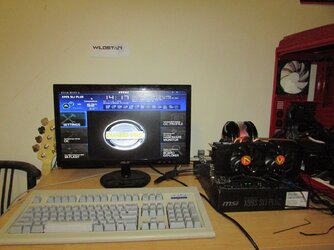
Overhead view of the parts installed.
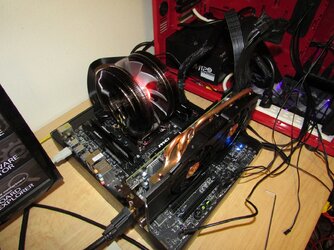
First Game testing, Guild Wars 2. My Norn looking pretty and showing off what this 290X and i7 can do.
CPU Overclocking testing
http://valid.canardpc.com/zc64zh
4.5ghz gaming overclock.
Next phase Continues here
http://www.overclockers.com/forums/...-Workstation?p=7843812&viewfull=1#post7843812
Powerstrip USB power change here
http://www.overclockers.com/forums/...-Workstation?p=7843921&viewfull=1#post7843921
Following Phase after that here
http://www.overclockers.com/forums/...-Workstation?p=7848614&viewfull=0#post7848614
Last edited:
