Seeing how I didn't make the filter media not sure I can call this a custom job, I do think I might be the first to post this attempt though. I shall throw you all a bone to keep you interested though first.
View attachment 159917
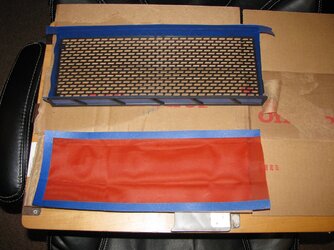
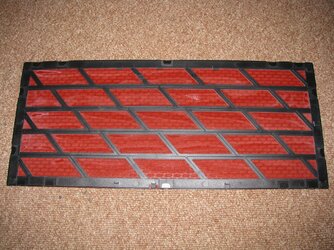
No I did not leave all that slop, this was a test fit.
Ok, so you got a taste, now lets get on the boring stuff (jibberish coming from my fingertips). I used to Race R/C cars and trucks and this company made this really nice woven plastic filter media, did a spectacular job at keeping the oiled filters on my off-roads buggy and truggy super clean, even in the dustiest of tracks I didn't have to change the filter for an entire day, and only did so out of habit. This company was Outerwears.com. Now that I threw some props to someone I'm not getting a discount from I feel better about myself .
.
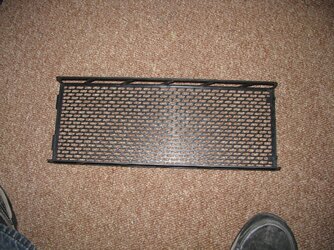
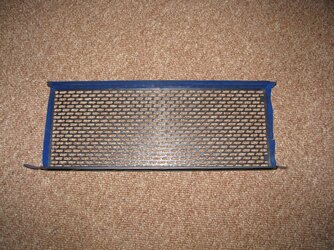
I did forget to take pictures of the stock filter or the 900D top filter prior to ripping it up, needless to say it was just some lousy screen mesh glued on there. That media let all sorts of dust through and My lil AiO cooler is dirty :/, oh well, the whole system is gonna get a cooling upgrade one of these days.
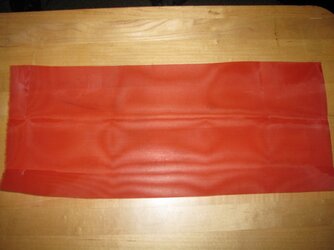
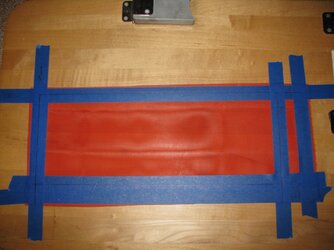
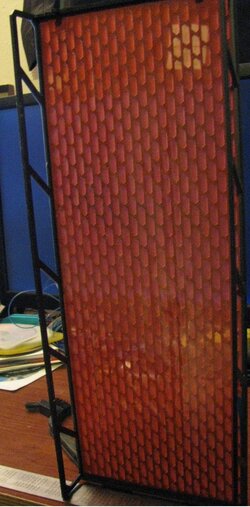
So to talk about the Outerwears filter media, its a pretty stiff plastic, which probably has more to do with the tightness of the weave, and you can order it in 24x24 square or 18x18. It's best to cut with a hot-knife so to seal the weave from untangling, I did not do this for the top filter since it's sandwiched and I glued it to the plastic portion of the filter housing, but for the front filter I will be using a hot-knife (here I come Hobby Lobby. There's always more money to spend when you want to get something done right and make it look professional, I have done so many things half-asses that I t pains me to think of how much I would of saved doing it right the first time, but how else to you learn?


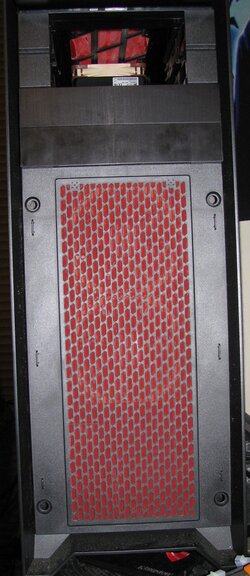
So final product turned out darned clean if I do say so myself. I will update with front filter pics as I get that part of the mob completed. And I know black/red has been beat to death, but I like it.
Edit : order of pics, and fixed a weird pic showing up.
View attachment 159917
No I did not leave all that slop, this was a test fit.
Ok, so you got a taste, now lets get on the boring stuff (jibberish coming from my fingertips). I used to Race R/C cars and trucks and this company made this really nice woven plastic filter media, did a spectacular job at keeping the oiled filters on my off-roads buggy and truggy super clean, even in the dustiest of tracks I didn't have to change the filter for an entire day, and only did so out of habit. This company was Outerwears.com. Now that I threw some props to someone I'm not getting a discount from I feel better about myself
I did forget to take pictures of the stock filter or the 900D top filter prior to ripping it up, needless to say it was just some lousy screen mesh glued on there. That media let all sorts of dust through and My lil AiO cooler is dirty :/, oh well, the whole system is gonna get a cooling upgrade one of these days.
So to talk about the Outerwears filter media, its a pretty stiff plastic, which probably has more to do with the tightness of the weave, and you can order it in 24x24 square or 18x18. It's best to cut with a hot-knife so to seal the weave from untangling, I did not do this for the top filter since it's sandwiched and I glued it to the plastic portion of the filter housing, but for the front filter I will be using a hot-knife (here I come Hobby Lobby. There's always more money to spend when you want to get something done right and make it look professional, I have done so many things half-asses that I t pains me to think of how much I would of saved doing it right the first time, but how else to you learn?
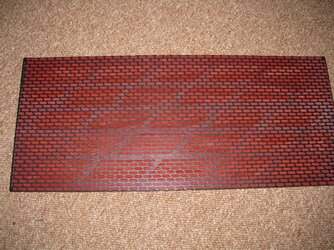
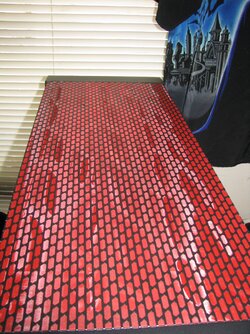
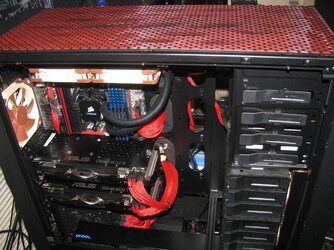
So final product turned out darned clean if I do say so myself. I will update with front filter pics as I get that part of the mob completed. And I know black/red has been beat to death, but I like it.
Edit : order of pics, and fixed a weird pic showing up.
Last edited:
