• Welcome to Overclockers Forums! Join us to reply in threads, receive reduced ads, and to customize your site experience!

PROJECT LOG Kelvin Coolidge

Overclockers is supported by our readers. When you click a link to make a purchase, we may earn a commission. Learn More.

Khepira

Registered
Joined
Oct 18, 2012
Location
Washington, D.C.
1133837.jpg

[PROJECT LOG] Kelvin Coolidge, (now Acqua). A sleek, hospital-clean, TRON-inspired build

Hey all! I've recently acquired a Mountain Mods Extended U2-UFO and how can I possibly not build a new rig when I have a new case sitting around? It'll be named Acqua (Originally named Kelvin Coolidge). Color theme is all white everything with blue and black accents.

I'm a huge fan of TRON (Legacy) and while details aren't quite panned out yet, I think we could definitely expect straight lines, sharp bends, and subtle neon glows in/around most components.

I'll be pulling a few parts over from my current rig, namely PSU, a couple SSDs, a mechanical drive, and an optical drive.
Entirety of case will be painted snow bunny/ powder/ cocaine white. (See: blinding white)

Also, a Haswell processor may be calling this rig his new home in April. TBD Edit: Going for it. CPU, MOBO, & RAM below are placeholders. Current Mobo, CPU, and RAM will be brought over from current rig until release of Haswell. Since I'll be moving back stateside at the end of the year, I'll have plenty of time to focus on the details of the rest of the build and wait for it :D


Contents:


1. Case & First Lot of Parts
2. Fans, Bay Devices, Fittings, SSDs, Modding Supplies
3. Walk-through: FrozenQ PC Mods Reservoir Mounting
4. Case Painting
5. More Fittings! SATA Sleeved
6. Case Paint Stripping
7. Old Rig Tear-Down
8. Case Assembly Part 1, PSU Painting
9. New Fan Controller, Front Rad Fan Wiring and Mounting
10. Ram Painting
11. Rear Rad Fan Wiring and Mounting
12. Ram Finished Pics
13. New CPU Block, Wire Color Concealment, MDPC-X, Custom Stickers
14. Completed Power Supply Unit- Painted, Sleeved
15. Walk-through: CPU Lapping
16. CPU Block Installed
17. XFire/ SLI Block Installed
18. Front Panel, Front Fan, SATA Power Wiring & More
19. Cable Management in an Open Case
20. MDPC-X Sleeve and PSU Sticker
21. GPU 'Spine' Custom Sticker
22. Motherboard Trays Know Best- Managing Cables in a Mountain Mods Case
23. Finished Custom Stickers and Light Bar
 
Last edited:
Current Build List:

Case: Extended U2-UFO CYO - Custom Computer Case
CPU: Intel Core i5-3570K Ivy Bridge 3.4GHz
GPU: EVGA SuperClocked+ 02G-P4-2684-KR GeForce GTX 680
Mobo: ASUS P8Z77-V DELUXE LGA 1155
RAM: CORSAIR Vengeance 16GB (4 x 4GB) 240-Pin DDR3 SDRAM DDR3 1600
PSU: COUGAR-GX1050 1050W
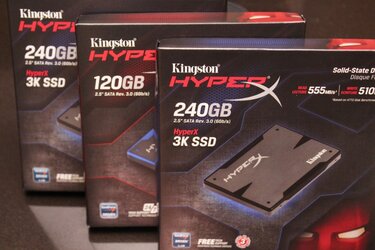
SSD 1: Kingston HyperX 3K SH103S3/240G 2.5" 240GB SATA III x 2
SSD 2: Crucial RealSSD 64GB (From current rig)
HDD: Western Digital WD Black WD1002FAEX 1TB 7200 RPM 64MB Cache SATA 6.0Gb/s
External HDD: LaCie Porsche Design P'9230 2TB USB 3.0 Silver Desktop Hard Drive
Optical: LG DVD Burner 24X

CPU Waterblock: XSPC RayStorm High Performance Acetal CPU Liquid Cooling Block
GPU Waterblock: XSPC Razor nVidia GTX 680 Full Coverage VGA Block
Radiator: Swiftech MCR320-XP eXtreme Performance Triple 120mm Slim Radiator
Pump: Swiftech MCP655 Variable Speed 12v Water Pump
Reservoir 1: XSPC Dual 5.25" Bay Res Clear
Reservoir 2: FrozenQ PC Mods Liquid Fusion V Series "2nd Generation" Reservoir 400mm - UV Cathode - UV Blue Helix
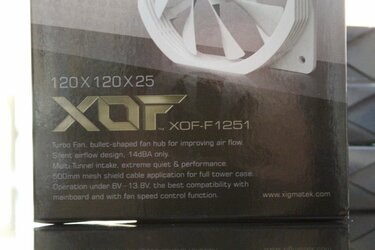
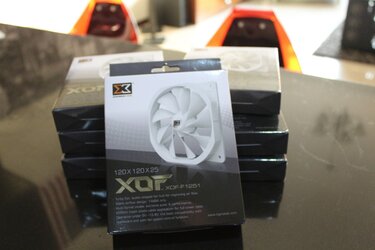
Fans: XIGMATEK eXTREME OCTAGON Pure White Fan Series x 8
Fan Grills: 120mm Black Steel Mesh Fan Guard
Fittings 1: Monsoon Free Center Compression Fitting - 3/8"ID x 1/2"OD - Modders 6 Pack White x 5
Fittings 2: Bitspower G1/4" White Rotary 90° G1/4" Adapter
Fittings 3: Bitspower G1/4" White Rotary 45 Degree G1/4" Adapter
Fittings 4: Koolance QDC (High Flow) No-Spill Shutoff Nozzle, Male Compression
Fittings 5: Koolance QDC (High Flow) No-Spill Shutoff Nozzle, Female Threaded
Fittings 6: Alphacool 5-Way G1/4 Connector Block
Fittings 7: Bitspower G1/4" Low Profile White Stop Plug
Fittings 8: Bitspower G 1/4" Temperature Sensor Stop Fitting
Fittings 9: Koolance G1/4" Brass Inline Drain Valve Fitting
Pump Base: Koolance G1/4" Threaded Acetal Pump Base for PMP-450 / MCP650/655 / Laing D5
Tubing: Tygon R-3603 3/8" ID (1/2" OD) - Laboratory Tubing
Coolant 1: Fluid XP+ Industrial Grade Deionized Water - UV Midnight Blue
Coolant 2: Fluid XP+ Industrial Grade Deionized Water - UV Invisible Blue

Fan/ Light Controller: Lamptron FC Touch - 30W - 6 Channel Aluminum Rheobus w/ Touch Screen - Black
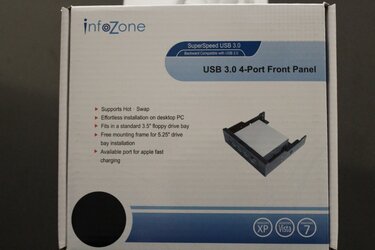
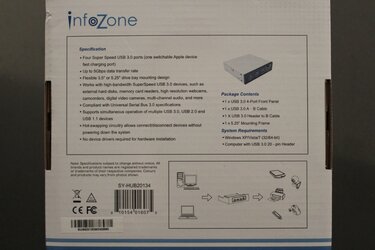
Front Panel USB 3.0: SYBA SY-HUB20134 InfoZone USB 3.0 4-Port Internal Hub
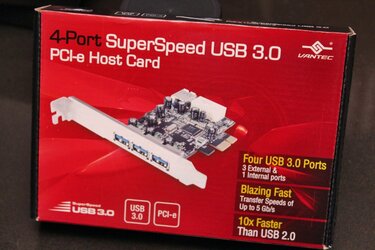
Extra USB 3.0: VANTEC 4-Port SuperSpeed USB 3.0 PCIe Host Card

Lighting 1: Logisys 16" Corner LED Light Bar - 12V - UV x 2
Lighting 2: Logisys White 12" LED Sunlight Stick x 2
Lighting 3: Logisys UV 12" LED Sunlight Stick
Lighting 4: Logisys 4" Dual Cold Cathode Kit - UV
Lighting 4: 3 Meter Blue EL Wire Kit x 2
Lighting 5: 24" EL Wire Strip Kit - Blue x 2
Lighting 6: 24" EL Wire Strip Kit - White

Sleeving 1: MDPC-X Sleeve Small - White
Sleeving 2: MDPC-X Sleeve SATA - White
Sleeving 3: Mod/Smart Kobra HD - White
Heatshrink 1: MDPC-X Heatshrink Small - Black
Heatshrink 2: MDPC-X Heatshrink SATA - Black
Heatshrink 3: FrozenCPU Generic Shrink - Black
 
Last edited:
Case assembled factory standard

picture.php


picture.php


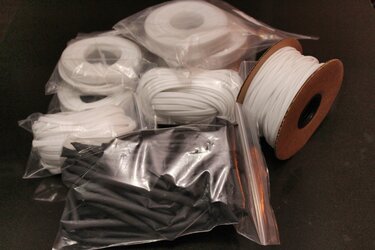
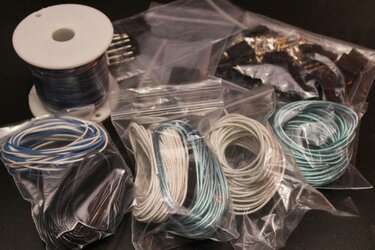
First lot of parts, screws, wire, sleeving

picture.php


First order of business is to mount the front rad, and to prepare the fan cables before that

picture.php


Result:

picture.php


Started preparing the first res by supergluing FrozenQ PC Mods Replacement "2nd Generation" Ice Caps - Gloss White on top of the stock caps

picture.php


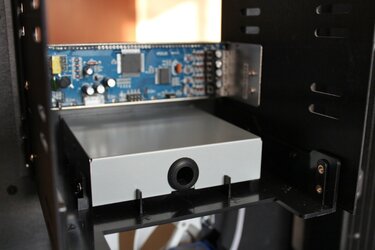
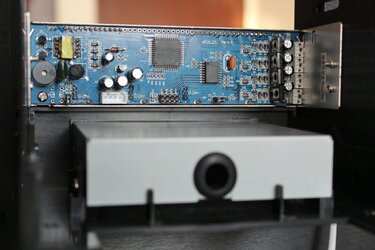
While that's going on, I had time to install the bay device brackets and started the mock up for the placement of fan controller and front panel USB 3.0

picture.php


Installed front rad with fans and fan grills, front aux fan, SSD/ HDD cage, and a couple of the SSDs

picture.php


And a front shot with white fans:

picture.php


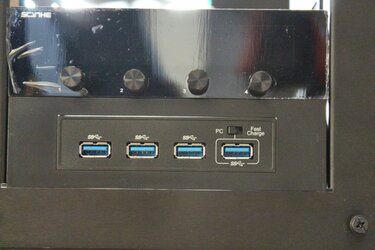
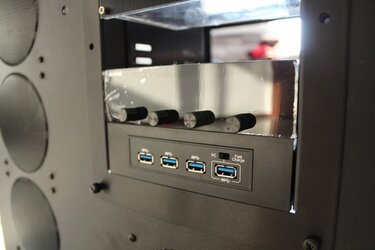
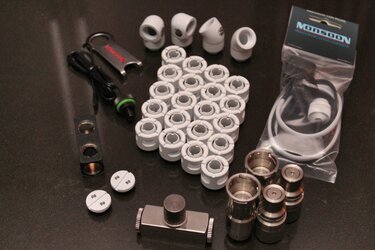
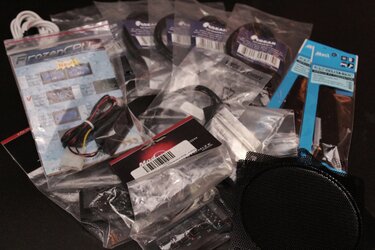
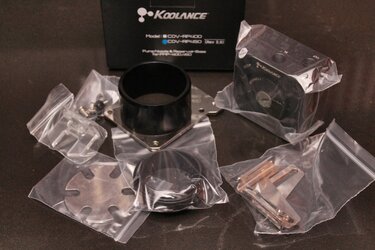
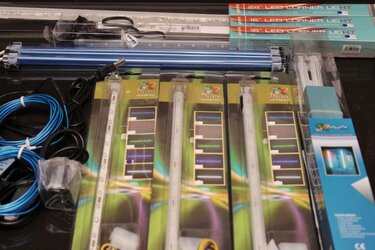
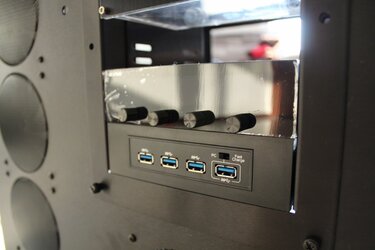
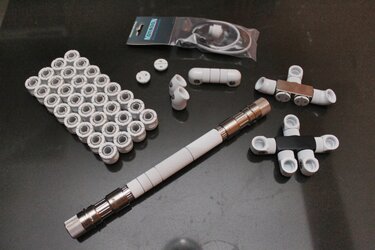
Alright, to backtrack a little bit, I want to show y'all the bits and pieces going into this thing that I've got so far. Fittings, wires, pump housings, and sleeving galore. Since the case is bare and comes with no front port access, I picked up and added a front panel USB 3.0 bay device.

IMG_0234.jpg

IMG_0235.jpg

IMG_0240.jpg

IMG_0241.jpg

IMG_0242.jpg

IMG_0244.jpg

IMG_0246.jpg

IMG_0247.jpg

IMG_0248.jpg

IMG_0249.jpg

IMG_0250.jpg

IMG_0251.jpg

IMG_0252.jpg

IMG_0253.jpg

IMG_0304.jpg

IMG_0305.jpg

IMG_0306.jpg

IMG_0307.jpg

IMG_0308.jpg

IMG_0309.jpg

IMG_0310.jpg

IMG_0312.jpg
 
Last edited:
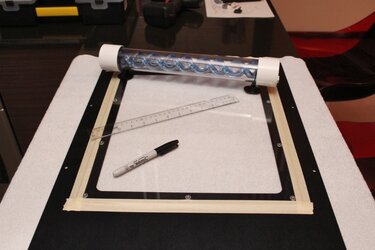
I'm thinking I'll need to seal off the spacings between the bay frame and the units themselves. Perhaps some electrical tape sliced thinly could do the trick.

IMG_0249.jpg

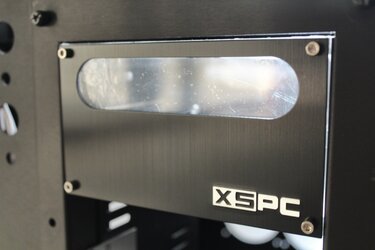
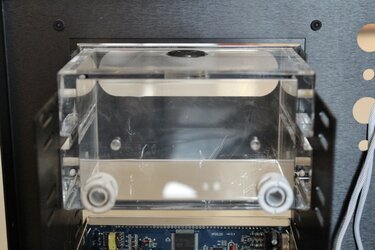
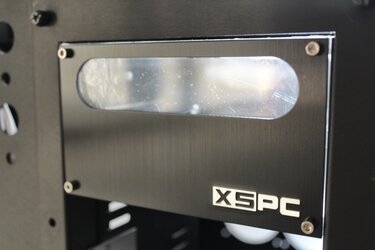
On the bay reservoir itself, I originally bought it for its clean and clear face, though it came with a black anodized and silver anodized faceplate. I'm still mulling over whether I want to forget the faceplate or leave it on. Remembering my case will be powder white when it's all said and done, I'm thinking clear may suit it better than a black or even silver finish.

IMG_0252.jpg
 
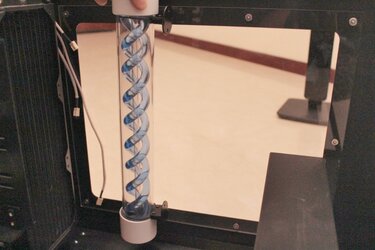
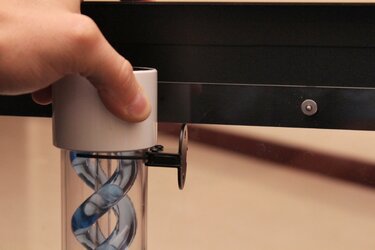
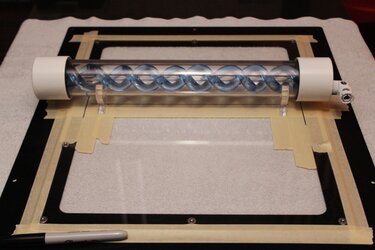
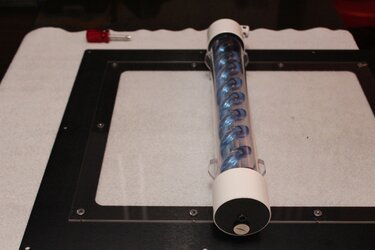
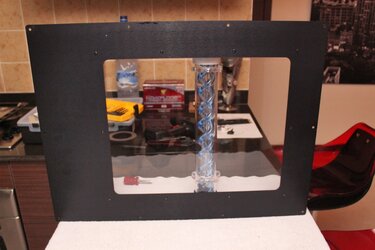
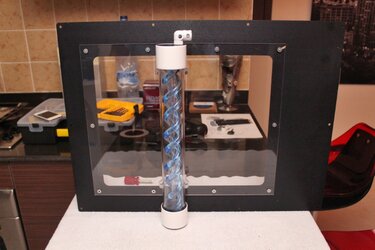
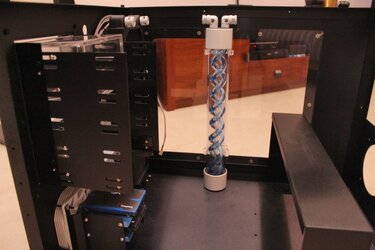
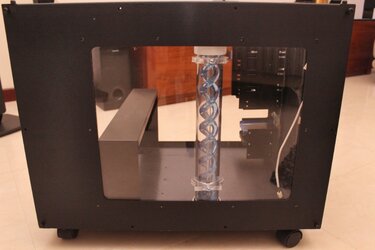
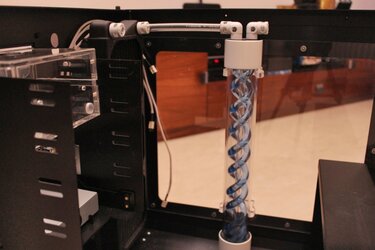
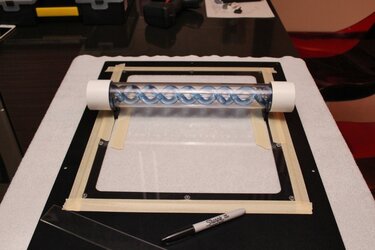
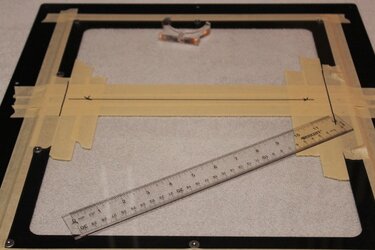
I decided to jump on the second reservoir mounting and ran into the issue of mounting the brackets since neither could be spaced out enough to fit on metal. My options: super glue the brackets to the acrylic, fabricate a metal 'Z' bracket to hang down and give me something to mount on, or attempt to drill through the acrylic.

IMG_0314.jpg

IMG_0316.jpg
 
Deciding I didn't like the idea of seeing the superglue from the outside and questioning the longevity it would have holding up, I passed on supergluing. Not having any black anodized metal matching my case to fabricate 'Z' brackets tossed that idea out as well. This left me with drilling through the acrylic to mount them with screws.

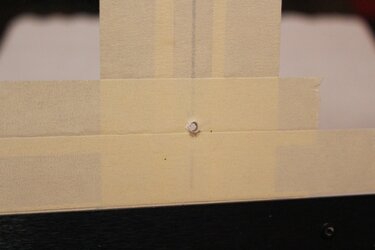
I prepped the side panel with masking tape, marking out 1" from the top and bottom of the acrylic for my prospective mounting positions.

IMG_0318.jpg

IMG_0319.jpg

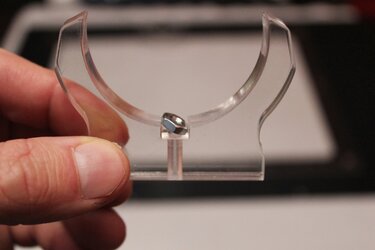
Having bought aftermarket rubberized black brackets for the reservoir, I was inclined to use them though with mounting directly on the window now, I decided to pull them off and switch out for the clear acrylic brackets to match.

IMG_0320.jpg
 
Last edited:
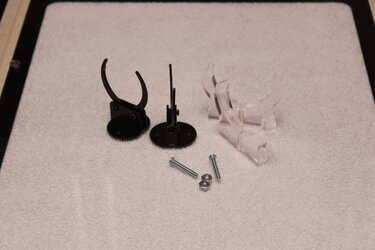
Having made the switch to the clear acrylic mounts, I measured out the clearance and spacing and marked the measurements again.

IMG_0321.jpg

IMG_0322.jpg

IMG_0323.jpg
 
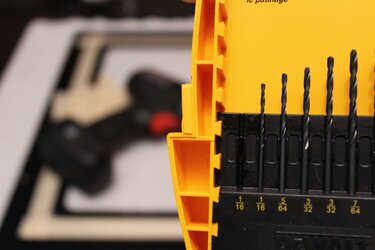
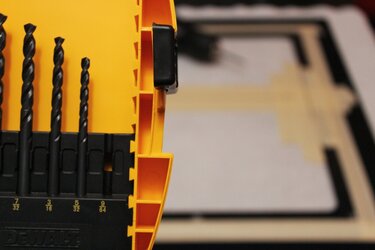
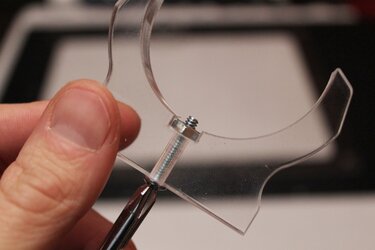
Worried about splitting the acrylic, I started off slow and with the 1/16th bit.

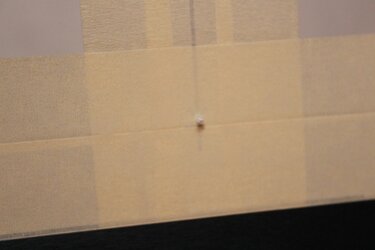
I gradually increased in size one bit at a time until I reached a hole I could fit the screw though.

IMG_0324.jpg

IMG_0325.jpg

IMG_0335.jpg

IMG_0336.jpg
 
Last edited:
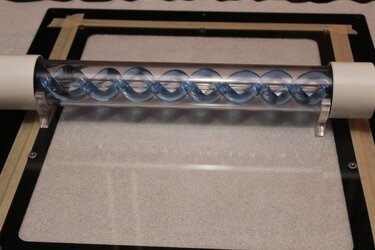
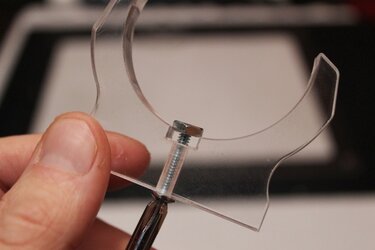
Once I got the hole size I needed, I found the screw/ nut combo only worked with the nut on the outsize of the case, since the nut wouldn't fit into the bracket groove designed for the head of the screw. A little bit of elbow grease and cranking wedged the nut into the groove proper and let me have the head of the screw exterior for a clean finish.

IMG_0338.jpg

IMG_0339.jpg

IMG_0340.jpg

IMG_0341.jpg

IMG_0342.jpg

IMG_0343.jpg
 
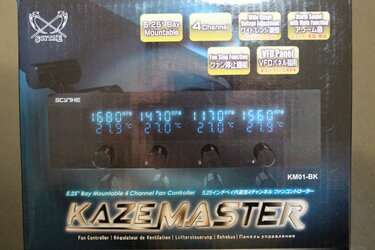
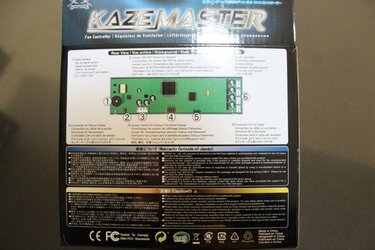
That reservoir is awesome, i should get myself one of thoses... Has for the scythe, nice choice, but i would go for the kaze master pro, (6 channels), i have two of those... They are awesome.

As for the rest nice build man, i hope to see more progress soon...
 
That reservoir is awesome, i should get myself one of thoses... Has for the scythe, nice choice, but i would go for the kaze master pro, (6 channels), i have two of those... They are awesome.

As for the rest nice build man, i hope to see more progress soon...

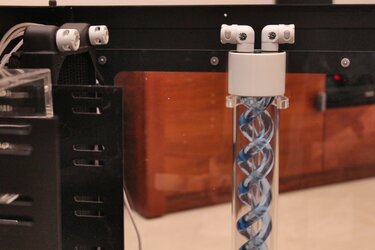
Thanks man! The reservoir is really a beauty. My single complaint is the 12" cold cathode that comes stock in this size. There's definitely enough room for a 15" bulb to fill in the space left by the 12". Nothing a $5 FrozenCPU order couldn't solve.
For the fan controller, I checked that one out though I'm planning on putting the front rad fans+ the single aux fan on one channel,the rear rad fans on a second channel, and spliiting the lighting between the third and fourth channel. Of course these plans may change since I haven't worked out the current everything would be pulling.
 
Update: I slightly rethought my original water cooling route so I'm currently waiting on a few (a lot) more fittings to get the job done from the USPS. A SLI/Crossfire WC Block along with a whole mess of rotary adapters. In keeping with my clean, straight lines vision, I think these will contribute a lot.

I've also had some 30 feet of blue EL wire laying around. One has a 2x AA battery adapter, and two others have USB adapters. I just MIGHT see about hooking these 3V DC wires up to a 3.3V fan controller for proof of concept with dimming. The vision I've got is to line the interior of the front rad with the EL wire, hidden by the metal rad shroud to give a glow effect over the rad fins, and hook up power to the 3 x 120mm fans. When fans are slowed by fan controller, EL wire dims as well.

After a long work week, I'll definitely have some time in the next few days to work on it. Stay tuned!
 
A little update for y'all!

I decided I'll be putting too much tedious work into this build to completely assemble it, disassemble it, paint it, and then put it all back together.
Long story short: it's painting time.

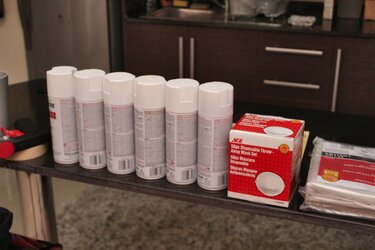
As mentioned in my opening post here, I'm going for as white as can be. A little bit of primer, a little bit of mid coat, and a little bit of sanding brings us up to this point.

IMG_0392.jpg

picture.php


picture.php


It took roughly 3 cans to get a really nice coat on the entire chassis + the 1 can of primer. I'm looking at getting another two coats on with a solid day in between applications to be sure I get a pristine finish.

In other non-paint related news, I picked up a XSPC RayStorm High Performance Acetal CPU Liquid Cooling Block, and some blue EL ribbon.
I have absolutely no clue where, or even if, the el ribbon will be going anywhere but I'm an EL addict, so there's always that.
 
Last edited:
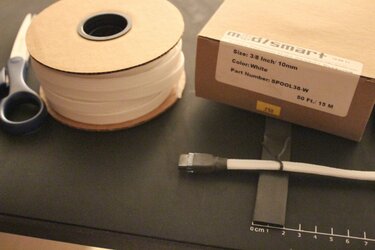
My 3/8" sleeving came in as well as the rest of my fittings!
I often ask myself if I have enough fittings. Now I can confidently say yes.

IMG_0403.jpg

IMG_0405.jpg

IMG_0410.jpg
 
Nice sleeve you have there. On white interior cases i like black sleeving, because too much white can be overwhelming. But i will like to see the end result.

Keep up the good work :thup:
 
Nice sleeve you have there. On white interior cases i like black sleeving, because too much white can be overwhelming. But i will like to see the end result.

Keep up the good work :thup:

Looks nice! subbed!


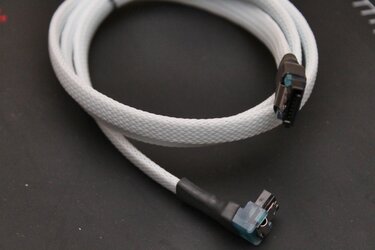
Thanks y'all! @godevskii, out of fear of the same, I opted for black heat shrink. I figured that would tame the washout a little bit. Also, rather than white electrical tape all my wires underneath the sleeving, I'm using UV blue wires and cables, sleeved with the white. I gave it a little test run under some black lights and I'm loving the look! Perfect amount of blue glow while still keeping its clean white look!
 
Wow, this looks like it's going to turn out to be an amazing build. Subscribed!
 
Back