• Welcome to Overclockers Forums! Join us to reply in threads, receive reduced ads, and to customize your site experience!

My MK 2008

Overclockers is supported by our readers. When you click a link to make a purchase, we may earn a commission. Learn More.

fusionmkx

Registered
Joined
Dec 5, 2007
Hello, I am just posting some simple on what I am attempting to do for my latest project. It’s about 3 years now with my current gaming rig, and though I’ve done many mods or minor over-clocks in the past, it’s time my system got an overhaul again to match up with new processors such as the AMD X2 series and the Intel C2D.

Just 2 years ago, this system ran Half-Life 2 just fine, But as the months passed, I watched the processors jump from 3000 to the current 6400+ AMDs, not to mention Intel’s C2D and QX series.
It’s been 3 years since I last set up this system and was one of the best kick-*** processors you could get in the first quarter of 2005, so it’s time I “upgraded” my system to match up. I play a random game once in a while, like Need For Speed, Doom, Quake and assorted FPS and RTS games, but no MMORPGs. Mainly used for other cpu-intensive applications like Adobe Premiere, Photoshop and a little CAD / Pro-Engineering. So I still need a rather powerful PC.

Of course, there’s no point having a great rig if it looks like crap, and I believe I have reached the limits of air-cooling, and have decided to fully go into water-cooling.

My system was sufficiently cool at a slight over-clock of 100 Mhz 1.8 Ghz @ 1.925 Ghz so I’ve left it running at that on a stock cooler all the while, 51ºC idle.

MK2008_002.jpg

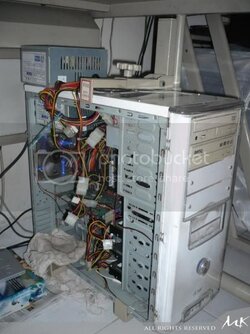
Specs of my current rig:
- AMD64 3000+ (Venice) @ 1.925 Ghz
- Abit AV8 (VIA K8T800 Pro) Mobo
- Geforce 6600GT PCIe
- 2 x 512 Mb Kingston DDR-RAM 3-3-3-8 @ 204.3 Mhz
- 2 x 250 Gb Seagate SATA2 HDD 7200rpm
- 1 x 160 Gb Seagate IDE HDD 7200rpm

I spliced two 400watt PSUs together to provide juice for my 3 x HDDs, GPU and o/ced CPU.

Specs of my new rig:
- Intel Core2Duo E6550 @ xxx
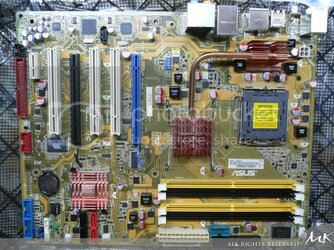
- Asus P5K-R Pro Motherboard
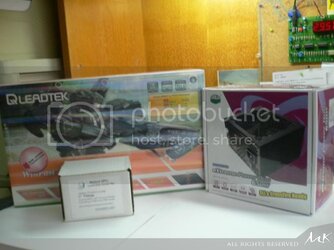
- Leadtek 8800GT 512mb Graphics Card
- 2 x Crucial BallistiX 1Gb 8500
- 2 x 250 Gb Seagate SATA2 HDD 7200rpm
- 1 x 160 Gb Seagate IDE HDD 7200rpm

Reason for these parts are basically because of cost, the E6550 has the cheapest cost-to-Ghz ratio at the time I bought it, plus the Asus P5K-R has good overclocking capabilities, and I wanted to see if I can push an Asus further than what I did with my previous Abit.

Never mind, let’s check out my work-log of my new rig!
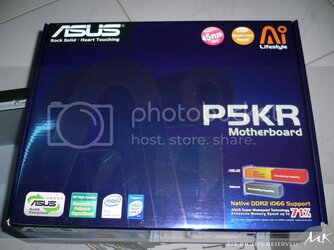
 
I got myself a Asus P5KR, Coolermaster 650W extreme PSU, Initially I was thinking of modding either an AC.Ryan or ThermalTake UV-reactive 120mm fan to replace the black PSU fan, but decided against it, this fan was good enough.

MK2008_011.jpg
MK2008_022.jpg
MK2008_032.jpg
MK2008_046.jpg

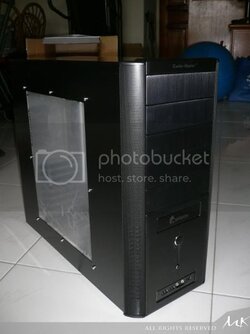
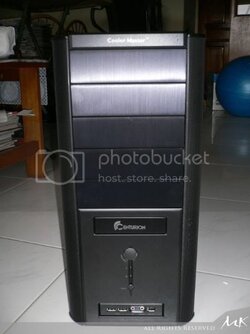
Next is the casing, I got this Coolermaster Centurion 534 at a real steal, S$65 with 2 120mm led-fans thrown in. It’s just a mid-tower casing, a full tower will cost over hundred to two-hundred bucks.
 
MK2008_047.jpg
MK2008_051.jpg
MK2008_061.jpg
MK2008_062.jpg

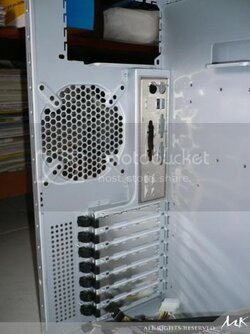
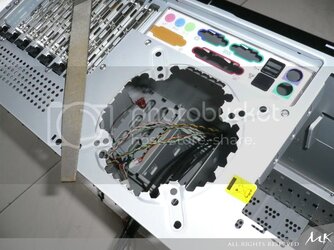
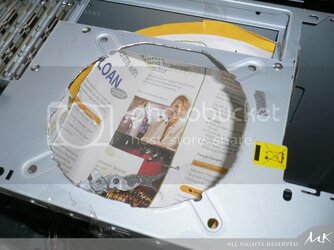
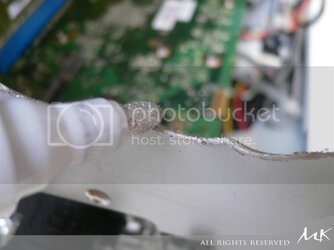
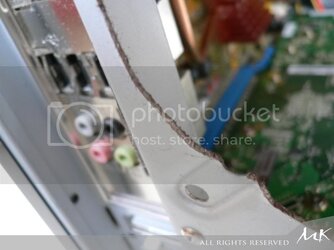
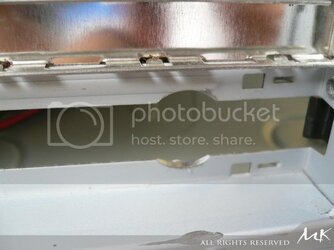
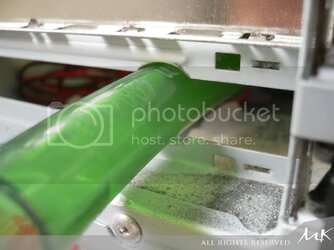
I don't have anything so flashly like a dremel, only an old Jig-saw and a Black & Decker drill. So using pure-brute force, pliers and a ******* file, it’s time to break open the rear 120mm fan grille for better air-flow and exhaust, as you will see later, it’s quite crude and still looks ugly because of the uneven edges. But never mind, it will be covered later.
 
MK2008_064.jpg
MK2008_063.jpg

Next I used a silver-paint marker to cover up the rough edges with a nice tint of silver.

MK2008_065.jpg

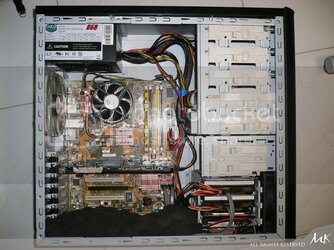
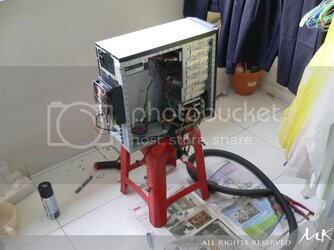
Putting all the new parts together to make sure they work first! Don’t want to jump into water-cooling only to find out you got faulty parts requiring RMA. Cable management is still at a minimum here, but everything seems to work fine.
 
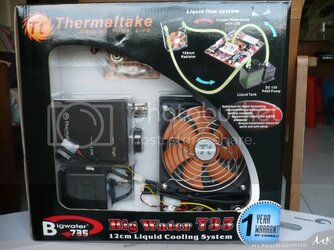
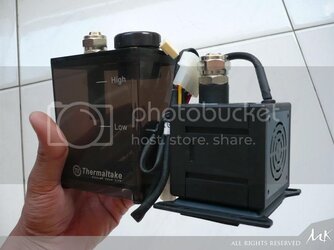
Finally it’s time to go into water cooling! I got this really cheap Thermaltake Bigwater 735 water-cooling set for a mere $180. Yeah yeah, I know that TT BW has really lousy performance, but hey, I am just doing a simple w/c. If I were to get custom components for every part of the loop, it’ll be far more expensive. It’s got a usefull 1.120mm radiator and a 12v DC pump and the CPU Wb. To compensate for the poorer performance, I’ll be doing a little bit of custom to this w/c setup myself as you’ll see later.
MK2008_075.jpg

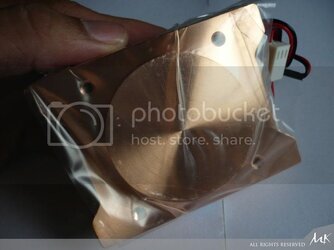
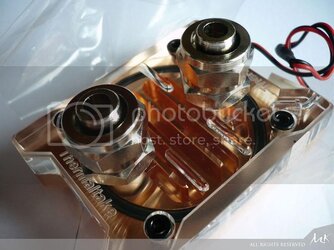
The all-copper TT water block, it’s illuminated by a stock LED with a clear acrylic to show the channels. Normally if I were to use the UV-reactive coolant that TT has provided, then the channels will really show off the coolant to spectacular effect. But since I’ll be using my own custom concoction of coolant, this wouldn’t really matter, but if you were to use UV-reactive coolant, then I suggest to swap out the stock blue-led and replace it with a UV-led instead.

MK2008_081.jpg
MK2008_080.jpg
 
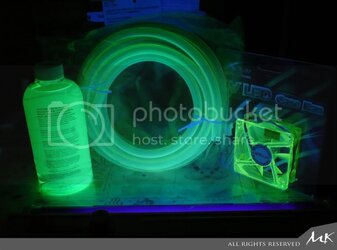
Just for fun, here’s a pic of my UV-reactive stuff, UV-reactive coolant, UV-80mm fan and UV-reactive 3/8” tubing glowing under my UV-lamp! :)
MK2008_088.jpg

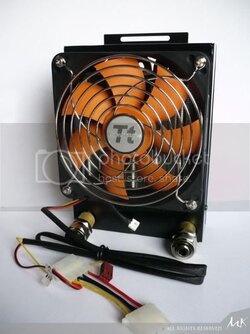
The 120mm speed-controllable fan and radiator. Since the fan seemed to work fine up to 4000rpm, I didn’t bother swapping it out as well. Function over form.

MK2008_085.jpg

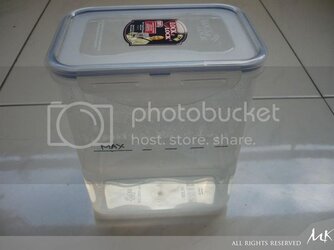
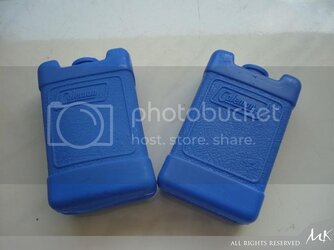
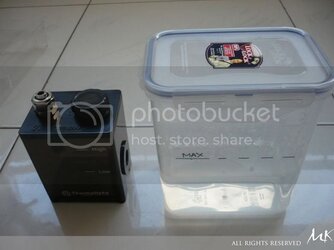
Now it’s time to make my semi-customized water-cooling loop. The stock reservoir from TT just isn’t good enough to cut it for more over-clockability, so I bought a air-tight Tupperware and Coleman blue-ice substitutes.

MK2008_090.jpg
MK2008_089.jpg
 
The reservoir should ideally be air-tight to prevent coolant loss through evaporation and from nasty impurities like dust getting into your system. I also chose the ideal coleman blue-ice size so that it would fit nicely into the Tupperware. I measured a nice amount of water, then put the blue-ice in to see displacement, ensuring that it doesn’t overflow, then marking the ideal water-line.

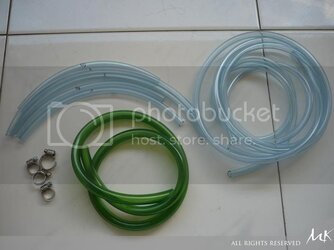
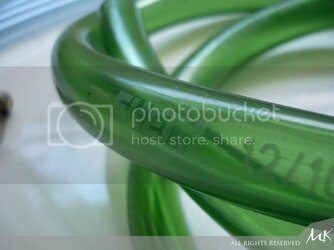
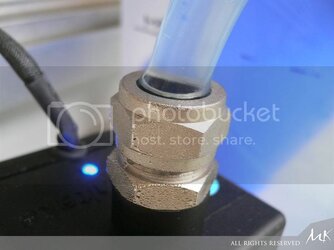
Next shopping at a local aquarium store to get this Eheim tubings, my setup is going to use 2 different tubing sizes, ½” and 3/8” int diameter, both are from Eheim. It’s not lab-grade Tygon though, but should be enough, at $5.50 per meter! The 3/8” clear tubing as $1.20 per meter, bought a few tubing fasteners as well.

MK2008_091.jpg
MK2008_092.jpg
MK2008_093.jpg
MK2008_095.jpg
 
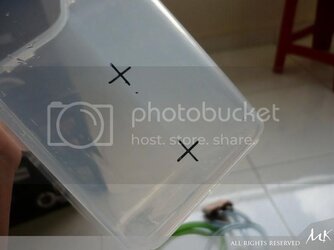
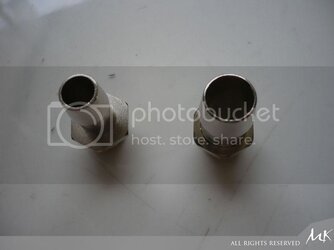
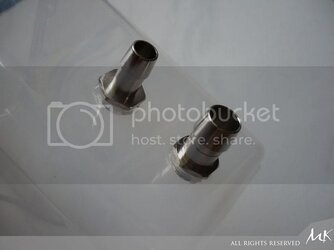
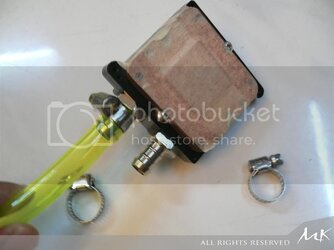
Greater coolant capacity with my new custom reservoir. First, I marked out the spot for the 2 barbs to be put. The bottom for the outlet, and the top for the inlet, The inlet will be a 3/8” barb and the outlet a ½” barb since heat rises and there will be greater pressure at the bottom of the reservoir so the pump doesn't have to "pull" coolant from the reservoir, but will flow into the pump via gravity. Less stress on the pump if the pump is placed on the same level as the reservoir.

MK2008_096.jpg
MK2008_097.jpg

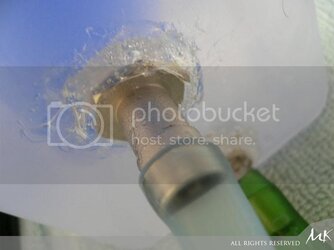
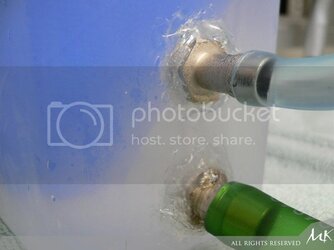
First, I drilled a hole slightly smaller than the required, then used my butane-torch to heat up and melt the edges, then while the plastic was still molten, pushed in the barbs so that you get a nice snug fit. The I used Shelleys Acrylate water-proof sealant to make sure.

MK2008_098.jpg

MK2008_102.jpg
 
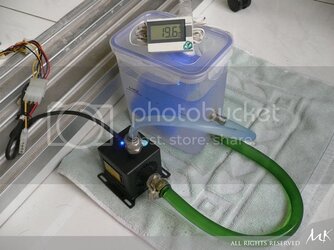
Next, leak-test of my reservoir!

MK2008_103.jpg
MK2008_104.jpg

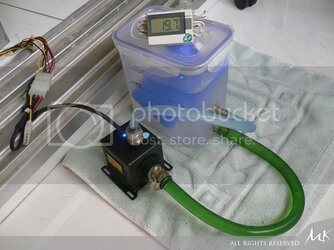
With no heat-load, I wanted to see how the loop performed and what was the lowest temperature it could go to with the blue-ice. The loop worked just fine! Temperature dropped to 19.5 °C and you can see condensation around the res and tubing. Now with the addition of my custom water reservoir, and blue ice substitute, the coolant went down to 19.7 °C at the coldest point with no thermal load. I had already expected condensation, so I wasn't surprised when I saw some, and have already bought the neoprene insulation, the one similar to air-conditioning tubing insulation.


MK2008_105.jpg

MK2008_107.jpg

Now this is way better than what I would have got with the stock reservoir. In some ways, this is like a chilled-water cooling setup, (one level higher than mere water-cooling!), but I am not using refrigerant, nor a peltier, nor a compressor.
My idea for this water-cooling setup is to bring the coolant below ambient only when required, usually for short periods of times during overclocking tests or when playing games at full load. Each blue-ice can last for about an hour and was able to being down the temperature of warm 50-deg C water below ambient in less than 20 minutes.
So instead of using more power for a compressor or peltier that is always on, why not use something cheaper and simpler? So hence, this little “chilled” water cooling setup. It’s only chilled for a short while, but you can keep changing fresh blue-ice and re-freeze the previous ones. During my tests, there was condensation observed, so later I will be insulating my inlet loops.
 
MK2008_035.jpg
MK2008_116.jpg

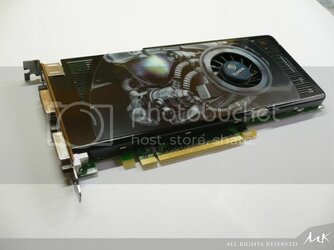
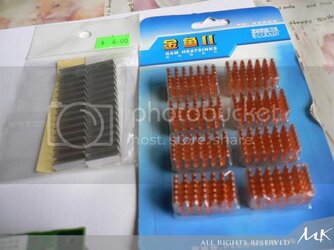
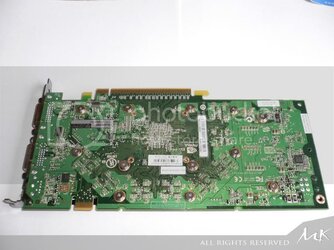
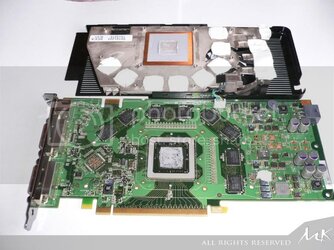
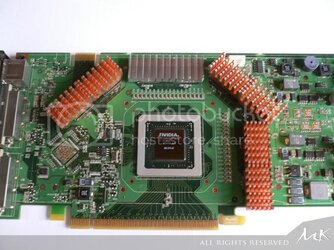
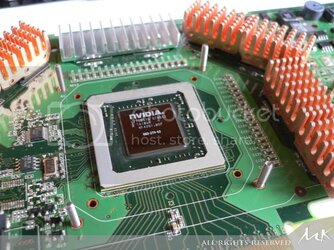
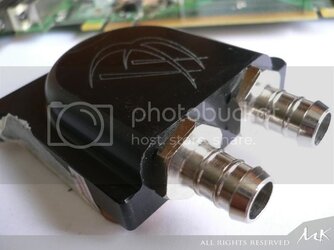
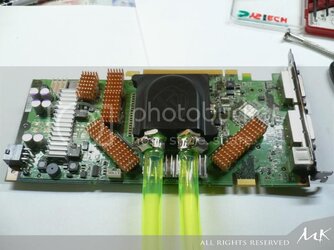
Next, ripping out the insufficient stock-cooler of my 8800GT and fixing the Danger Den Maze4 water-block onto 8800GT. Got some full-copper ramsinks and a pair of aluminum ramsinks as the copper sinks will block the barbs of the water-block.

MK2008_112.jpg
MK2008_117.jpg

The stock cooler was pretty easy to remove, just spring-loaded screws, and the bottom was the expected soaked canvas that Nvidia uses as the thermal-interface medium (TIM). That’s when I met my first problem whilst I was aligning the ramsinks for placement.
 
MK2008_123.jpg
MK2008_127.jpg
MK2008_126.jpg

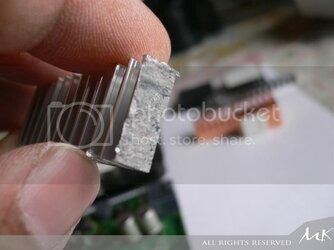
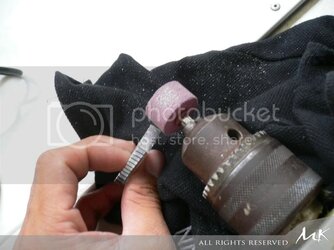
Polishing the rough edges off and after a little bit of brasso, I didn’t lap this heat sink since I was going to be using thermaltape.

MK2008_131.jpg
 
MK2008_133.jpg

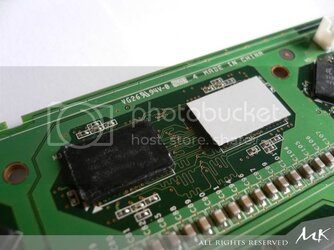
3M thermaltape, cut out just right and stuck onto the surface of the ramsinks after being cleaned with swabbing alcohol.

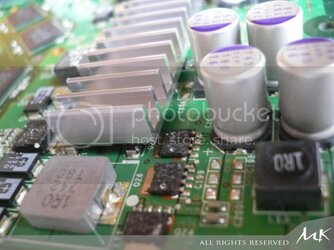
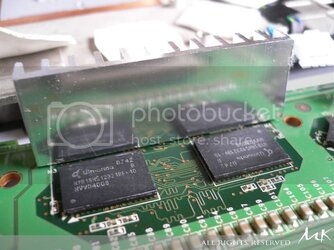
The next is to work on cooling the mosfets for the 8800GT, turns out that one row of mosfets will be cooled just fine, but there are 3 mosfets to the sides that are blocked by the solid-caps and the heatsink.

MK2008_124.jpg
MK2008_142.jpg

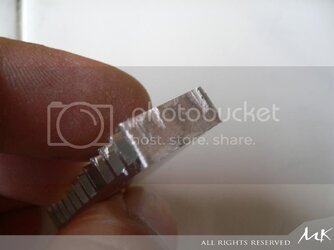
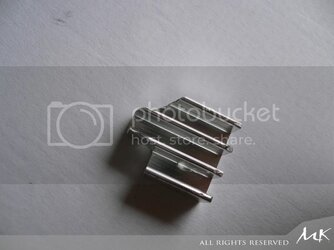
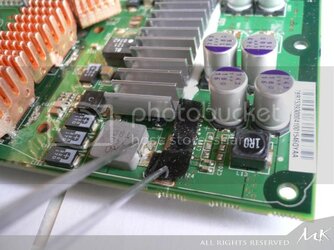
So I filed and cut up a piece from the remaining alu-heatsinks that I had to fit a piece of heatsink just nice, the curved corner to avoid the capacitor, and the 90-degree corner to avoid the other heatsink.

MK2008_141.jpg

After that, it will be placed on the 3 mosfets and stuck down with 3M thermaltape.
 
MK2008_135.jpg

So far so good.

MK2008_137.jpg
MK2008_138.jpg

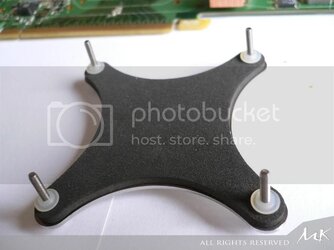
Next the Maze4 mounting bracket is then put into place.

MK2008_139.jpg
MK2008_143.jpg

I first fitted the tubing onto the waterblock and fastened it so that there will be no stress on the GPU later.
 
Just before mounting into my system, later during tests, the copper blocks actually fell off! So I reattached them and super-glued the edges a little bit.

MK2008_147.jpg

MK2008_148.jpg

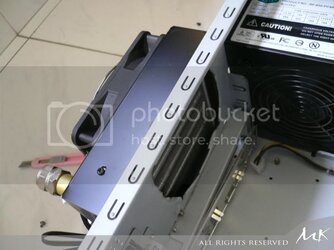
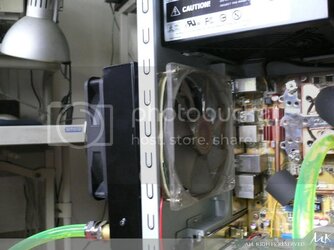
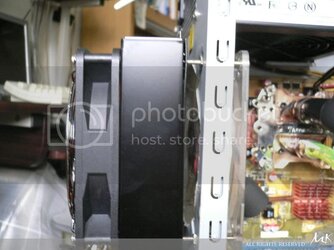
Next, I changed the position of the fan for the radiator, so that it now “pulls” the air from the casing out instead of “pushing” air through the radiator, as it's better to pull air through the radiator, rather than trying to push air through it. Since my casing is a mid-tower, there won’t be enough space inside once the motherboard is mounted, so I mounted the radiator outside the casing. Some custom screws were used, so that I could mount an led-fan inside the casing as well.

MK2008_227.jpg

MK2008_228.jpg

2 fans working in tandem, one pushing, one pulling, though it’s better to have a shroud, I didn’t really bother to make a fan shroud. I just left a small gap in between so that any hot air accumulated in the casing can escape a little through the sides and, and there’s still the airflow through the radiator. The screws are long 1-inch ones. It’s a little hasty work here, but I just wanted to get it up and running!
 
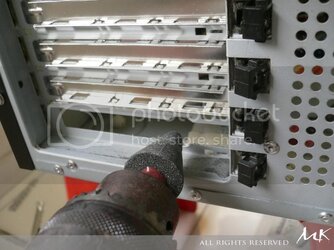
Next, since my Centurion is not a case designed for watercooling with no tubing outlets or rubber grommets, I have to make do with the available holes. The PCI slots are fine for a 3/8” tubing, but too narrow for a ½” one, so I just widened one a little bit as you can see.

MK2008_154.jpg

MK2008_156.jpg

MK2008_155.jpg
 
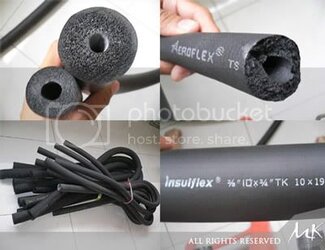
Next, since there was condensation observed, I bought some air-con neoprene insulation for the tubing. It wasn’t expensive, but it was sure bulky! The first set I got was the wrong size, it was too thick! For insulating 3/8” of tubing, the insulation was almost 3 inches thick! Made by insuflex. But it was really good quality. The next one I got was from Armaflex and it was just nice.

insulation.jpg

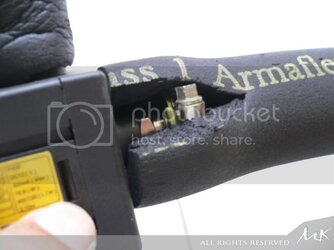
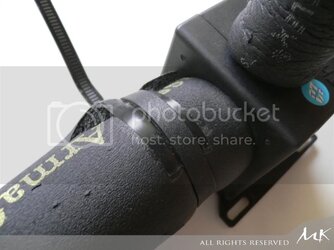
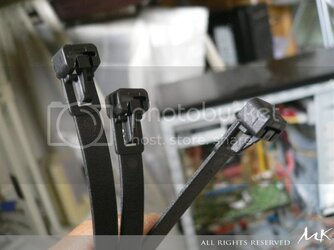
Insulating the ½” tubing to the pump and tying it up with cable-ties.

MK2008_150.jpg

MK2008_151.jpg

MK2008_108.jpg
 
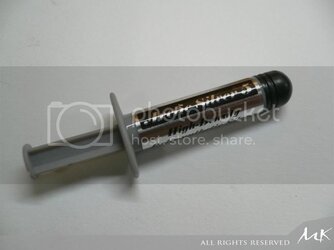
Work in progress! Plus I got myself a tube of Artic Silver 5 thermal compound. Don’t want to go through all the trouble of water-cooling just to use silicon thermal paste!

MK2008_157.jpg

MK2008_158.jpg

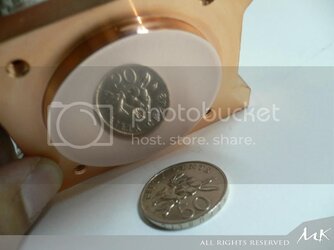
I spent several hours really lapping my waterblock to shiny perfection as you can see here =D. Then cleaned up the cpu surface with some alcohol, before spreading the AS5 thermal compound.

MK2008_159.jpg
 
More pics!

MK2008_171.jpg

MK2008_198.jpg
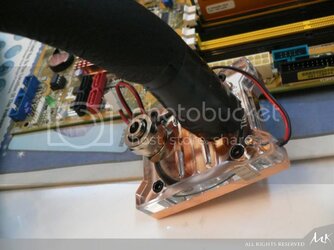
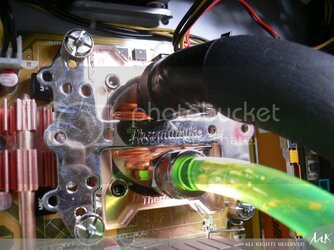
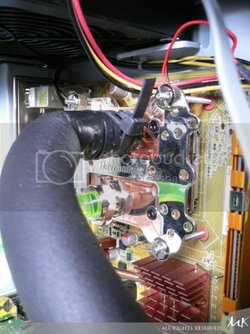
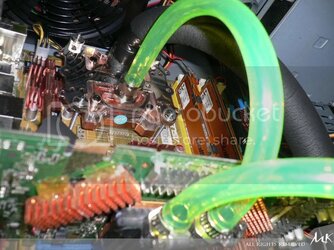
Installing the water block was fairly easy, but did require the motherboard to be removed. Simply place a rubber-coated backing plate on the back of the motherboard, insert long screws. I had the inlet tubing insulated since that’s when the coolant will be the coldest. I fitted the tubing first since I wasn’t entirely confident with the amount of force required when it came to the CPU block. You have to push quite hard to get the tubing onto the barbs, so putting the tubing onto the water block before attaching the water block to the cpu is a good idea.

MK2008_199.jpg
MK2008_172.jpg

MK2008_173.jpg
 
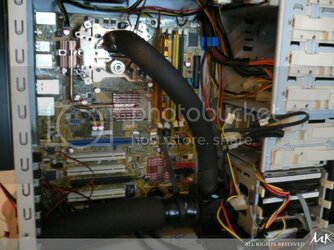
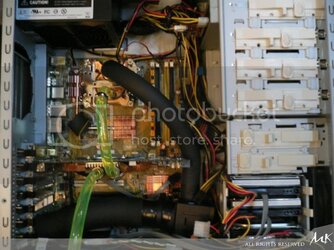
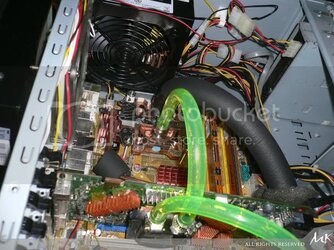
Once the cpu is attached, I fitted in the gpu, and connected the pipes from the gpu to the cpu. Then adjusted the tubing accordingly to fit the long gpu card. Had this been a GTX card, I wouldn’t have any space left for the pump!

MK2008_244.jpg
MK2008_240.jpg
MK2008_206.jpg

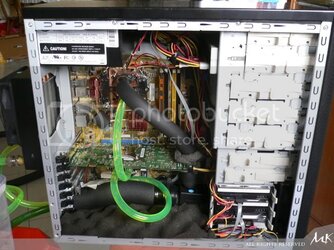
My rig almost finished! I hid all the cables and flattened them at the bottom of the casing, before adding some foam at the bottom to absorb noise generated. The reservoir would be outside the casing, and all the tubing finally connected and routed.
 
Back