- Joined
- Nov 15, 2010
- Location
- Livingston, Scotland
Okay so i bought my current rig from MESH computers a few years ago, i have updated it since then, switching from a Nvidia 8800gt to an ASUS hd4850, added 4gb of ram to the existing 4gb. This has and is still serving me well however i've decided to make the case a more individual piece.
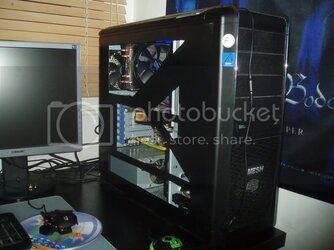
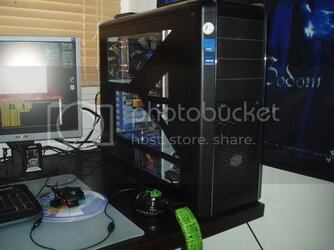
This was how my rig was until recently

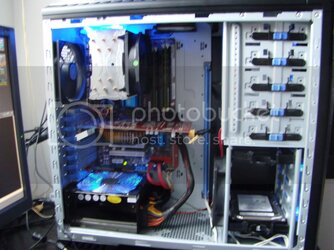
another shot from the inside

As you can see, the cabling was messy, very visible and had a stock intel cooler and only 3 more 120mm fans to cool it. It was Also full of DUST
The first thing i decided to do was to add some more fans to cool my system down and to improve the airflow in the case.

As you can see i mounted an extra 120mm fan on the top and bottom of the case aswell as an 80mm fan on the top.
The next thing I decided to do was to redo my cabling as i felt it was restricting the airflow of the case where it was, so through brute force and some still unsightly electrical tape, i managed to fit all my cabling through the small cutout to run them all through to the back of my motherboard tray.

This still looks rather bad, however i feel its better than the previous.
I decided to get rid of the poor intel stock heatsink and replaced it with a Zalman CNPS10x Performa heatsink, to fit the heatsink i had to move the top 120mm fan, so i mounted it on the hard drive rack for now untill i can mod it to fit onto the back side of the heatsink so that i can have the airflow in a push/pull setup.

I also used the filter from the bottom of the case to fit that 120mm fan into the front of my case so i had more cold air being drawn into the case.

I found that the plastic mount fitted into the front of the case nice and snuggly due to the 4 clips for a 140mm fan pushing back onto the side of the 5.25" bays. Its also much quieter than when it was mounted on the base of the case for some unknown reason.
Anyway, thats my rig up to date.
So heres my plan at the moment for my case.
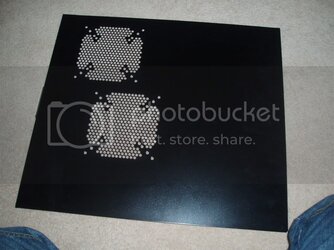
1. Modify side panel to inset a window so i can see the internals on my case.
2. Paint internal chassis black.
3. Create a storage bay for spare screws out of one of the spare HDD racks.
4. Build a liquid cooling loop for CPU and GPU (i want a 240mm radiator but not sure on how i can mount it internally in this case.)
5. Add new lighting system into case. (Thinking UV Cathodes)
This was how my rig was until recently
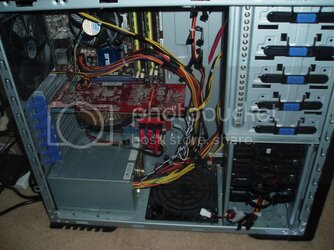
another shot from the inside
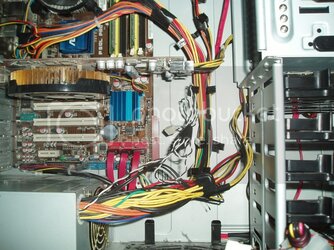
As you can see, the cabling was messy, very visible and had a stock intel cooler and only 3 more 120mm fans to cool it. It was Also full of DUST

The first thing i decided to do was to add some more fans to cool my system down and to improve the airflow in the case.
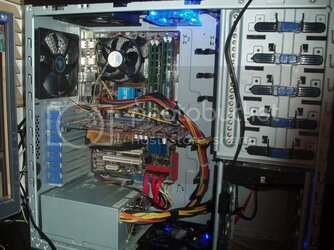
As you can see i mounted an extra 120mm fan on the top and bottom of the case aswell as an 80mm fan on the top.
The next thing I decided to do was to redo my cabling as i felt it was restricting the airflow of the case where it was, so through brute force and some still unsightly electrical tape, i managed to fit all my cabling through the small cutout to run them all through to the back of my motherboard tray.
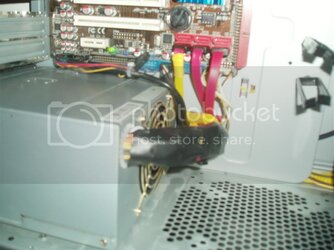
This still looks rather bad, however i feel its better than the previous.
I decided to get rid of the poor intel stock heatsink and replaced it with a Zalman CNPS10x Performa heatsink, to fit the heatsink i had to move the top 120mm fan, so i mounted it on the hard drive rack for now untill i can mod it to fit onto the back side of the heatsink so that i can have the airflow in a push/pull setup.
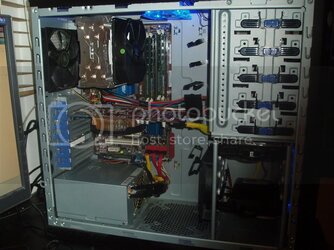
I also used the filter from the bottom of the case to fit that 120mm fan into the front of my case so i had more cold air being drawn into the case.

I found that the plastic mount fitted into the front of the case nice and snuggly due to the 4 clips for a 140mm fan pushing back onto the side of the 5.25" bays. Its also much quieter than when it was mounted on the base of the case for some unknown reason.
Anyway, thats my rig up to date.
So heres my plan at the moment for my case.
1. Modify side panel to inset a window so i can see the internals on my case.
2. Paint internal chassis black.
3. Create a storage bay for spare screws out of one of the spare HDD racks.
4. Build a liquid cooling loop for CPU and GPU (i want a 240mm radiator but not sure on how i can mount it internally in this case.)
5. Add new lighting system into case. (Thinking UV Cathodes)
