This is my first water cooling experience and it's a little unconventional, so I thought I would share. I decided I wanted to go as cheap as humanly possible. Being a mechanic, I had a lot of the things I needed already. Here's what I ended up with.
PC specs
AMD FX 6300 at @4.5
Gigabyte GA-78LMT-USB3 motherboard
G.SKILL Ripjaws DDR3 @1866
Intel SSD
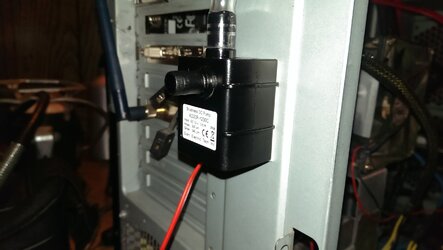
Water pump- $7
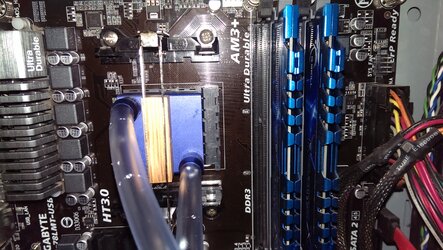
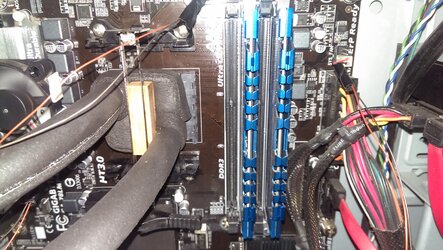
Water cooling block- $13
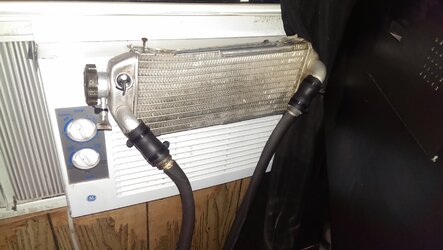
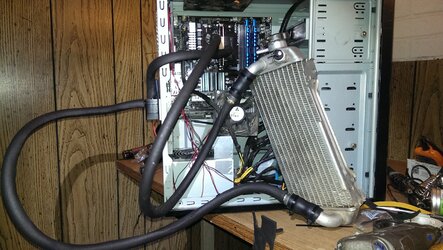
Radiator from wrecked motorcycle- Free
1/4 Vinyl tubing- $5
1/4 Couplers- "Borrowed" from work
Insulation tape
Anti-seize compound as TIM
50/50 Antifreeze
Pipe thread compound
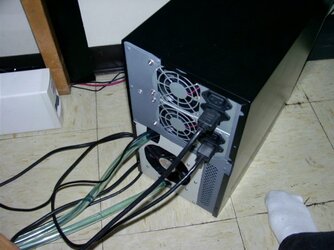
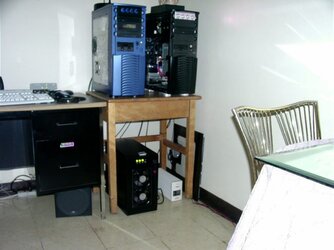
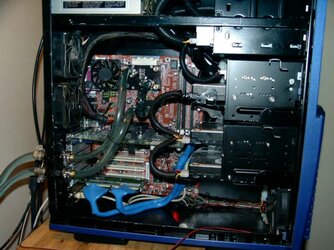
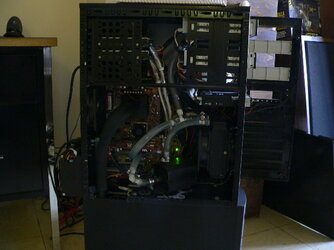
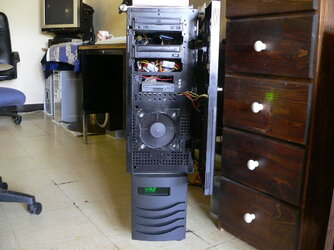
There happens to be an AC above my PC, so I hung the radiator there as a chiller. It worked great. So great actually, that I was at risk of condensation dripping on components from the bare lines. That's where the insulation tape came into play. I was also worried about leaks from the cheap components. So I set it up with the pump outside of the case, where it draws the coolant through the cooling block instead of pushing. The only pressurized line is the return line from the pump to the radiator. The idea is that if it does develop a leak, it will draw air and stop pumping coolant, causing the thermal protection to engage and shut down before any damage occurs.
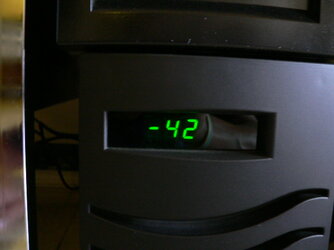
I still need to get some AS5, but I'm running pretty good temps now with the anti-seize as TIM. 35c Under full load and I've seen as low as 0c at idle, but FX are known for incorrect idle temps.
PC specs
AMD FX 6300 at @4.5
Gigabyte GA-78LMT-USB3 motherboard
G.SKILL Ripjaws DDR3 @1866
Intel SSD
Water pump- $7
Water cooling block- $13
Radiator from wrecked motorcycle- Free
1/4 Vinyl tubing- $5
1/4 Couplers- "Borrowed" from work
Insulation tape
Anti-seize compound as TIM
50/50 Antifreeze
Pipe thread compound
There happens to be an AC above my PC, so I hung the radiator there as a chiller. It worked great. So great actually, that I was at risk of condensation dripping on components from the bare lines. That's where the insulation tape came into play. I was also worried about leaks from the cheap components. So I set it up with the pump outside of the case, where it draws the coolant through the cooling block instead of pushing. The only pressurized line is the return line from the pump to the radiator. The idea is that if it does develop a leak, it will draw air and stop pumping coolant, causing the thermal protection to engage and shut down before any damage occurs.
I still need to get some AS5, but I'm running pretty good temps now with the anti-seize as TIM. 35c Under full load and I've seen as low as 0c at idle, but FX are known for incorrect idle temps.
Attachments
Last edited:
 When I saw the thread title I thought someone was looking for suggestions.
 yeah I've done my share of crazy watercooling setups. Craziest thing I've done was those 10 pelts in that case with dual PSU's to power them remember? Das Photon Chiller