• Welcome to Overclockers Forums! Join us to reply in threads, receive reduced ads, and to customize your site experience!

was bored. Lapped my CPU

Overclockers is supported by our readers. When you click a link to make a purchase, we may earn a commission. Learn More.

moho

I wanna title tooo !
Joined
Nov 26, 2004
Location
1337 Leet Street , CO 1337
Got real bored today, Ive been waiting on my radiator i bought from someone on [H], bought it last wednesday, he said he shipped it yesterday, but it looks like he just printed the label..Anyways...
Decided to lap my CPU its a D0 i7-920.
I bought some super-cheap sandpaper from eBay
http://www.ebay.com/itm/181077403162?ssPageName=STRK:MEWNX:IT
http://www.ebay.com/itm/170986577257?ssPageName=STRK:MEWNX:IT
$15 shipped for a few sets of kits is pretty good IMO, they are pretty narrow, but work fine for me.

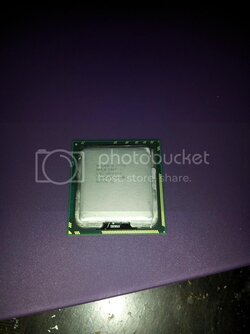
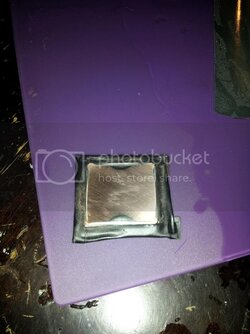
anyway heres the cpu stock:
\/\/\/\/\/\/\/\/

IMG_20130220_181912_zps3c635f7a.jpg

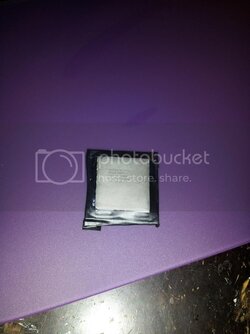
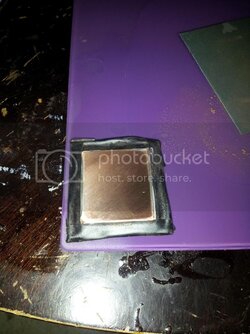
started by adding some electrical tape, covering all the circuits and so:
\/\/\/\/\/\/\/\/

IMG_20130220_182356_zpsd5864a79.jpg

(maybe you noticed, I'm trusting my trusty IceMat mousepad as my superflat glass surface haha)
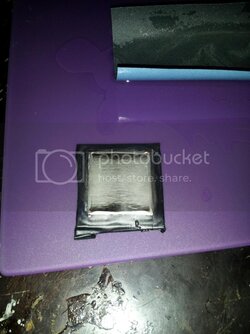
1 sheet of 400 grit gone
\/\/\/\/\/\/\/\/

IMG_20130220_182730_zps8ac4facc.jpg

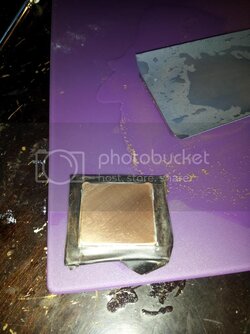
another sheet of 400
\/\/\/\/\/\/\/\/

IMG_20130220_183226_zps23a73f96.jpg

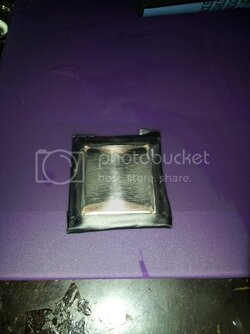
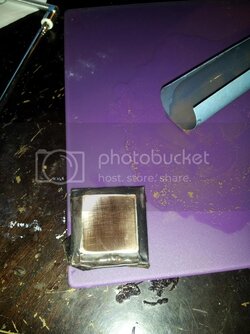
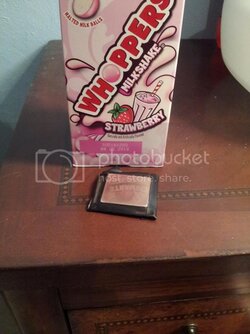
I wish i had got some 250 grit, this thing was super warped, took 6 sheets of my 400 grit to get it smooth

\/\/\/\/\/\/\/\/\/\/\/\/\/\/\/\/

IMG_20130220_185456_zpsf015a957.jpg

finally smooth(er)\/\/\/\/\/\/\/\/\/\/\/\/\/\/\/\/

IMG_20130220_190541_zps05075c42.jpg

after some 800 grit \/\/\/\/\/\/\/\/\/\/\/\/\/\/\/\/

IMG_20130220_190906_zps83a9dcf9.jpg

now some 1500 grit \/\/\/\/\/\/\/\/\/\/\/\/\/\/\/\/


IMG_20130220_191139_zpsa98500ac.jpg

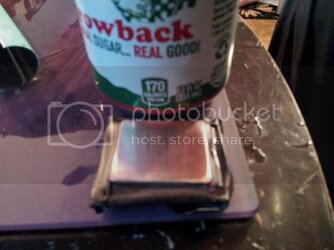
2000 grit(anyone try mountain dew throwback?)
\/\/\/\/\/\/\/\/

IMG_20130220_191211_zps19708f7d.jpg

2500 grit
\/\/\/\/\/\/\/\/

IMG_20130220_192225_zpsa9545ac7.jpg

(thats a shadow of my dresser in the back of the reflection)
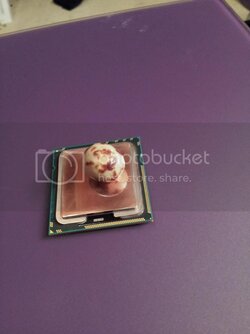
polished and done.\/\/\/\/\/\/\/\/


IMG_20130220_193728_zps7820ba11.jpg

hopefully I get my rad this weekend, so i can post up some pics of my setup :)
 
Looks good, very nice shine, you make it look easy. Still don't quite have the nerve to do it, maybe i'll try it out on an old CPU. Having really only done wood working stuff, the highest I have around is 600 grit, I'll have to go find the higher grit paper.
Keep up the good work!
 
Very nice, I did the circle method on my Phenom and it worked great. Im debating about going to work again on my H70 cause Im not 100% happy with the results. Honestly I cant stand the throw backs, it taste funny lol.
 
does one have to get down to the copper? is that the hole point? I'd assume you could give it a nice shine without taking off down to the copper??; but that doesn't sound right.
 
It really depends on how bad the heat sink atop the processor is. My Phenom was convexed so I had a nice air spot between the cooler and heatsink. Usually its only a couple of degrees though nothing amazing but every little thing helps keeping my chip below 55C. So removing the coating over the copper actually helps you see where the low spots are on the chip heatsink. Getting all the coating off usually will give you a great start of getting a flat surface on the heatsink
 
I can't see the pics but basicly the idea of this is to get a mirror shine on the ihs right which give you beter contacet between cooler and cpu (I am just guessing here)?

Its not so much mirror as completely flat, mirror is nice and all but it has been shown that mirror isnt necessary.
 
I think I read somewhere that's the best way to do it, either way, the sandpaper wasn't wide enough to do circles (easily at least)

I don't think it makes a difference circles vs straight.

That said, if you go straight, one edge is likely to be slightly lower than the other if you are consistnt, the heatsink base will still seat nice and flat against the lapped IHS. If you go in circles, the IHS is likely to be slightly convex, and the mating between base and IHS is unlikely to be as consistent. If you go straight, but rotate between strokes, you could still get a slightly convex IHS.
 
well the ek supreme HF was a mirror when installed, so i only have to worry about the processor. i have a sanding block, so i bet i could get a nice flat shine.

what about how much you take off? if you make the layer of the IHS REALLY REALLY REALLY thin, would it perform better?
 
well the ek supreme HF was a mirror when installed, so i only have to worry about the processor. i have a sanding block, so i bet i could get a nice flat shine.

what about how much you take off? if you make the layer of the IHS REALLY REALLY REALLY thin, would it perform better?

So long as your heatsink/waterblock has a retention mechanism that can be tightened down a little extra - if you shorten the IHS by a few millimeters, thats a little less pressure if the mounting isn't adjustable, and JoeC used to talk about the importance of clamping pressure in his cooling tests.
 
I got both my old Q6600 and Thermalright 120 lapped to a mirror, not joking you could use the Q6600 surface as a mirror to shave with. I used a large 3/8" plate of glass for the work surface, taped it to the counter so it could not move, then used half sheets of the paper and taped them to the glass. 20 strokes with light even "stable" pressure, rotate 90 degrees and 20, rotate n 20 with wetting the paper witha spray bottle n water. changed the paper to a finer grade each time I felt it was time to move up to a finer grade. I started with drawing a large + and X on the IHS with a permanent marker. that allowed me to see better where it was still out and make sure I got it all flat. 600 grit up to 2500. Took me a long time to do it with out chattering the chip on the paper like it was running over a washboard, steady and slow is the trick. but trust me you want to tape the sand paper down totally flat. As for the massive cooler, that sucked keeping it from skipping and chattering on the paper. Just let the weight of the cooler do the work and I tried to keep it flat and smooth while moving it. I have pics of them finished, but not the stage by stage progress.... whole precess took me about 2-3 hours
 
Looks good, very nice shine, you make it look easy.
a31.jpg
 
Back